 by
by 
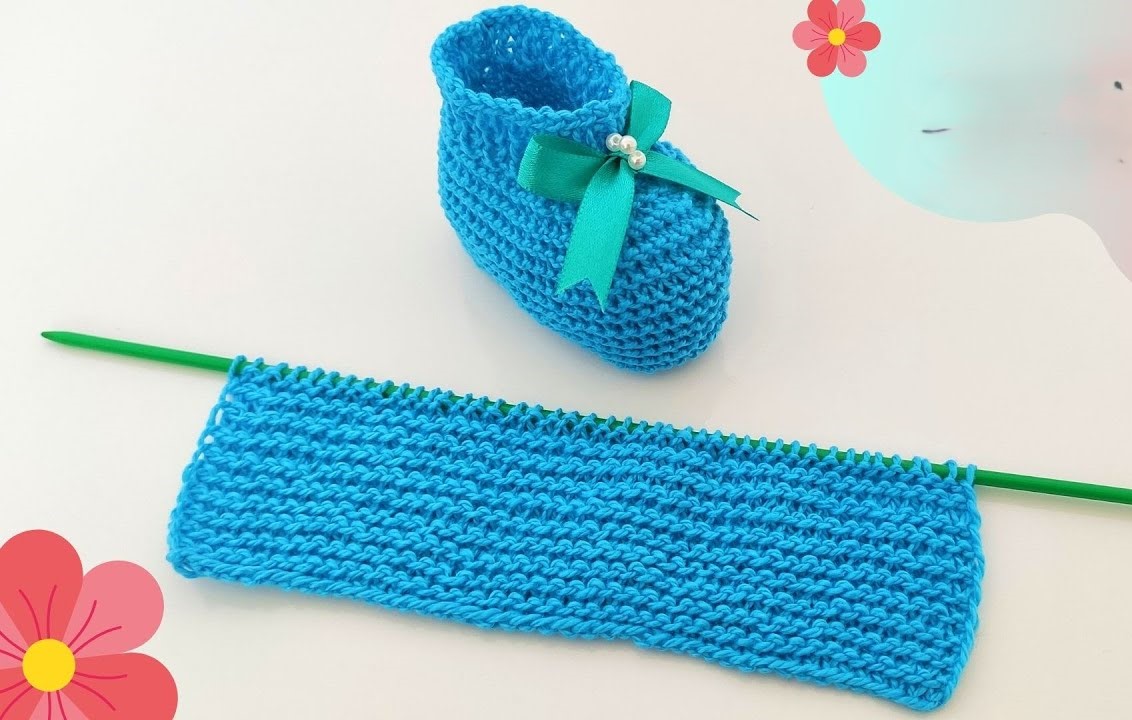
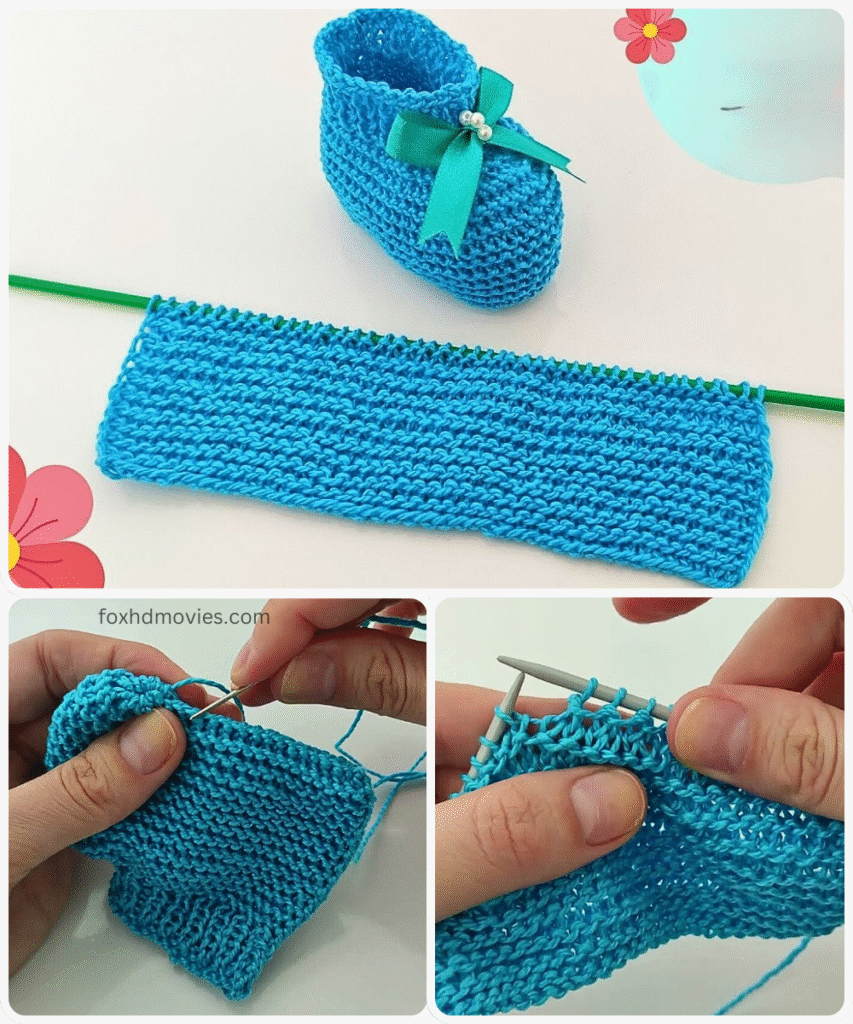
Here is a simple pattern designed to be easy for beginners. It’s knitted flat and then seamed.
WOW! Easy Baby Knitting Boots Pattern
This pattern creates simple, cozy baby boots knitted flat and seamed, making it perfect for beginners.
Skill Level: Beginner
Size: 3-6 Months (approx. 4 – 4.25 inches sole length when finished and seamed)
Note: To adjust the size, you’ll need to change the number of stitches cast on (must be an even number for the ribbing), the number of rows for the leg and foot, and potentially the heel flap size.
Materials:
- Approximately 80-100 yards of DK weight yarn.
- Knitting needles appropriate for your yarn (e.g., Size US 5 (3.75 mm) or Size US 6 (4.0 mm), or size needed to obtain gauge).
- Tapestry needle for seaming and weaving in ends.
- Scissors.
- Optional: Small amount of ribbon or I-cord for ties.
Gauge:
Using your chosen yarn and needles, knit a swatch in garter stitch (knit every row). 18 stitches and 36 rows (18 ridges) = 4 inches (10 cm).
Checking your gauge is important for the finished size.
Abbreviations:
- CO: Cast on
- BO: Bind off
- k: knit
- p: purl
- st(s): stitch(es)
- RS: Right side
- WS: Wrong side
- k2tog: knit 2 stitches together 1 (decrease)
- wyif: with yarn in front
- sl1 wyif: slip 1 stitch purlwise with yarn in front
- psso: pass slipped stitch over

Pattern Instructions:
Make 2 (for a pair)
This boot is knitted from the top down, mostly flat.
Part 1: The Cuff and Leg
We’ll start with the cuff and knit the leg of the boot.
Row 1 (RS): CO 24 stitches. (An even number is needed for the ribbing). Rows 2-6: K1, p1 repeat across. (2×2 ribbing for the cuff – or knit every row for garter stitch cuff, which is even easier) If doing garter stitch cuff: Knit every row for 6 rows instead of ribbing.
Rows 7-18: Knit every row (Garter Stitch) for the leg part. You should have 12 ridges of garter stitch including the cuff if you did garter stitch from the start, or 6 ridges above the ribbing.
Part 2: The Heel Flap
Now we’ll work back and forth on only the first half of the stitches to create the heel flap.
Row 19 (RS): K12. Leave the remaining 12 stitches on the left needle. Row 20 (WS): Purl 12. Rows 21-28: Repeat Rows 19 and 20 four more times (total 10 rows for the heel flap). You should have 5 garter ridges on the heel flap.

Part 3: Turning the Heel
We’ll shape the bottom of the heel.
Row 29 (RS): K7, ssk, k1, turn work. (9 sts worked) Row 30 (WS): Sl1 wyif, p3, p2tog, p1, turn work. (7 sts worked) Row 31 (RS): Sl1 wyif, k to 1 st before gap, ssk, k1, turn work. Row 32 (WS): Sl1 wyif, p to 1 st before gap, p2tog, p1, turn work. Repeat Rows 31 and 32 until all heel flap stitches have been worked. You should end on a WS row. You should have 7 stitches remaining for the heel bottom.
Part 4: Picking Up Stitches and Working the Foot
Now we’ll pick up stitches along the side of the heel flap and work across the instep stitches.
Row 33 (RS): Knit across the 7 heel stitches. Pick up and knit 6 stitches evenly along the side of the heel flap (13 sts on right needle). Knit across the 12 stitches that were left on hold earlier (25 sts on right needle). Pick up and knit 6 stitches evenly along the other side of the heel flap (31 sts on right needle). Row 34 (WS): Purl across all 31 stitches.
Rows 35-44: Knit every row (Garter Stitch) for the sole of the foot. You should have 5 ridges of garter stitch for the foot section.
Part 5: Shaping the Toe
Time to decrease for the toe.
Row 45 (RS): K1, ssk, k to last 3 sts, k2tog, k1. (2 sts decreased) Row 46 (WS): Purl across. Row 47 (RS): K1, ssk, k to last 3 sts, k2tog, k1. (2 sts decreased) Row 48 (WS): Purl across. Row 49 (RS): K1, ssk, k to last 3 sts, k2tog, k1. (2 sts decreased) Row 50 (WS): Purl across. You should have 25 stitches remaining.
Part 6: Finishing the Toe
Row 51 (RS): K1, k2tog repeat to the last stitch, k1. (17 sts remaining) Row 52 (WS): Purl across.
Cut yarn, leaving a long tail (about 15 inches) for seaming. Thread tail through remaining stitches and pull tight to gather the toe closed.
Video tutorial
Assembly:
- With the WS facing you, fold the boot so the bottom of the foot and the back of the leg meet.
- Using the long tail from the toe and a tapestry needle, seam the bottom of the foot and the gathered toe shut.
- Use a mattress stitch or whip stitch to seam the back of the leg and heel from the sole up to the cuff.
- Weave in all remaining ends securely on the inside of the boot.
- Repeat all steps to make the second boot.
Optional Ties:
- Create two I-cords approximately 10-12 inches long, or cut two pieces of ribbon the same length.
- Weave the I-cord or ribbon through the stitches around the ankle/cuff opening.
Your WOW! Easy Knitted Baby Boots are complete!