 by
by 
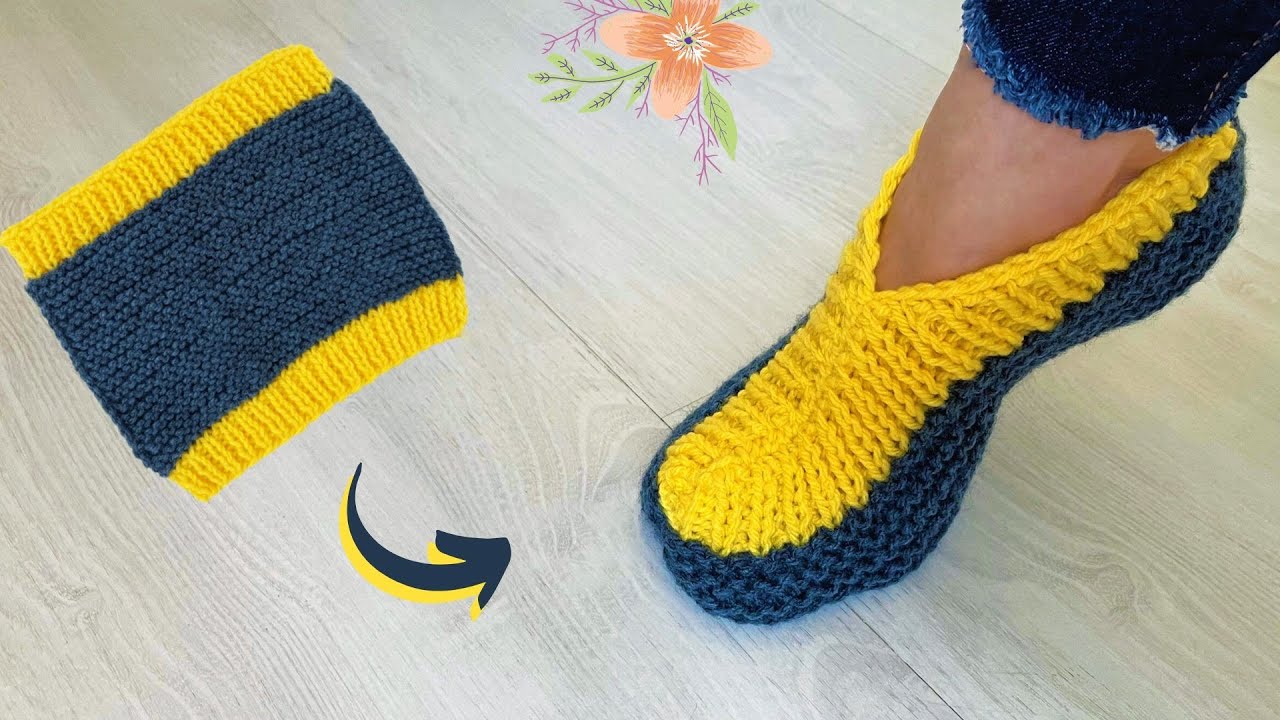
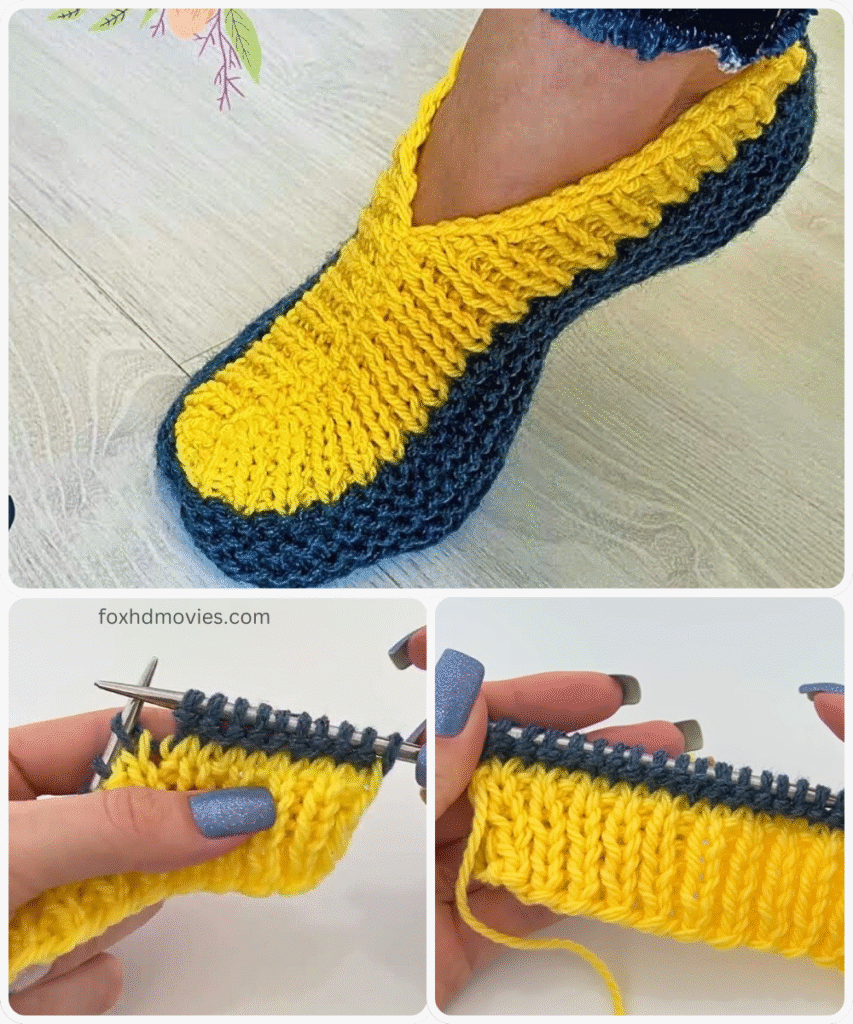
Here is a very simple knitting pattern often called “Folded Slippers” or “Square/Rectangle Slippers” because they are made from a simple knitted shape that is folded and seamed. It’s great for beginners!
Easiest Knitted Slippers Pattern
This pattern creates a simple, cozy slipper using basic knitting skills.
Skill Level: Beginner
Size: Women’s Medium (approx. US size 7-8)
Note: To adjust the size, you will knit the rectangle wider and longer. The key is the measurements of the finished rectangle relative to your foot.
Materials:
- Approximately 150-200 yards of Worsted weight yarn.
- Knitting needles appropriate for your yarn to get gauge (typically US size 7-9 / 4.5-5.5 mm). I’ll suggest a size below, but check your gauge.
- Suggested Needles: US Size 8 (5.0 mm) straight or circular needles.
- Tapestry needle for seaming and weaving in ends.
- Scissors
Gauge:
In Garter Stitch (every row knit): 17 stitches and 34 rows (17 ridges) = 4 inches (10 cm)

Knitting in garter stitch creates ridges. 34 rows = 17 ridges. Checking your gauge is important for sizing.
Abbreviations:
- K: Knit
- St(s): Stitch(es)
- BO: Bind Off
- FO: Fasten Off
Notes:
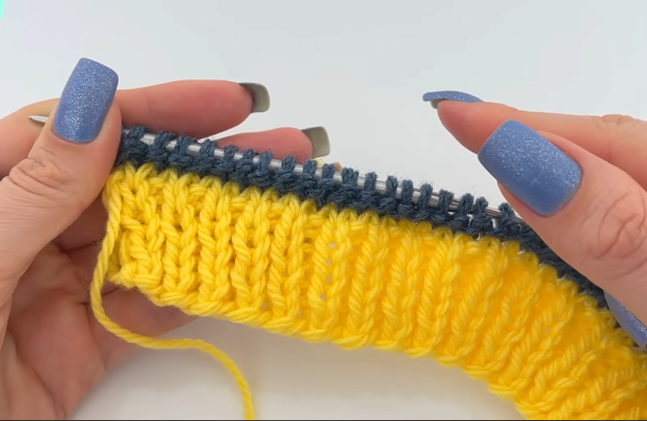
- These slippers are worked flat as a simple rectangle.
- Garter stitch is created by knitting every row. It doesn’t curl, making it easy for beginners.
- The rectangle is then folded and seamed to create the slipper shape.
Pattern Instructions:
Make 2 (for a pair)
The Rectangle
Cast on 35 stitches.
Work in Garter Stitch (Knit every row) until the piece measures approximately 8.5 – 9 inches from the cast-on edge. The piece should be roughly a square or slightly longer than it is wide.
To adjust size:
- Length: Knit more or fewer rows until the length is about the measurement from the back of your heel to the base of your toes (where the ball of your foot starts).
- Width: Cast on more or fewer stitches. The width of your rectangle when laid flat will become the length of your foot opening + the heel seam. A good estimate is casting on stitches so the width is roughly the circumference of your foot at the ankle/instep, minus some ease (garter stitch is stretchy). For a wider foot or larger size, cast on more stitches.
Once your rectangle measures the desired length (approx. 8.5-9 inches for Women’s M), Bind Off all stitches knitwise.
FO, leaving a long tail (about 20-25 inches) for seaming.
Video tutorial
Assembly:
- Lay the knitted rectangle flat.
- Fold the rectangle in half lengthwise. The cast-on edge and the bound-off edge should meet.
- Thread the long tail onto your tapestry needle.
- Starting from the folded edge (this will become the toe of the slipper), seam along the side edge for approximately 3 to 3.5 inches. This creates the seam along the top of the foot. Use a mattress stitch or whip stitch for a tidy seam.
- Leave a gap – this gap will be the opening where you put your foot in.
- Now, using the same tail (or a new piece of yarn if needed), seam the other side edge starting from the cast-on/bound-off corner (this will become the heel). Seam up the side for approximately 2.5 – 3 inches. This creates the back heel seam.
- Weave in the remaining tail securely.
Repeat for the second slipper.
Finishing:
- Weave in any remaining loose ends securely on the inside of the slipper.
- Turn the slippers right side out.
Your very easy knitted slippers are complete!
This method creates a basic slipper shape with a seam along the top of the foot and a seam at the back of the heel. It’s one of the simplest ways to knit slippers.