 by
by 
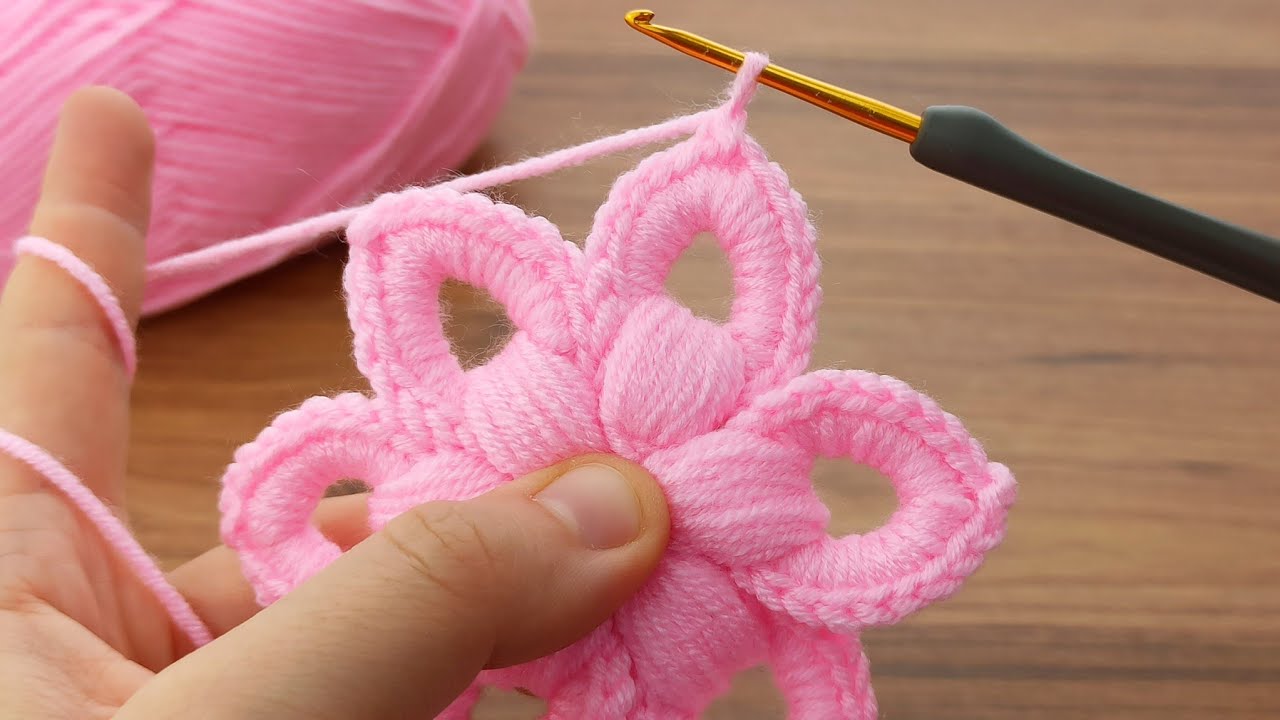
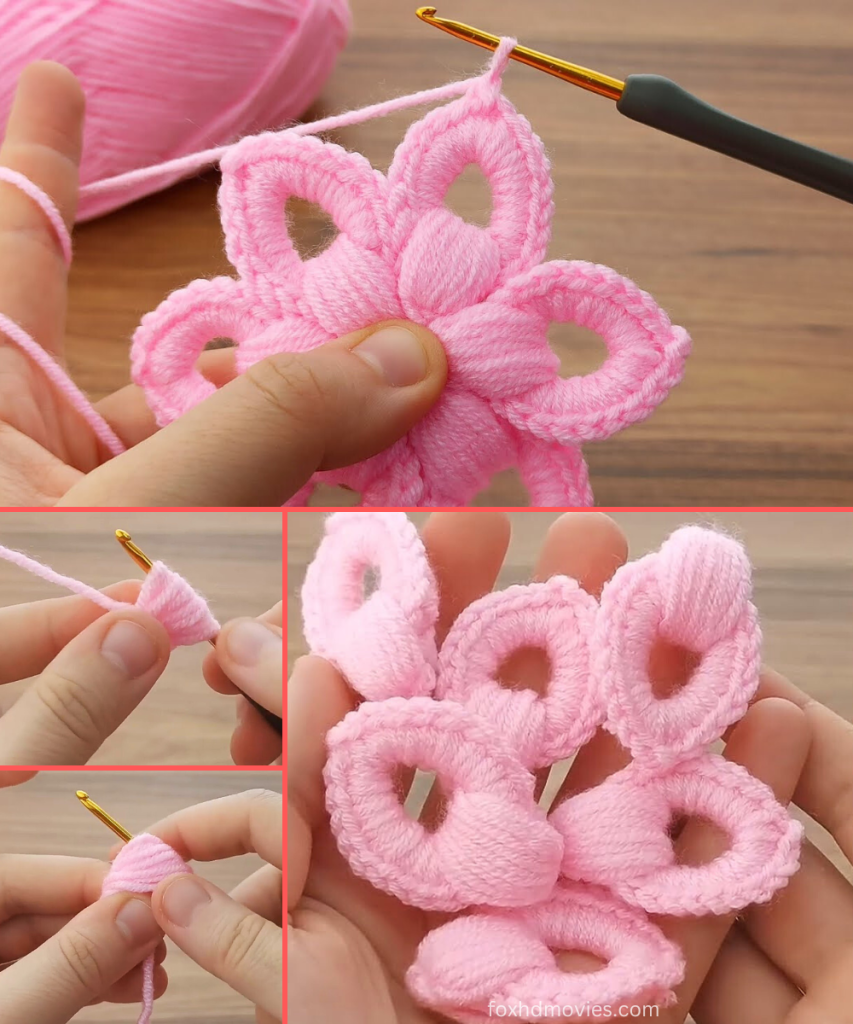
Discover a truly unique way to crochet a flower – no starting chain required! This fascinating technique involves wrapping yarn around your fingers to create the base for each petal, resulting in a wonderfully soft and dimensional blossom. Inspired by a captivating tutorial, this pattern is perfect for adventurous beginners and experienced crocheters alike, offering a fresh approach to floral embellishments.
Skill Level: Easy to Intermediate (requires careful handling of loops)
Finished Size (Approximate):
- Diameter: Approximately 3 – 4 inches (7.5 – 10 cm)
- Size can vary based on yarn, number of wraps, hook, and tension.
Materials You’ll Need:
- Yarn: Any yarn you have on hand!
- The video uses a soft, medium-weight yarn, likely a DK (Light Worsted) or Worsted weight. A smooth yarn will make it easier to work into the wrapped loops.
- You’ll need approximately 15-25 yards per flower.
- Crochet Hook: A hook size compatible with your chosen yarn.
- For DK weight, a D/3 (3.25 mm) or E/4 (3.5 mm) hook would be suitable. For Worsted weight, an H/8 (5.0 mm) or I/9 (5.5 mm) hook. Choose a hook that allows you to comfortably work into the wrapped loops without them being too tight or too loose.
- Tapestry Needle: For assembling the petals and weaving in ends.
- Scissors
Gauge (Not Critical, but Practice Your Wraps!):
Exact gauge isn’t critical for this decorative item. However, the consistency of your finger wraps and your tension when crocheting into them will determine the size and uniformity of your petals. Practice a few petals to get a feel for it!
Abbreviations (US Crochet Terms):
- ch: chain
- sl st: slip stitch
- sc: single crochet
- hdc: half double crochet
- dc: double crochet
- tr: treble crochet (yarn over twice, insert hook, yo, pull through 2 loops, yo, pull through 2 loops, yo, pull through last 2 loops)
- st(s): stitch(es)
- FO: Fasten off
Let’s Crochet Your Unique Flower!
This flower is made by crocheting individual petals using a special finger-wrapping technique, and then assembling them together.
Part 1: The Finger-Wrapped Petal (Make 5-7 petals, or desired amount)

The video demonstrates wrapping the yarn around a finger multiple times. For a petal of the size shown, wrapping around two fingers (index and middle) might be ideal, or just one finger for a smaller petal. Experiment to find what works for you!
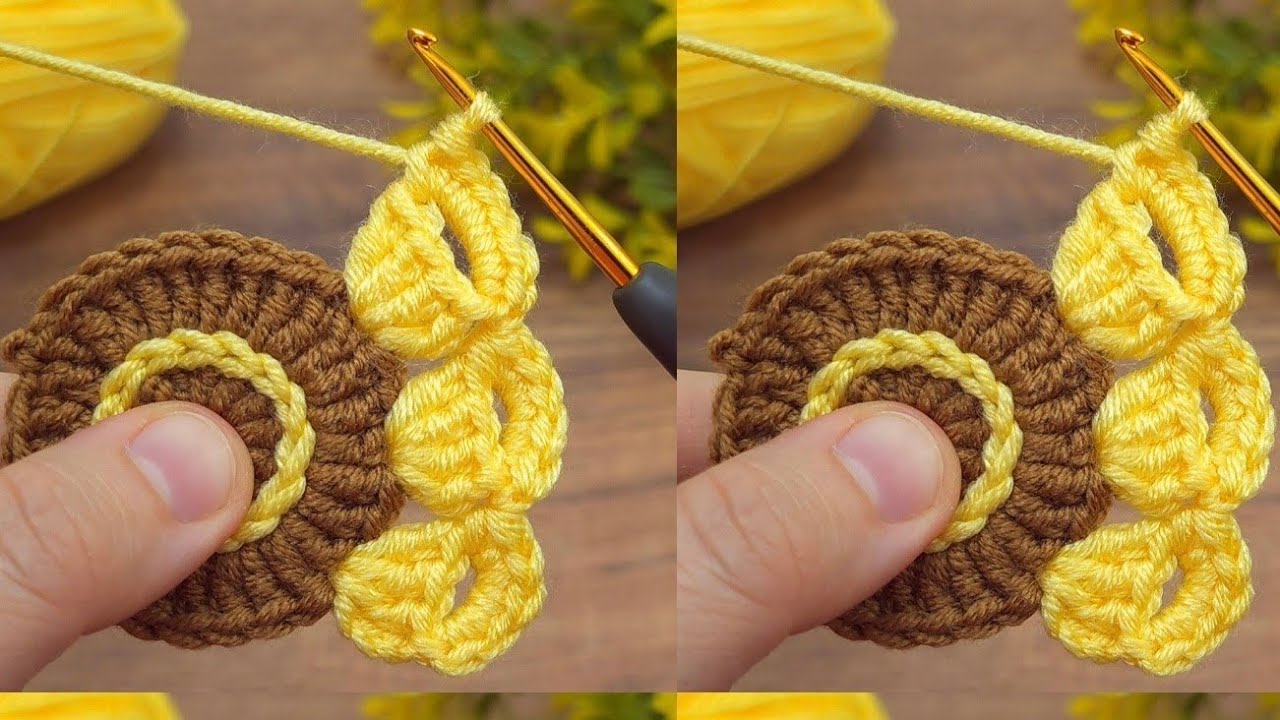
- Wrap Yarn: Take your yarn and wrap it around your index and middle fingers (or just your index finger for smaller petals) approximately 8-10 times. The more wraps, the fuller your petal will be.
- Keep the wraps somewhat loose so you can crochet into them.
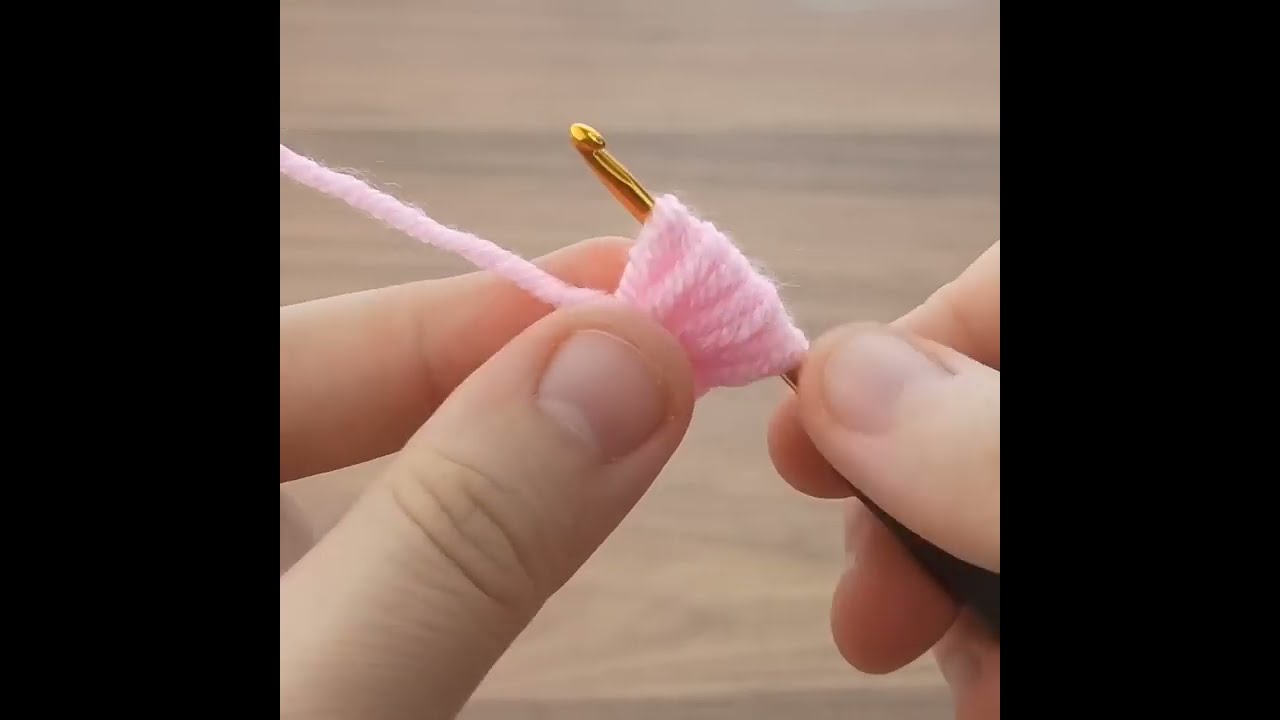
- Insert Hook: Carefully slide your crochet hook under all the wrapped loops on your fingers.
- Secure Loops: Yarn over with your working yarn and pull up a loop through all the wrapped loops. Ch 1 to secure.
- Crochet into Loops: Now, work the following stitches into the center of all the wrapped loops:
- 1 sc
- 1 hdc
- 3 dc
- 1 hdc
- 1 sc
- Sl st into the center of the loops to close the petal.
- Adjust the number of dc/hdc for wider/narrower petals. For a taller petal, you could add a tr stitch in the center.
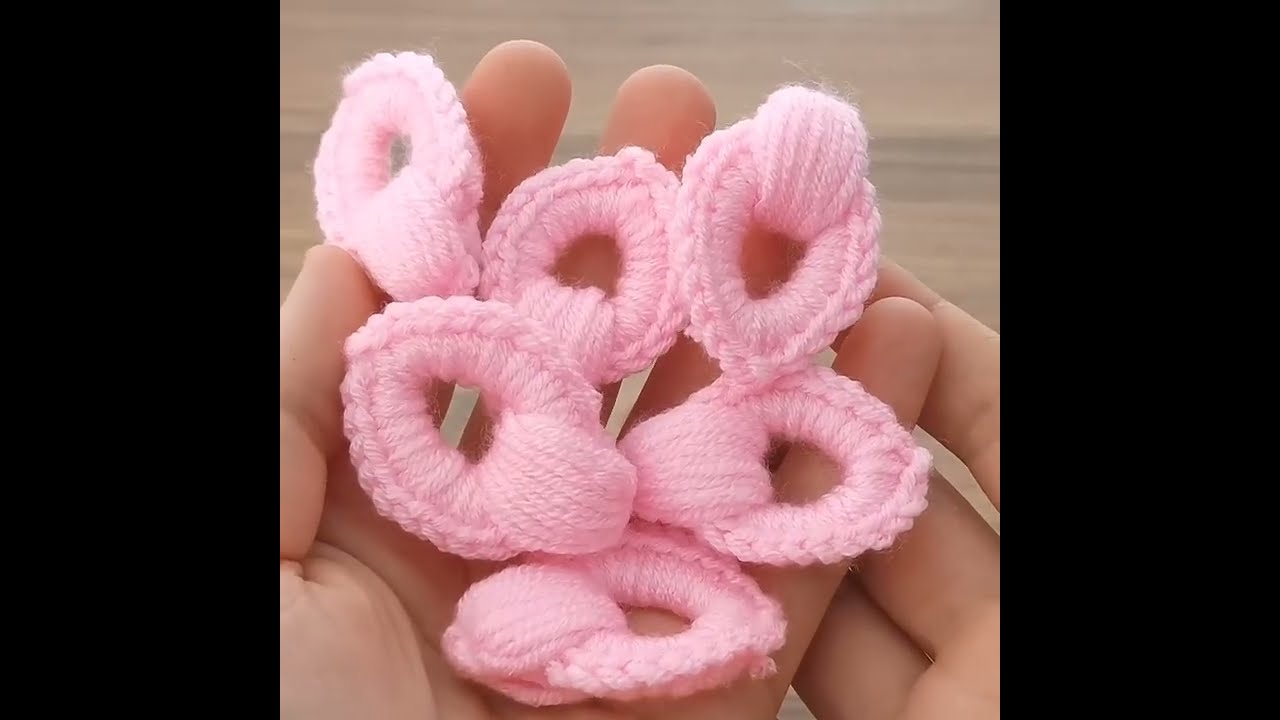
- Remove from Finger: Carefully slide the completed petal off your fingers.
- FO: Cut yarn, leaving a long tail (approx. 8-10 inches / 20-25 cm) for assembly. Pull the tail through the last loop to secure.
Repeat steps 1-6 to create a total of 5 to 7 individual petals. The video uses enough for a full flower, so aim for that amount.
Part 2: Assembling Your Flower
This is where your individual petals come together to form a beautiful flower!
- Thread Needle: Take one of the long yarn tails from a petal and thread it onto your tapestry needle.
- Start Assembly: Take your first petal. Thread the needle through the base of the next petal, pulling it through.
- Join Petals: Continue threading your needle through the bases of all the petals, one by one, creating a long string of petals.
- Ensure the “right side” of your petals (the side with the stitch definition) is facing outwards.
- Pull Tight: Once all petals are threaded onto the yarn tail, pull the yarn tail tightly. This will cinch the center of the flower, bringing all the petal bases together.
- Secure Center: Once pulled tight, use the tapestry needle to sew through the very center of the cinched petals multiple times, securing them firmly in place. You can also tie a knot with the starting tail of the first petal and the ending tail of the last petal to further secure the center.
- Shape: Gently arrange and fluff the petals to create a full, symmetrical flower.
Part 3: Finishing Touches & Embellishment
- Weave in all ends: Use your tapestry needle to neatly weave in any remaining loose yarn tails at the back of the flower.
- Center Embellishment (Optional):
- Sew a small button or bead to the very center of the flower for a polished look.
- Embroider a French knot or a small cluster of stitches in a contrasting color.
- Crochet a small contrasting circle (e.g., a magic ring with 6 sc) and sew it to the center.
Video tutorial
Versatile Uses for Your Finger-Wrapped Flower:
- Appliqué: Sew onto hats, scarves, headbands, blankets, bags, or clothing.
- Hair Accessories: Glue or sew onto hair clips or elastic hair ties.
- Brooch/Pin: Attach a pin back to the base.
- Gift Embellishment: Tie onto gifts instead of a traditional bow.
- Home Decor: Use in floral arrangements, on decorative pillows, or as part of a garland.
Customization & Tips:
- Petal Count: Use more petals for a denser, fuller flower, or fewer for a more open look.
- Yarn Weight: Experiment with different yarn weights! A bulkier yarn will create a larger, chunkier flower, while a finer yarn will make a more delicate one. Adjust your hook size and number of wraps accordingly.
- Color Play: Make flowers in different colors for a vibrant collection, or use variegated yarn for a multi-toned effect.
- Leaves: You can crochet separate leaves (like in some of our previous patterns) and attach them to the back of this flower for a more complete look.
Enjoy creating these unique and beautiful finger-wrapped crochet flowers! They’re a fantastic way to add a special handmade touch to anything.