 by
by 
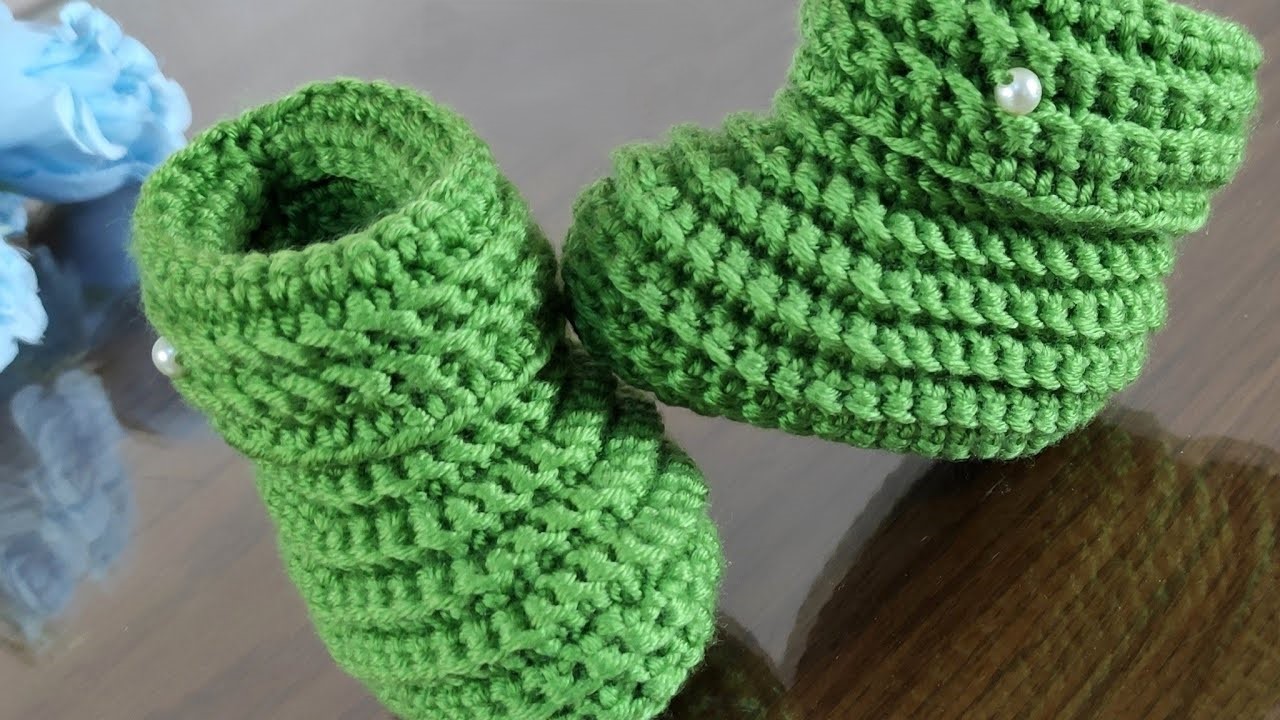
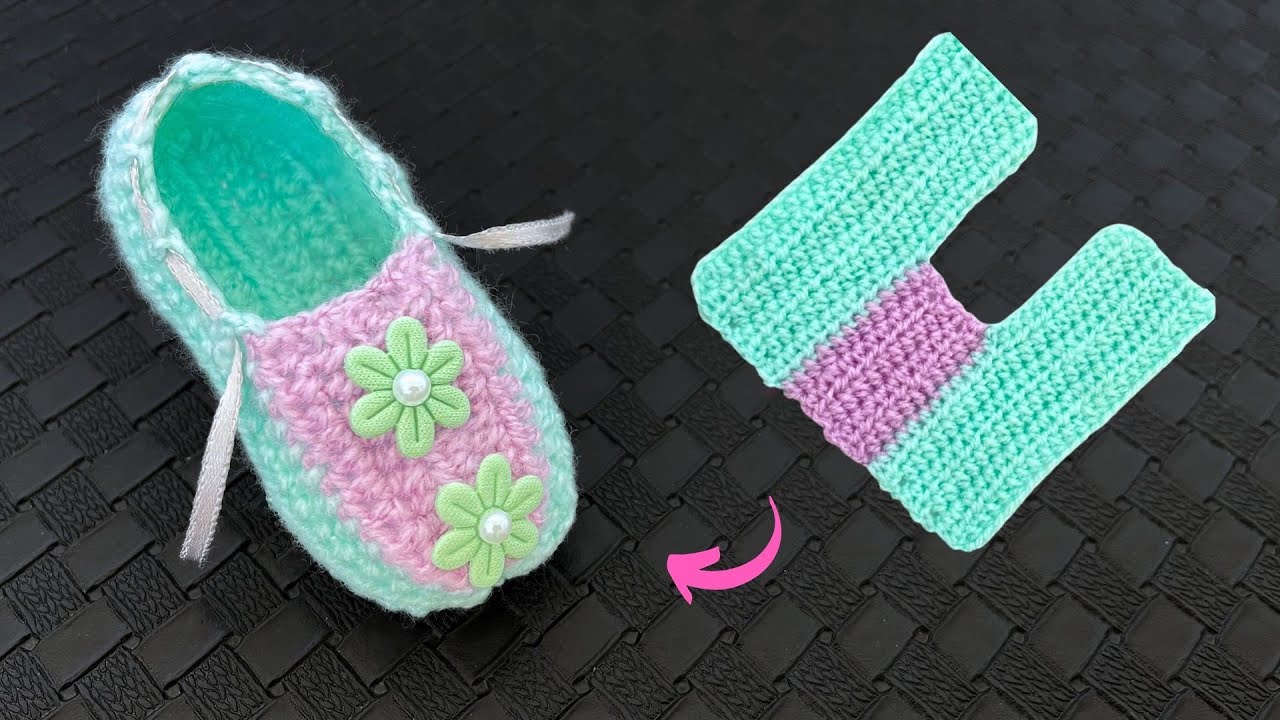
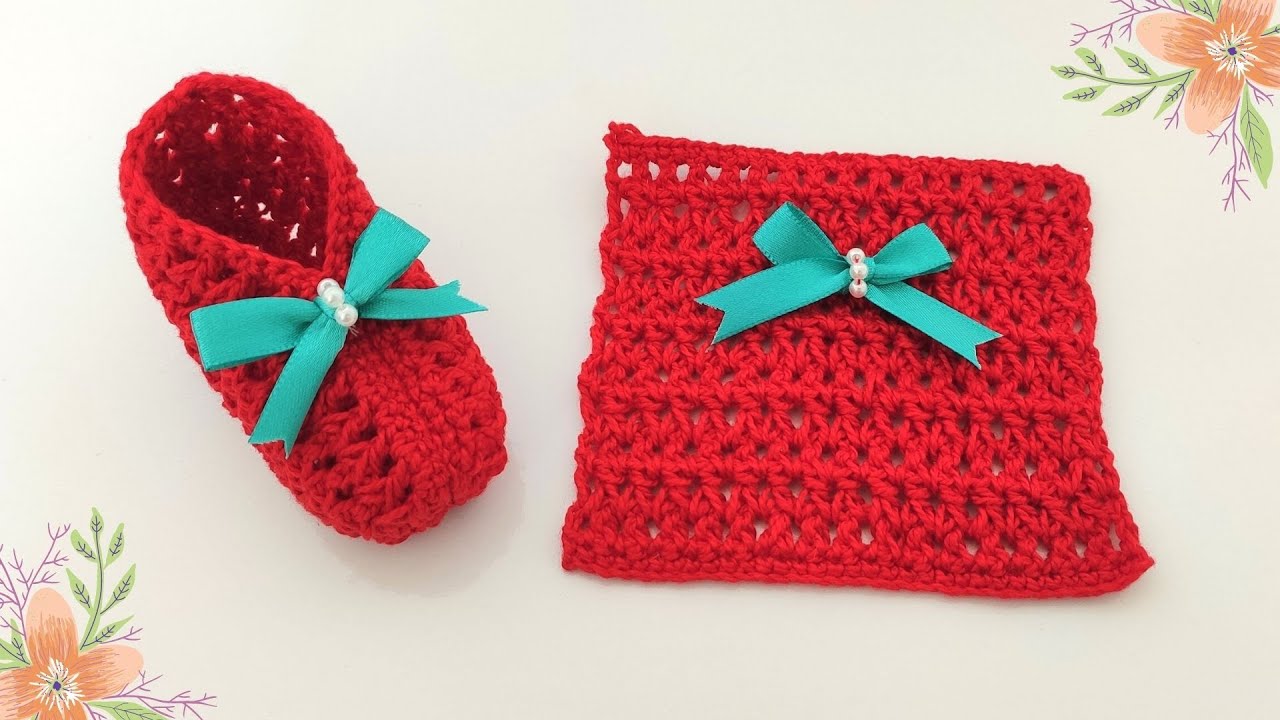
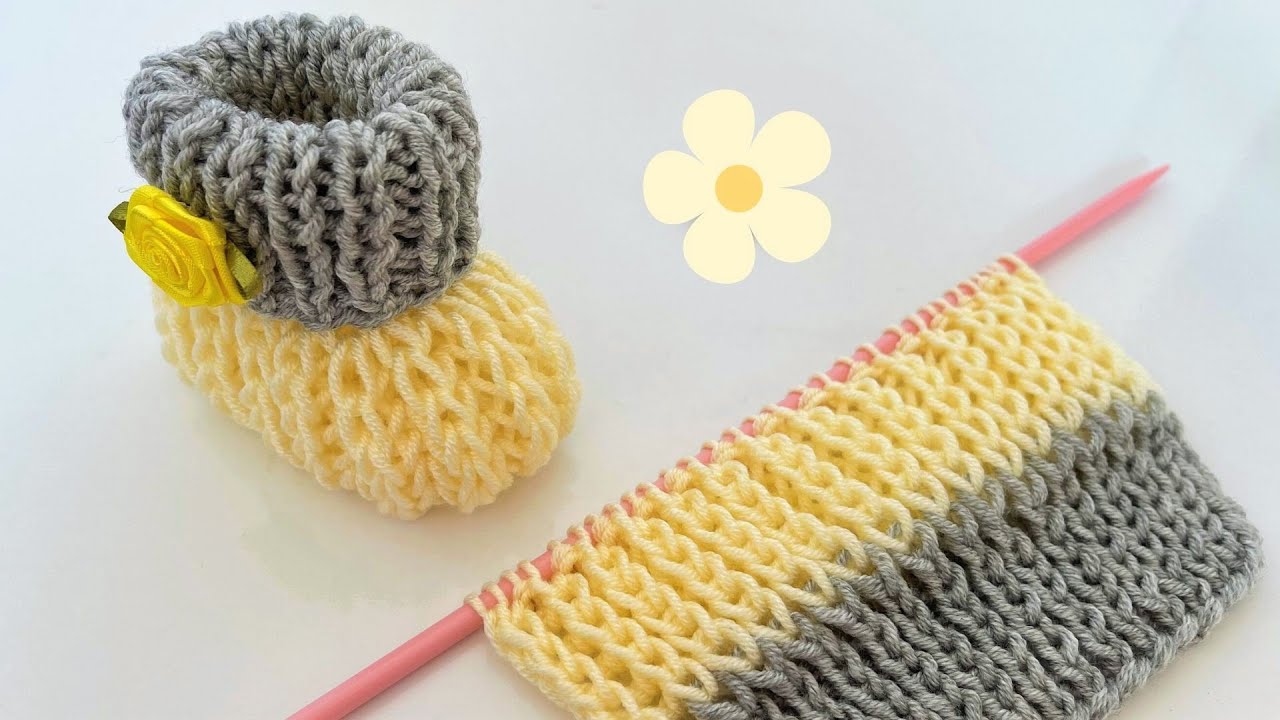
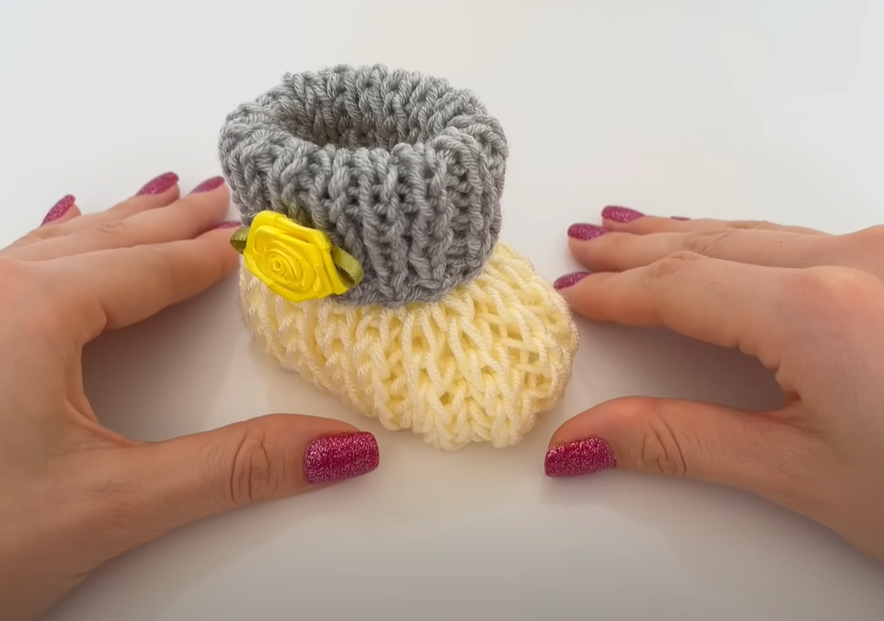
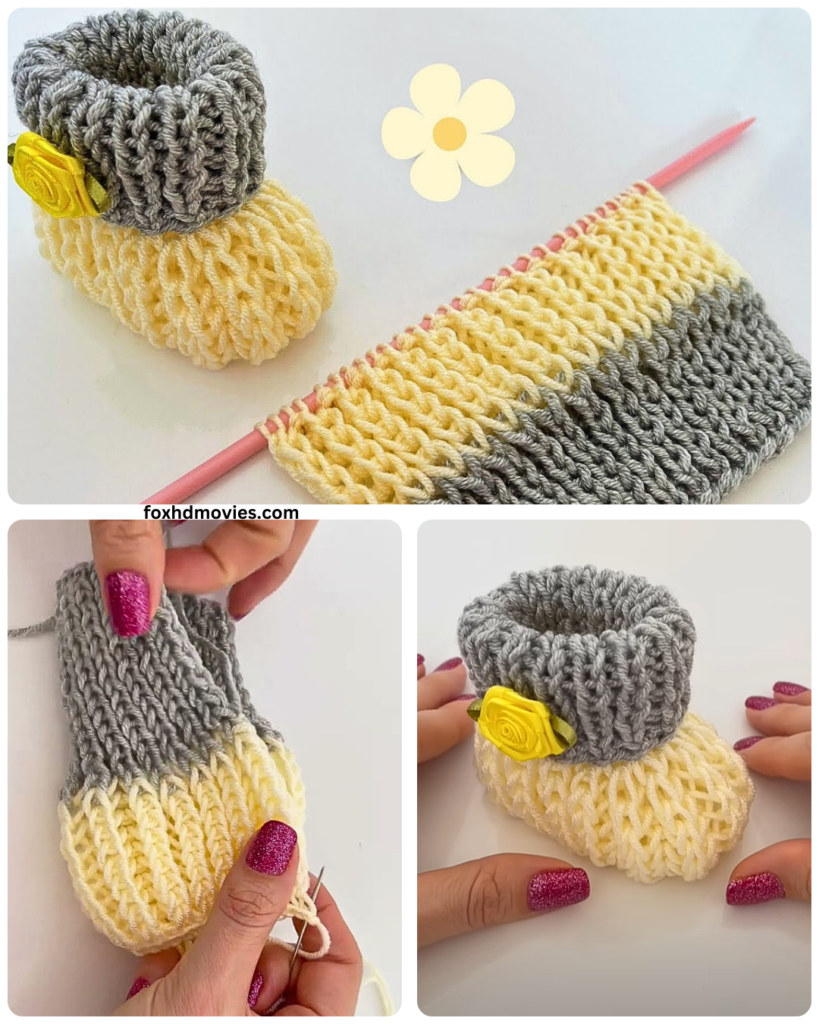
here is a detailed knitting pattern for baby booties. This pattern creates a classic, comfortable bootie with a simple design.
Skill Level: Beginner to Intermediate
Materials:
- Yarn: Approximately 50-75 yards of lightweight (DK or Sport weight) yarn. Choose a soft yarn suitable for babies, such as merino wool, cotton blends, or acrylic.
- Needles: One pair of straight knitting needles or a set of double-pointed needles (DPNs) in a size appropriate for your chosen yarn (usually US size 3-5 or 3.25-3.75 mm). Check your yarn label for recommendations.
- Tapestry Needle: For weaving in ends and seaming.
- Scissors: For cutting yarn.
- Optional: Stitch markers.
Gauge:
While gauge isn’t critical for baby items, aiming for approximately 22-24 stitches and 30-32 rows in a 4-inch (10 cm) square in stockinette stitch (knit on the right side, purl on the wrong side) will result in a bootie that fits a newborn to 3-month-old baby. Adjust needle size if necessary to achieve this gauge.
Abbreviations:
- k: knit
- p: purl
- st(s): stitch(es)
- RS: right side
- WS: wrong side
- CO: cast on
- BO: bind off
- inc: increase (knit into the front and then the back of the same stitch)
- k2tog: knit two stitches together (decrease)
- ssk: slip, slip, knit (decrease)
- rep: repeat
- sl: slip stitch purlwise
Instructions:
Part 1: Sole
- CO: Cast on 35 stitches.
- Row 1 (RS): Knit all stitches.
- Row 2 (WS): Purl all stitches.
- Rows 3-12: Repeat Rows 1 and 2 (stockinette stitch).
- Row 13 (RS): K16, inc, k1, inc, k16. (37 sts)
- Row 14 (WS): Purl all stitches.
- Row 15 (RS): K17, inc, k1, inc, k17. (39 sts)
- Row 16 (WS): Purl all stitches.
- Row 17 (RS): K18, inc, k1, inc, k18. (41 sts)
- Row 18 (WS): Purl all stitches.
- Rows 19-30: Repeat Rows 1 and 2 (stockinette stitch). This forms the main part of the sole.

Part 2: Upper
- Row 31 (RS): Knit 10, k2tog, k2tog, k2tog, k2tog, k2tog, k1, ssk, ssk, ssk, ssk, ssk, k10. (31 sts) This begins to shape the toe.
- Row 32 (WS): Purl all stitches.
- Row 33 (RS): Knit 9, k2tog, k2tog, k2tog, k1, ssk, ssk, ssk, k9. (25 sts)
- Row 34 (WS): Purl all stitches.
- Row 35 (RS): Knit 8, k2tog, k2tog, k1, ssk, ssk, k8. (21 sts)
Part 3: Instep and Ankle
- Row 36 (WS): Purl all stitches.
- Row 37 (RS): Knit all stitches.
- Row 38 (WS): Purl all stitches.
- Repeat Rows 37 and 38 until the piece measures approximately 4 inches (10 cm) from the beginning of the upper (Row 31). This forms the instep and ankle part of the bootie. You can adjust this length to make the ankle cuff taller or shorter.
Part 4: Cuff (Optional)
You can create a simple garter stitch cuff for a nice finish.
- Row 1 (RS): Knit all stitches.
- Row 2 (WS): Knit all stitches.
- Repeat Rows 1 and 2 for about 6-8 rows, or your desired cuff height.
Part 5: Finishing
- BO: Bind off all stitches loosely. Leave a long tail for seaming.
- Seaming:
- Fold the bootie in half lengthwise, with the right side facing out.
- Using the tapestry needle and the long tail, sew the seam along the bottom of the sole, starting from the cast-on edge and going towards the bound-off edge. Use a mattress stitch or your preferred seaming method for a neat finish.
- Next, sew the seam up the back of the bootie, from the heel to the beginning of the cuff (or the bound-off edge if you didn’t make a cuff).
- Weave in Ends: Securely weave in all loose yarn ends using the tapestry needle.
- Repeat: Knit a second bootie following the same instructions.
Video tutorial
Tips and Variations:
- Colorwork: You can introduce stripes or other simple colorwork patterns in the sole, upper, or cuff.
- Texture: Try using different stitch patterns for the upper or cuff, such as ribbing (alternating knit and purl stitches) for a more textured look and better fit around the ankle.
- Double-Pointed Needles (DPNs): If you prefer, you can knit the upper, instep, and cuff in the round using DPNs. This will eliminate the need for a back seam.
- Sizing: To adjust the size, you can try using a different weight of yarn and corresponding needle size, or by adding/subtracting a few rows in the sole before shaping the toe.
- Embellishments: You can add small buttons, ribbons, or embroidered details to personalize your booties.