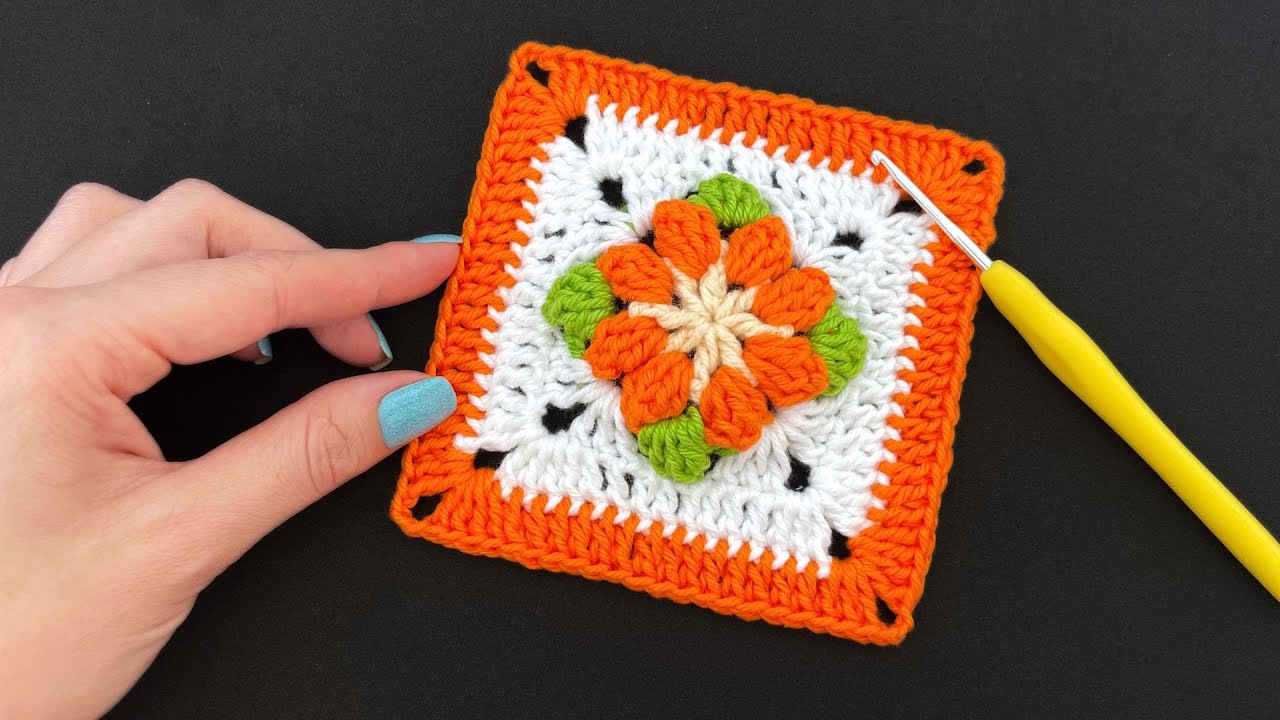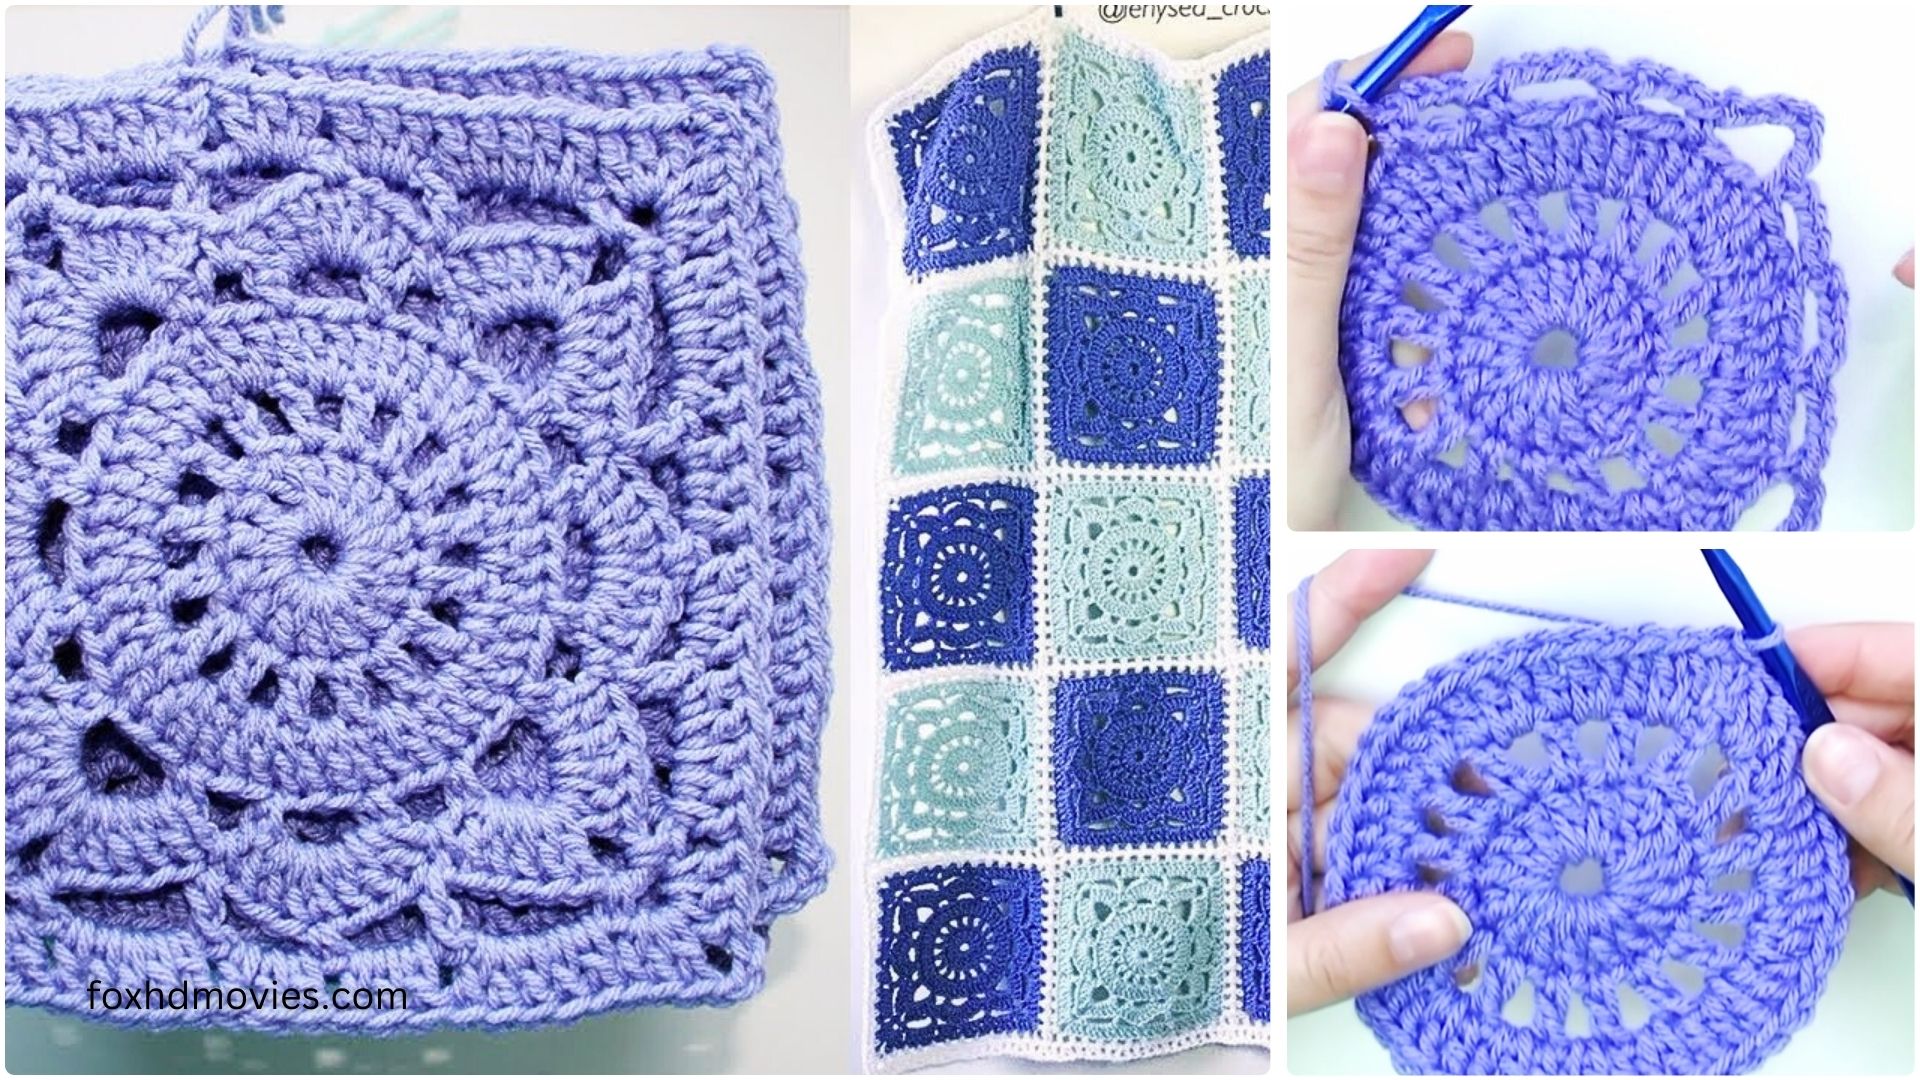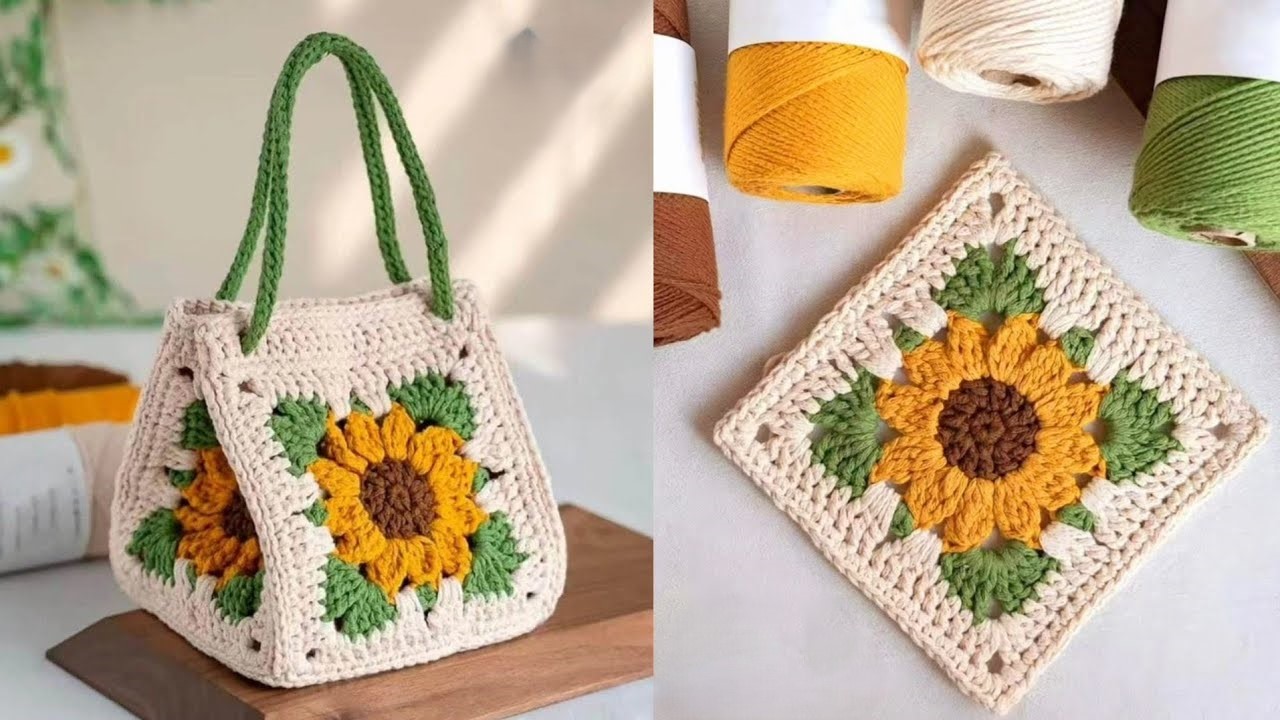
let’s craft the perfect crochet square! This pattern focuses on a solid granny square as it’s a great foundation for many projects and allows for easy adjustments in size.
Materials:
- Yarn (your choice of weight and fiber)
- Crochet hook (size appropriate for your yarn)
- Scissors
- Yarn needle
Abbreviations:
- ch: chain
- sl st: slip stitch
- sc: single crochet (optional for edging)
- dc: double crochet
- st(s): stitch(es)
- sp: space
Basic Pattern (Solid Granny Square):
Round 1: Center Circle
- Ch 4, sl st into the first ch to form a ring. (Alternatively, you can use a magic ring.)
- Ch 3 (counts as first dc), 2 dc into the ring.
- *Ch 2, 3 dc into the ring.* Repeat from * to * 3 more times. (You should now have 4 groups of 3 dc, separated by 4 ch-2 spaces.)
- Ch 2, sl st into the top of the initial ch-3.
Round 2: Corner Increases
- Sl st into the next 2 dc and into the first ch-2 sp.
- Ch 3 (counts as first dc), 2 dc into the same ch-2 sp.
- Ch 2, 3 dc into the same ch-2 sp (first corner created).
- *Skip the next 3 dc, 3 dc into the next ch-2 sp, ch 2, 3 dc into the same ch-2 sp (corner created).* Repeat from * to * 2 more times.
- Skip the next 3 dc, 3 dc into the last ch-2 sp, ch 2.
- Sl st into the top of the initial ch-3.

Round 3 and Beyond: Repeating the Pattern
- Sl st into the next 2 dc and into the first ch-2 sp (corner).
- Ch 3 (counts as first dc), 2 dc into the same ch-2 sp.
- Ch 2, 3 dc into the same ch-2 sp.
- *Skip the next 3 dc, 3 dc into the space between the dc groups (side).* Repeat until you reach the next corner.
- 3 dc, ch 2, 3 dc into the next ch-2 sp (corner).
- Repeat steps 4 and 5 around.
- Sl st into the top of the initial ch-3.


Continue repeating Round 3 until your square reaches the desired size.
Tips for Perfect Squares:
- Consistent Tension: Maintaining even tension is crucial for a flat, uniform square. Practice your tension to avoid tight or loose stitches.
- Counting Stitches: Double-check your stitch count after each round, especially when starting out. This helps catch errors early.
- Blocking: Blocking is essential for achieving a perfectly flat and even square. After finishing, dampen or steam your square, then lay it flat on a blocking surface (like a foam mat) and pin it into shape. Let it dry completely.
- Turning Chains: Ensure your turning chains (the initial ch-3) are consistent. Too tight or too loose can distort the square.
- Corner Accuracy: Make sure you’re always placing the corner stitches (3 dc, ch 2, 3 dc) precisely into the corner chain spaces.
- Yarn Choice: Some yarns are more prone to distortion than others. Cotton and wool blends often hold their shape well.
- Hook Size: Using the correct hook size for your chosen yarn is vital. Too small, and your square will be tight and warped; too large, and it will be loose and floppy.
- Edging (Optional): Once you’ve reached the desired size, you can add an edging round of single crochet (sc) to create a clean, finished edge. For an even cleaner edge, place one sc in each stitch, and 3 sc in each corner.
- Invisible Join: when ending a round, after you slip stitch, you can use an invisible join to make the seam less noticeable. Cut the yarn, pull the loop through, thread the yarn onto a yarn needle, and then weave the yarn needle under the two loops of the first double crochet of the round, and then back into the loop the yarn came out of. Then weave in your ends.
Video tutorial
Troubleshooting:
- Square is Ruffled: You’re likely adding too many stitches or your tension is too loose. Try using a smaller hook or reducing your tension.
- Square is Curled: Your tension is probably too tight. Try using a larger hook or loosening your tension. Blocking will also help.
- Corners are Not Sharp: Ensure you’re placing the corner stitches directly into the ch-2 spaces and maintaining consistent tension.
By following these steps and tips, you’ll be well on your way to creating beautiful, perfect crochet squares! Happy crocheting!


