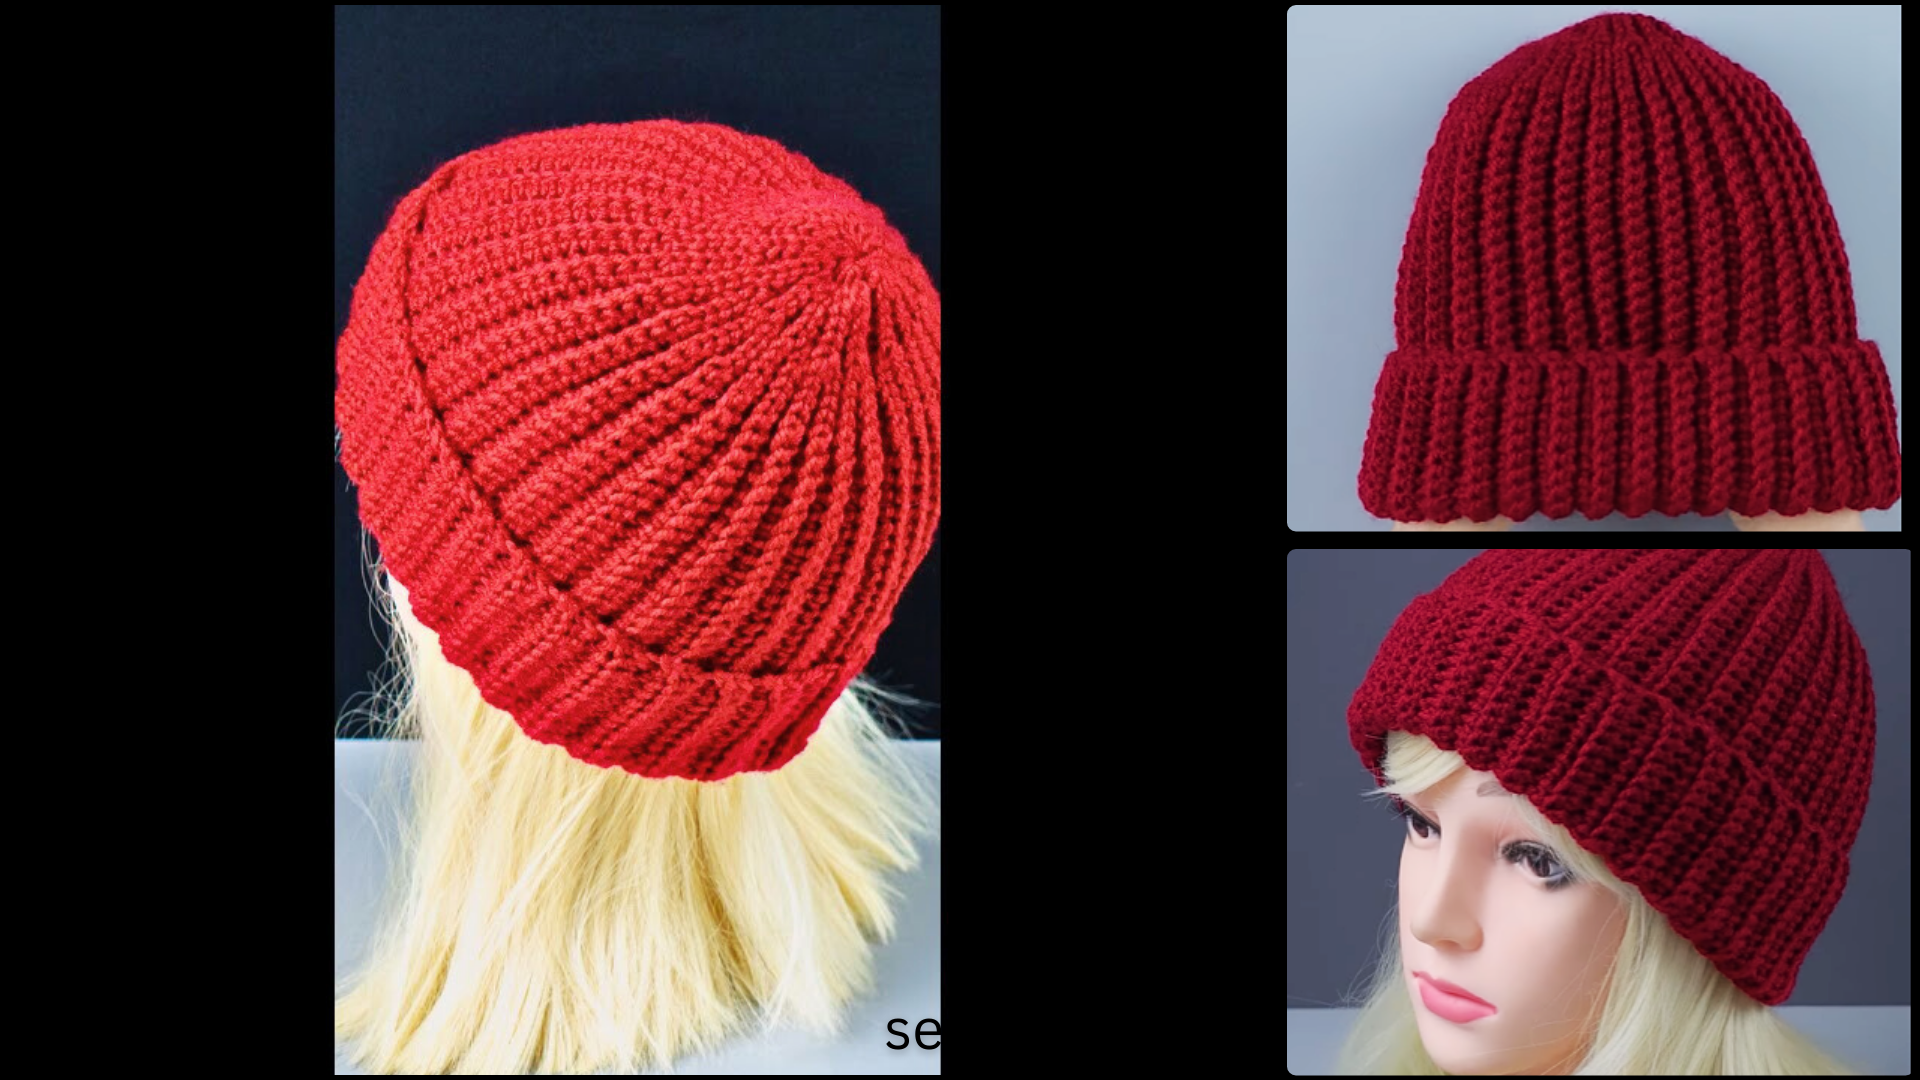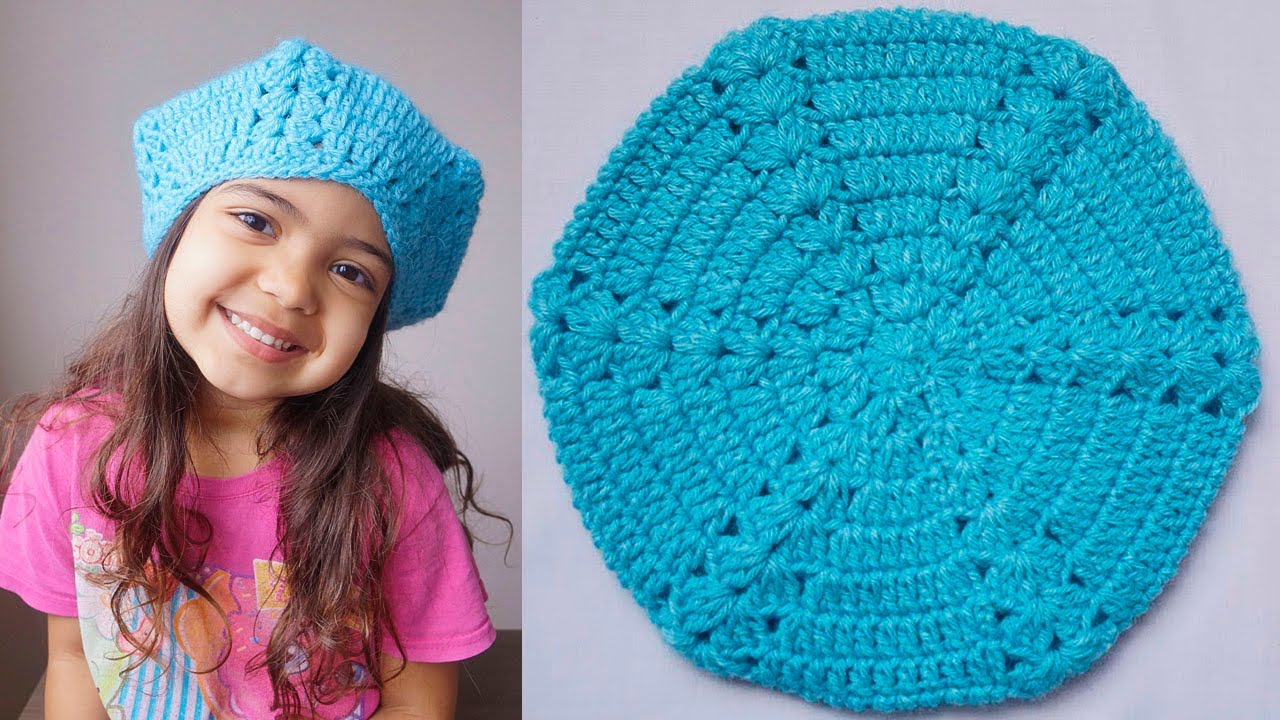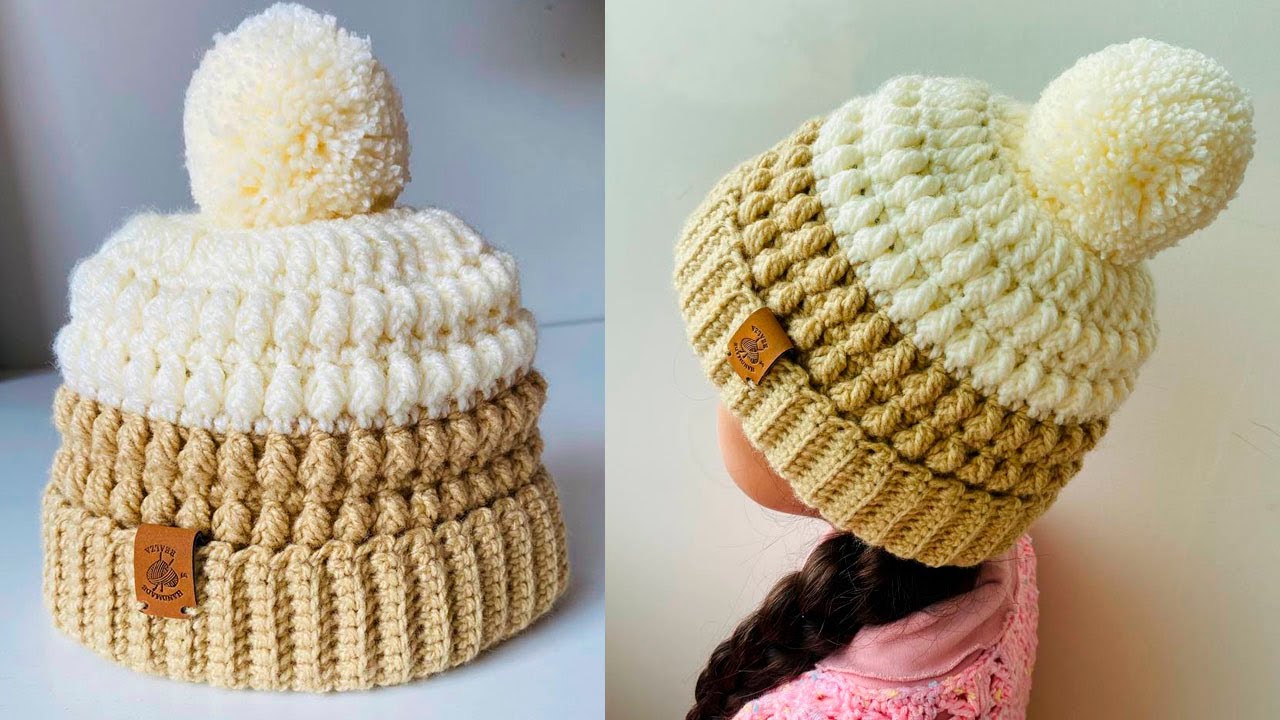

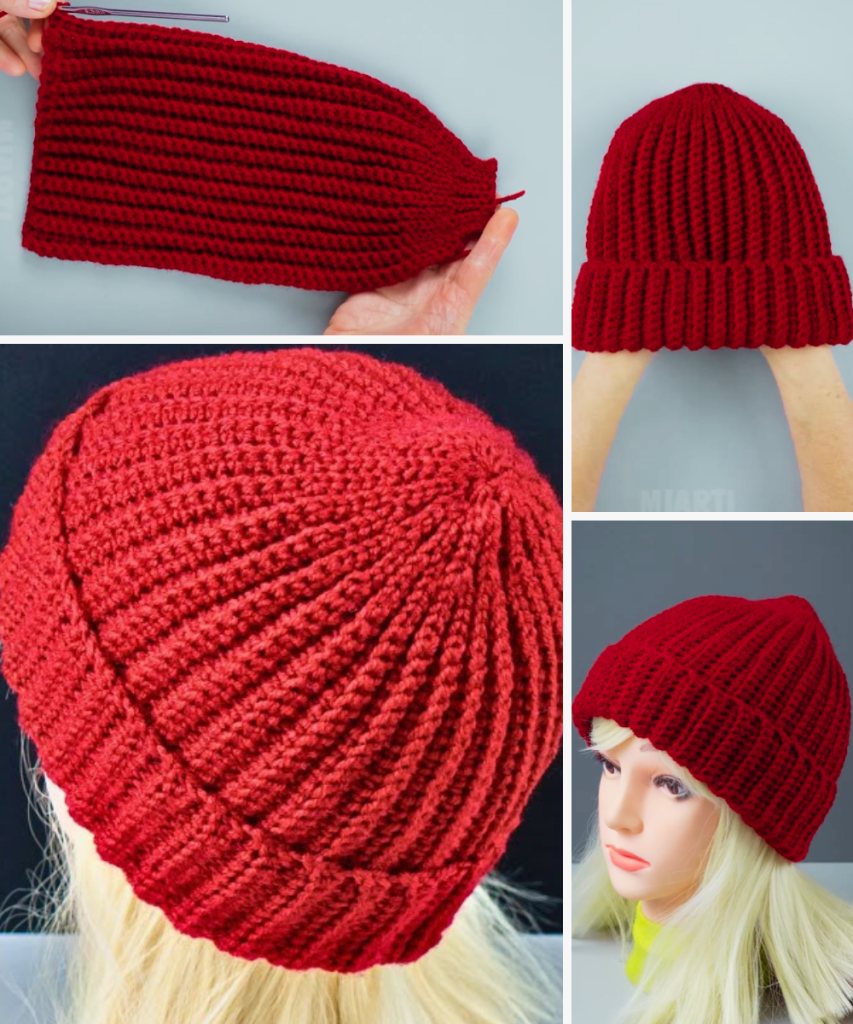
Welcome, crocheters, to a project that proves simplicity can be incredibly stylish! This classic ribbed beanie is a timeless design that is not only cozy and warm but also a wonderful opportunity to practice your post-stitch techniques. The hat features a prominent, textured ribbing that runs from the brim all the way to the crown, creating a snug and stretchy fit that looks great on everyone.
This pattern is designed to be comprehensive and detailed, guiding you through each step, including the special stitches, to ensure your finished hat is a perfect piece of wearable art. The result is a simple yet elegant beanie that you’ll want to make in every color!
Materials You’ll Need:
- Yarn: Approximately 150-200 yards of worsted weight (Category 4) yarn. A yarn with good stitch definition is best to show off the ribbing.
- Crochet Hook: A size H/8 (5.00 mm) hook, or the size needed to obtain the correct gauge.
- Scissors
- Yarn Needle: For weaving in ends.
Abbreviations (US Terms):
- ch: chain
- sl st: slip stitch
- dc: double crochet
- st(s): stitch(es)
- rep: repeat
- Rnd: round
- Fpdc: front post double crochet (explained below)
- Bpdc: back post double crochet (explained below)
- dc2tog: double crochet 2 stitches together (a decrease)
- Fpdc2tog: front post double crochet 2 stitches together (a decrease)
Special Stitches:
- Fpdc (Front Post Double Crochet): Yarn over, insert your hook from front to back around the post of the specified stitch, yarn over, pull up a loop, yarn over and pull through 2 loops, yarn over and pull through the remaining 2 loops.
- Bpdc (Back Post Double Crochet): Yarn over, insert your hook from back to front around the post of the specified stitch, yarn over, pull up a loop, yarn over and pull through 2 loops, yarn over and pull through the remaining 2 loops.
- Fpdc2tog (Front Post Double Crochet 2 Together): Yarn over, insert your hook from front to back around the post of the first stitch, yarn over, pull up a loop, yarn over, pull through 2 loops (2 loops on hook). Yarn over, insert your hook from front to back around the post of the next stitch, yarn over, pull up a loop, yarn over, pull through 2 loops (3 loops on hook). Yarn over and pull through all 3 loops on the hook.
Gauge:
- 10 Fpdc/Bpdc and 6 rows = 4 inches (10 cm).
- The finished hat should have a circumference of approximately 21-22 inches and a height of about 9 inches.
Part 1: The Brim
We will start with a row of simple double crochet stitches and then transition into the ribbed pattern, working in the round.

Starting with your yarn and H/8 hook:
- Rnd 1: Ch 3 (counts as 1st dc). Work 71 more dc. Join with a sl st to the top of the beginning ch 3 to form a circle. (72 dc)
- Rnd 2: Ch 3 (counts as 1st dc). Fpdc around the post of the next dc. Bpdc around the post of the next dc, Fpdc around the post of the next dc. Rep from * to * around. Join with a sl st to the top of the beginning ch 3. (72 sts)
- Repeat Rnd 2 for a total of 6-8 rounds, or until the brim is about 2 inches high.
Part 2: The Body
Now we will continue the body of the hat, maintaining the ribbing pattern.
- Rnd 7: Ch 3 (counts as 1st dc). Fpdc around the post of the next Fpdc from the previous round. Bpdc around the post of the next Bpdc, Fpdc around the post of the next Fpdc. Rep from * to * around. Join with a sl st to the top of the beginning ch 3. (72 sts)
- Repeat Rnd 7 until the hat measures approximately 7 inches from the top of the brim. This should be about 10-12 more rounds.
Part 3: Shaping and Closing the Crown
Now we will decrease to close the top of the hat while maintaining the ribbed look.

- Rnd 1 (Decrease): Ch 3 (counts as 1st dc). Fpdc2tog around the next two Fpdc from the previous round. Bpdc around the next Bpdc, Fpdc2tog around the next two Fpdc. Rep from * to * around. Join with a sl st to the top of the beginning ch 3. (48 sts)
- Rnd 2 (Decrease): Ch 3 (counts as 1st dc). Fpdc2tog around the next two Fpdc. Bpdc around the next Bpdc, Fpdc2tog around the next two Fpdc. Rep from * to * around. Join with a sl st to the top of the beginning ch 3. (32 sts)
- Rnd 3 (Decrease): Ch 3 (counts as 1st dc). Fpdc2tog around the next two Fpdc. Bpdc around the next Bpdc, Fpdc2tog around the next two Fpdc. Rep from * to * around. Join with a sl st to the top of the beginning ch 3. (16 sts)
Fasten off, leaving a long tail for seaming.

Part 4: Finishing Touches
- Thread your yarn needle with the long tail.
- Weave the needle in and out of the last 16 stitches.
- Pull the tail tightly to cinch the top of the hat closed.
- Create a secure knot on the inside of the hat and weave in all remaining ends.
Video tutorial
Your classic ribbed beanie is now complete! The texture from the post stitches makes it extra stretchy and warm, and the clean design ensures it will be a staple in your winter wardrobe for years to come. Enjoy the warmth and comfort of your new favorite hat!
