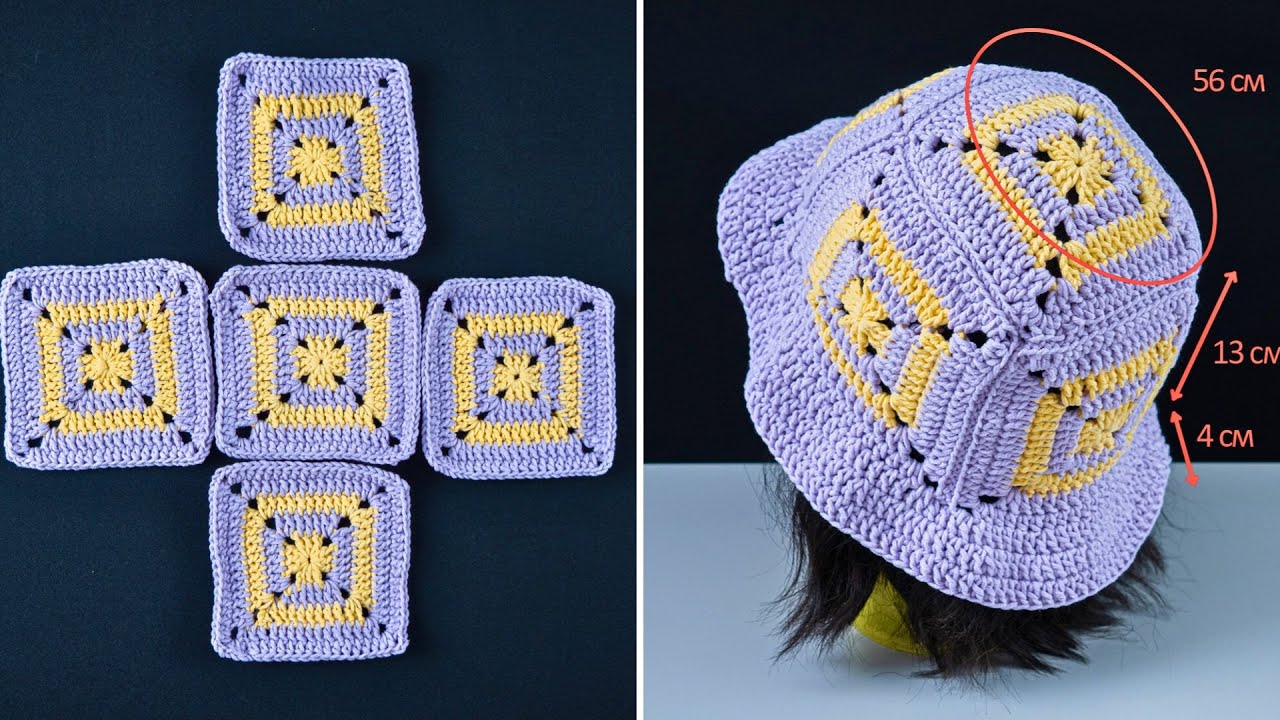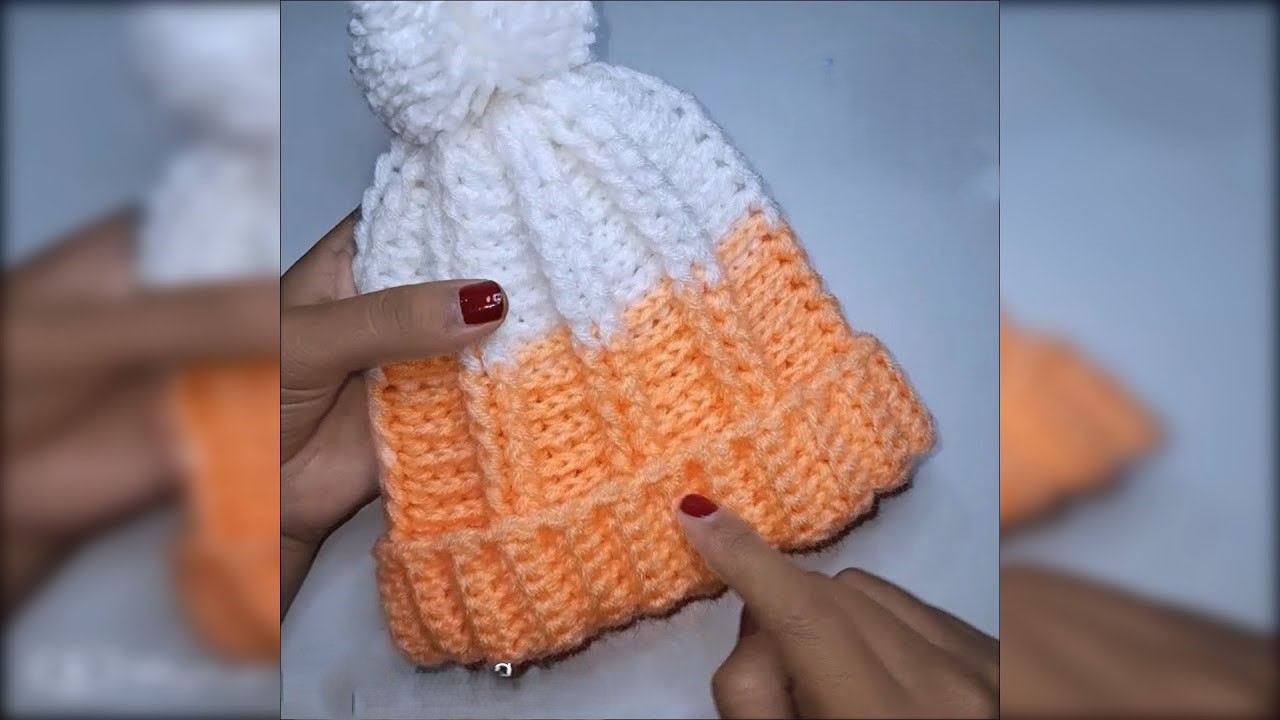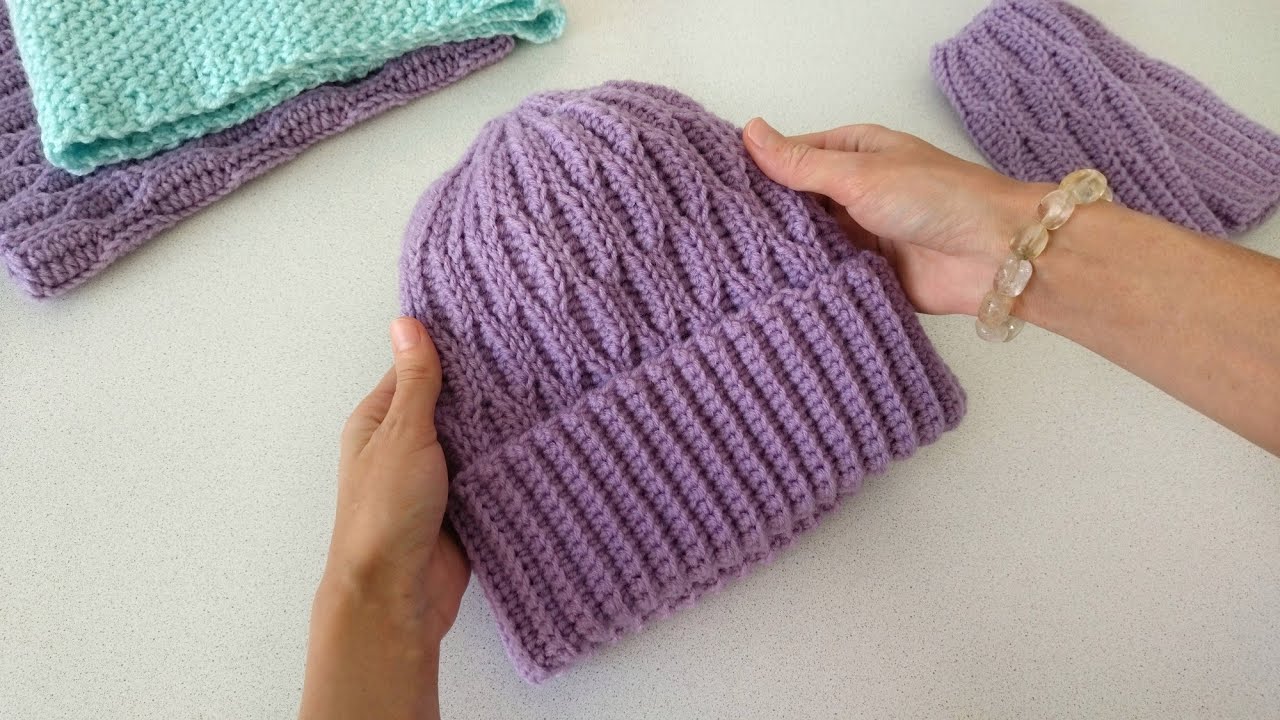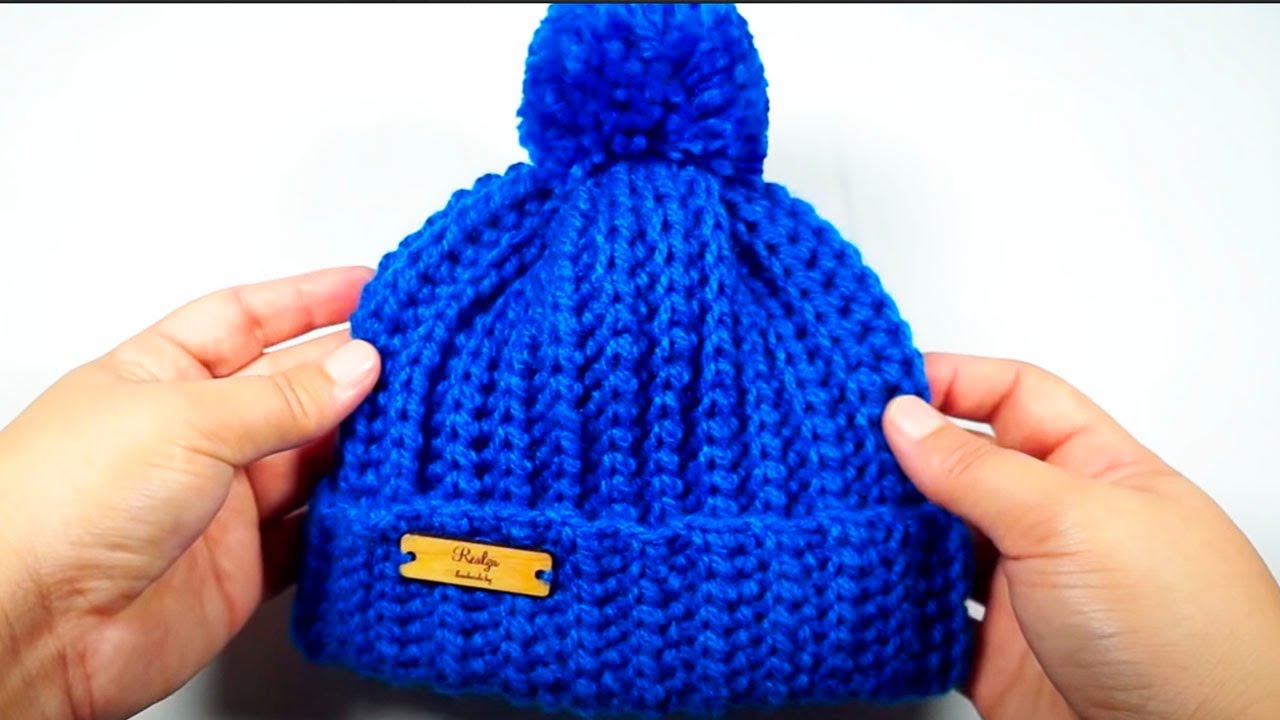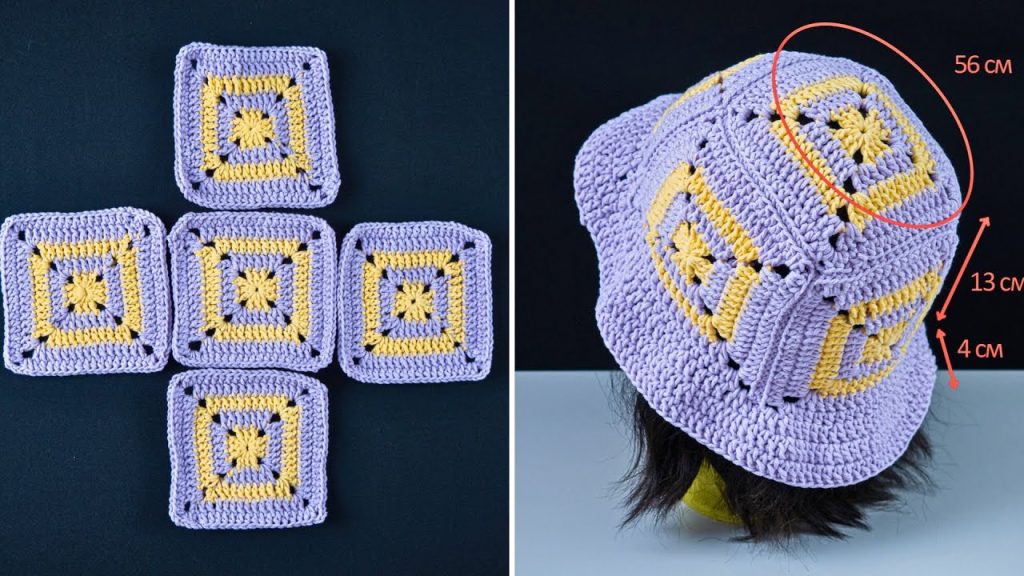
Get ready to create a fun and unique hat with a vintage flair! This pattern is a comprehensive guide to crocheting a sun hat using five individual granny squares. We’ll join them together to form the crown and sides, then add a sturdy, solid-stitch brim. This hat is perfect for adding a pop of color and style to your warm-weather wardrobe.
What You’ll Need
- Yarn:
- Approximately 100 grams of worsted-weight cotton or a cotton blend yarn. Cotton is a great choice for hats as it’s breathable and holds its shape well.
- Color A (e.g., Yellow) – for the center of the squares.
- Color B (e.g., Lavender) – for the outer rounds of the squares and the brim.
- Hook:
- A 4.0 mm (G/6) crochet hook.
- Tools:
- Scissors
- Tapestry needle for weaving in ends and seaming.
- Stitch markers (optional but helpful).
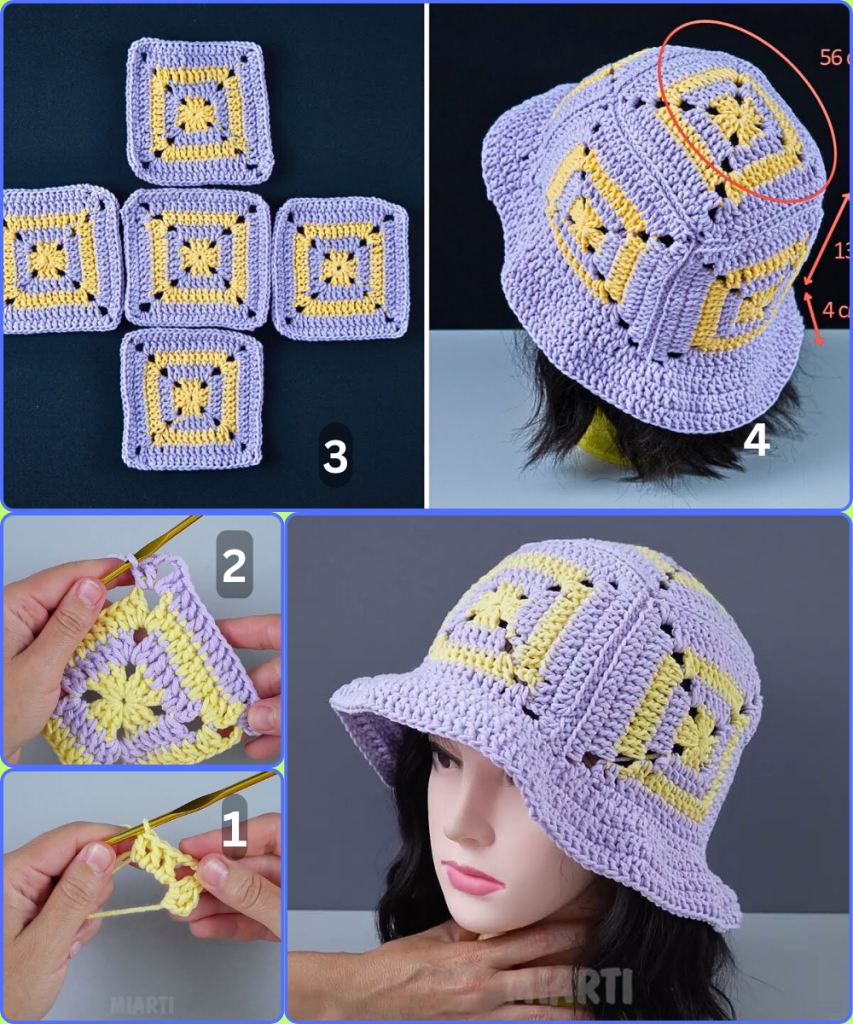
Key Crochet Stitches & Techniques
- ch (chain): Yarn over, pull yarn through the loop on your hook.
- sl st (slip stitch): Insert hook into the next stitch, yarn over, and pull through both the stitch and the loop on your hook.
- dc (double crochet): Yarn over, insert hook into the stitch, yarn over, pull up a loop (3 loops on hook), yarn over, pull through two loops (2 loops on hook), yarn over, and pull through the last two loops.
- Granny Cluster: Work 3 dc stitches in the same space.
- Magic Circle (or Adjustable Ring): A method to start a crochet project in the round with no visible hole in the center.
The Pattern: Let’s Get Started!
Part 1: The Granny Squares
You will need to create five identical granny squares. Four will form the sides, and one will be the top of the hat.

Using Color A (Yellow)
- Round 1: Create a magic circle. Chain 3 (counts as your first dc). Work 2 dc into the circle. Chain 2. *Work 3 dc into the circle, chain 2.* Repeat from * to * two more times. Join with a slip stitch to the top of the beginning chain-3. (4 Granny Clusters)
Switch to Color B (Lavender)
- Round 2: Join new color in any ch-2 corner space. Chain 3 (counts as first dc). Work (2 dc, ch 2, 3 dc) in the same corner space. This is your first corner. *Chain 1, then work (3 dc, ch 2, 3 dc) in the next ch-2 corner space.* Repeat from * to * two more times. Chain 1. Join with a slip stitch to the top of the beginning chain-3.
- Round 3: Chain 3. Work (2 dc, ch 2, 3 dc) in the same corner space. *Chain 1, work 3 dc in the next ch-1 space. Chain 1, then work (3 dc, ch 2, 3 dc) in the next ch-2 corner space.* Repeat from * to * two more times. Chain 1, work 3 dc in the last ch-1 space. Chain 1. Join with a slip stitch to the top of the beginning chain-3.
- Round 4: Chain 3. Work (2 dc, ch 2, 3 dc) in the same corner space. *Chain 1, work 3 dc in each of the next two ch-1 spaces. Chain 1, then work (3 dc, ch 2, 3 dc) in the next ch-2 corner space.* Repeat from * to * two more times. Chain 1, work 3 dc in each of the last two ch-1 spaces. Chain 1. Join with a slip stitch to the top of the beginning chain-3.
You should now have five granny squares that measure about 9-10 cm per side. Weave in all the ends on the back of each square.
Part 2: Assembling the Hat
Now we will join the squares to form the body of the hat.

- Step 1: The Top. Lay one granny square down. This will be the top of your hat.
- Step 2: The Sides. Take four more squares and lay them around the top square, so they are touching it side-to-side, forming a plus sign shape.
- Step 3: Seaming. Using a tapestry needle and a long length of Color B yarn, use a mattress stitch or a whip stitch to join the squares. Sew the two long edges of each side square to the four sides of the top square.
- Step 4: Closing the Sides. Carefully fold the side squares up so they stand perpendicular to the top square. Now, sew the side edges of the side squares together. This will close the seams and form a boxy hat shape.
You should now have a hat with four sides and a top, with the bottom edges open.
Part 3: The Brim
Now we’ll work in the round on the bottom opening of the hat to create a solid brim.

- Round 1: Join Color B yarn with a slip stitch to any stitch on the bottom edge of the hat. Chain 1 (does not count as a stitch). Work 2 single crochet (sc) stitches into each chain-1 space and 1 sc into the top of each dc stitch around the entire opening. Join with a slip stitch to the first sc. This should create a neat row of stitches to work from.
- Round 2: Chain 1. Work 1 sc in each stitch around. Join with a slip stitch to the first sc.
- Round 3: Chain 1. Work 2 sc in the first stitch. *Work 1 sc in each of the next 2 stitches, then work 2 sc in the next stitch.* Repeat from * to * around. Join with a slip stitch to the first sc. This starts the flare of the brim.
- Round 4: Chain 1. Work 1 sc in each stitch around. Join with a slip stitch to the first sc.
- Round 5: Chain 1. Work 2 sc in the first stitch. *Work 1 sc in each of the next 3 stitches, then work 2 sc in the next stitch.* Repeat from * to * around. Join with a slip stitch to the first sc.
- Round 6: Chain 1. Work 1 sc in each stitch around. Join with a slip stitch to the first sc.
- Round 7: Chain 1. Work 2 sc in the first stitch. *Work 1 sc in each of the next 4 stitches, then work 2 sc in the next stitch.* Repeat from * to * around. Join with a slip stitch to the first sc.
- Round 8: Chain 1. Work 1 sc in each stitch around. Join with a slip stitch to the first sc.
You can continue adding rounds in this pattern, increasing the number of single crochets between the increases, until your brim is the desired width. Finish the brim by working a round of slip stitches for a neat, sturdy edge.
Video tutorial
Finishing Your Hat
- Weave in Ends: Cut your yarn, leaving a long tail. Use your tapestry needle to weave in all loose ends.
- Blocking: For a professional look, you’ll want to block your hat. This will help the seams lie flat and the brim hold its shape. Gently wet the hat, shape it over a form like a bowl or a clean bucket, and let it air dry completely.
Congratulations! You’ve just created a unique, handmade sun hat. This pattern is perfect for customizing, so feel free to experiment with different color combinations and yarn weights. What’s your favorite part of this project? The simple granny squares or the magical transformation into a hat?
