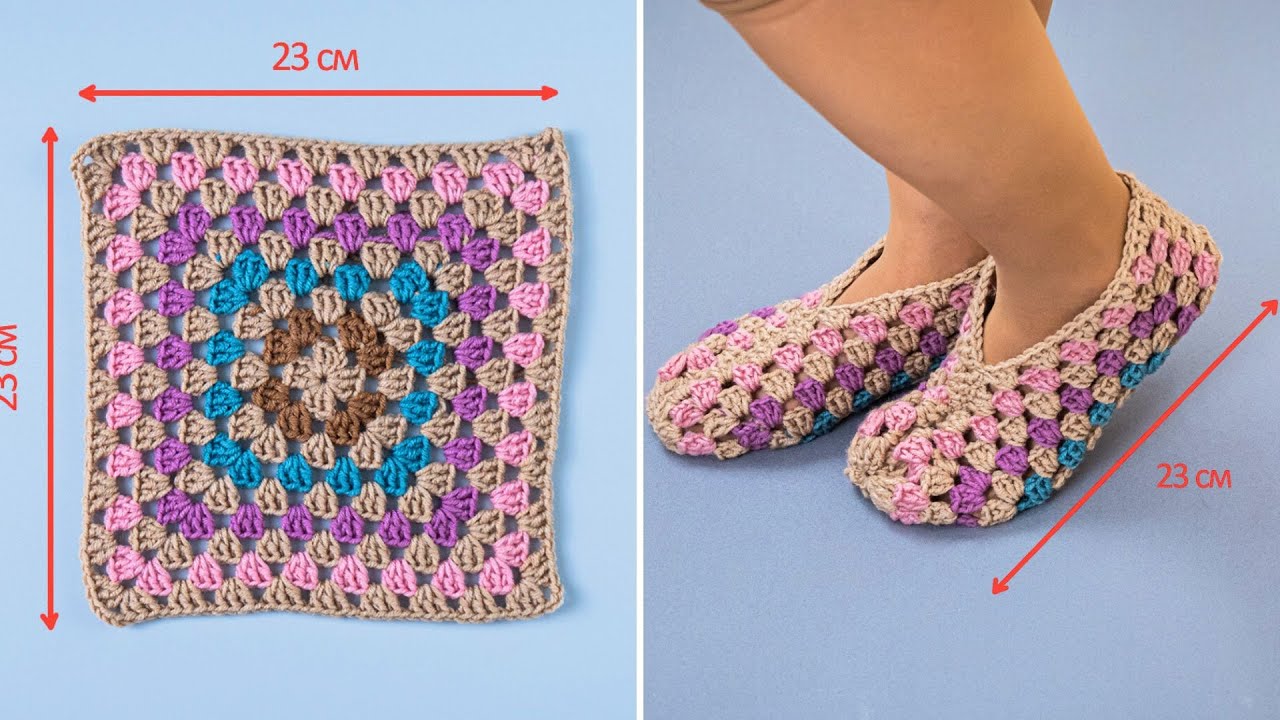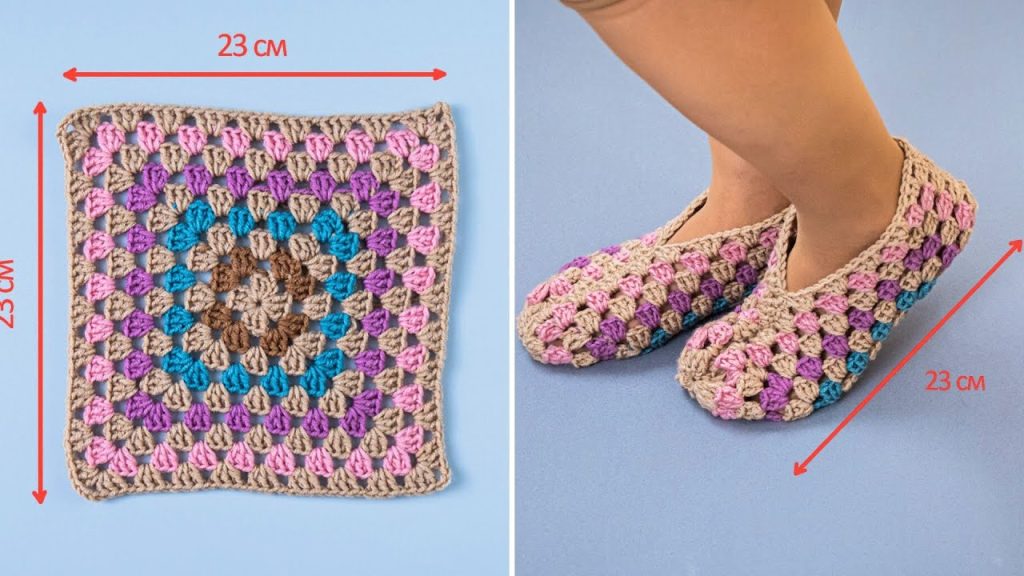
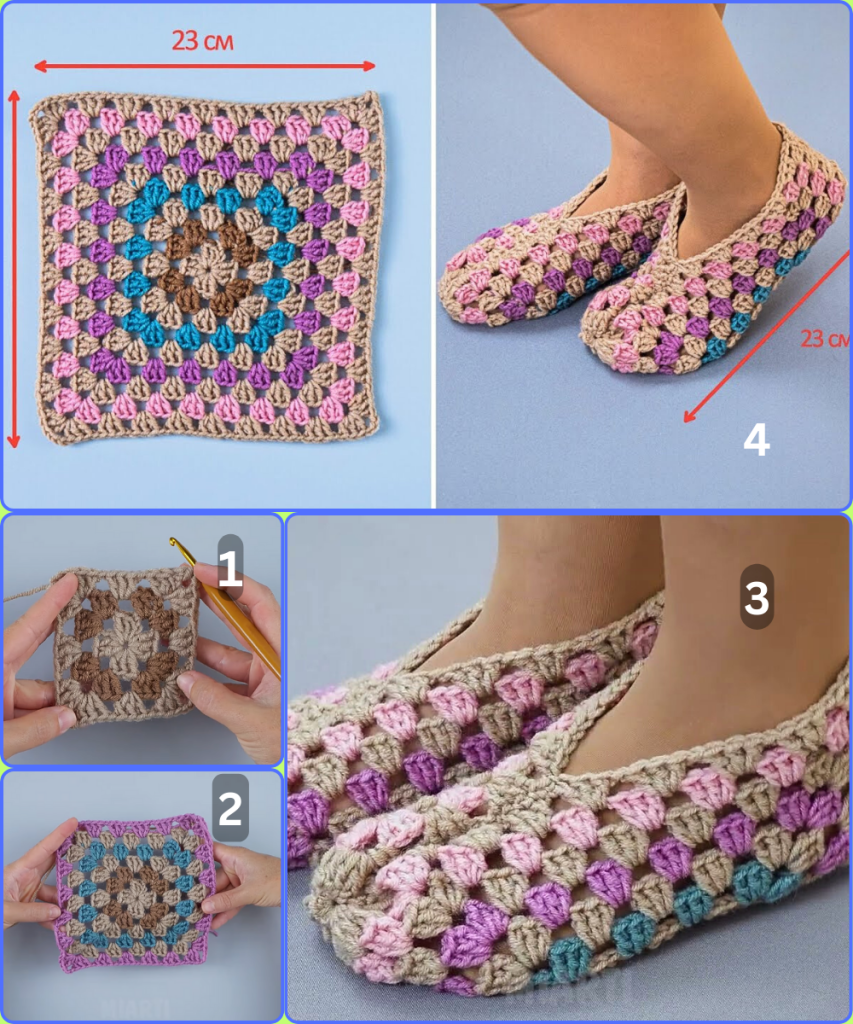
Get ready to turn a simple granny square into a pair of adorable and cozy slippers! This pattern is a fun, beginner-friendly project that’s perfect for using up yarn scraps. We’ll start with one large granny square, then fold and stitch it to create a slipper that’s both comfortable and stylish. The finished slippers are approximately a US Women’s size 7-8 (or 23 cm), but I’ve included notes on how to adjust the size.
What You’ll Need
- Yarn:
- Approximately 100 grams of worsted-weight yarn. This is a great project for using up scraps in 4-5 different colors. A wool or acrylic blend will be soft and warm.
- Hook:
- A 4.0 mm (G/6) crochet hook.
- Tools:
- Scissors
- Tapestry needle for seaming and weaving in ends
- Stitch markers (optional but helpful)
Key Crochet Stitches & Techniques
- ch (chain): Yarn over, pull yarn through the loop on your hook.
- sl st (slip stitch): Insert hook into the next stitch, yarn over, and pull through both the stitch and the loop on your hook.
- dc (double crochet): Yarn over, insert hook into the stitch, yarn over, pull up a loop (3 loops on hook), yarn over, pull through two loops (2 loops on hook), yarn over, and pull through the last two loops.
- Granny Cluster: Work 3 dc stitches in the same space.
- Magic Circle (or Adjustable Ring): A method to start a crochet project in the round with no visible hole in the center.
The Pattern: Let’s Get Started!
The Granny Square
We’ll start by making one large granny square for each slipper. The size of the square will determine the size of your slipper. A 23 cm (9-inch) square will fit a US Women’s size 7-8 (or a foot that is 23 cm long).
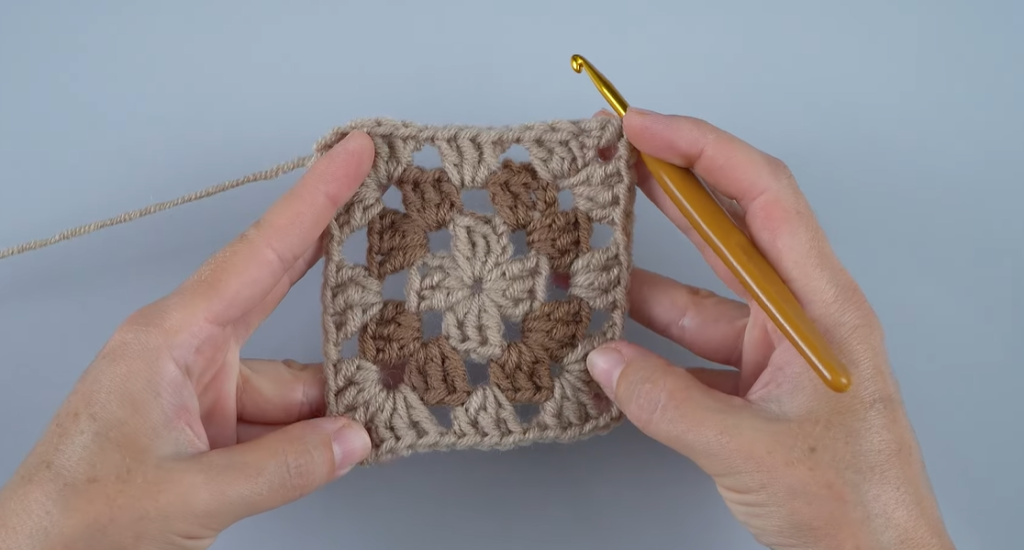
Using Color A (e.g., Brown)
- Round 1: Create a magic circle. Chain 3 (counts as your first dc). Work 2 dc into the circle. Chain 2. *Work 3 dc into the circle, chain 2.* Repeat from * to * two more times. Join with a slip stitch to the top of the beginning chain-3. (4 Granny Clusters)
Switch to Color B (e.g., Blue)
- Round 2: Join new color in any ch-2 corner space. Chain 3 (counts as first dc). Work (2 dc, ch 2, 3 dc) in the same corner space. This is your first corner. *Chain 1, then work (3 dc, ch 2, 3 dc) in the next ch-2 corner space.* Repeat from * to * two more times. Chain 1. Join with a slip stitch to the top of the beginning chain-3.
Switch to Color C (e.g., Purple)
- Round 3: Join new color in any ch-2 corner space. Chain 3. Work (2 dc, ch 2, 3 dc) in the same corner space. *Chain 1, work 3 dc in the next ch-1 space. Chain 1, then work (3 dc, ch 2, 3 dc) in the next ch-2 corner space.* Repeat from * to * two more times. Chain 1, work 3 dc in the last ch-1 space. Chain 1. Join with a slip stitch to the top of the beginning chain-3.

Switch to Color D (e.g., Pink)
- Round 4: Join new color in any ch-2 corner space. Chain 3. Work (2 dc, ch 2, 3 dc) in the same corner space. *Chain 1, work 3 dc in each of the next two ch-1 spaces. Chain 1, then work (3 dc, ch 2, 3 dc) in the next ch-2 corner space.* Repeat from * to * two more times. Chain 1, work 3 dc in each of the last two ch-1 spaces. Chain 1. Join with a slip stitch to the top of the beginning chain-3.
Continue in this pattern, adding a new color for each round, until your granny square measures 23 cm (about 9 inches) from corner to corner. This will be about 11-12 rounds, depending on your tension.
- The pattern is simple: In each round, you’ll work a Granny Cluster (3 dc) in every ch-1 space along the sides, and a Corner (3 dc, ch 2, 3 dc) in every ch-2 corner space. Remember to ch 1 between clusters.
Assembling the Slipper
Once you have your 23 cm x 23 cm square, it’s time to turn it into a slipper.

- Step 1: The Fold. Lay your granny square flat with the wrong side facing up.
- Step 2: The Toe. Fold the square in half diagonally, so two opposite corners touch. The two remaining corners will be the toe and the heel.
- Step 3: Seaming the Top. Using your tapestry needle and a length of yarn, seam the two edges together starting from the toe corner. Use a whip stitch or mattress stitch to create a secure, nearly invisible seam. Stop seaming when you reach the center of the fold. This will be the opening for your foot.
- Step 4: Seaming the Heel. Seam the remaining two edges together at the back of the slipper to form the heel.
- Step 5: Finishing the Opening. Weave in all loose ends. To give the top opening a clean, finished look, you can work a round of single crochet around the entire opening.
Slipper 2
Repeat all the steps above to make the second slipper. Make sure you use the same number of rounds and follow the same seaming process to create a matching pair!
Video tutorial
Sizing Up or Down
To adjust the size of your slippers, simply change the number of rounds in your granny square.
- For a larger size: Add 1-2 more rounds to your square until it measures slightly longer than your foot.
- For a smaller size: Stop your square 1-2 rounds earlier.
Congratulations! You’ve just created a unique and comfortable pair of slippers. This pattern is perfect for customizing, so feel free to experiment with different color combinations and yarn weights. What’s your favorite part of this project? The simple granny square or the magical transformation into a slipper?
