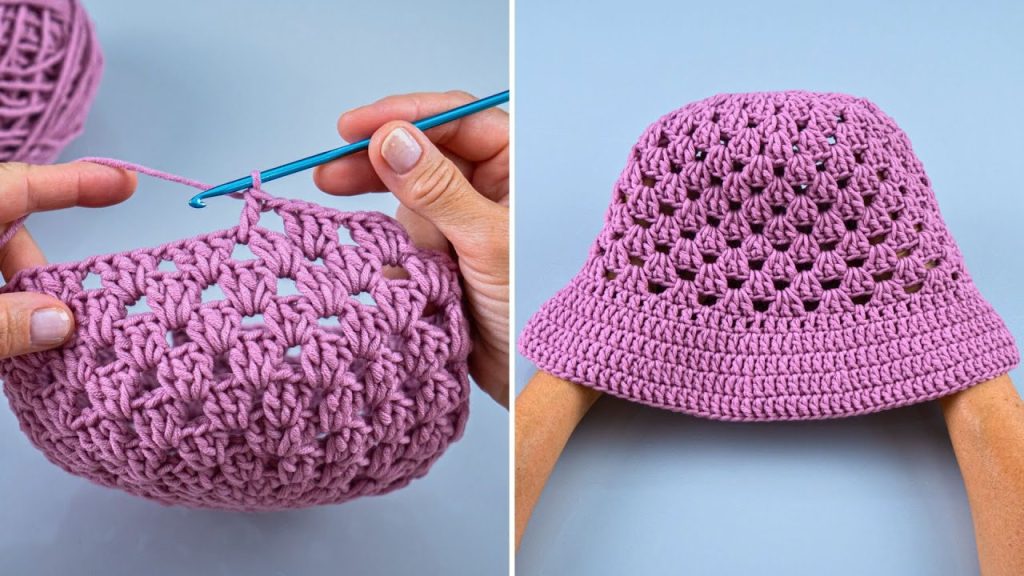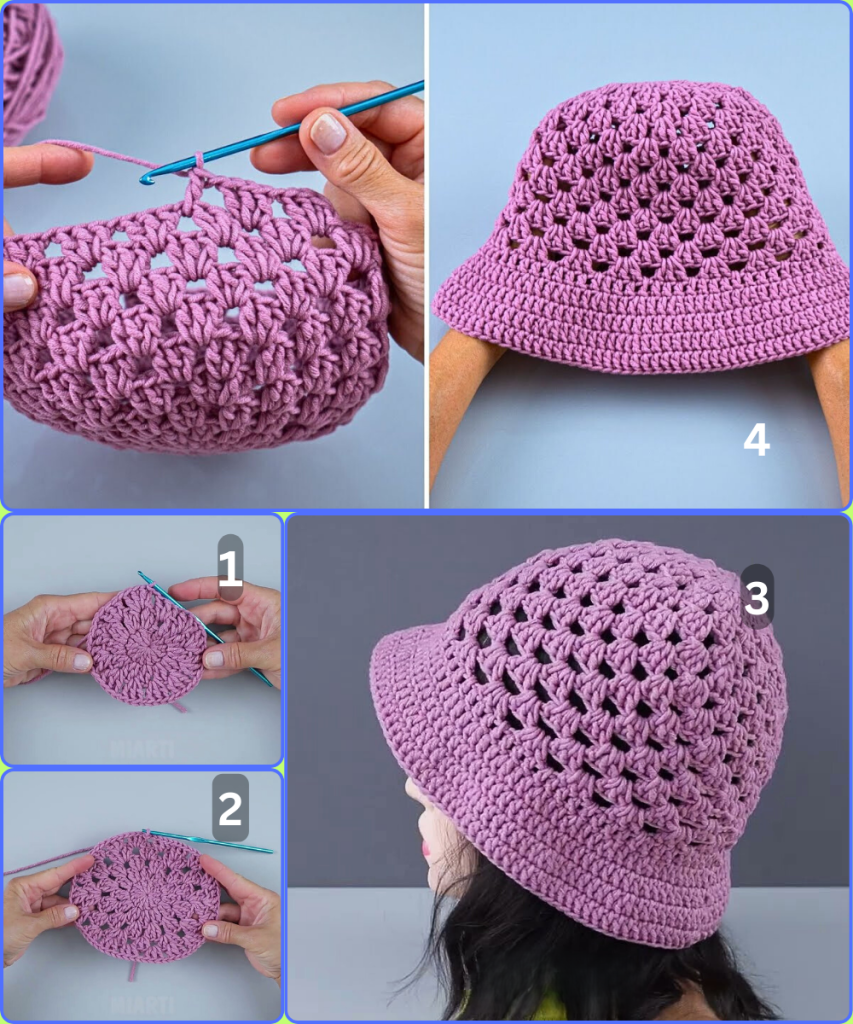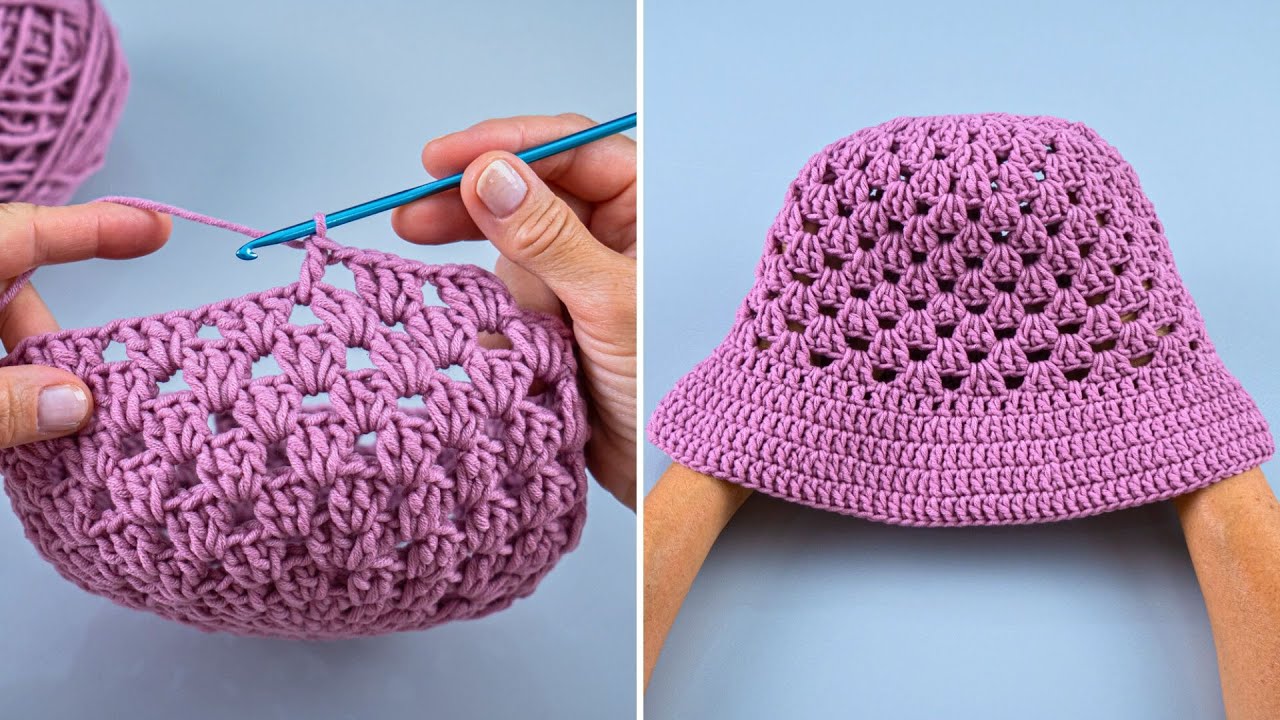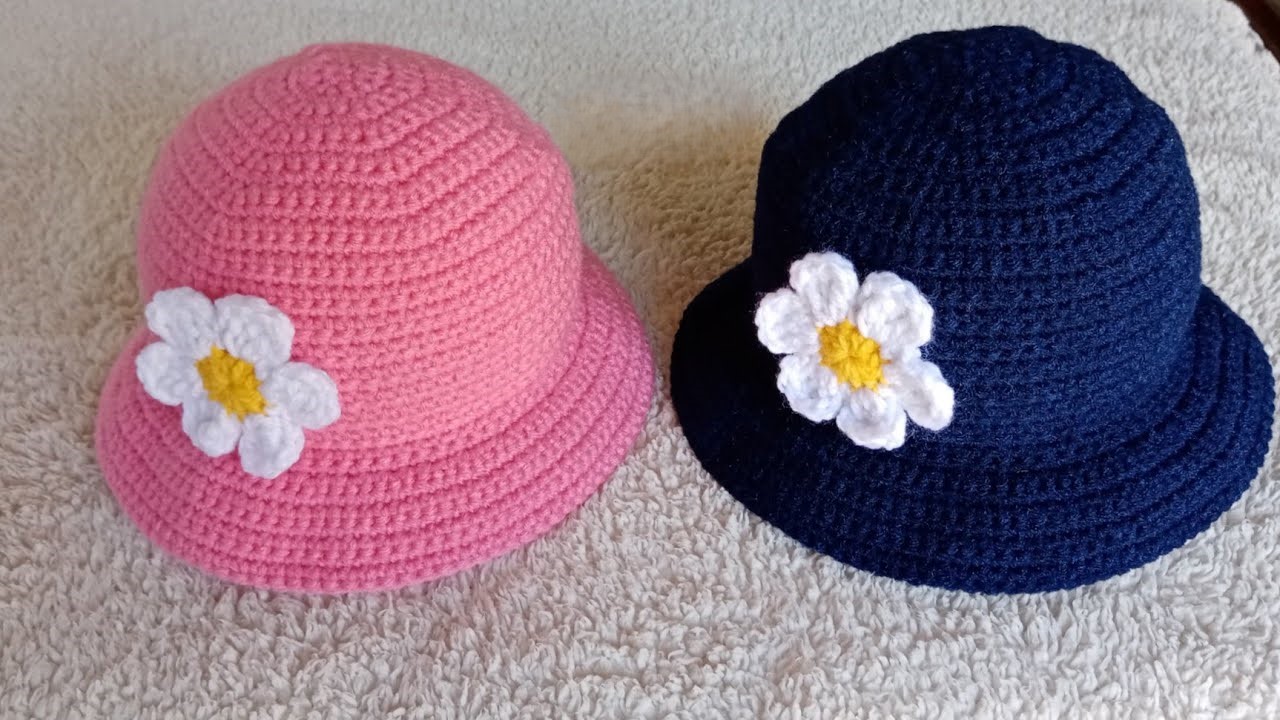
Get ready to create the perfect accessory for sunny days! This pattern is a comprehensive guide to crocheting a stylish, wide-brimmed sun hat. We’ll use the classic Double Crochet V-Stitch to create a light, airy fabric, perfect for a breezy hat. The pattern is worked in the round from the top down, making it seamless and fun to create.
What You’ll Need
- Yarn:
- Approximately 150 grams (about 250-300 yards) of worsted-weight cotton or cotton blend yarn. Cotton yarn is perfect for sun hats as it holds its shape well and is breathable.
- Hook:
- A 4.0 mm (G/6) crochet hook.
- Tools:
- Scissors
- Tapestry needle for weaving in ends
- Stitch marker

Key Crochet Stitches & Techniques
- ch (chain): Yarn over, pull yarn through the loop on your hook.
- sl st (slip stitch): Insert hook into the next stitch, yarn over, and pull through both the stitch and the loop on your hook.
- sc (single crochet): Insert hook into the stitch, yarn over, pull up a loop (2 loops on hook), yarn over, and pull through both loops.
- dc (double crochet): Yarn over, insert hook into the stitch, yarn over, pull up a loop (3 loops on hook), yarn over, pull through two loops (2 loops on hook), yarn over, and pull through the last two loops.
- Double Crochet V-Stitch (V-Stitch): This is our star stitch!
- Work a
dc,ch 1,dcall in the same stitch or space.
- Work a
The Pattern: Let’s Get Started!
The Crown of the Hat
We’ll start by making the flat circular top of the hat.

- Round 1: Create a magic circle. Chain 3 (counts as your first dc), work 11 more dc into the circle. Join with a slip stitch to the top of the beginning chain-3. (12 stitches)
- Round 2: Chain 3. Work 1 dc in the same stitch as your join. Work 2 dc in each stitch around. Join with a slip stitch to the top of the beginning chain-3. (24 stitches)
- Round 3: Chain 3. Work 1 dc in the same stitch. *Work 1 dc in the next stitch, then work 2 dc in the next stitch.* Repeat from * to * around. Join with a slip stitch to the top of the beginning chain-3. (36 stitches)
- Round 4: Chain 3. Work 1 dc in the same stitch. *Work 1 dc in the next 2 stitches, then work 2 dc in the next stitch.* Repeat from * to * around. Join with a slip stitch to the top of the beginning chain-3. (48 stitches)
- Round 5: Chain 3. Work 1 dc in the same stitch. *Work 1 dc in the next 3 stitches, then work 2 dc in the next stitch.* Repeat from * to * around. Join with a slip stitch to the top of the beginning chain-3. (60 stitches)
- Round 6: Chain 3. Work 1 dc in the same stitch. *Work 1 dc in the next 4 stitches, then work 2 dc in the next stitch.* Repeat from * to * around. Join with a slip stitch to the top of the beginning chain-3. (72 stitches)
- Round 7: Chain 3. Work 1 dc in the same stitch. *Work 1 dc in the next 5 stitches, then work 2 dc in the next stitch.* Repeat from * to * around. Join with a slip stitch to the top of the beginning chain-3. (84 stitches)
- Round 8: Chain 3. Work 1 dc in the same stitch. *Work 1 dc in the next 6 stitches, then work 2 dc in the next stitch.* Repeat from * to * around. Join with a slip stitch to the top of the beginning chain-3. (96 stitches)
The Hat Body (Sides)
Now we’ll stop increasing and work even rounds to create the sides of the hat.

- Round 9: Chain 3. Work 1 dc in each stitch around. Join with a slip stitch to the top of the beginning chain-3. (96 stitches)
- Rounds 10-12: Repeat Round 9.
The V-Stitch Pattern
This is where the magic happens! We’ll start creating the openwork design.
- Round 13: Chain 3. Work your first V-Stitch (
dc,ch 1,dc) in the same stitch as your join. *Skip the next 2 stitches, then work 1 V-Stitch into the next stitch.* Repeat from * to * around. Join with a slip stitch to the top of the beginning chain-3. (32 V-Stitches) - Round 14: Chain 3. Work 1 V-Stitch into the chain-1 space of the first V-Stitch from the previous round. *Work 1 V-Stitch into the chain-1 space of the next V-Stitch.* Repeat from * to * around. Join with a slip stitch to the top of the beginning chain-3. (32 V-Stitches)
- Rounds 15-20: Repeat Round 14. Continue until the sides of your hat reach your desired depth.
The Brim
Finally, we’ll create the brim, which will have a slight flare.

- Round 21: Chain 3. Work 2 dc in the first chain-1 space. *Work 2 dc in the next chain-1 space.* Repeat from * to * around. Join with a slip stitch to the top of the beginning chain-3. (64 stitches)
- Round 22: Chain 1 (does not count as a stitch). Work 2 sc in the first stitch. *Work 1 sc in the next stitch, then work 2 sc in the next stitch.* Repeat from * to * around. Join with a slip stitch to the first sc. (96 stitches)
- Round 23: Chain 1. Work 1 sc in each stitch around. Join with a slip stitch to the first sc. (96 stitches)
- Round 24: Chain 1. Work 1 sc in each stitch around. Join with a slip stitch to the first sc. (96 stitches)
Video tutorial
Finishing Your Sun Hat
- Final Slip Stitch: Work one final round of slip stitches in each stitch around to create a clean, sturdy edge on the brim.
- Weave in Ends: Cut your yarn, leaving a long tail. Use your tapestry needle to weave in all loose ends.
- Blocking: For a professional look, you’ll want to block your hat. This is especially important for a sun hat to ensure the brim holds its shape.
- Wet the hat thoroughly.
- Place it over a bowl, mannequin head, or a clean, empty bucket to help it hold its shape.
- Gently shape the brim, making it as flat or wavy as you like.
- Let the hat air dry completely.
Congratulations! You’ve just created a beautiful, handmade sun hat. This hat is perfect for a trip to the beach, a day in the garden, or just a stylish stroll on a sunny afternoon.


