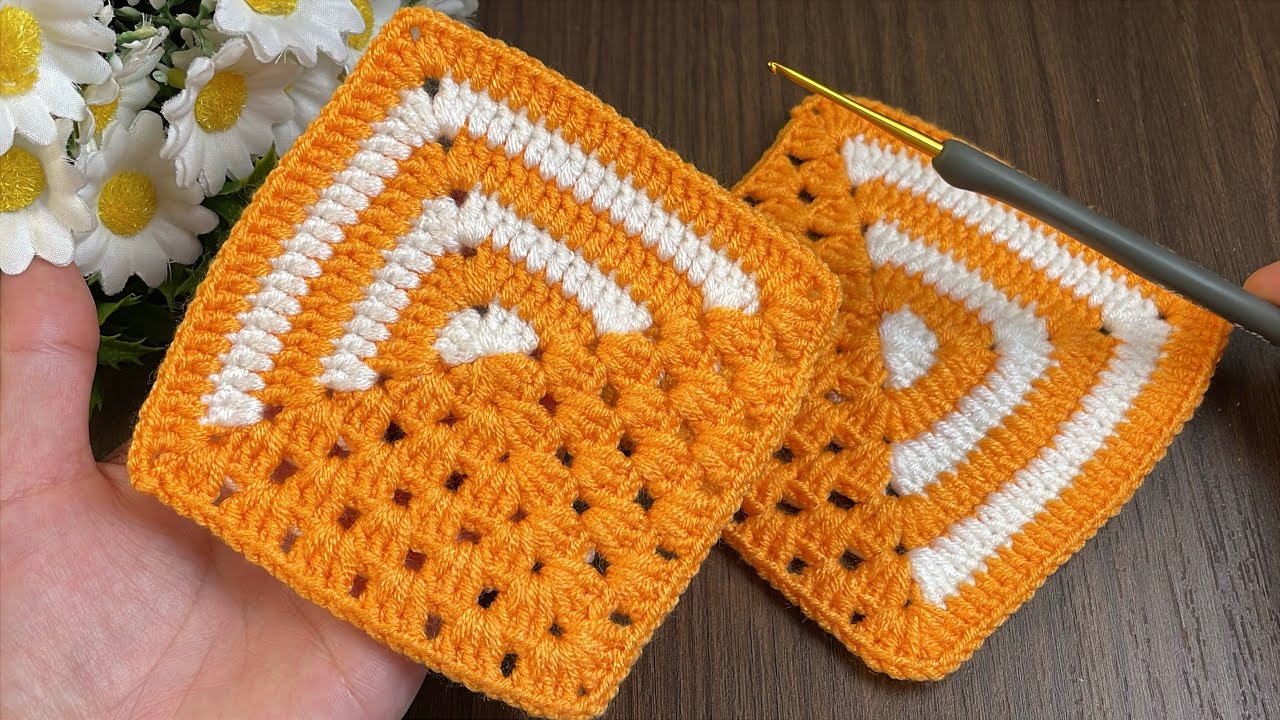
Granny squares are a crochet classic for a reason—they’re versatile, fun to make, and perfect for using up leftover yarn. This pattern gives the traditional granny square a fresh, modern look with a two-color, spiraling design. The sharp lines and clean look are perfect for a wide range of projects, from blankets to tote bags.
This detailed guide will take you step-by-step through the process, from the first stitch to the final border. We’ll focus on how to change colors seamlessly to achieve that striking, clean line effect.
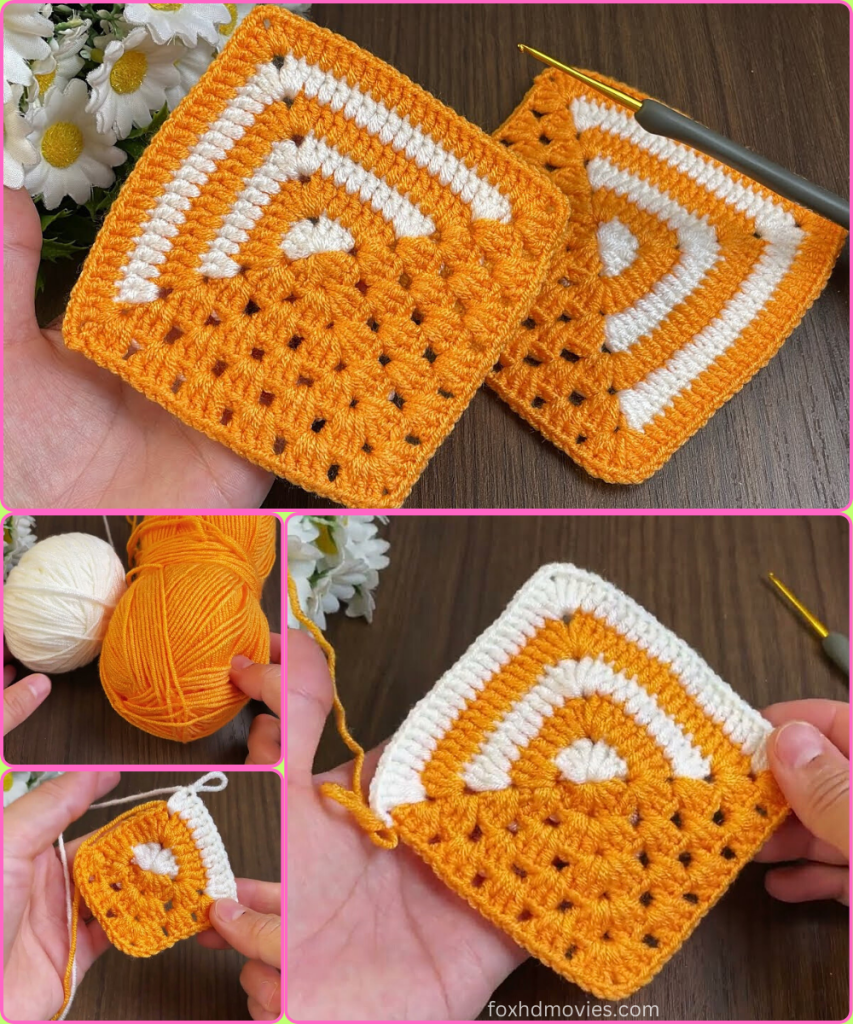
Materials You’ll Need
- Yarn: I recommend worsted-weight (size 4) yarn in two contrasting colors. Choose a smooth yarn without too much texture to ensure your stitches look clean and the spiral pattern is distinct.
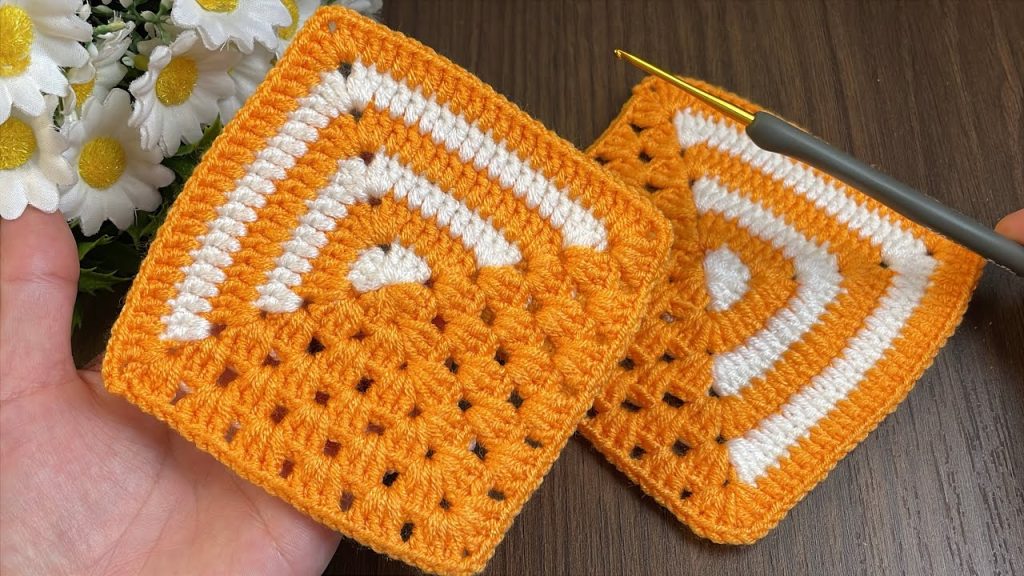
- Color A: The inner color (white in the image).
- Color B: The outer color (orange in the image).
- Crochet Hook: A 5.0mm (H-8) crochet hook is a good choice for worsted-weight yarn. Choose a hook size that gives you a relaxed, even tension.
- Scissors
- Tapestry Needle: For weaving in your ends.
- Stitch Marker (Optional): This can be helpful for keeping track of your corners.
Pattern Notes
- This pattern is written in US crochet terms.
- The square is worked in the round. You will not be turning your work at the end of each round.
- The ch-3 at the beginning of each round counts as your first double crochet (dc).
- You will be working in the chain spaces from the previous round.
- The number in parentheses ( ) at the end of each round indicates the total number of stitch groups (or clusters) you should have.
Abbreviations
- ch: chain
- sl st: slip stitch
- dc: double crochet
- st(s): stitch(es)
- sp: space
- dc-cl: double crochet cluster
The Pattern
Round 1: The Center
Yarn: Color A

- Start with a magic ring (mr). Or, ch 4 and sl st to the first ch to form a ring.
- Ch 3 (counts as 1st dc). Work 2 dc into the ring. (This is your first dc-cl).
- ch 2 (this creates the first corner).
- Work 3 dc into the ring (second dc-cl).
- ch 2 (this creates the second corner).*
- Repeat from * to * two more times. You will have a total of 4 dc clusters and 4 ch-2 spaces.
- Join with a sl st to the top of the beginning ch-3.
Fasten off Color A. Pull the magic ring tight if you used it, and weave in your ends.
Round 2: Extending the Square
Yarn: Color B
- Attach Color B to any ch-2 sp.
- Ch 3 (counts as 1st dc). Work 2 dc into the same ch-2 sp.
- ch 2, then work 3 more dc into the same ch-2 sp. (This is your first corner, made of 3 dc, ch 2, 3 dc).
- ch 1. Then, in the next ch-2 sp, work a corner: (3 dc, ch 2, 3 dc).
- Repeat from * to * two more times.
- ch 1. Join with a sl st to the top of the beginning ch-3.
Fasten off Color B and weave in the end.
Round 3: The Second Color
Yarn: Color A

- Attach Color A to any ch-1 sp from the previous round.
- Ch 3 (counts as 1st dc). Work 2 dc into the same ch-1 sp.
- ch 1. In the next corner ch-2 sp, work a corner: (3 dc, ch 2, 3 dc).
- ch 1. In the next ch-1 sp, work a dc-cl: (3 dc).*
- Repeat from * to * two more times.
- ch 1. In the last ch-1 sp, work a dc-cl: (3 dc).
- Join with a sl st to the top of the beginning ch-3.
Fasten off Color A and weave in the end.
Round 4: Creating the Outer Ring
Yarn: Color B
- Attach Color B to any ch-1 sp from the previous round.
- Ch 3 (counts as 1st dc). Work 2 dc into the same ch-1 sp.
- ch 1. In the next corner ch-2 sp, work a corner: (3 dc, ch 2, 3 dc).
- ch 1. In the next ch-1 sp, work a dc-cl: (3 dc).*
- ch 1. In the next ch-1 sp, work another dc-cl: (3 dc).*
- Repeat from * to * two more times.
- ch 1. In the last ch-1 sp, work a dc-cl: (3 dc).
- ch 1. In the last ch-1 sp, work a dc-cl: (3 dc).
- Join with a sl st to the top of the beginning ch-3.

Fasten off Color B and weave in the end.
Round 5: The Final Border
Yarn: Color B
- Attach Color B to any ch-1 sp from the previous round.
- ch 3 (counts as 1st dc). Work 2 dc into the same ch-1 sp.
- ch 1. In the next corner ch-2 sp, work a corner: (3 dc, ch 2, 3 dc).
- ch 1. In each of the next three ch-1 sps, work a dc-cl: (3 dc).*
- Repeat from * to * two more times.
- ch 1. In the next three ch-1 sps, work a dc-cl: (3 dc).
- Join with a sl st to the top of the beginning ch-3.
Video tutorial
Fasten off and weave in all your remaining ends.
This pattern can be repeated to create as many rounds as you like. Simply continue to work 3 dc clusters in each ch-1 space and a corner in each ch-2 space. Each round will add one new dc cluster to each side.
Now you have a beautifully crisp two-tone granny square. What will you make with yours?
