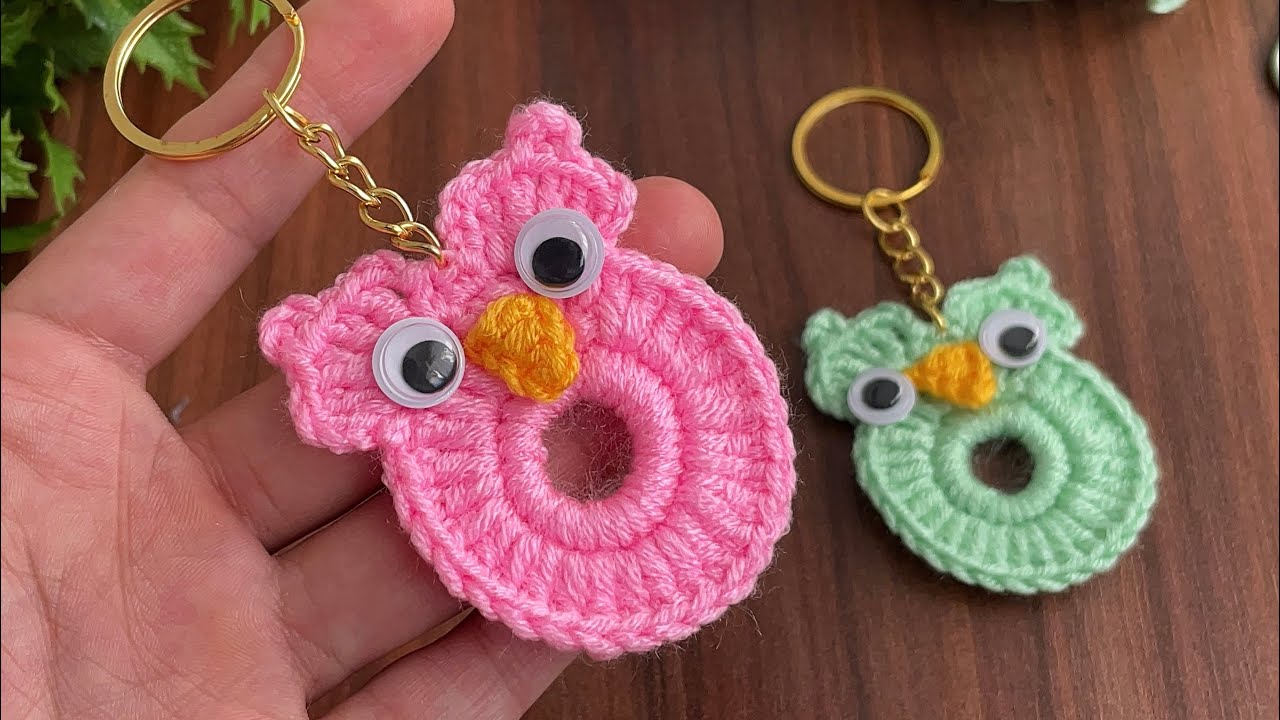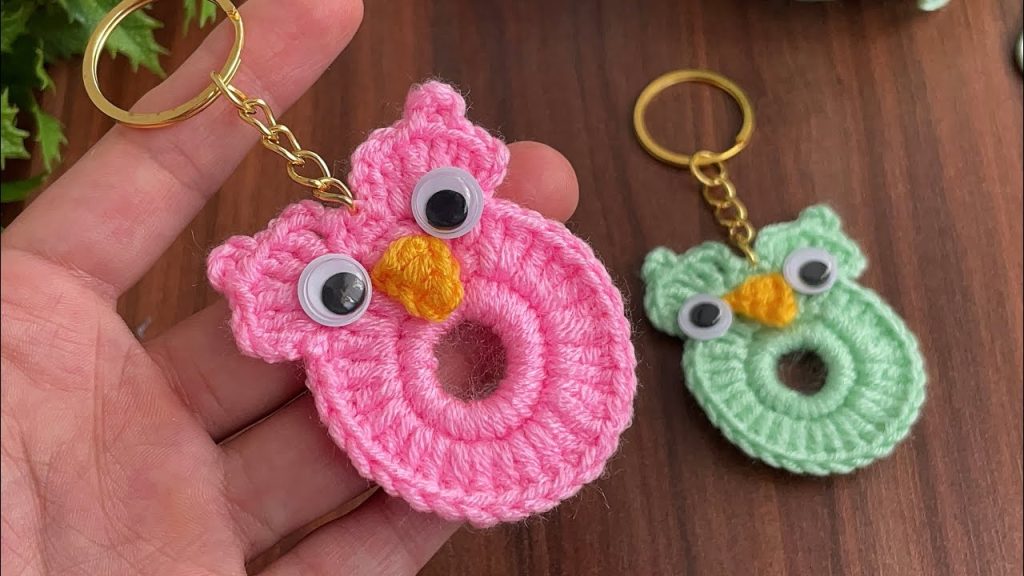
Ready for a quick and fun project that’s as cute as it is functional? This detailed crochet pattern will guide you in creating your very own amigurumi owl keychain. They’re perfect for decorating your keys, backpack, or even for gifting to friends. This pattern is ideal for beginners and a great way to practice your crochet skills.
These little owls are made by crocheting a simple ring and then building the top and bottom features. The final touches—the eyes and beak—bring these little guys to life!
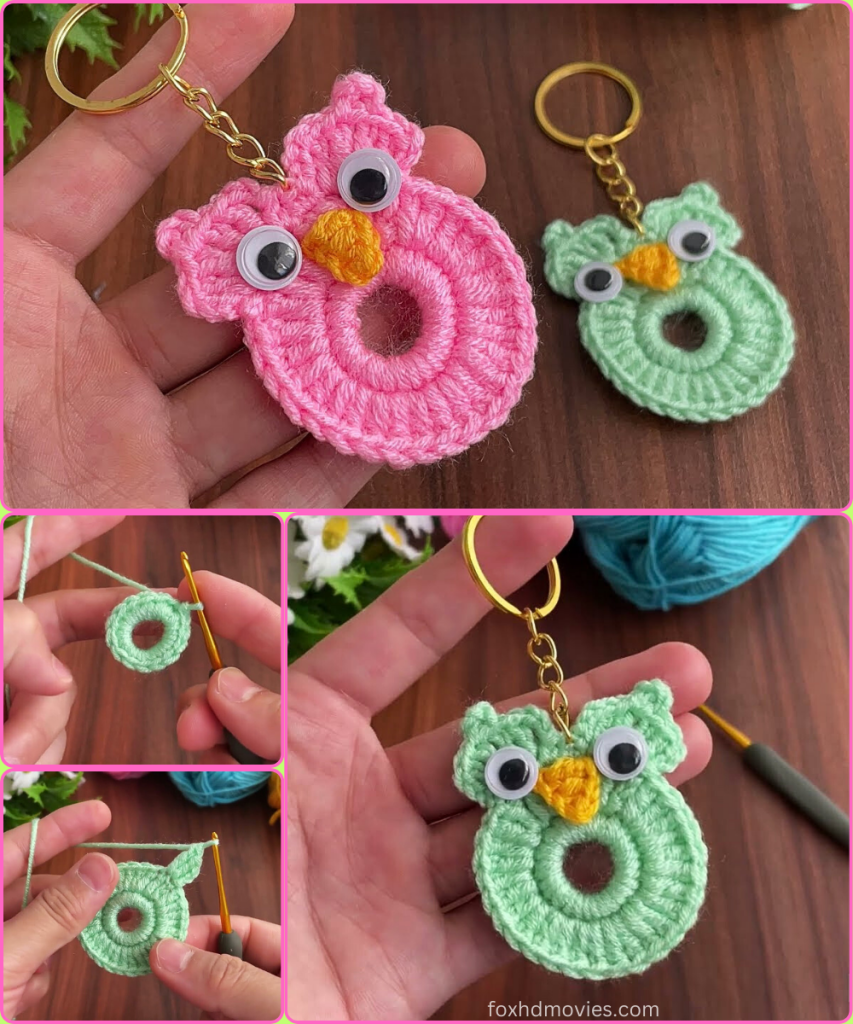
Materials You’ll Need
- Yarn: You’ll need a small amount of worsted-weight (size 4) yarn in two or three colors.
- Main Color (Color A): For the owl’s body. Pick a fun, bright color like pink, green, or blue.
- Beak Color (Color B): A small amount of yellow or orange for the beak.
- Ear Tuft Color (Optional): You can use the same as your main color or a contrasting one.
- Crochet Hook: A 4.0mm (G-6) or 4.5mm (G-7) hook. Use a hook that gives you a firm, tight fabric. This is important for amigurumi so the stuffing doesn’t show through.
- Safety Eyes: You’ll need two 6mm or 8mm safety eyes with washers.
- Yarn Needle: Also known as a tapestry needle, this is for weaving in ends and attaching the beak.
- Scissors
- Keychain Ring: A standard keychain ring with a chain attached. You can find these at most craft stores.
- Stuffing: A small amount of fiberfill or cotton stuffing.
- Glue: Hot glue or strong craft glue to secure the safety eyes. This is a crucial step to ensure the eyes don’t fall off.
Pattern Notes
- This pattern uses US crochet terms.
- The owl’s body is worked in continuous rounds. Do not join with a slip stitch at the end of each round unless specified. Use a stitch marker to keep track of the beginning of each round.
- The number in parentheses ( ) at the end of each round indicates the total stitch count.
- Inc means to crochet two single crochet stitches into the same stitch.
Abbreviations
- ch: chain
- st(s): stitch(es)
- sl st: slip stitch
- sc: single crochet
- inc: increase (2 sc in the same st)
- mr: magic ring
The Pattern
Let’s start with the body, which is the main part of the owl.
Part 1: The Owl Body
Yarn: Color A

- Round 1: Start with a magic ring (mr). Work 6 sc into the ring. Pull the ring tight to close. (6 sts)
- Round 2: Work an inc in each stitch around. (12 sts)
- Round 3: Sc in the next st, then inc in the following st. Repeat from * to * around. (18 sts)
- Round 4: Sc in the next 2 sts, then inc in the following st. Repeat from * to * around. (24 sts)
- Round 5: Work 1 sc in each stitch around. (24 sts)
- Round 6: Sc in the next 3 sts, then inc in the following st. Repeat from * to * around. (30 sts)
- Round 7: Work 1 sc in each stitch around. (30 sts)
- Round 8: Sc in the next 4 sts, then inc in the following st. Repeat from * to * around. (36 sts)
- Rounds 9-11: Work 1 sc in each stitch around. (36 sts)
Start Stuffing: Stop here to start stuffing the body. Add a small amount of fiberfill, pushing it into the ring shape. Continue to add stuffing as you close the opening.
- Round 12: Sc in the next 4 sts, then sc2tog (decrease) over the next 2 sts. Repeat from * to * around. (30 sts)
- Round 13: Sc in the next 3 sts, then sc2tog (decrease) over the next 2 sts. Repeat from * to * around. (24 sts)
- Round 14: Sc in the next 2 sts, then sc2tog (decrease) over the next 2 sts. Repeat from * to * around. (18 sts)
- Round 15: Work 1 sc in each stitch around. (18 sts)
- Round 16: Sc in the next st, then sc2tog (decrease) over the next 2 sts. Repeat from * to * around. (12 sts)
- Round 17: Sc2tog around. (6 sts)
Fasten off leaving a long tail for closing. Use your yarn needle to weave the tail through the front loop of each of the remaining 6 stitches. Pull the tail to cinch the hole closed. Weave in the tail and trim.
Part 2: The Owl’s Ears
Now you’ll create the little ear tufts on top of the head.

- Row 1: Attach your yarn (Color A) to the top of the owl’s head. Ch 4. Work a sc in the 2nd ch from the hook, hdc in the next ch, and a dc in the last ch. Sl st back into the top of the head.
- Row 2: Move over to the other side of the top of the owl’s head, leaving a space in the middle. Repeat the process from Row 1: Ch 4, then work a sc in the 2nd ch from the hook, hdc in the next ch, and a dc in the last ch. Sl st back into the top of the head.
Fasten off and weave in your ends.
Part 3: Final Touches

- Attach the Beak: Thread a small piece of Color B yarn onto your yarn needle. Stitch a small triangle onto the owl’s face, right in the center. Knot the ends on the inside of the keychain and trim.
- Attach the Eyes: Use hot glue or strong craft glue to attach the safety eyes securely. Place them on either side of the beak.
- Attach the Keychain Ring: Thread the keychain ring through the stitches at the top of the owl’s head, right between the two ear tufts.
Video tutorial
Your little owl keychain is complete! Make a whole parliament of them in different colors to add some character to your accessories.
Have fun with this pattern, and if you have any questions, feel free to ask!
