by
by 
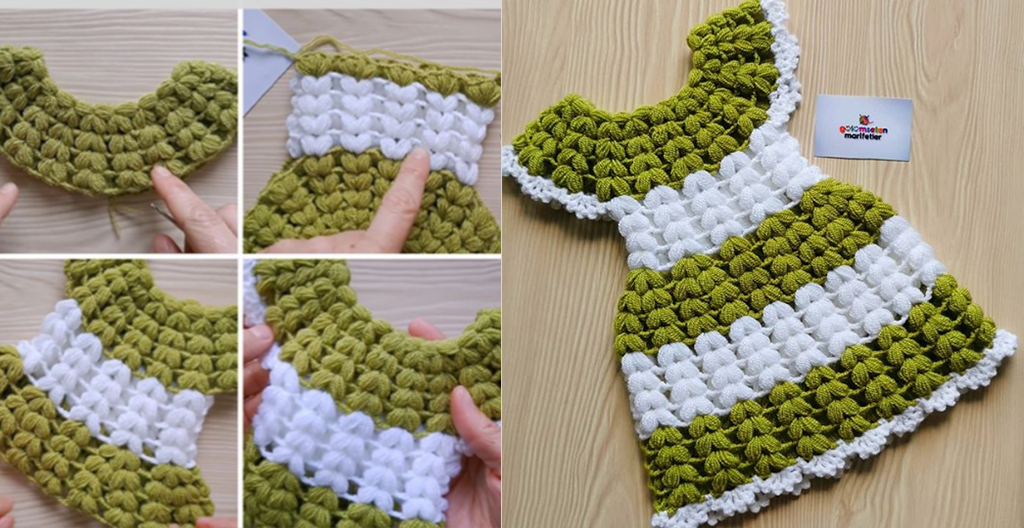
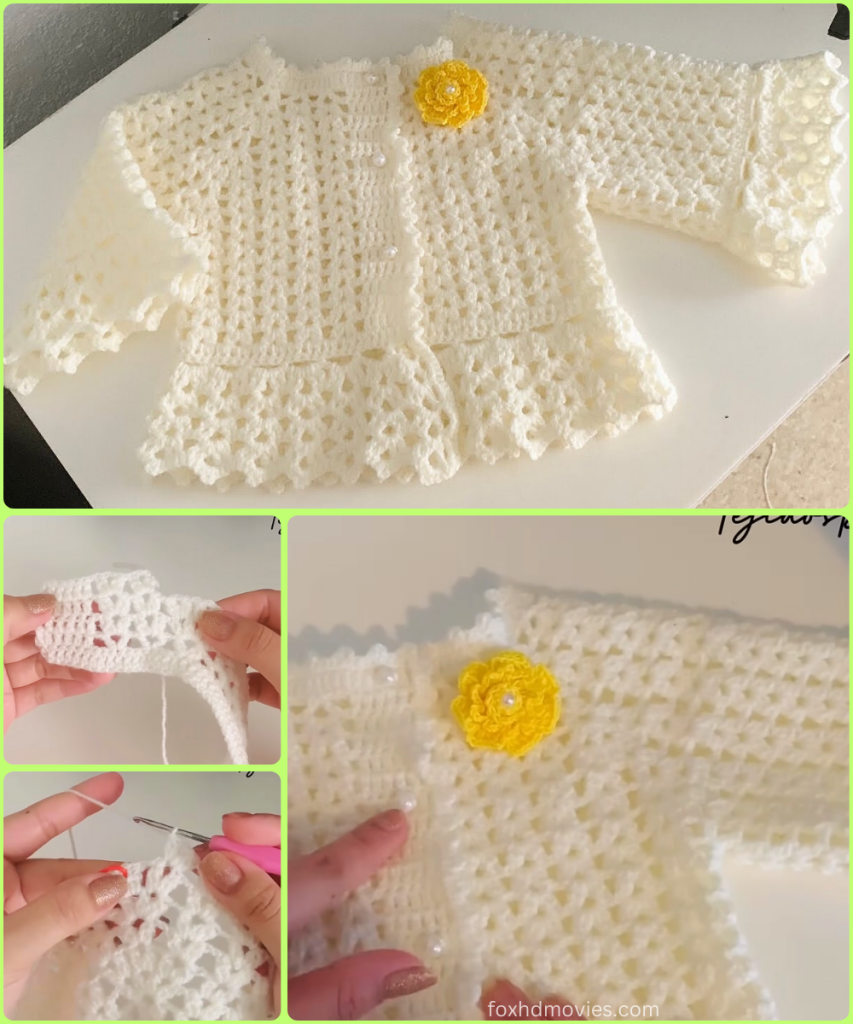
Hello, fellow crafters! Today, I’m so excited to share a pattern that is perfect for a special little one in your life: the “Starlight” Baby Romper. This design is intended for babies aged 3-6 months and features a beautiful textured stitch that I call the “Star Stitch,” which creates a lovely, woven appearance that is both beautiful and cozy.
This romper is constructed from the top down. We will start with the yoke, then separate for the armholes, work the body, and finally create the legs. This method means there is minimal sewing involved! The back features a simple button closure for easy dressing, and we’ll finish with a sweet ribbed edging. It’s the perfect all-in-one outfit for play or nap time.
So, grab your hooks and your softest yarn, and let’s create a beautiful, handmade treasure together!
Finished Measurements (approx. 3-6 months):
- Chest: 19 inches (48 cm)
- Shoulder to Crotch: 15 inches (38 cm)
- Sleeve Opening: 7 inches (18 cm)
Materials You Will Need:
- Yarn: Approximately 200g (about 450 yards) of a DK weight (Weight 3) yarn. A soft cotton or merino wool blend is ideal for baby’s skin. I used a lovely seafoam green color.
- Crochet Hook: 4.0mm (G/6) crochet hook
- Scissors
- Yarn Needle
- 3 small buttons (about 1/2 inch or 1.5 cm)
- Stitch Markers
Pattern Abbreviations (US Crochet Terms):
- ch: chain
- sl st: slip stitch
- sc: single crochet
- hdc: half double crochet
- dc: double crochet
- FPdc: Front Post double crochet
- BPdc: Back Post double crochet
- st(s): stitch(es)
- inc: increase (work 2 sts in the same st)
Step-by-Step Instructions
We’ll be creating this romper in sections: The Yoke, Body, Leg Separation, Legs, and finally, the Finishing Touches.
Part 1: The Yoke (Worked in Rows)
The yoke is worked back and forth in rows to create the opening for the buttons at the back.
- Foundation Chain: Ch 65.
- Row 1: Hdc in the 3rd ch from the hook (the skipped 2 chs do not count as a st). Hdc in each ch across. (63 sts). Turn.
- Row 2 (Increase Row): Ch 2 (does not count as a st here and throughout). Hdc in the first 9 sts. Inc in the next st, hdc in the next st. Repeat from * to * until 10 sts remain. Hdc in the last 10 sts. (80 sts). Turn.
- Row 3: Ch 2. Hdc in each st across. (80 sts). Turn.
- Row 4 (Increase Row): Ch 2. Hdc in the first 9 sts. Inc in the next st, hdc in the next 2 sts. Repeat from * to * until 10 sts remain. Hdc in the last 10 sts. (100 sts). Turn.
- Rows 5-9: Ch 2. Hdc in each st across. (100 sts). Turn. At the end of Row 9, your yoke should be about 3.5 inches (9 cm) deep. Do not fasten off.
Part 2: Separating for Armholes and Body (Worked in Rounds)
Now, we will join the front and back to create the body of the romper.
- Round 10 (Joining Round): Ch 2. Hdc in the first 15 sts (this is one back panel). Ch 6 for the underarm. Skip the next 20 sts (this is the first armhole). Hdc in the next 30 sts (this is the front). Ch 6 for the second underarm. Skip the next 20 sts (second armhole). Hdc in the last 15 sts (second back panel).
- Join with a sl st to the first hdc of the round, being careful not to twist. You will now be working in continuous rounds. Place a stitch marker in the first stitch to mark the beginning of the round. (Total: 60 hdc + 12 ch = 72 sts for the body).
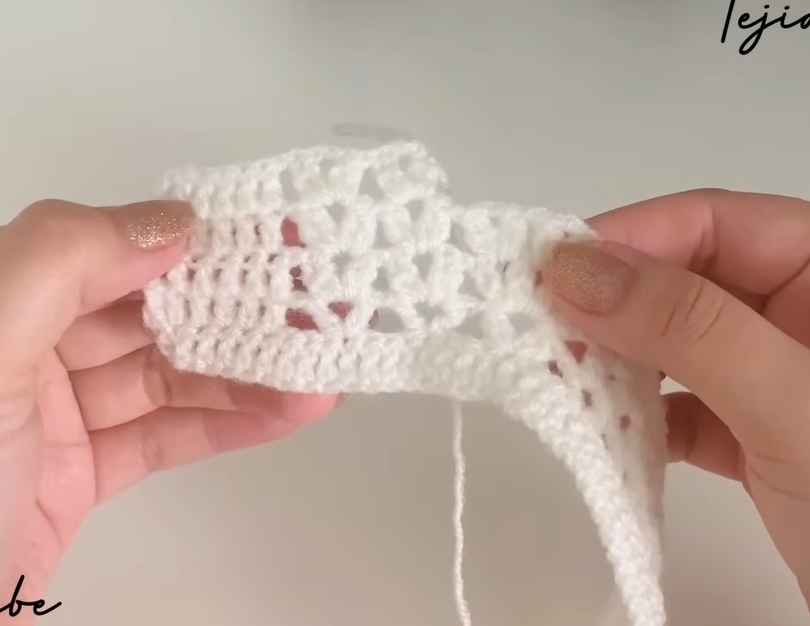
Part 3: The Body (The “Star Stitch” Section)
This is where the beautiful texture comes in! The body is worked in joined rounds.
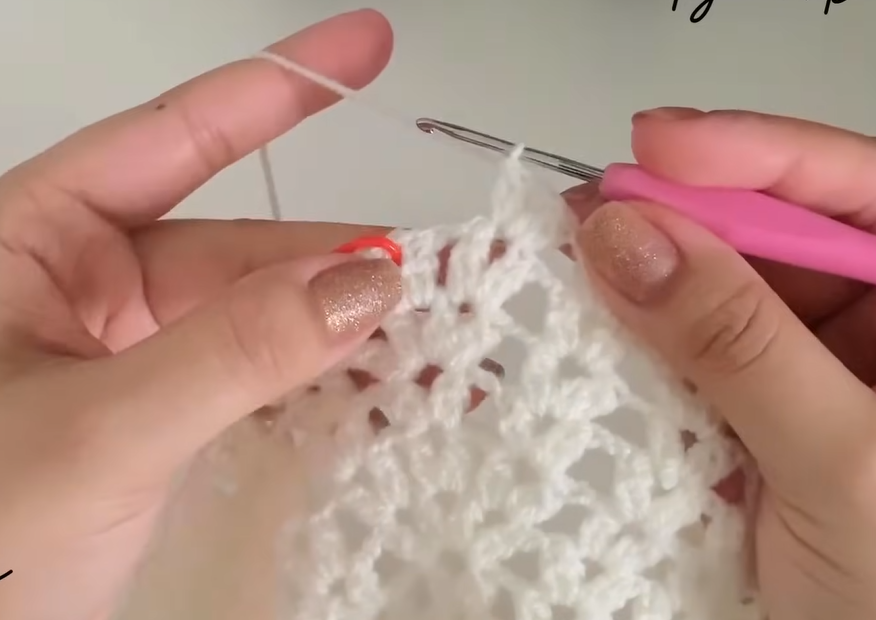
- Round 11: Ch 3. Insert hook in 2nd ch from hook, pull up a loop. Insert hook in 3rd ch from hook, pull up a loop. Insert hook in the same st as the ch-3, pull up a loop. Insert hook in each of the next 2 sts, pull up a loop. (You should have 6 loops on your hook). Yarn over and pull through all 6 loops. Ch 1 to close the “star.” This completes your first Star Stitch.
- To continue: Insert hook into the ch-1 “eye” of the star you just made, pull up a loop. Insert hook in the side of the last “spike” of that star, pull up a loop. Insert hook in the same st as the last spike, pull up a loop. Insert hook in each of the next 2 sts, pull up a loop. (6 loops on hook). Yarn over, pull through all 6. Ch 1.
- Repeat from * to * all the way around. Join with a sl st to the top of the beginning ch-3.
- Round 12: Ch 2. Work 2 hdc in the “eye” of each star from the previous round. Join with a sl st to the first hdc.
- Rounds 13 – 28: Repeat Rounds 11 and 12 until the body measures approximately 9 inches (23 cm) from the underarm.
Part 4: Separating for the Legs
- Divide: Lay the romper flat. The seam is at the back. Find the center front stitch, directly opposite the seam. Place a stitch marker there. You should have 36 sts for the front and 36 sts for the back.
- Crotch Chain: With your yarn at the back seam, ch 6. Sl st to the marked center front stitch. This chain will form the crotch. Fasten off.
Part 5: The Legs (Worked in Rounds)
We will work each leg separately.
- First Leg: Join your yarn at the back of one leg opening, near the crotch chain.
- Round 1: Ch 1. Sc evenly around the leg opening, working 6 sc across the crotch chain. You should have approximately 42 sts (36 from the body + 6 from the chain). Join with a sl st.
- Round 2: Ch 2. Hdc in each st around. Join.
- Ribbed Cuff:
- Round 3: Ch 2. FPdc around the next st, BPdc around the next st. Repeat from * to * around. Join with a sl st.
- Rounds 4-5: Repeat Round 3, making sure to work FPdc around FPdc and BPdc around BPdc to create the ribbing.
- Fasten off and weave in ends.
- Second Leg: Repeat the exact same process for the other leg opening.
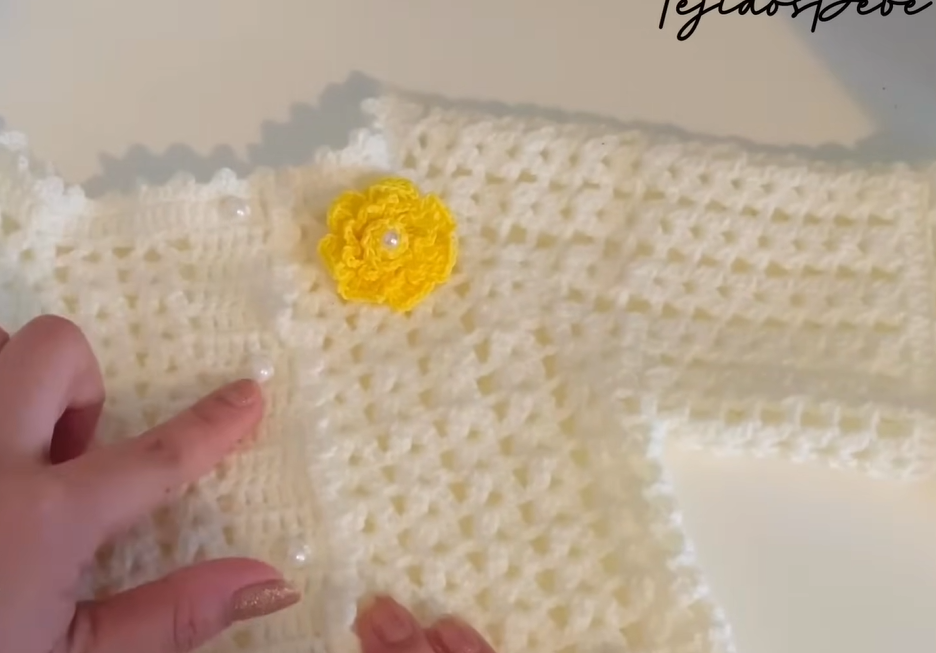
Part 6: Finishing Touches
- Button Bands: Lay the romper flat with the back opening facing you.
- Buttonhole Band (Left Side): Join yarn at the top neck corner. Ch 1 and work sc evenly down the side. Turn.
- Row 2: Ch 1, sc in first st. Ch 2, skip 1 st, sc in next 4 sts. Repeat from * to * twice more to create 3 buttonholes. Sc to the end. Turn.
- Row 3: Ch 1, sc in each sc and work 1 sc in each ch-2 space. Fasten off.
- Button Band (Right Side): Join yarn at the bottom corner of the other side. Work 3 rows of sc evenly up the side. Fasten off.
- Buttonhole Band (Left Side): Join yarn at the top neck corner. Ch 1 and work sc evenly down the side. Turn.
- Neckline: Join yarn at the top of the button band. Ch 1, sc evenly all around the neckline. Join with a sl st. Fasten off.
- Final Step: Weave in all your ends for a clean, professional finish. Sew your three buttons onto the button band to align with your buttonholes.
Video tutorial
And there you have it! A beautiful, handmade “Starlight” Baby Romper ready to be worn and loved. The textured stitch gives it such a special, high-end feel, and you made it yourself!
I truly hope you enjoyed bringing this pattern to life. If you decide to make one, I would be overjoyed to see it! Feel free to share your work on social media. Happy crocheting!