 by
by 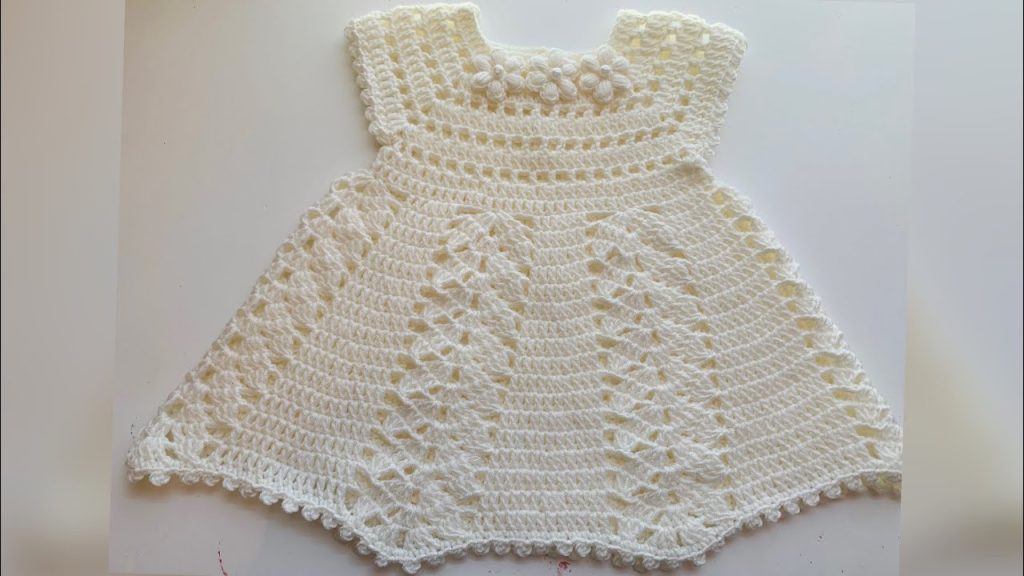
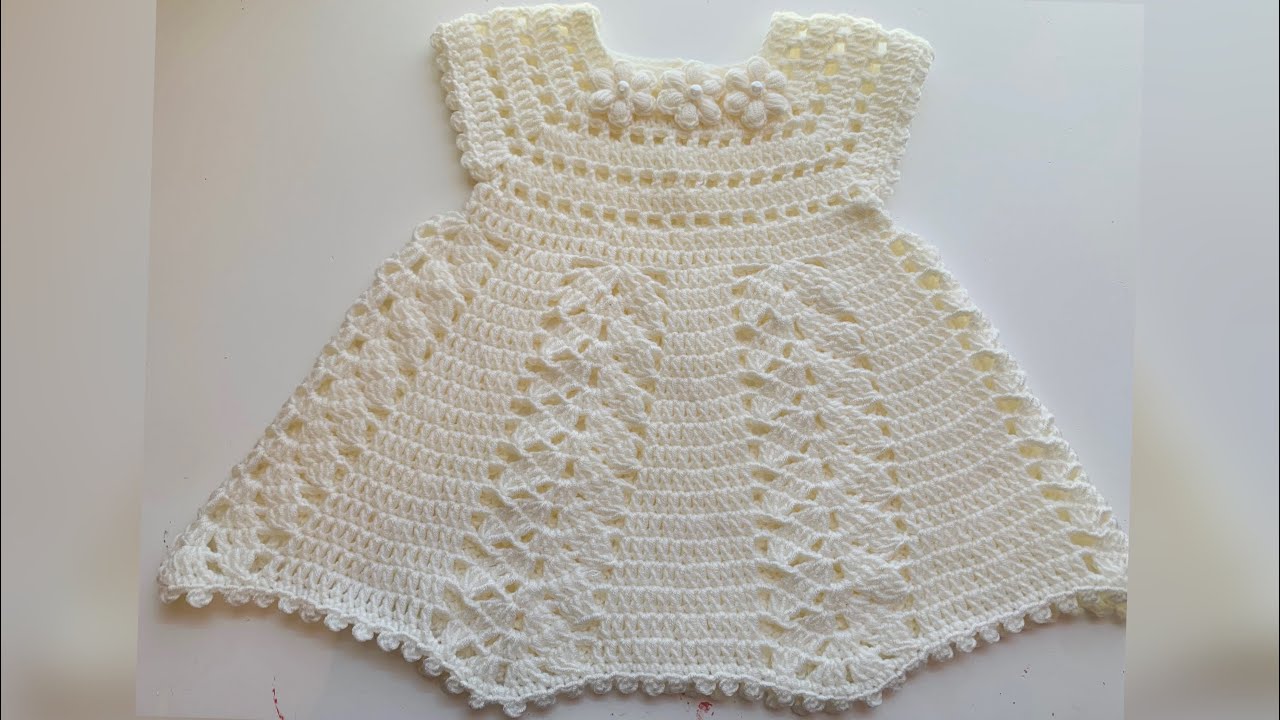
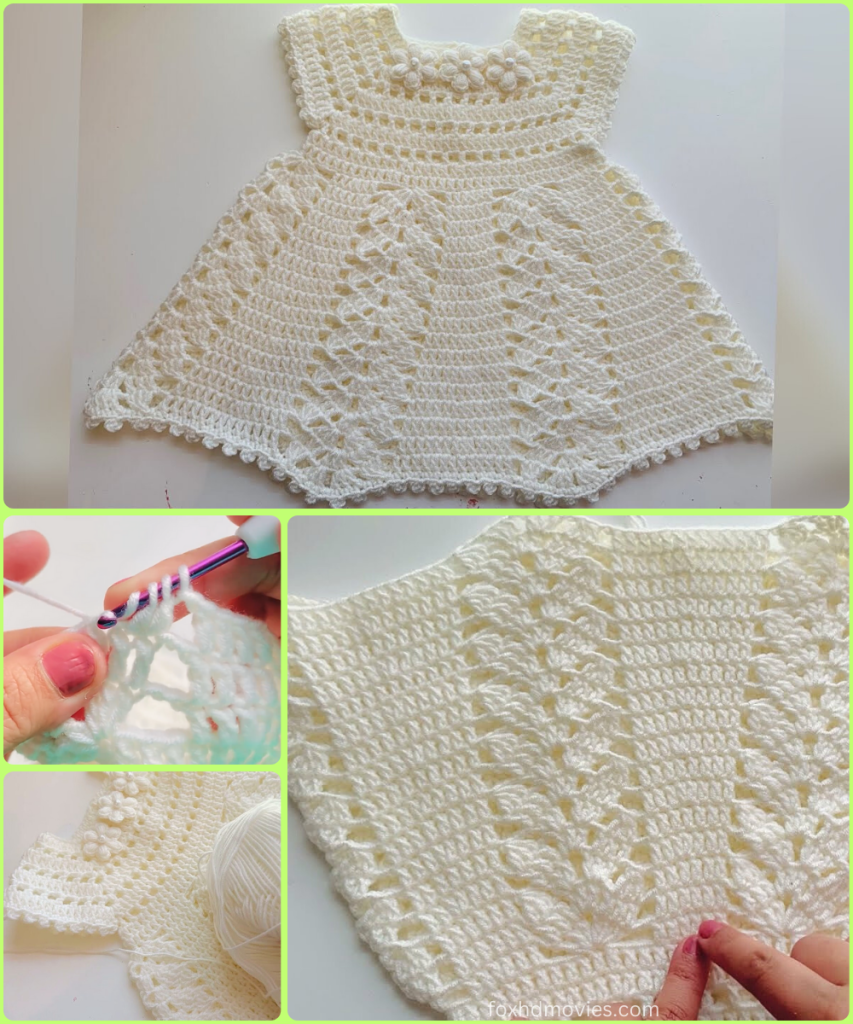
Create a timeless piece for a precious little one with this elegant, all-white crochet baby dress. Featuring a beautifully textured yoke adorned with delicate floral details and a gracefully flowing, lacy skirt, this dress is perfect for special occasions, blessings, or as a cherished keepsake. The seamless, top-down construction ensures comfort and a lovely drape.
Let’s pick up our hooks and weave some magic with this stunning pattern!
Skill Level: Intermediate to Advanced
Materials You’ll Need:
- Yarn: Approximately 350-450 yards of sport (size 2) or DK (size 3) weight yarn in white. A soft, high-quality yarn like cotton, merino wool blend, or a premium acrylic is recommended for a luxurious feel.
- A crochet hook appropriate for your yarn. A size F/5 (3.75mm) or G/6 (4.0mm) hook would be a good starting point.
- Scissors
- Yarn needle for weaving in ends
- Stitch markers
- Small pearl beads or similar embellishments for the flower centers (optional).
Key Stitches and Abbreviations:
- ch: chain
- st(s): stitch(es)
- sl st: slip stitch
- sc: single crochet
- hdc: half double crochet
- dc: double crochet
- tr: treble crochet
- Puff st: puff stitch (instructions provided)
- Shell/Fan st: fan stitch ([5 dc] in the same stitch)
- V-st: V-stitch (dc, ch 1, dc) in the same stitch
- Picot: ch 3, sl st in the first ch
- sk: skip
- sp: space
- rnd: round
Pattern Instructions:
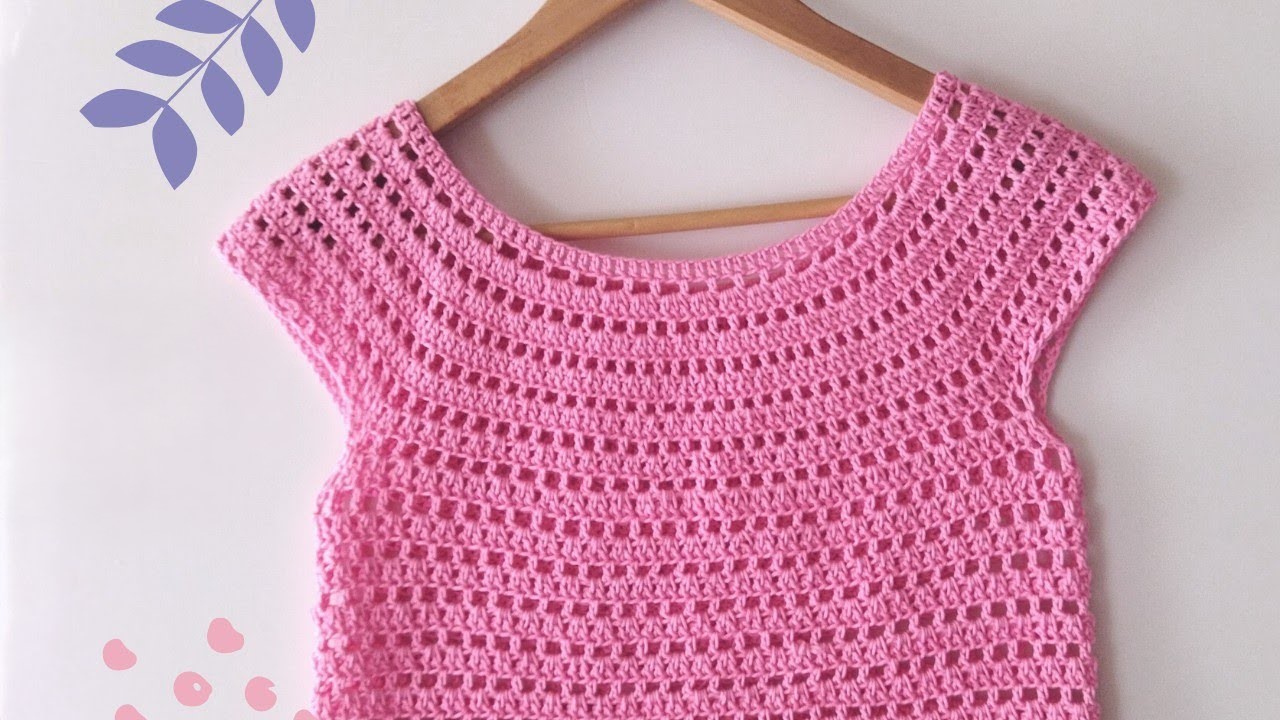
Part 1: The Textured Yoke
The yoke is worked in the round from the top down, creating a beautifully textured and subtly shaped bodice.
- Rnd 1 (Neckline): ch 75 (or adjust for desired neck opening), sl st to the first ch to form a ring. (75 sts)
- Rnd 2: ch 1, sc in each st around. Join with sl st.
- Rnd 3: ch 2 (counts as hdc), hdc in each st around. Join with sl st.
- Rnd 4 (Puff Stitch Row): ch 1, sc in first st. sk 2 sts, Puff st in next st (yo, insert hook, pull up a loop 3-4 times, yo and pull through all loops), sk 2 sts, sc in next st. Repeat from * around. Join with sl st.
- Rnd 5: ch 2 (counts as hdc), hdc in each sc and around the puff stitch from the previous row. Join with sl st.
- Rnds 6-10: Repeat Rnds 4 and 5 alternately, adjusting the number of rounds for your desired yoke depth. Ensure you are increasing the stitch count slightly and evenly in the hdc rows to allow the yoke to gently flare. You can do this by working 2 hdc in the same stitch at regular intervals.
Part 2: Separate Armholes
Now we will create the armholes and begin working on the lacy skirt.

- Divide for Armholes: Place stitch markers to divide the stitches roughly into Front, Sleeve 1, Back, and Sleeve 2 sections. Adjust based on your stitch count.
- Row 11 (Skirt Begins): ch 3 (counts as dc), dc in each st across the front section to the first marker. ch 7 (armhole chain), skip all sleeve stitches to the next marker. dc in each st across the back section to the third marker. ch 7 (second armhole chain), skip the remaining sleeve stitches. Join with sl st to the top of the ch 3.
Part 3: The Lacy Skirt
The skirt is worked in rounds, creating a beautiful and airy lace pattern.

- Rnd 12: ch 3, dc in each dc and ch st around, including in the ch-7 spaces under the armpits.
- Rnd 13 (Lace Pattern): ch 3 (counts as dc), sk 2 sts, [dc, ch 2, dc] in next st (V-st), ch 2. Repeat from * around. Join with sl st.
- Rnd 14: ch 3, dc in the ch-2 sp of the V-st. ch 2, [dc, ch 2, dc] in the ch-2 sp of the next V-st. Repeat from * around. Join with sl st.
- Rnd 15: ch 3, dc in the first dc. ch 3, sk the ch-2 sp, sc in the ch-2 sp of the V-st, ch 3, sk the ch-2 sp, dc in the next 2 dc. Repeat from * around. Join with sl st.
- Continue repeating and adapting the lace pattern rounds, increasing the number of chains or double crochets in the motifs as needed to create a gentle flare in the skirt. You can also introduce shell stitches ([5 dc] in a space) periodically for added texture and fullness. Work until the skirt reaches your desired length.
Part 4: The Scalloped Hem
The skirt is finished with an elegant scalloped border.

- Final Rnd: ch 1, sc in first st. sk 2 sts, [dc, tr, dc] in next st, sk 2 sts, sc in next st. Repeat from * around. Join with sl st.
- Picot Edge (Optional): Work a final round of sl st, working a picot (ch 3, sl st in first ch) every few stitches for an extra delicate finish.
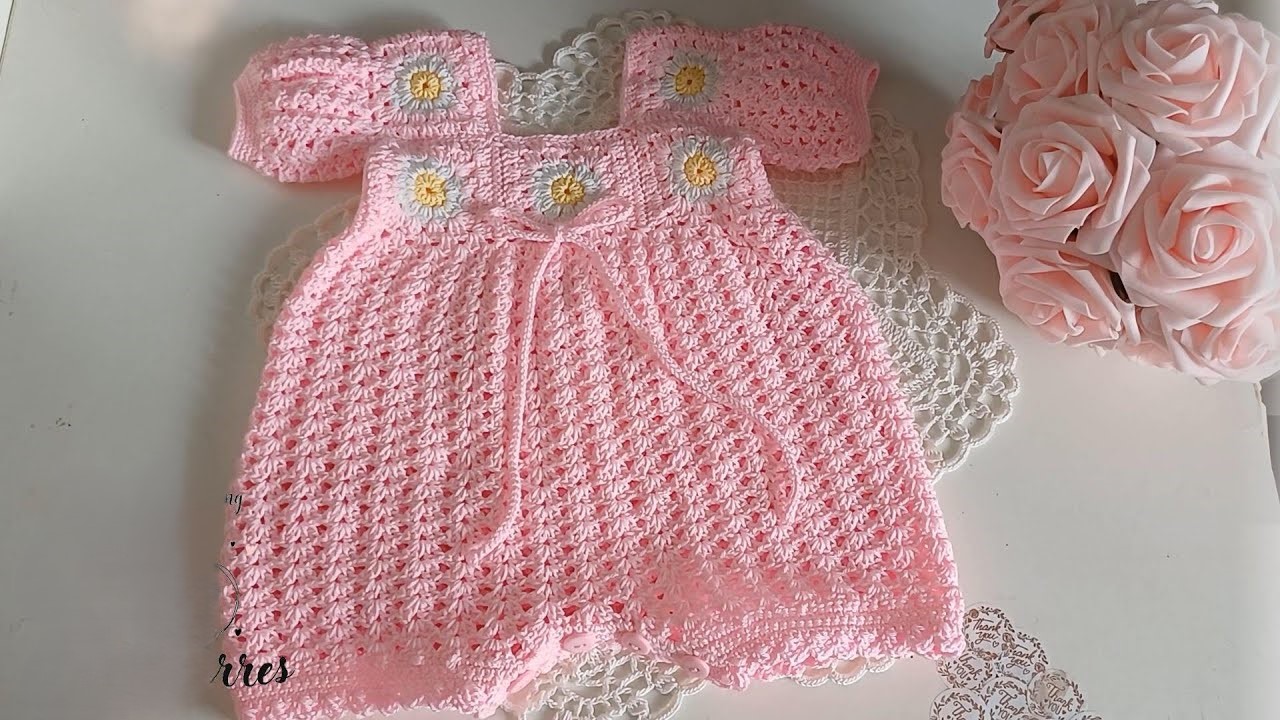
Part 5: Floral Yoke Embellishments (Make 3)
- ch 4, sl st to form a ring.
- ch 1, 8 sc in ring. Join with sl st.
- ch 5, sl st in the same st. Repeat from * 7 more times to create 8 loops (petals).
- Sl st into the first loop. Work (sc, hdc, 3 dc, hdc, sc) in the loop. Repeat from * in each loop around to form the flower.
- Fasten off, leaving a long tail for sewing. Sew the flowers to the yoke as desired and add a small pearl bead to the center of each flower if you like.
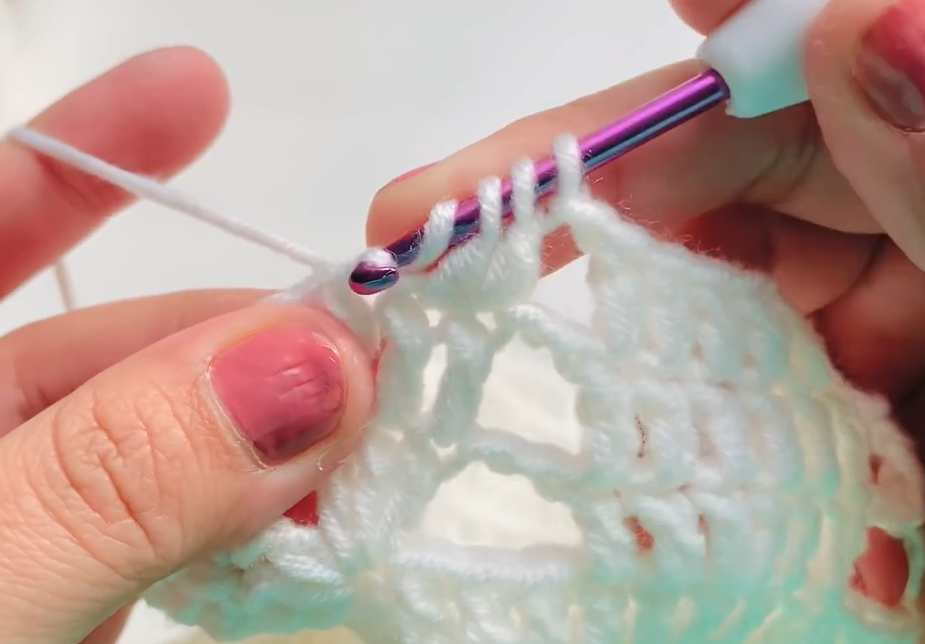
Video tutorial
Finishing Touches:
- Weave in all loose ends securely with your yarn needle.
- Gently block the finished dress to help the lace pattern lay flat and the stitches relax.
You’re Done!
Congratulations! You have crocheted a truly exquisite and heirloom-worthy baby dress. The delicate details and flowing design make it a perfect piece for any special occasion.
Share your finished “Winter’s Whisper Dress” with me on social media using #WintersWhisperDress – I would be absolutely delighted to see your beautiful creations! Happy crocheting!