 by
by 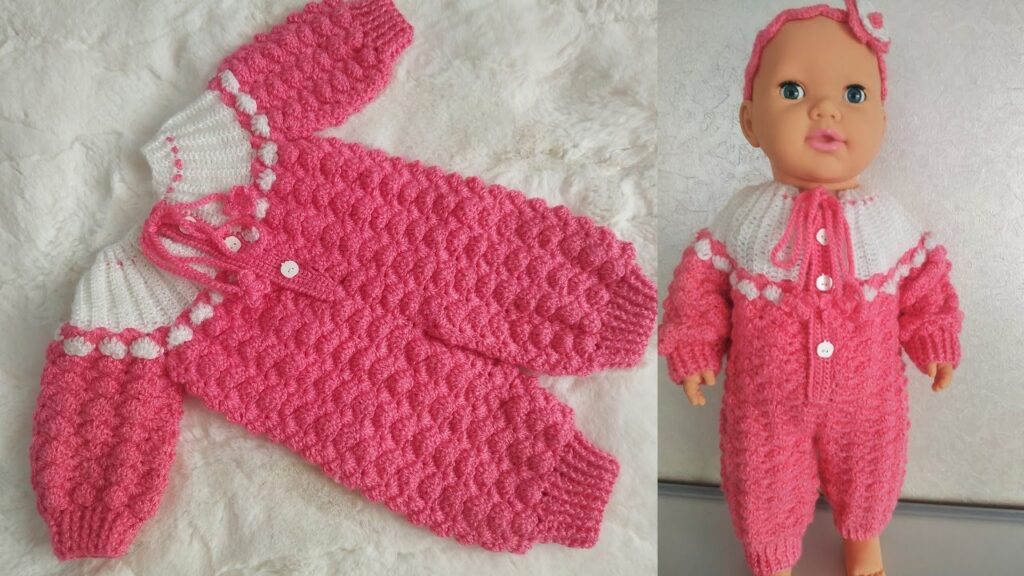
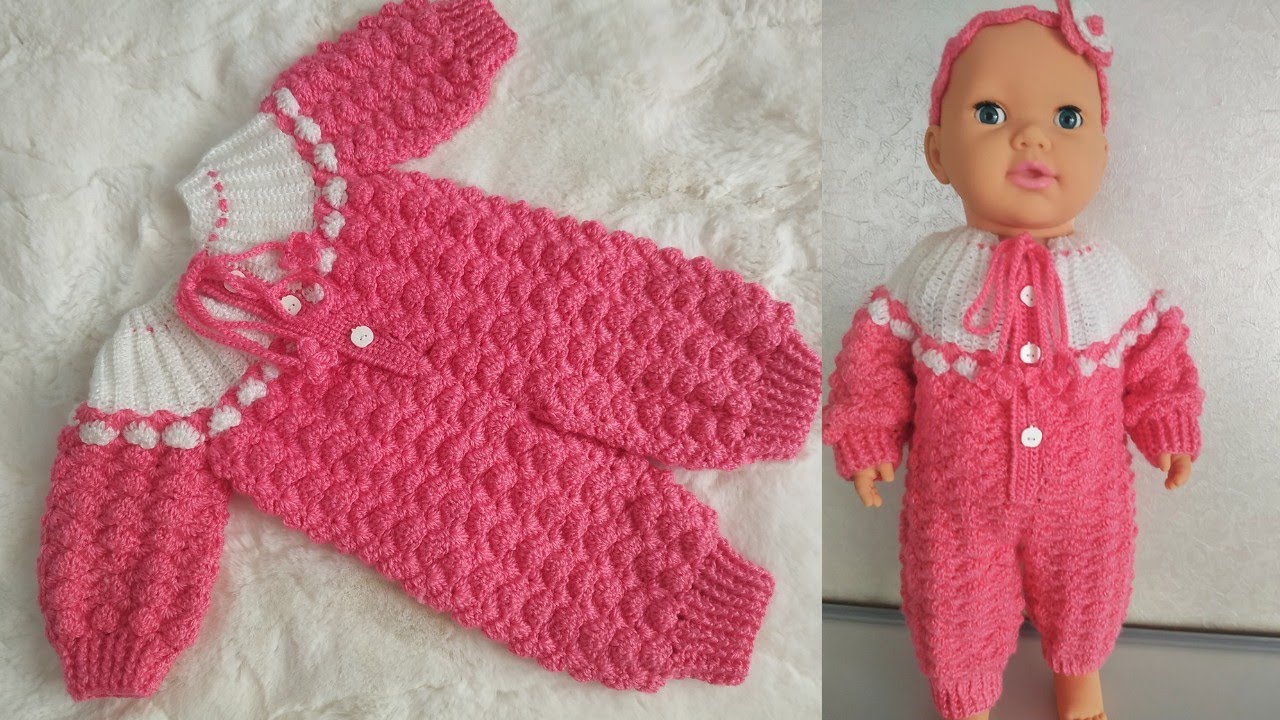
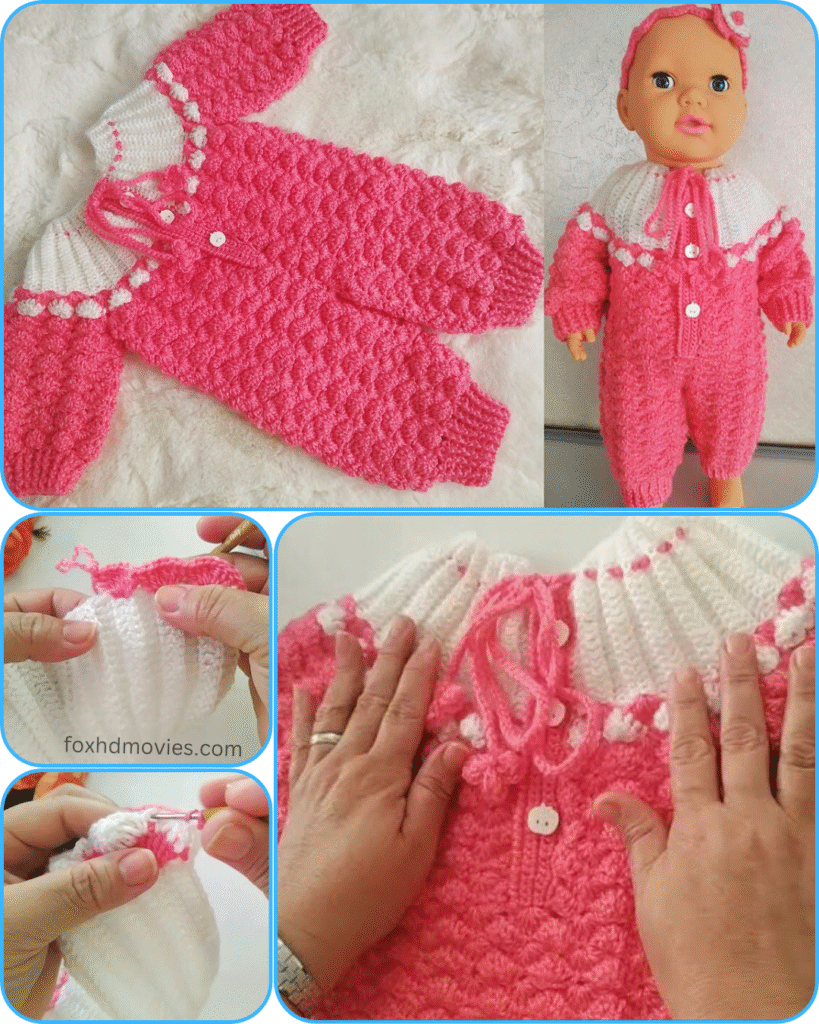
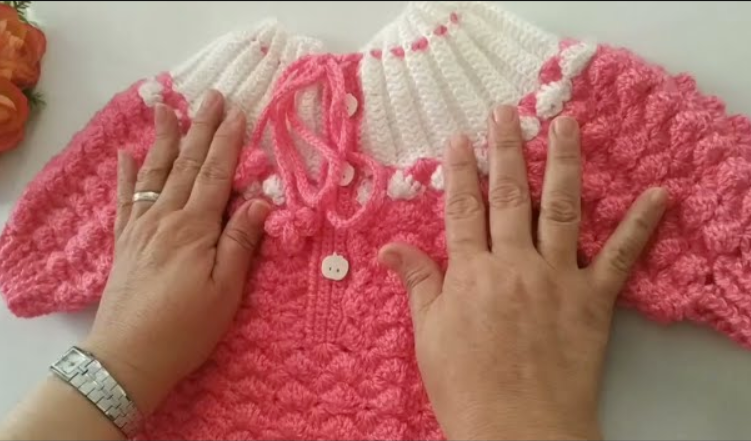
There’s nothing quite like wrapping a little one in something handmade with love. This charming crochet baby romper, featuring a beautiful textured stitch in a vibrant pink, contrasted with crisp white accents, is both stylish and incredibly cozy. It’s perfect for keeping baby warm and snug!
This pattern is designed for a newborn to 3-month size, but I’ll include notes on how you can adjust it for a larger fit.
Difficulty Level: Intermediate (familiarity with basic crochet stitches and textured stitches will be helpful)
Materials You’ll Need:
- Yarn:
- DK weight (Category 3) yarn in Main Color (MC – Pink in the example) – approx. 250-300 yards
- DK weight (Category 3) yarn in Contrasting Color (CC – White in the example) – approx. 50-70 yards
- Suggestions: A soft acrylic for easy care and warmth, or a cotton blend for breathability.
- Crochet Hook: 3.5mm (E/4) or size needed to obtain gauge
- Buttons: 3-5 small buttons (approx. 0.5 inch / 1.25 cm diameter)
- Tapestry Needle: For weaving in ends and seaming
- Scissors
- Stitch Markers (highly recommended for starting rounds and marking sections!)
Gauge (worked in DC or the textured stitch): 5 DC and 3 rows = 1 inch (2.5 cm) Always check your gauge! Adjust hook size if necessary to achieve the correct sizing.
Abbreviations (US Crochet Terms):
- ch: chain
- sl st: slip stitch
- sc: single crochet
- hdc: half double crochet
- dc: double crochet
- inc: increase (2 stitches in the same stitch)
- dec: decrease (sc2tog or dc2tog, or preferred decrease method)
- fpdc: front post double crochet
- bpdc: back post double crochet
- sk: skip
- sp: space
- st(s): stitch(es)
- rep: repeat
- RS: right side
- WS: wrong side
- MC: Main Color
- CC: Contrasting Color
Special Stitch: Textured Stitch (Bubble/Bobble Stitch Variation)
This pattern uses a simple textured stitch. There are many variations, but here’s one that gives a nice pop:
4-DC Bobble (4-DCBO): Yarn over, insert hook into stitch, yarn over, pull up a loop (3 loops on hook). Yarn over, pull through 2 loops (2 loops on hook). Yarn over, insert hook into same stitch, yarn over, pull up a loop, yarn over, pull through 2 loops. Repeat from * 2 more times (5 loops on hook). Yarn over, pull through all 5 loops on hook.
To create the textured rows: You will typically work a row of SC or HDC, then a row with (Bobble, SC) repeated, then another row of SC/HDC. This pushes the bobble to the right side of the work.
Pattern Instructions
The romper is worked in pieces: Front, Back, Sleeves, and then seamed together.
Part 1: The Back Panel (MC)
- Ch 52. (This will be the width for the bottom of the romper, from one leg opening to the other).
- Row 1 (RS): Sc in 2nd ch from hook and in each ch across. (51 sc) Turn.
- Row 2: Ch 1, sc in each st across. Turn. (51 sc)
- Row 3 (Textured Row): Ch 1, sc in first st, (4-DCBO in next st, sc in next st). Repeat from * across. Turn. (25 bobbles)
- Row 4: Ch 1, sc in each st across. Turn. (51 sc)
- Rows 5-20: Repeat Rows 3 and 4 for 8 more times (or until piece measures approx. 7-8 inches from starting edge). End on a sc row (Row 4 repeat). This forms the bottom section of the back.
Shape Leg Openings:
- Next Row (decrease row): Ch 1, sc2tog, sc in next 23 sts, sc2tog. (27 sc) Turn.
- Next Row: Ch 1, sc in each st across. Turn. (27 sc)
- Rep the last 2 rows 2 more times. (23 sc remaining)
- Work straight in Textured Stitch (Rows 3 & 4 repeat) for approximately 8-10 more rows (or until piece measures about 12-13 inches from starting edge), forming the torso section of the back.
Back Neck and Shoulder Shaping:
- Next Row (Shoulder 1): Ch 1, sc in first 7 sts. Turn. (7 sc)
- Next Row: Ch 1, sc in each st across. Turn. (7 sc)
- Rep the last row 1-2 more times. Fasten off.
- Skip center stitches (e.g., skip 9 sts for the neck opening).
- Attach yarn to next st, ch 1, sc in next 7 sts. Turn. (7 sc)
- Work same as Shoulder 1. Fasten off.
Part 2: The Front Panel (MC)
The front panel will be similar to the back, but split for the opening.
- Ch 52.
- Row 1 (RS): Sc in 2nd ch from hook and in each ch across. (51 sc) Turn.
- Row 2: Ch 1, sc in each st across. Turn. (51 sc)
- Rows 3-20: Repeat Textured Stitch (Rows 3 & 4 from back panel) until piece measures approx. 7-8 inches from starting edge. End on a sc row.
Shape Leg Openings:
- Next Row (decrease row): Ch 1, sc2tog, sc in next 23 sts, sc2tog. (27 sc) Turn.
- Next Row: Ch 1, sc in each st across. Turn. (27 sc)
- Rep the last 2 rows 2 more times. (23 sc remaining)
Split for Front Opening:
- Next Row: Ch 1, sc in first 11 sts. Turn. (11 sc) – This is the start of one front side.
- Next Row (Textured): Ch 1, sc in first st, (4-DCBO in next st, sc in next st). Repeat from * across. Turn.
- Next Row: Ch 1, sc in each st across. Turn.
- Continue working these 2 rows until this half of the front reaches the desired shoulder height, matching the back panel shoulder.
- Front Neck Shaping: Work decreases on the inside edge (neck edge) for a few rows to create a gentle curve. For example, sc2tog at the start/end of a row on the neck edge.
- Fasten off.
- Attach yarn to the remaining 11 stitches on the main front panel (skipping the middle st if odd number, or just splitting evenly).
- Work this second half identically, mirroring the decreases for the neck shaping. Fasten off.
Part 3: The Sleeves (MC & CC)
Start with Main Color (MC):
- Ch 28.
- Row 1 (RS): Sc in 2nd ch from hook and in each ch across. (27 sc) Turn.
- Row 2: Ch 1, sc in each st across. Turn. (27 sc)
- Rows 3-10: Work Textured Stitch (Rows 3 & 4 repeat) for 4 times (or until piece measures approx. 3-4 inches).
Change to Contrasting Color (CC):
- Next Row (textured): Ch 1, sc in first st, (4-DCBO in next st, sc in next st). Repeat from * across. Turn.
- Next Row: Ch 1, sc in each st across. Turn.
- Next Row (Shell Stitch Cuff – to mimic the image): Ch 1, (sc in next st, sk 1 st, 5 dc in next st, sk 1 st). Repeat from * across, adjusting the last repeat if necessary. Turn.
- Next Row: Ch 1, sc in each st and in the top of each dc of the shell across. (This flattens the top of the shell).
- Fasten off. Make 2 Sleeves.
Part 4: The Collar (CC)
The collar is worked separately and then attached.
- Ch 40-50 (measure around the neck opening of your front and back panels once joined, and make a chain slightly shorter).
- Row 1 (RS): Hdc in 3rd ch from hook and in each ch across. Turn.
- Row 2: Ch 2 (counts as hdc), hdc in each st across. Turn.
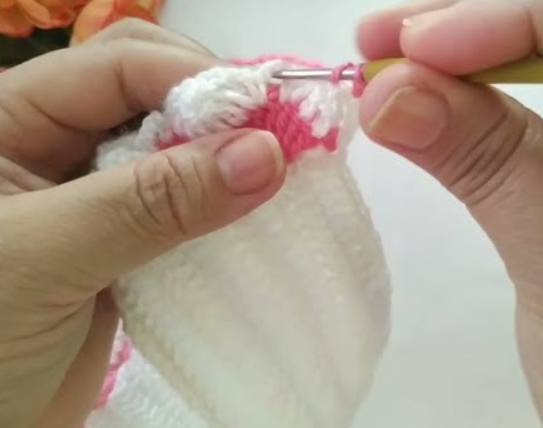
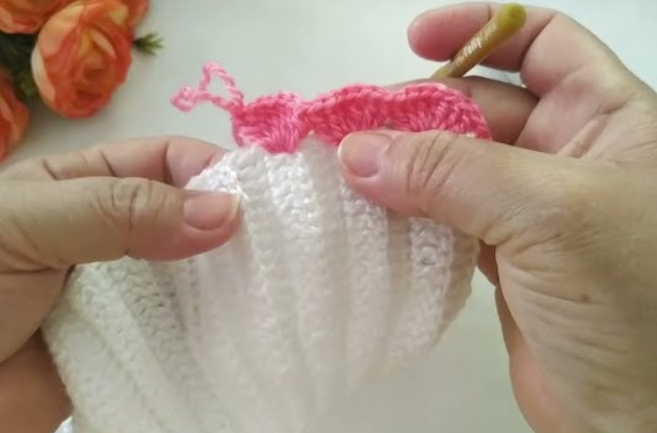
- Row 3 (Scallop Edge): Ch 1, (sc in next st, skip 1 st, 5 dc in next st, skip 1 st). Repeat from * across, adjusting the last repeat if necessary. Turn.
- Row 4: Ch 1, sc in each st and in the top of each dc of the shell across.
- Fasten off.

Assembly:
- Seam the shoulder seams of the front and back panels using a tapestry needle and whip stitch or mattress stitch.
- Attach the sleeves: Align the center of the sleeve top with the shoulder seam. Sew the sleeve into the armhole opening created by the shoulder shaping.
- Seam the side seams from the armpit down to the leg opening.
- Seam the inner leg seams from the crotch down to the leg opening on each side.
- Sew the crotch seam to connect the two leg openings.
- Attach the collar: Align the straight edge of the collar around the neck opening and sew it firmly in place.
- Button Band (Front Opening):
- Along one front opening edge, attach MC yarn, Ch 1, sc evenly along the entire length.
- Along the other front opening edge, attach MC yarn, Ch 1, sc evenly along the entire length. In one of these rows, create buttonholes by (ch 1, sk 1 st, sc in next few sts) at regular intervals. Ensure they align with where your buttons will be.
- Work a second row of sc on both bands for neatness.
- Weave in all loose ends.
- Sew buttons onto the buttonhole-less band, aligning them with the buttonholes.
- Optional: Create a simple crochet chain or braided tie for the top of the collar, as seen in the image, and thread it through a few stitches.
Video tutorial
Sizing Adjustments:
- For a larger size:
- Initial Chains: Increase the starting chain for the front and back panels in multiples of your textured stitch repeat (e.g., if your bobble is every 2 stitches, increase by 2, 4, 6, etc.).
- Length: Work more rows for the body and leg sections to achieve the desired length.
- Sleeves: Increase the initial chain for the sleeves and work more rows to make them longer and wider.
- Collar: Adjust the initial chain length of the collar to fit the larger neck opening.
- Gauge: If you’re using a thicker yarn, adjust your hook size accordingly.
This romper is an adorable project that will surely be loved. Take your time, enjoy the process, and don’t hesitate to adjust based on your little one’s measurements! Happy crocheting!