 by
by 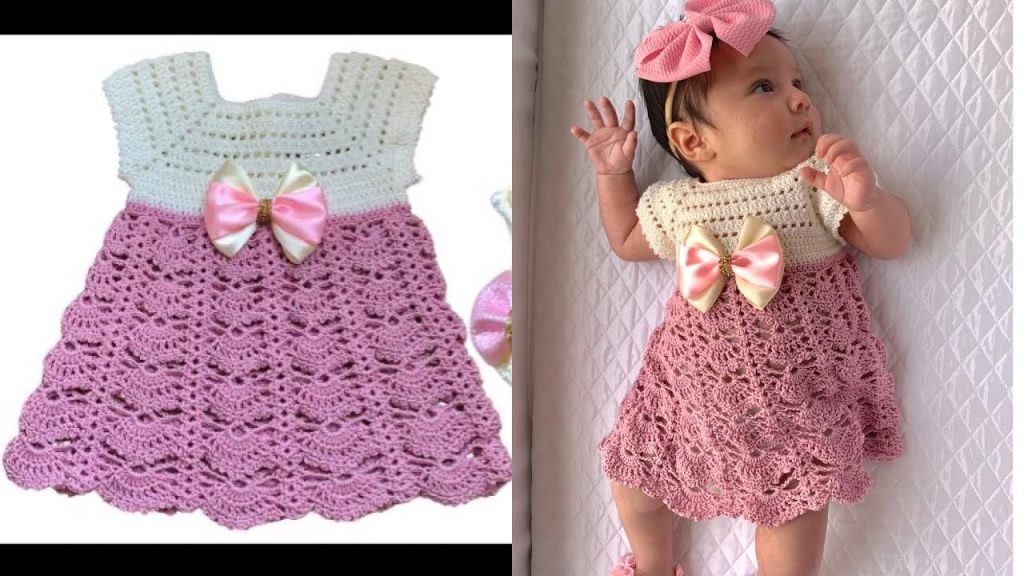
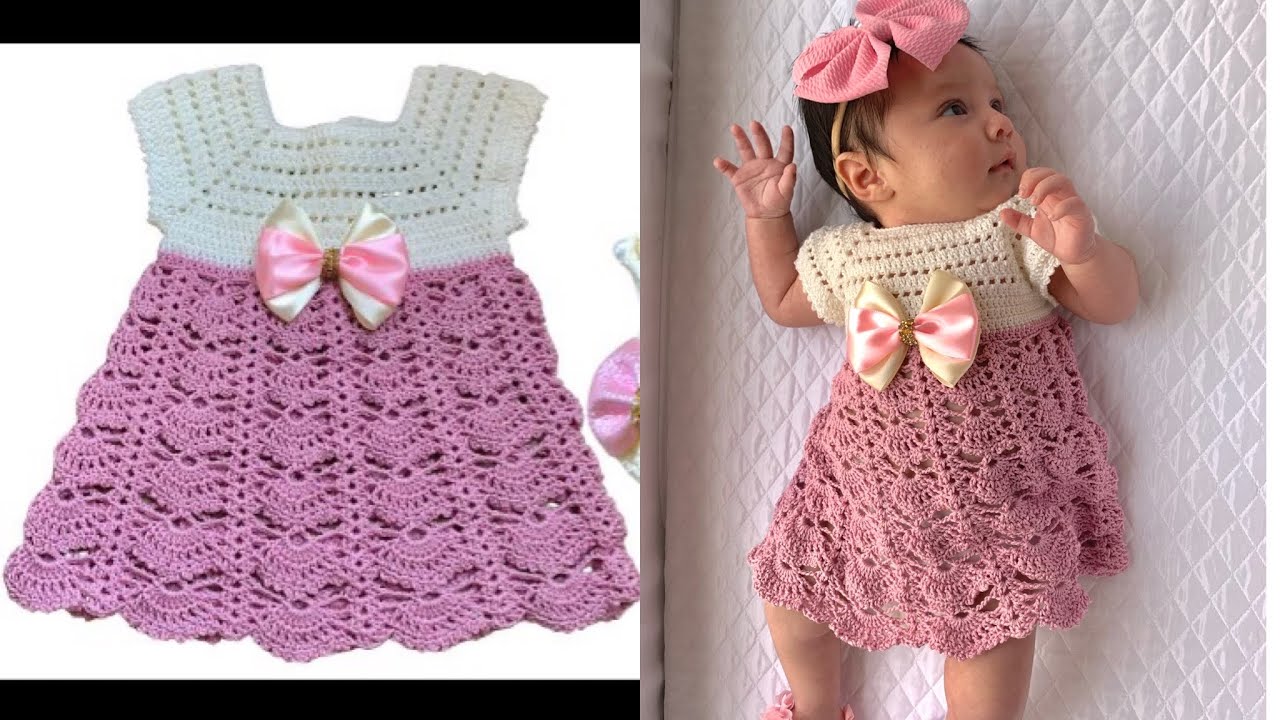
Hello, my dear crochet friends! I am so excited to share this beautiful and simple pattern with you today: the “Little Blossom” Baby Dress. This sweet little dress is designed for a 0-3 month old baby, but I’ll include tips on how to adjust the size. It’s constructed from the top down in one piece, which means no tricky sewing at the end!
The dress features a classic, simple yoke and a beautiful, lacy “blossom” stitch on the skirt that looks intricate but is actually made from a simple two-row repeat. It’s a wonderfully quick and rewarding project, perfect for a baby shower gift or a special outfit for your own little one. The back closes with two small buttons, making it easy to dress the baby.
So, let’s gather our materials and begin creating this lovely heirloom piece!
Materials Needed:
- Yarn: Approximately 150g (about 350 yards) of a soft DK weight (Weight 3) cotton or bamboo blend yarn. A light, breathable yarn is perfect for this dress. I used a soft rose pink.
- Crochet Hook: 4.0mm (G/6) crochet hook
- Scissors
- Yarn Needle for weaving in ends
- Two small buttons (about 1/2 inch or 1.5 cm in diameter)
Pattern Details & Abbreviations (US Terms):
- Size: 0-3 Months
- Finished Chest Circumference: Approx. 18 inches (46 cm)
- Finished Length: Approx. 13 inches (33 cm)
- Gauge: 4 rows of 9 dc = 2×2 inches (5×5 cm)
- ch: chain
- sl st: slip stitch
- sc: single crochet
- dc: double crochet
- V-st: V-stitch (in the same stitch, work: 1 dc, ch 1, 1 dc)
- Shell: 5 dc worked in the same stitch or space.
Step-by-Step Instructions
We will work the dress in four main parts: The Yoke, Separating the Body and Sleeves, The Skirt, and The Finishing Touches.
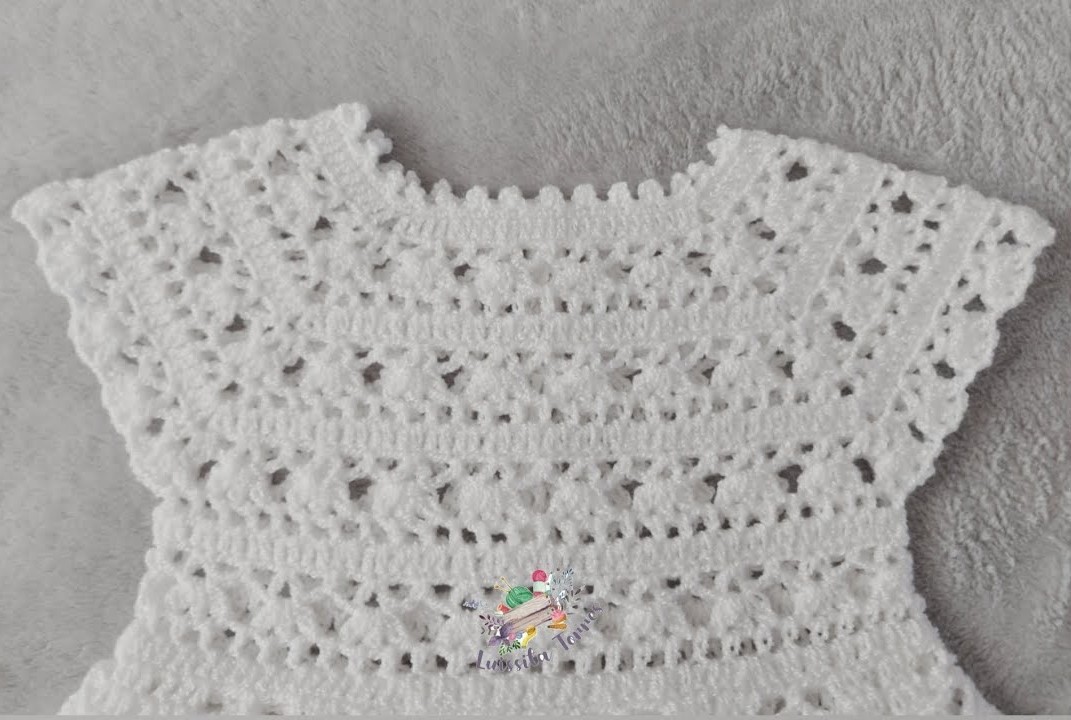
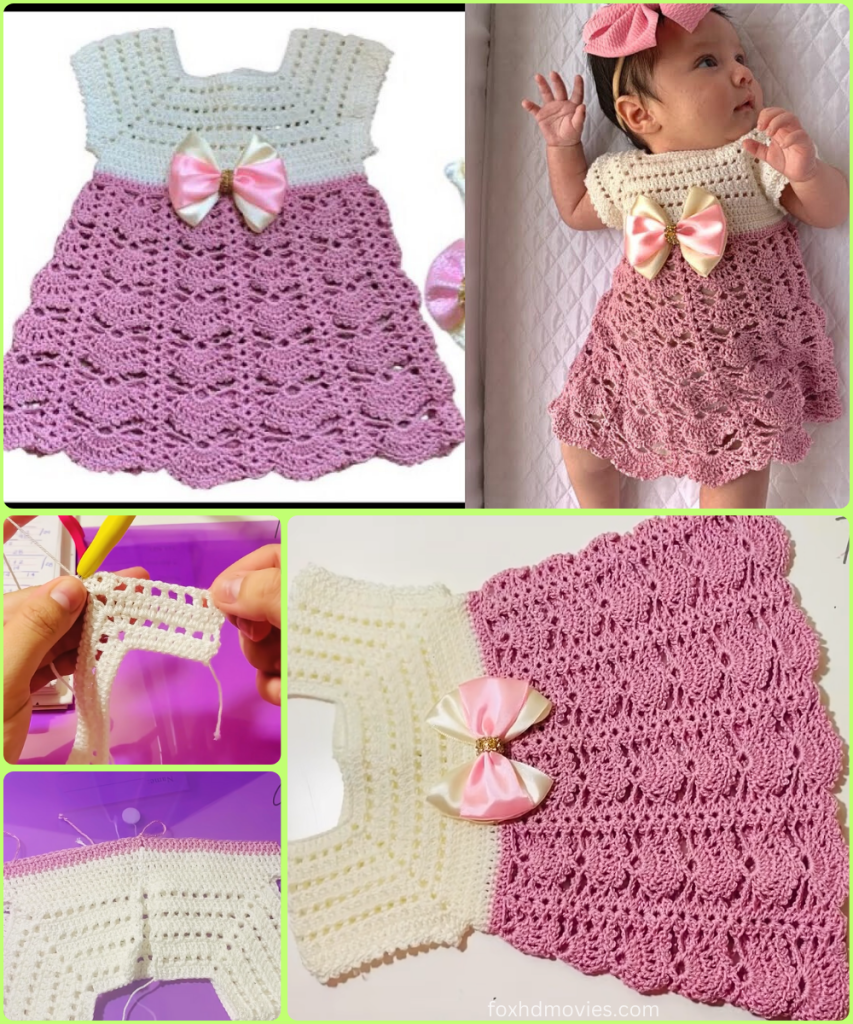
Part 1: The Yoke (Worked in Rows)
The yoke is the top part of the dress that goes over the shoulders. We’ll work it back and forth in rows to leave an opening at the back for the buttons.

- Foundation Chain: Ch 77.
- Row 1: Dc in the 4th ch from the hook (the first 3 skipped chs count as your first dc). 1 dc in each of the next 9 chs (this is the first back panel). In the next ch, work (2 dc, ch 2, 2 dc) – this is your first corner. 1 dc in each of the next 15 chs (sleeve). In the next ch, work (2 dc, ch 2, 2 dc) – second corner. 1 dc in each of the next 22 chs (front). In the next ch, work (2 dc, ch 2, 2 dc) – third corner. 1 dc in each of the next 15 chs (second sleeve). In the next ch, work (2 dc, ch 2, 2 dc) – fourth corner. 1 dc in each of the last 10 chs (second back panel). Turn.
- Row 2: Ch 3 (counts as a dc here and throughout). Dc in each st until you reach the first ch-2 corner space. In the ch-2 space, work (2 dc, ch 2, 2 dc). Continue working dc in each st across to the next corner. Repeat from * in all four ch-2 corner spaces. Dc in each remaining st to the end of the row. Turn.
- Rows 3-7: Repeat Row 2. With each row, your yoke will grow larger as you add stitches at the corners. After Row 7, the yoke should measure about 3 inches (7.5 cm) deep. Do not fasten off.
Part 2: Separating for the Body and Sleeves
Now we will join the front and back to create the armholes and the body of the dress.
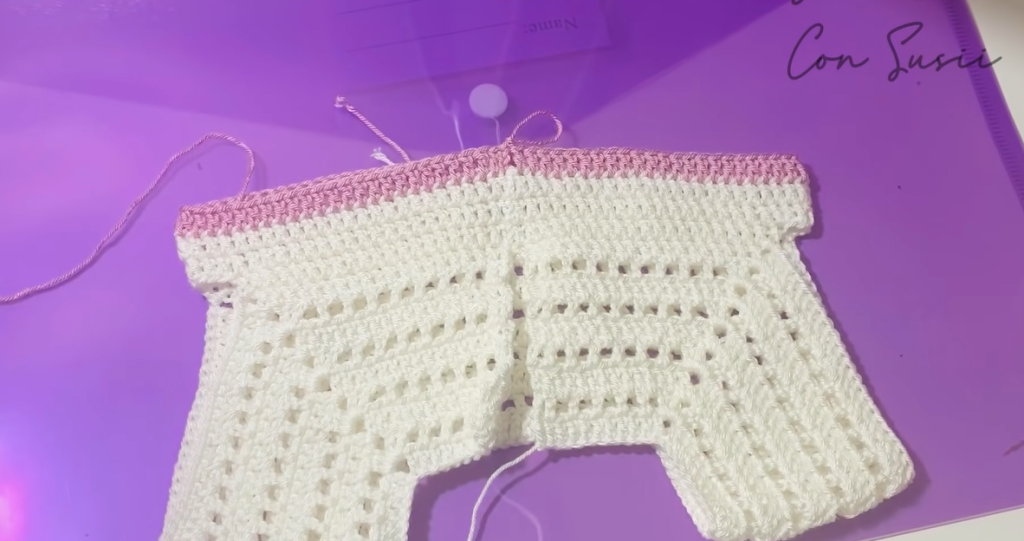
- Row 8 (Joining Row): Ch 3. Dc in each st until you reach the first ch-2 corner space. Work 2 dc in that space. Ch 4 (this creates the underarm). Skip all the stitches of the sleeve section until you reach the next ch-2 corner space. Work 2 dc in that second corner space.
- Now, dc in each st across the front of the dress until you reach the third ch-2 corner space. Work 2 dc in that space. Ch 4 for the second underarm. Skip all the stitches of the second sleeve until you reach the final ch-2 corner space. Work 2 dc in that fourth corner space.
- Dc in each remaining st across the second back panel.
- Now, slip stitch to the top of the beginning ch-3 to join the round. From here on, we will be working in joined rounds for the skirt. Do not turn.
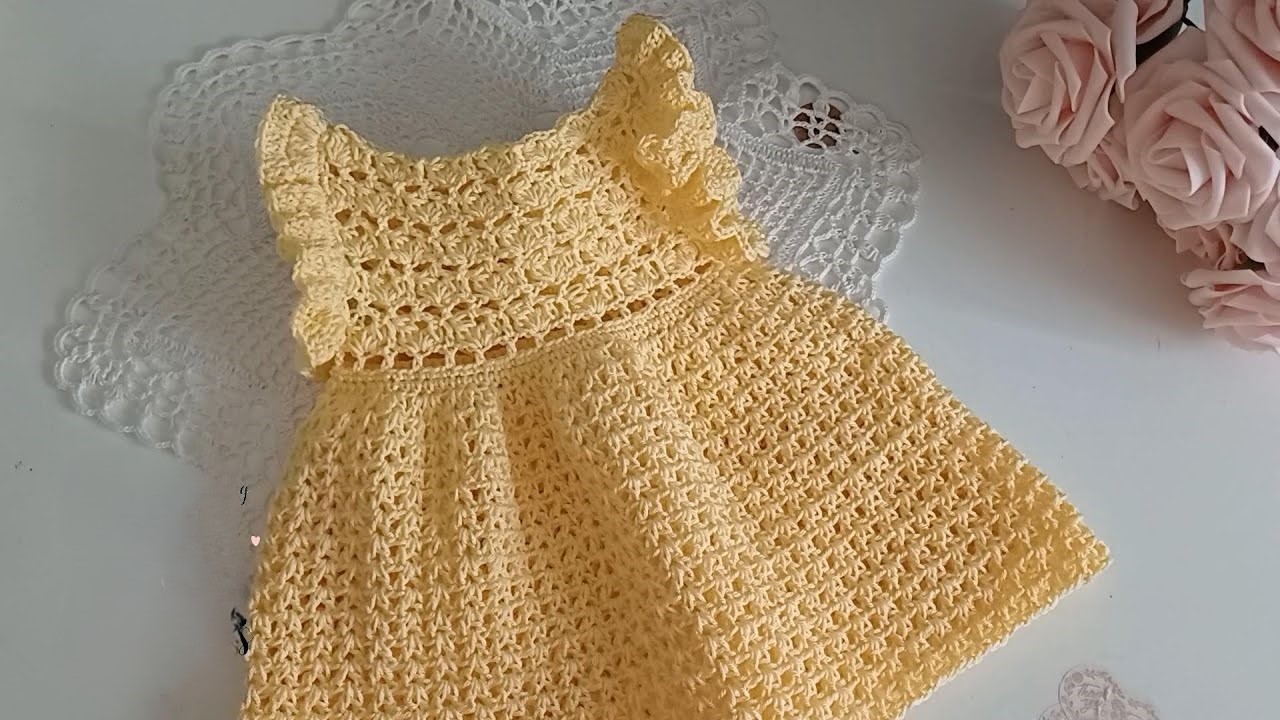
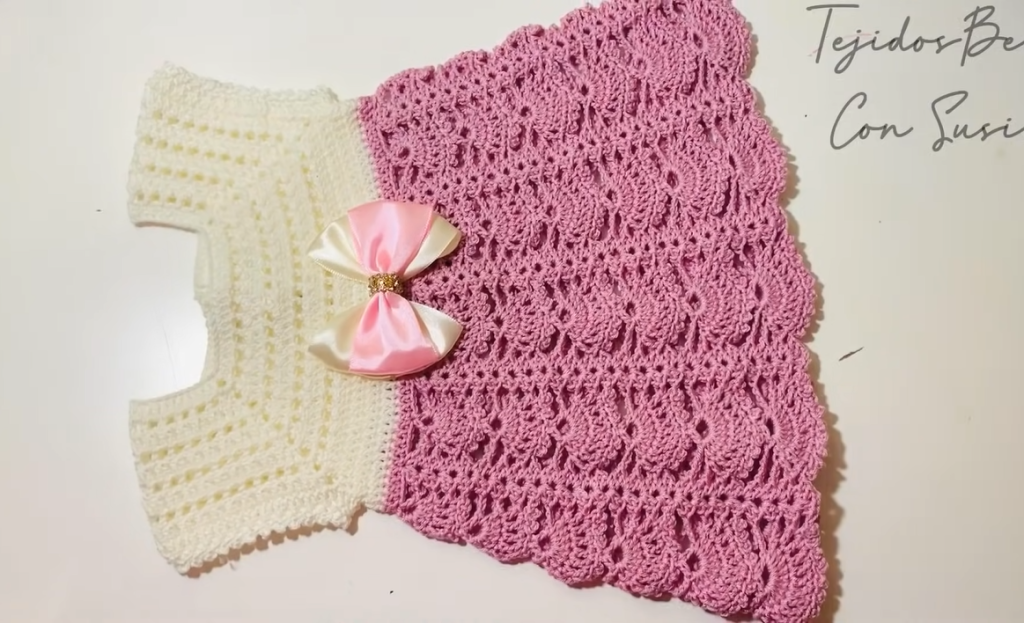
Part 3: The Skirt (Worked in Rounds)
This is where we begin our beautiful “blossom” stitch pattern.
- Round 9 (Setup for Blossom Stitch): Ch 3 (counts as a dc). Dc in each stitch and in each chain around. Join with a sl st to the top of the beginning ch-3.
- Round 10 (V-stitch Round): Ch 4 (counts as 1 dc, ch 1). Dc in the same first st (this creates your first V-st). Skip the next 2 sts, V-st in the next st. Repeat from * all the way around. At the end, skip the last 2 sts and join with a sl st to the 3rd ch of the beginning ch-4.
- Round 11 (Shell Round): Sl st into the first ch-1 space of the first V-st. Ch 3 (counts as a dc), work 4 more dc into the same ch-1 space (first Shell created). Sc in the space between the V-stitches. Work a Shell (5 dc) in the ch-1 space of the next V-st. Repeat from * all the way around. End with an sc in the last space between V-stitches. Join with a sl st to the top of the beginning ch-3.
- Round 12 (V-stitch Round): Ch 4 (counts as 1 dc, ch 1), dc in the same first st (this is a V-st made in the top of the first dc of the shell below). Skip 2 sts, V-st in the center dc of the next Shell. Skip 2 sts and the sc, V-st in the first dc of the next Shell. Repeat from * around. Join with a sl st to the 3rd ch of the beginning ch-4.
- Rounds 13 – 28 (or until desired length): Repeat Rounds 11 and 12. This two-row repeat creates the lacy blossom pattern. Continue until the skirt measures approximately 9-10 inches (23−25 cm) from the underarm.
- Final Round (Edging): Ch 1. Sc in the same stitch and in each stitch around. Join with a sl st. Fasten off and weave in your ends.
Part 4: Finishing Touches (Sleeves and Button Bands)
- Sleeves: Join your yarn at the bottom of one of the armholes.
- Round 1: Ch 1, work sc evenly around the entire armhole opening. Join with a sl st.
- Round 2: Ch 1. Sc in the next st, skip 1 st, work 4 dc in the next st, skip 1 st. Repeat from * around to create a mini scallop edge. Join, fasten off, and weave in ends. Repeat for the other sleeve.
- Button Bands: Lay the dress flat with the back opening facing up.
- Buttonhole Side (usually the left side for girls’ clothing): Join yarn at the top corner of the back opening.
- Row 1: Ch 1, work sc evenly down the side of the opening. Turn.
- Row 2: Ch 1, sc in the first 2 sts. Ch 2, skip 2 sts (first buttonhole). Sc in the next 4 sts. Ch 2, skip 2 sts (second buttonhole). Sc to the end. Turn.
- Row 3: Ch 1, sc in each sc and work 2 sc in each ch-2 space. Fasten off.
- Button Side (right side): Join yarn at the bottom corner of the other back opening. Work 3 rows of sc evenly up the side. Fasten off.
- Buttonhole Side (usually the left side for girls’ clothing): Join yarn at the top corner of the back opening.
- Final Step: Weave in all remaining ends securely. Sew your two buttons onto the button band to line up with the buttonholes.
Video tutorial
And you are finished! You have created a gorgeous, handmade “Little Blossom” Baby Dress. I am so proud of the beautiful work you’ve done. This dress is sure to be a cherished item.
I hope you loved this pattern! If you make one, please feel free to tag me on social media—I absolutely love seeing your beautiful creations! Happy crocheting!