by
by 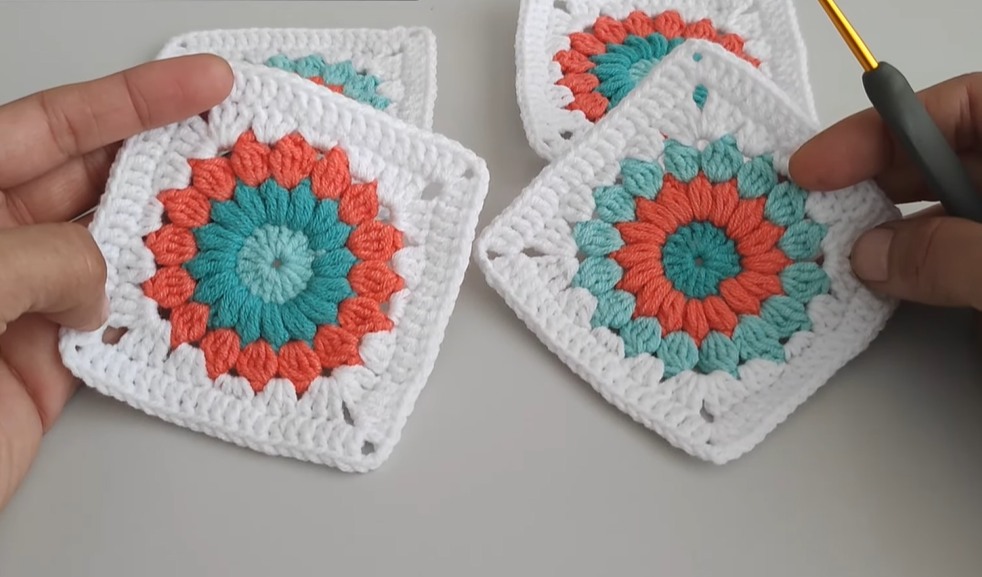
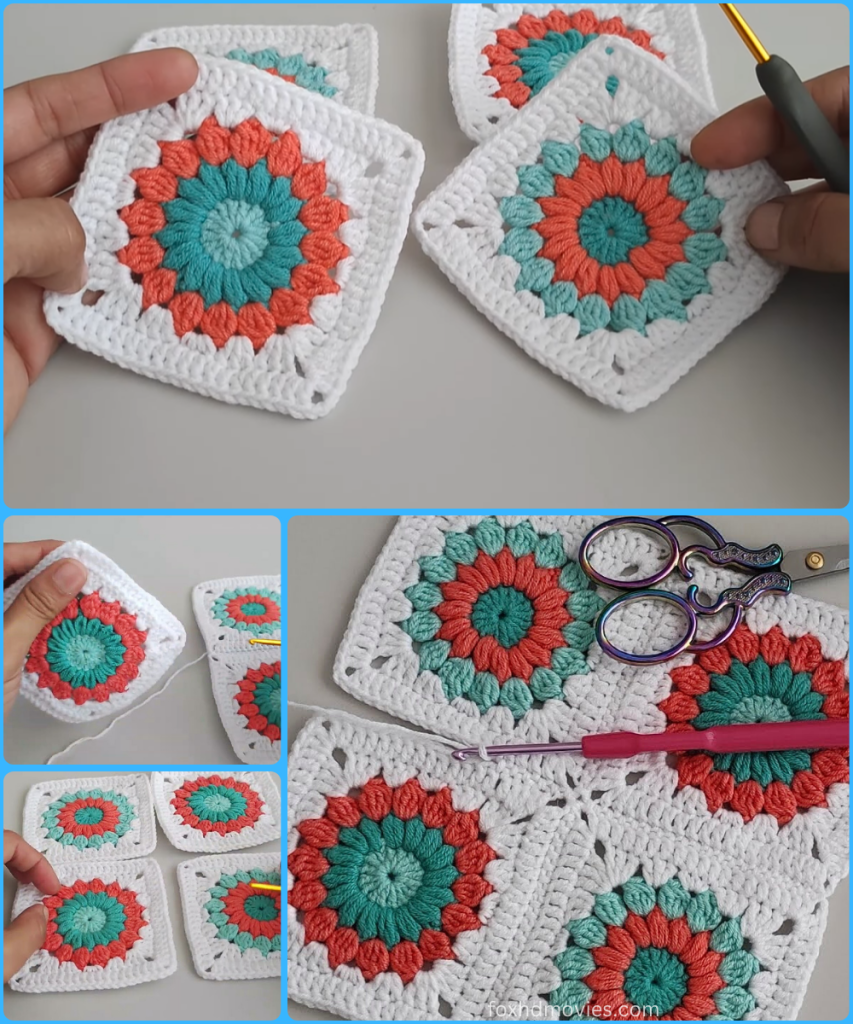
You’ve spent hours crocheting a beautiful collection of granny squares. Now what? The final and most crucial step is joining them all together to create a finished blanket, pillow, or garment. While there are many ways to join squares, this tutorial will teach you a simple and seamless method that results in a clean, professional finish. This technique is perfect for any crocheter, from a beginner looking for an easy join to an experienced crafter who wants a quick and tidy solution.
Materials You’ll Need
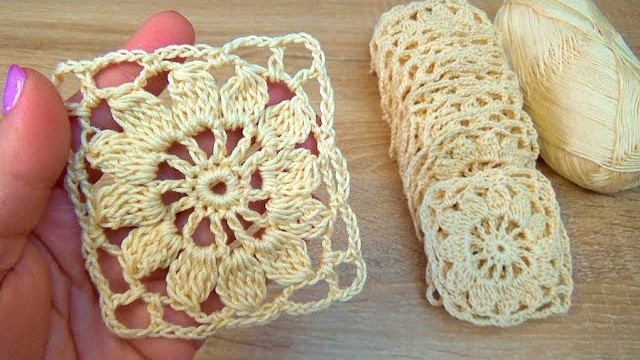
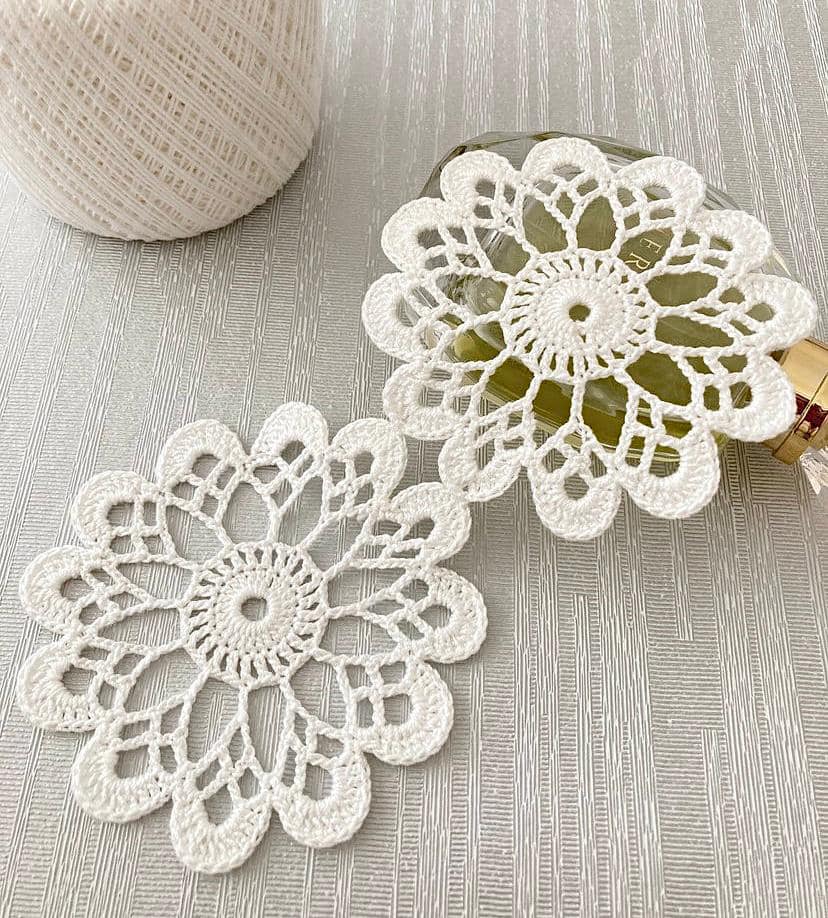
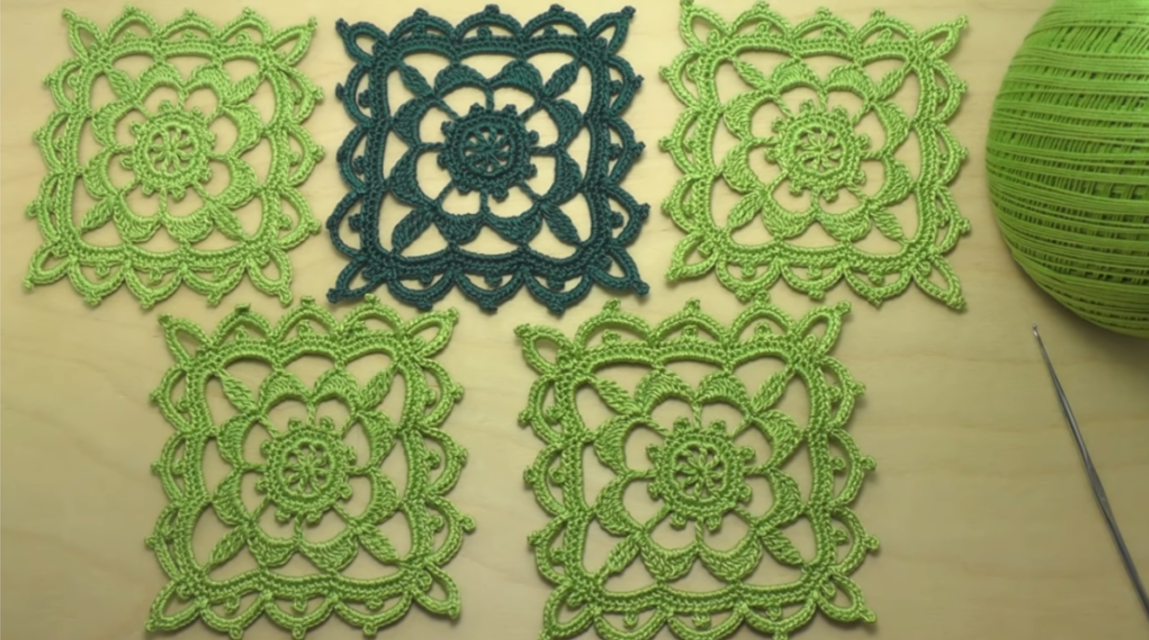
- Crocheted Granny Squares: The squares you want to join. Ensure they are all the same size for a uniform project.
- Yarn: A small amount of yarn for joining. It’s best to use the same weight as your squares. You can choose a contrasting color for a decorative join or a matching color for a more seamless look.
- Crochet Hook: A hook in a size that corresponds to your yarn weight.
- Scissors
- Yarn Needle (Tapestry Needle): For weaving in ends.
The Joining Technique: A Step-by-Step Guide
The video demonstrates a method of joining squares with a new yarn, creating a sturdy and flat seam that doesn’t add bulk.
Part 1: Starting the Join

- Prepare the Squares: Lay your first two squares side by side, right sides facing up. You will be joining the edges that touch.
- Join the Yarn: With your new joining yarn, create a slip knot. Insert your crochet hook into the top-right corner space of the first square. Attach your yarn with a single crochet.
- Work the First Side: Now, you will work single crochet stitches down the entire edge of the first square. Work one single crochet in each stitch of the edge until you reach the corner. You will now have a row of single crochets along one side of your first square.
Part 2: Joining the Second and Third Squares
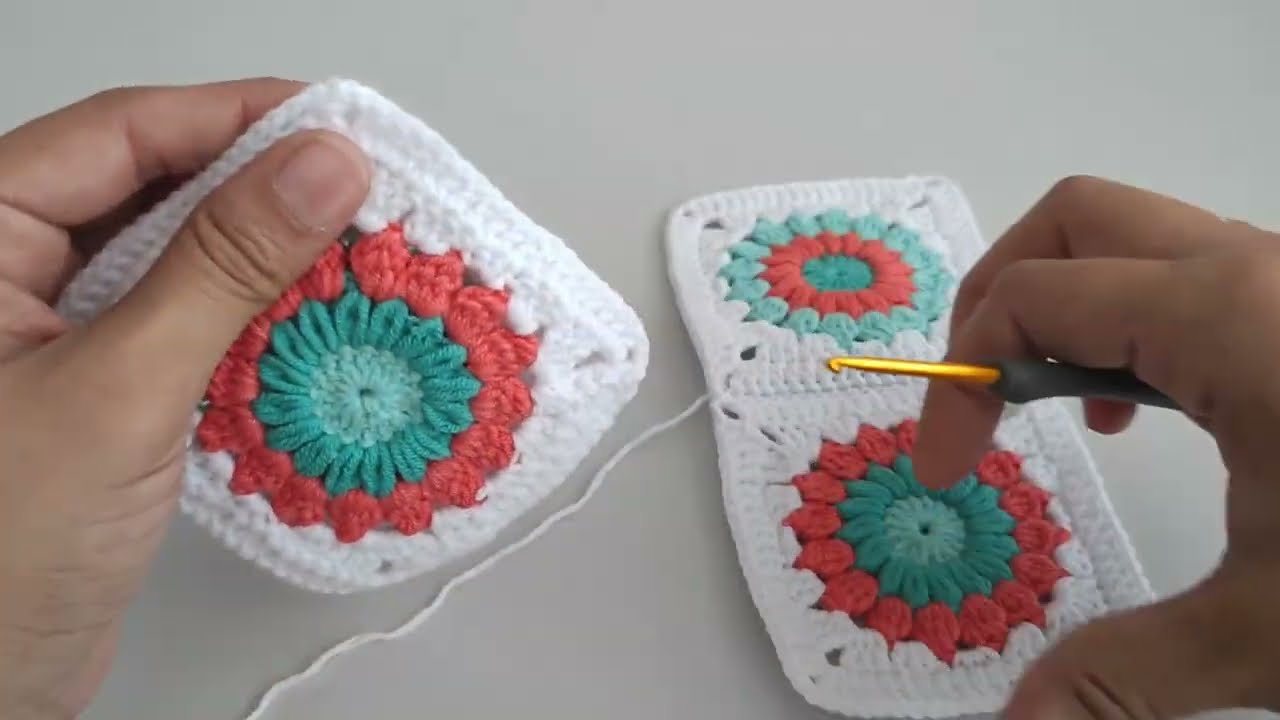
- Attach the Second Square: Take your second square and place it next to the first, with the joining edges touching. Insert your hook into the first corner space of the second square and join with a single crochet. You will now work a single crochet in each stitch along this edge, just as you did for the first square.
- Continue Joining: To join a third square, simply repeat the process. Attach the yarn to the corner of the third square and work a row of single crochets.
- Create a Strip: Continue this process for as many squares as you need to create a long strip. The single crochet stitches will create a neat seam that holds the squares together.
Part 3: Completing the Grid

- Join the Rows: Once you have your first long strip of joined squares, you can now join a second strip to it. Lay your first strip down. Create a second strip of joined squares as you did in Part 2.
- Joining the Strips: Now, you will join the two strips together. Lay your two strips side-by-side. Use the same single crochet joining technique, but this time, you will work a single crochet into each stitch along one edge of the second strip, while simultaneously inserting your hook into the corresponding stitch on the first strip to create a seam. This will join the two strips together, creating a larger grid.
- Weaving in Ends: Once all your squares are joined, the final step is to weave in all your loose ends with a yarn needle for a clean finish.
Enjoy your beautiful, seamless granny square creation!