 by
by 
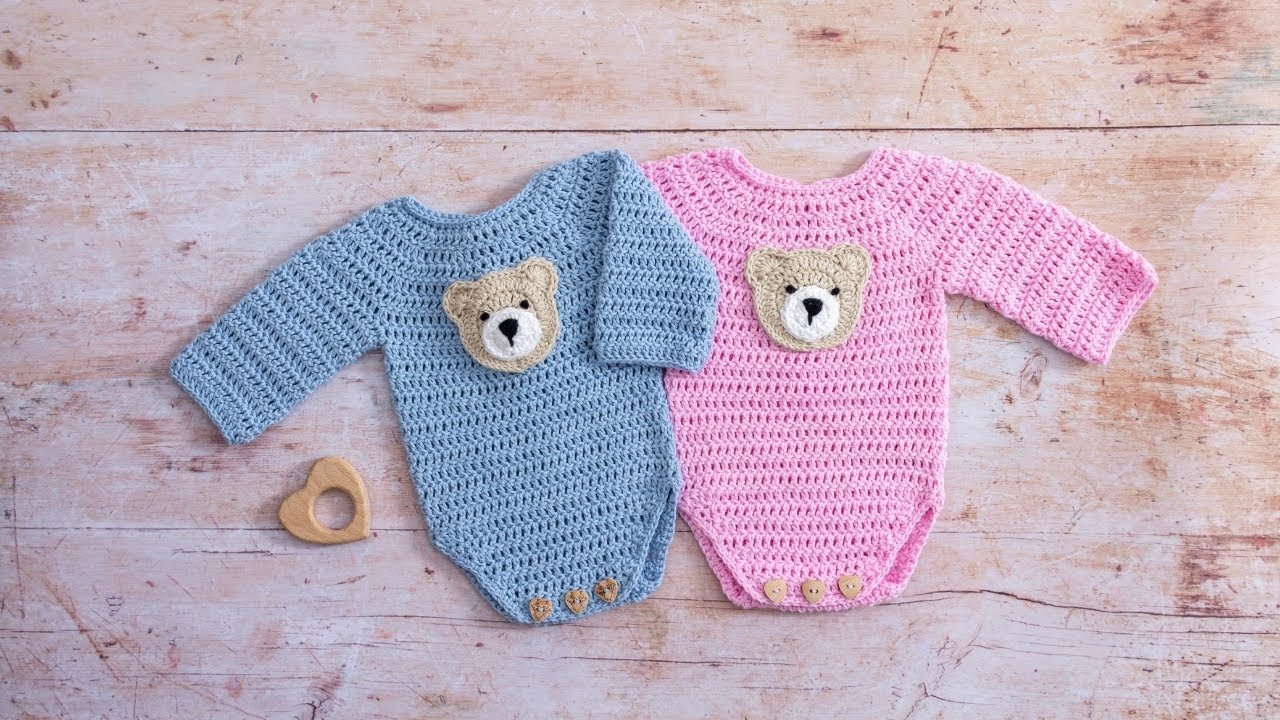
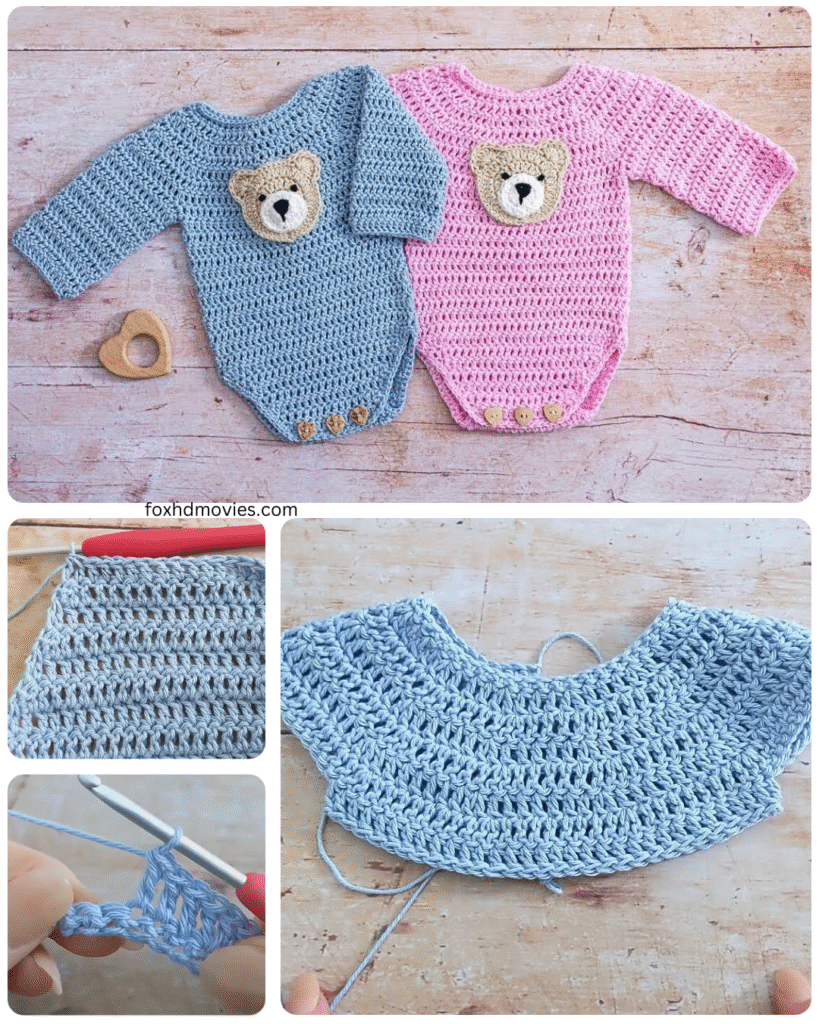
There’s something truly special about creating something handmade for a new baby. The tiny stitches, the soft yarn – it all whispers of love and care. Today, I’m so excited to share a pattern for a sweet and practical Crochet Baby Onesie. This project is perfect for gifting or for welcoming your own little bundle of joy.
This pattern is designed with comfort and ease in mind. We’ll be using a relatively simple stitch pattern that creates a lovely, slightly textured fabric with a little bit of stretch – perfect for wriggly little ones!
What You’ll Need:
- Yarn: Approximately 300-400 yards of DK weight yarn in a soft, baby-friendly fiber (cotton, bamboo, or a soft acrylic blend are great choices). The exact amount will depend on the size you’re making.
- Crochet Hook: Size G/6 (4.0 mm) or the size needed to obtain gauge.
- Scissors
- Yarn Needle for weaving in ends.
- Stitch Markers (at least 4)
- Buttons or Snaps: 3-5 depending on the leg opening preference.
Gauge:
- 18 stitches and 12 rows in half double crochet (hdc) should measure approximately 4 inches (10 cm).
Sizes:
This pattern includes instructions for the following approximate sizes:
- Newborn (0-3 months): Chest: 14-16 inches, Length: 18-20 inches
- 3-6 months: Chest: 16-18 inches, Length: 20-22 inches
- 6-9 months: Chest: 18-20 inches, Length: 22-24 inches
Abbreviations (US Crochet Terms):
- ch = chain
- sl st = slip stitch
- sc = single crochet
- hdc = half double crochet
- dc = double crochet
- inc = increase (work 2 hdc in the same stitch)
- dec = decrease (hdc2tog – half double crochet two together)
- st(s) = stitch(es)
- rep = repeat
- RS = Right Side
- WS = Wrong Side
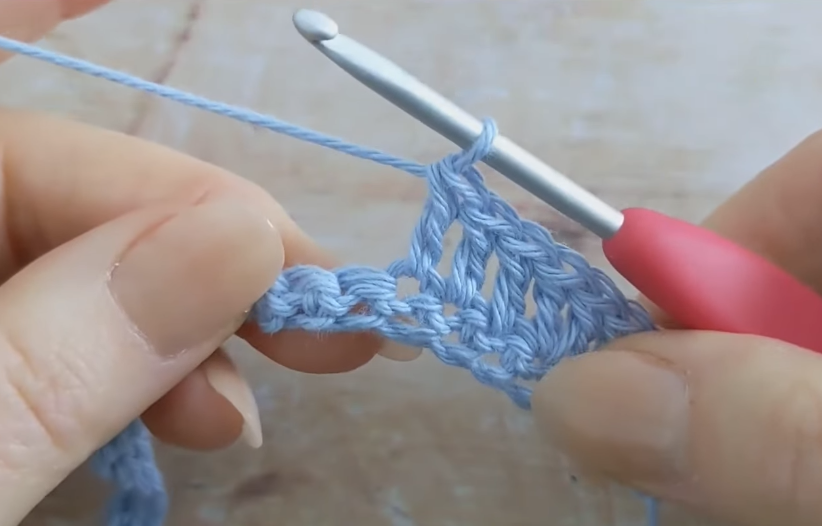
Video tutorial
Let’s Get Started!
Body:
- Chain: Chain 65 (73, 81) for Newborn (3-6 months, 6-9 months).
- Row 1 (RS): Hdc in the second ch from the hook and in each ch across. (64, 72, 80 sts)
- Row 2 (WS): Ch 1 (does not count as a st), hdc in each st across.
- Rows 3-15 (17, 19): Repeat Row 2.
Shape the Armholes:
- Row 16 (18, 20): Ch 1, hdc in the first 16 (18, 20) sts, ch 3, skip the next 10 (12, 14) sts (armhole), hdc in the next 22 (24, 26) sts, ch 3, skip the next 10 (12, 14) sts (armhole), hdc in the last 16 (18, 20) sts. (54, 60, 66 hdc and 2 ch-3 spaces)
- Row 17 (19, 21): Ch 1, hdc in each hdc across, work 3 hdc in each ch-3 space. (60, 66, 72 sts)
- Rows 18-30 (34, 38): Ch 1, hdc in each st across.
Shape the Neckline:
- Row 31 (35, 39): Ch 1, hdc in the first 20 (22, 24) sts. Turn. (Front Right)
- Row 32 (36, 40): Ch 1, hdc in the first 10 (11, 12) sts, dec over the next 2 sts. Turn. (11, 12, 13 sts)
- Row 33 (37, 41): Ch 1, dec over the first 2 sts, hdc in the remaining sts. Turn. (10, 11, 12 sts)
- Rows 34-36 (38-40, 42-44): Ch 1, hdc in each st across. Fasten off.
- Row 31 (35, 39): Join yarn to the 21st (23rd, 25th) st from the edge of Row 30 (34, 38). Ch 1, hdc in the next 20 (22, 24) sts. Turn. (Front Left)
- Row 32 (36, 40): Ch 1, dec over the first 2 sts, hdc in the next 10 (11, 12) sts. Turn. (11, 12, 13 sts)
- Row 33 (37, 41): Ch 1, hdc in the first 10 (11, 12) sts, dec over the last 2 sts. Turn. (10, 11, 12 sts)
- Rows 34-36 (38-40, 42-44): Ch 1, hdc in each st across. Fasten off.
- Row 31 (35, 39): Join yarn to the remaining 20 (22, 24) sts of Row 30 (34, 38). Ch 1, hdc in each st across. (Back)
- Rows 32-36 (36-40, 42-44): Ch 1, hdc in each st across. Fasten off.

Sleeves (Make 2):
- Chain: Chain 36 (40, 44).
- Round 1: Sl st to join, forming a ring. Ch 1, hdc in each ch around. (36, 40, 44 sts)
- Round 2: Ch 1, hdc in each st around.
- Rounds 3-10 (12, 14): Repeat Round 2.
- Shape the Sleeve Cap:
- Next Round: Ch 1, hdc in the first 2 sts, dec over the next 2 sts, hdc in the next 28 (32, 36) sts, dec over the next 2 sts, hdc in the last 2 sts. (34, 38, 42 sts)
- Following Round(s): Ch 1, hdc in each st around for 2 (2, 3) more rounds.
- Next Round: Ch 1, hdc in the first st, dec over the next 2 sts, hdc in the next 26 (30, 34) sts, dec over the next 2 sts, hdc in the last st. (32, 36, 40 sts)
- Final Round: Ch 1, hdc in each st around for 1 (1, 2) more rounds. Fasten off, leaving a long tail for sewing.
Leg Openings (Make 2):
- Join yarn at the crotch of the body.
- Round 1: Ch 1, sc evenly around the leg opening. Join with a sl st to the first sc.
- Round 2-4: Ch 1, sc in each st around. Join with a sl st. Fasten off.

Assembly:
- Sew the Shoulders: With the wrong sides facing, align the shoulder edges of the front and back pieces. Sew them together securely using your yarn needle.
- Attach the Sleeves: Align the top center of the sleeve cap with the shoulder seam. Sew the sleeves into the armholes.
- Edging (Optional): You can add a round of single crochet around the neckline and the front openings for a neat finish.
- Button/Snap Placket:
- Right Front: With the right side facing, join yarn at the bottom of the right front opening. Ch 1, sc evenly up the front edge, around the neckline, and down the other front edge. Fasten off.
- Left Front: Repeat the edging on the left front. Decide on the placement of your buttons or snaps. Create small buttonholes (using chain spaces) on the right placket or prepare for snap placement. Sew on your buttons or snaps to the left placket to correspond with the buttonholes/snap positions.
Finishing Touches:
- Weave in all loose ends securely.
Congratulations! You’ve crocheted a beautiful and cozy baby onesie! Imagine how adorable the little one will look and feel in your handmade creation.
Tips and Variations:
- Stripes: Introduce stripes of different colors for a playful look.
- Texture: Experiment with different stitch patterns for the body, like seed stitch or moss stitch.
- Appliqués: Add small crocheted appliques like stars, hearts, or animals for extra charm.
- Yarn Choice: Consider using organic cotton or bamboo yarn for sensitive baby skin.
I hope you enjoyed making this pattern! Please share your creations – I’d love to see them! Happy crocheting!