 by
by 
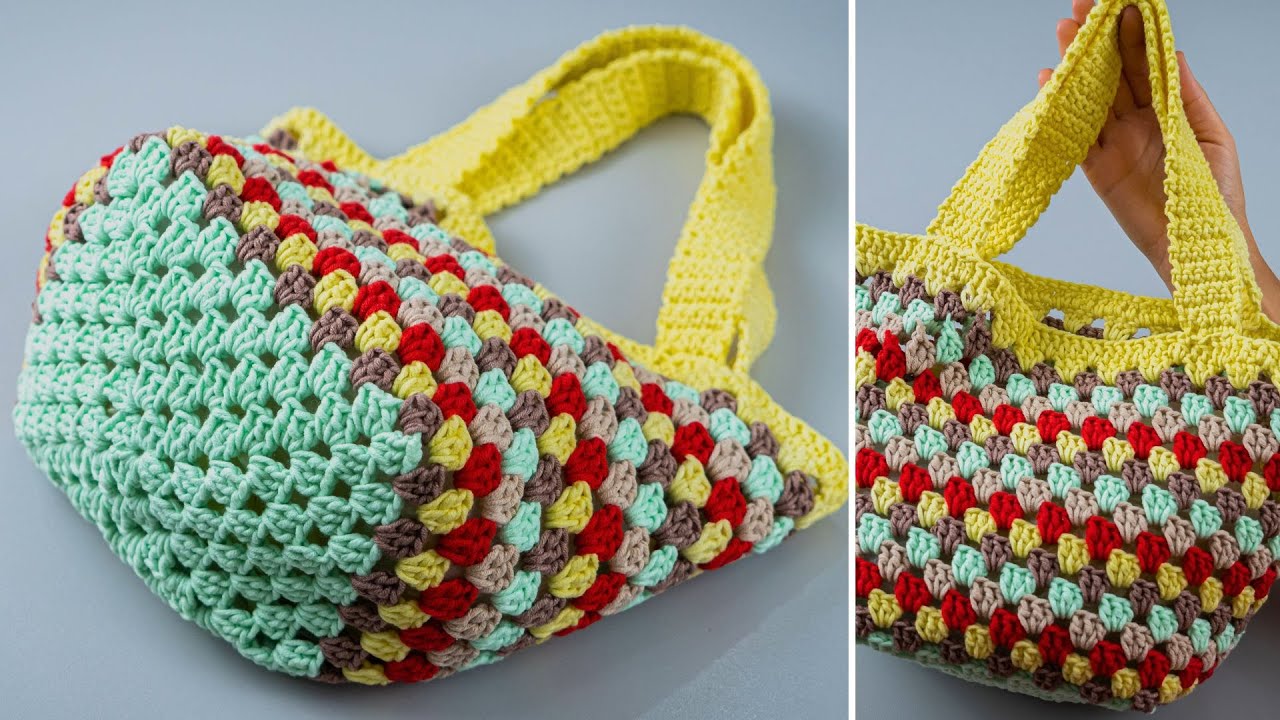
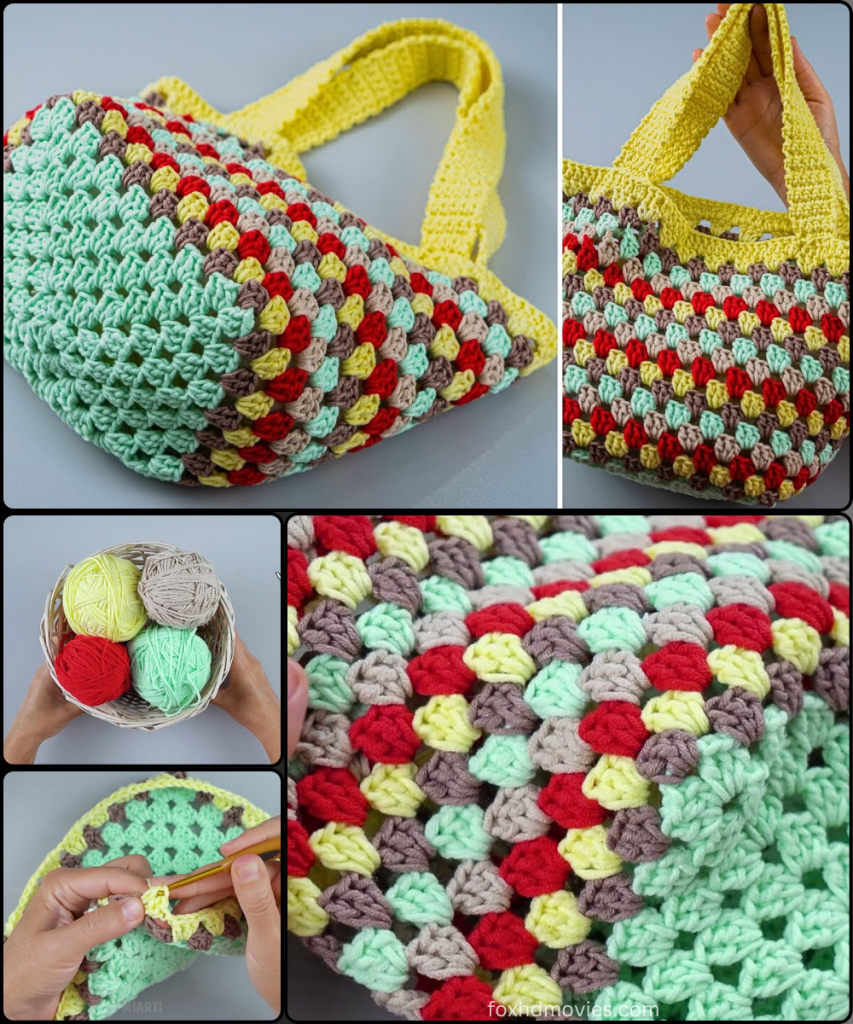
Create your own beautiful and practical tote bag with this classic crochet pattern! Inspired by a detailed tutorial, this design guides you through crafting a spacious and functional bag using a large granny square motif. This bag is a wonderful way to add a handmade, modern accessory to your collection, showcasing your love for color and crochet.
Skill Level: Advanced Beginner / Intermediate (familiarity with granny square construction and color changes recommended)
Finished Size (Approximate):
- Dimensions: Varies based on yarn, hook, and tension.
- The finished bag is a medium-sized tote, perfect for everyday use.
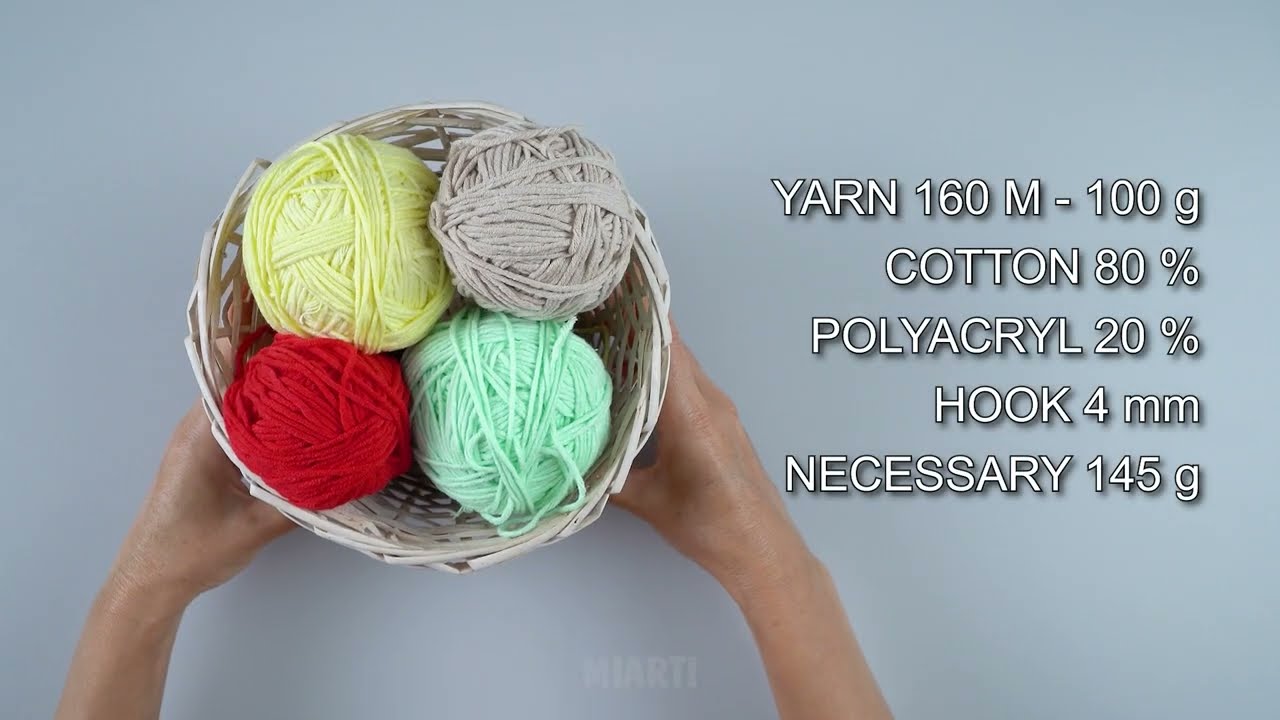
Materials You’ll Need:
- Yarn: Approximately 160g of a worsted-weight yarn. The video uses a yarn that is 80% cotton and 20% polyacryl.
- A durable yarn that creates a firm fabric, such as a worsted-weight cotton, cotton blend, or acrylic, would be ideal.
- Crochet Hook: 4.0 mm crochet hook (or a hook size appropriate for your chosen yarn).
- Tapestry Needle: For weaving in ends.
- Scissors
- Stitch Marker (Optional): To mark the beginning of rounds or specific stitches.
Gauge (Crucial for Motif Consistency!):
Achieving consistent gauge for your motif is crucial to ensure the bag holds its shape. Work a swatch to ensure your stitches are tight with no visible gaps. If your fabric is too loose, go down a hook size.
Abbreviations (US Crochet Terms):
- ch: chain
- sl st: slip stitch
- sc: single crochet
- dc: double crochet
- st(s): stitch(es)
- MR: Magic Ring
- FO: Fasten off
Let’s Crochet Your Granny Square Tote Bag!
This bag is constructed by creating one large granny square, then building up the sides, and finally adding the handles.
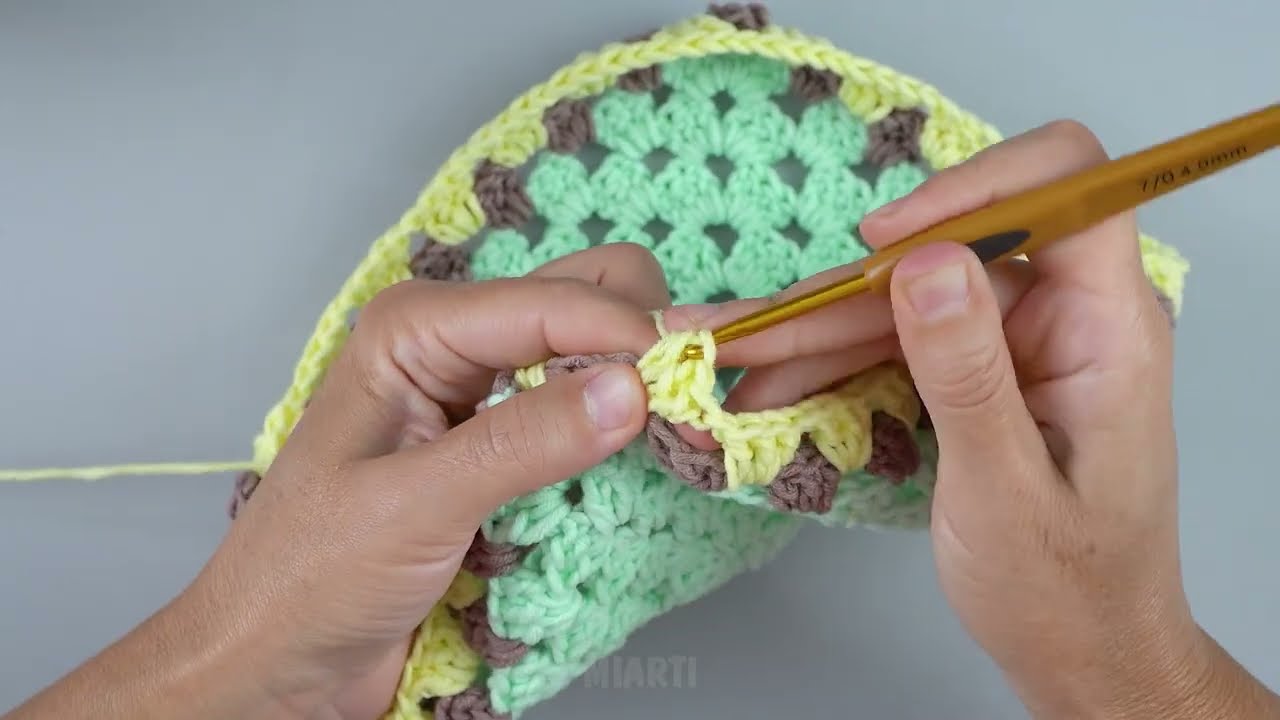
Part 1: The Granny Square Base
The granny square is the foundation of the bag. The video demonstrates how to create a multi-colored square by changing colors at the end of each round.
Start with Color A
- Round 1 (Center): Create a Magic Ring (MR). Ch 3 (counts as 1 dc). Work 11 dc into the MR. Join with a sl st to the top of the initial ch 3. (12 dc)
- Pull the MR tight to close. FO Color A.
Attach Color B to any dc stitch
- Round 2: Ch 3 (counts as 1 dc). Work 2 dc in the same stitch. Work 3 dc in the next stitch. Repeat from * to * 10 more times. Join with a sl st to the top of the initial ch 3.
- This round begins to form the corners. FO Color B.
Attach Color C to any ch-1 space
- Round 3: Sl st into the first ch-1 space. (Ch 3, 2 dc, ch 2, 3 dc) in the ch-1 space. (This is your first corner).
- Ch 1. Work 3 dc in the next ch-1 space. Ch 1.
- Work (3 dc, ch 2, 3 dc) in the next ch-1 space. Repeat the side and corner sequence around. Join with a sl st to the top of the initial ch 3. FO Color C.
- Round 4 & beyond: Continue working rounds in this manner, changing colors and increasing the number of ch-1 spaces and 3-dc clusters along each side of the square until your motif is the desired size.
Part 2: The Bag Body
- Work on the sides: Once the granny square is the desired size for the base of the bag, you will begin working up the sides. The video demonstrates how to continue crocheting in continuous rounds.
- Change Colors: The video shows how to continue changing yarn colors to create a striped or solid-colored body for the bag.
- Continue crocheting rounds of double crochet, changing colors as desired, until the bag is the desired height.
Part 3: The Handles

- Create the Handles: The video shows how to create the bag’s handles by working rows of double crochet stitches.
- You will be working on a specific portion of the top edge of the bag to create the handle opening.
- Attach the Handles: The video shows how to continue crocheting the handles onto the bag by working a few rounds of single crochet, decreasing stitches to create a sturdy and finished handle.
- Weave in all ends: Use your tapestry needle to neatly weave in any remaining loose yarn tails. This is especially important since you will have many color changes.
Video tutorial
Versatile Uses for Your Granny Square Tote Bag:
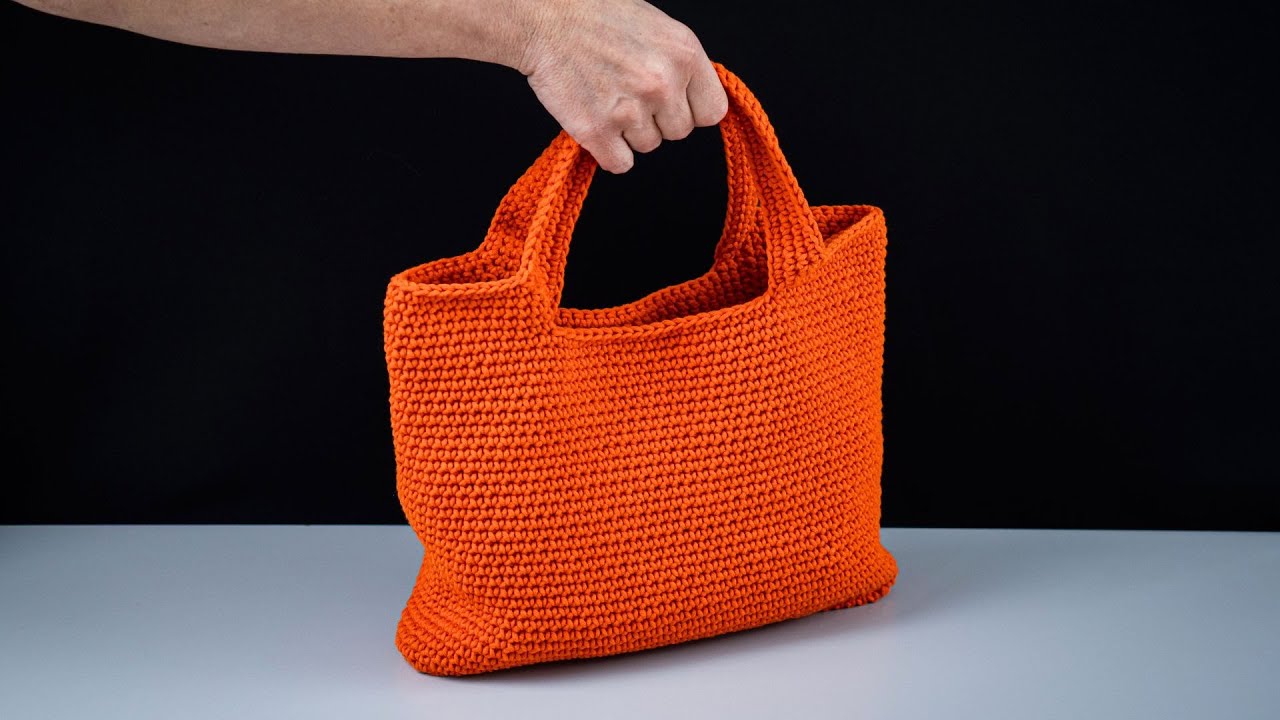
- Everyday Tote: A stylish and unique accessory for daily use.
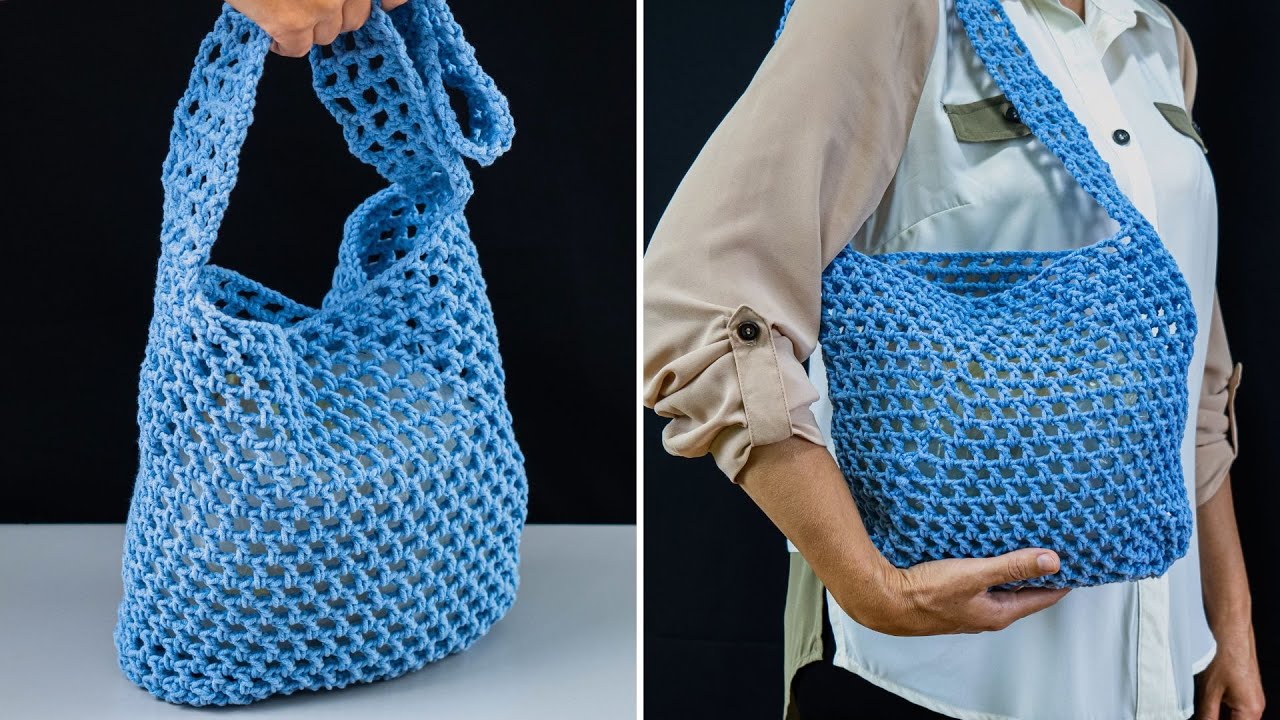
- Shopping Bag: A reusable and stylish alternative for groceries or market trips.
- Project Bag: Perfect for carrying a small crochet or knitting project.
- Gift: A thoughtful and impressive handmade gift.
Customization & Tips:
- Color Combinations: Experiment with different color palettes for your square and bag body to create a unique effect.
- Size Adjustment:
- Larger Bag: Work more rounds on your granny square or use a thicker yarn and larger hook.
- Smaller Bag: Work fewer rounds on your granny square or use a thinner yarn and smaller hook.
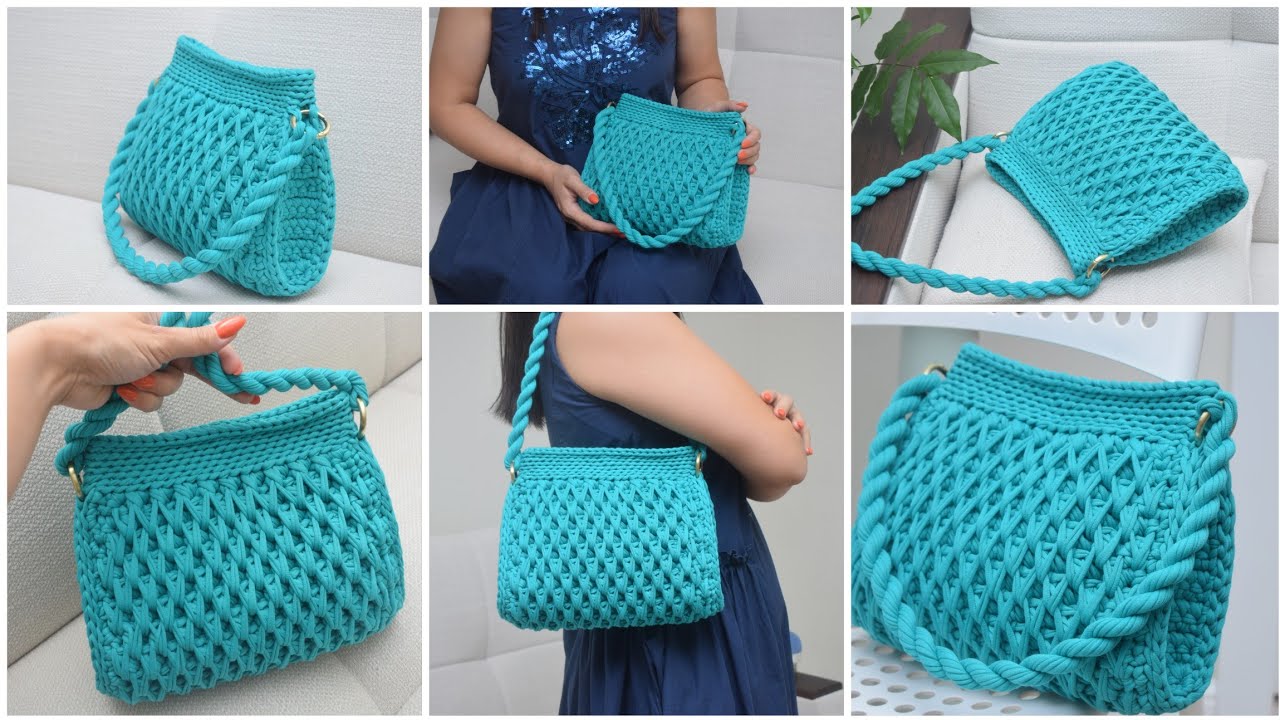
- Handle Style: Explore different handle options, such as two short handles for a handbag, or a longer strap for a crossbody bag.
Enjoy crocheting your own beautiful, practical, and unique tote bag! It’s a fantastic way to create a personalized accessory that’s sure to become a favorite.