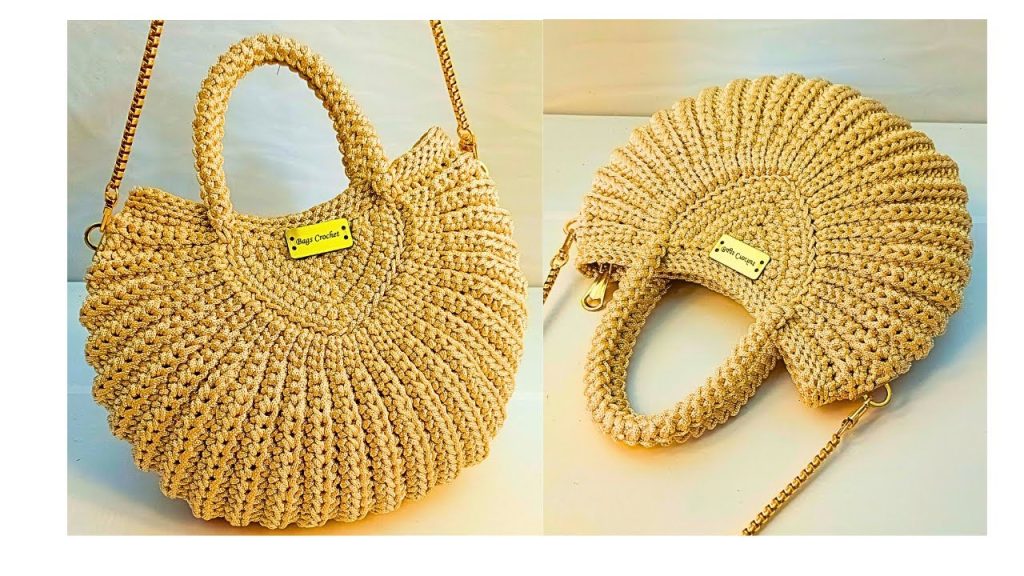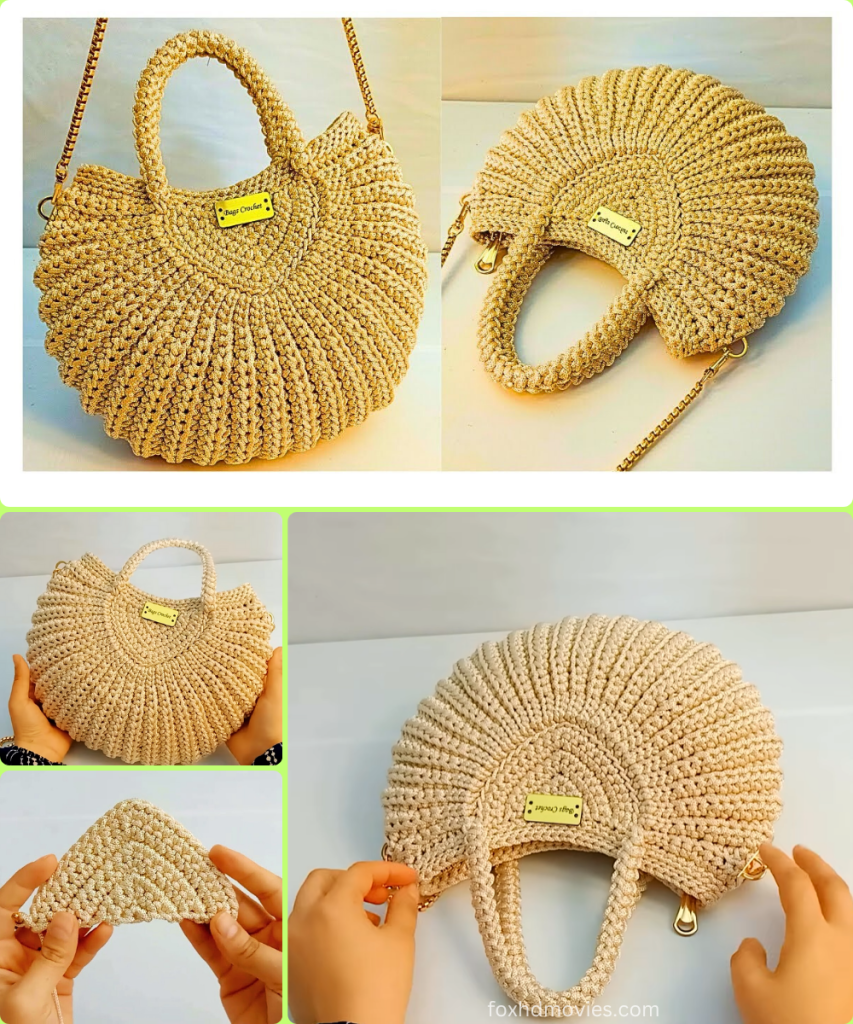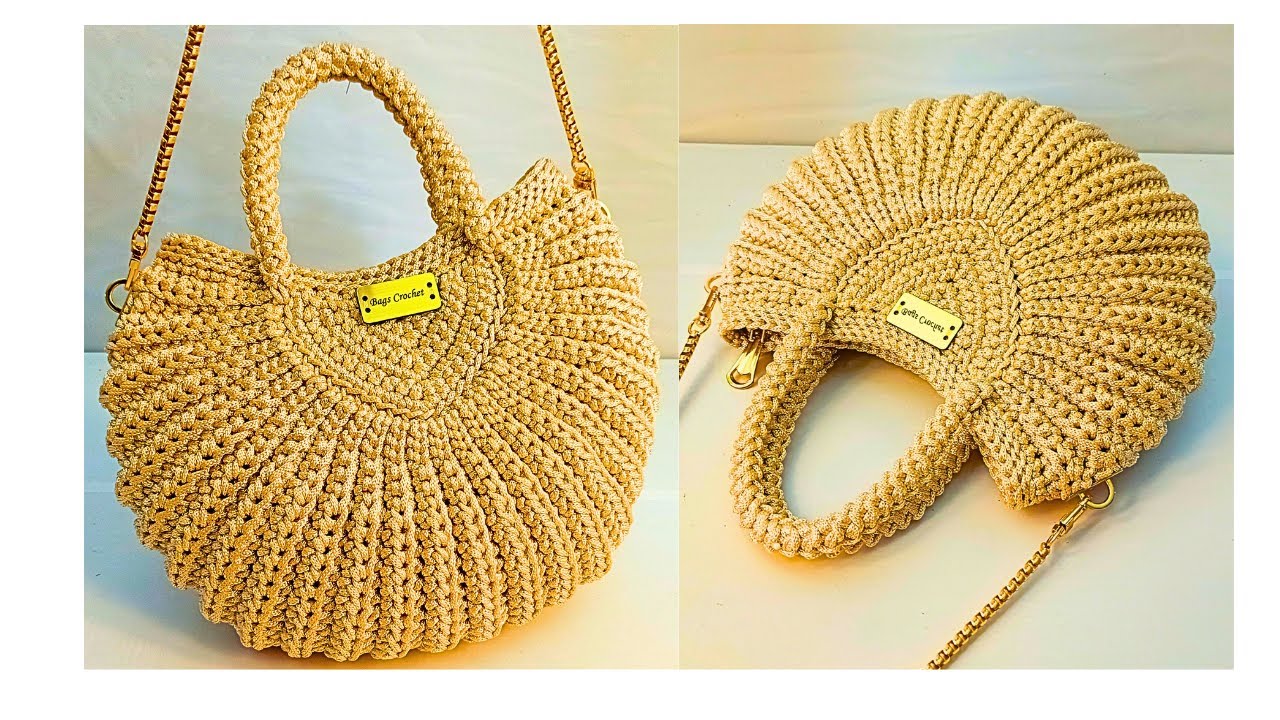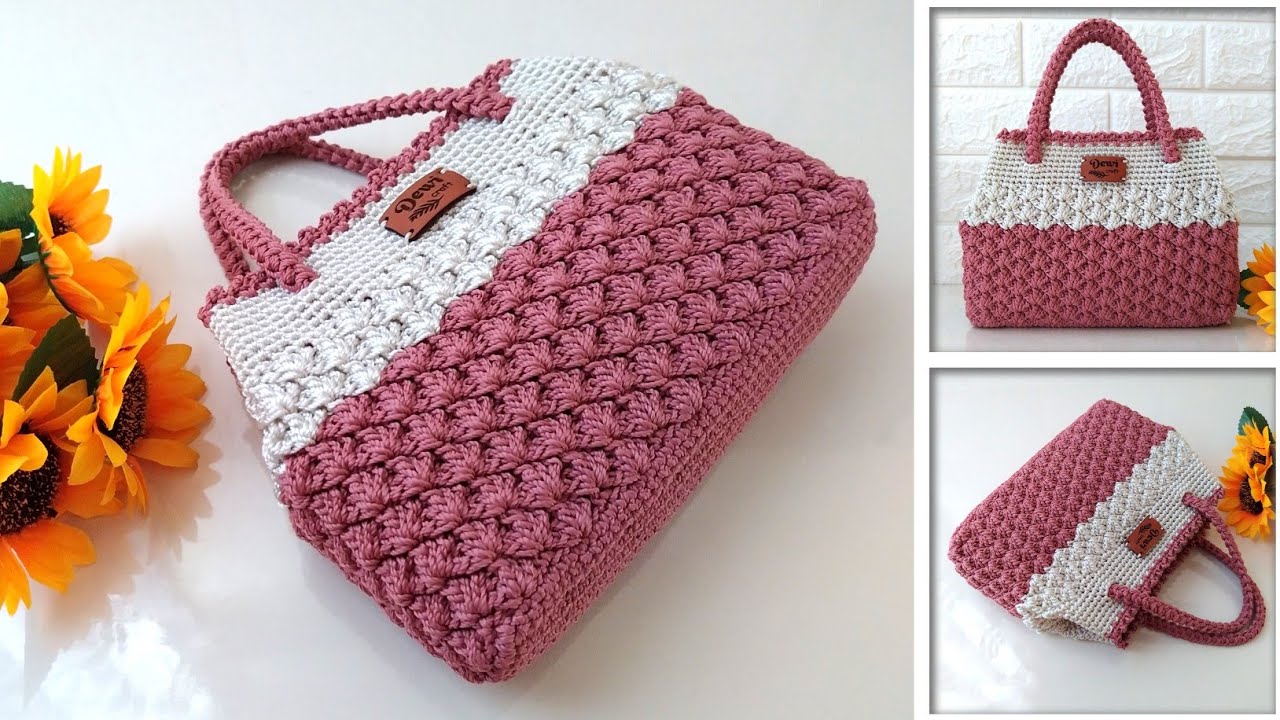
Create your own chic and structured bag with this fantastic crochet pattern, perfect for adding a touch of handmade elegance to your everyday style! Inspired by a clear and detailed tutorial, this design utilizes sturdy chain yarn to create a bag that holds its shape beautifully, featuring a unique construction and elegant Romanian cord handles.
Skill Level: Intermediate

Finished Size (Approximate):
- Base Diameter: Approximately 7-8 inches (18-20 cm)
- Bag Height: Approximately 8-10 inches (20-25 cm)
- Size can vary based on yarn/cord, hook, and tension.
Materials You’ll Need:
- Yarn/Cord: Approximately 400-600 grams of 3mm chain yarn (also known as tubular yarn or cord yarn).
- Chain yarn creates a very structured and sturdy fabric, ideal for bags that need to hold their shape. If you cannot find chain yarn, you can substitute with a very stiff, bulky/super bulky weight yarn or multiple strands of a sturdy cotton yarn, but the final weight and drape will differ.
- Crochet Hook: 5.0 mm (H/8) crochet hook.
- Choose a hook size that creates a very firm, dense fabric with no gaps when working with your chosen yarn/cord.
- Tapestry Needle: For seaming and weaving in ends.
- Scissors
- Stitch Markers: At least three stitch markers (or scrap yarn).
- Magnetic Clasp or Zipper (Optional): For bag closure.
Gauge (Crucial for Bag Structure!):
Achieving a very firm, dense fabric is crucial for this bag to hold its elegant shape. Work a swatch to ensure your stitches are tight with no visible gaps. If your fabric is too loose, go down a hook size.
Abbreviations (US Crochet Terms):
- ch: chain
- sl st: slip stitch
- sc: single crochet
- inc: increase (2 sc in the same stitch)
- dec: decrease (sc2tog – single crochet 2 stitches together)
- st(s): stitch(es)
- MR: Magic Ring
- FO: Fasten off
Special Stitch:
- Romanian Cord (for Handles):
- Ch 2.
- Sc in 2nd ch from hook.
- Turn your work slightly to the left (counter-clockwise). You will see a single horizontal bar on the left side of your sc stitch. Insert hook under this bar, yarn over, pull up a loop, yarn over, pull through both loops (1 sc made).
- Repeat step 3, always inserting your hook under the two horizontal bars that appear on the left side of your work. This creates a dense, rounded cord.
Let’s Crochet Your Stylish & Structured Bag!
This bag is constructed in several parts: two identical base/lower body pieces, connecting them, building the upper body, and then adding handles.
Part 1: Base/Lower Body Panels (Make 2 – Main Yarn Color)
These are identical circular/oval pieces that form the base and lower part of the bag. The video starts with a magic circle and builds up.

- Create a Magic Ring (MR).
- Round 1: Ch 1 (does not count as a stitch). Work 7 sc into the MR. Join with a sl st to the first sc. (7 sc)
- Round 2: Ch 1. Inc in each sc around. Join with a sl st to the first sc. (14 sc)
- Round 3: Ch 1. Sc in first sc, inc in next sc. Repeat from * to * around. Join with a sl st to the first sc. (21 sc)
- Round 4: Ch 1. Sc in first 2 sc, inc in next sc. Repeat from * to * around. Join with a sl st to the first sc. (28 sc)
- Round 5: Ch 1. Sc in first 3 sc, inc in next sc. Repeat from * to * around. Join with a sl st to the first sc. (35 sc)
- Round 6: Ch 1. Sc in first 4 sc, inc in next sc. Repeat from * to * around. Join with a sl st to the first sc. (42 sc)
- Round 7: Ch 1. Sc in first 5 sc, inc in next sc. Repeat from * to * around. Join with a sl st to the first sc. (49 sc)
- The video works 7 rounds for the base. This forms a circular piece. If you want a more oval base, you would adjust the initial chain and increase pattern as in previous patterns.
FO, leaving a long tail (approx. 15-20 inches / 38-50 cm) on one of the panels for seaming. Weave in the starting tail from the MR on both panels.
Part 2: Connecting the Panels & Building the Body (Main Yarn Color)
This section connects the two base panels and begins to form the bag’s sides.

- Take your two finished panels from Part 1. Place them side-by-side, with the wrong sides facing each other if you have a distinct right/wrong side.
- Connecting Chain: Ch 10 (or desired width for the bottom of your bag. Adjust this chain length based on how wide you want the bottom of your bag to be).
- Joining: Sl st into a stitch on the second panel.
- Working Around: Now, you will work in continuous rounds around both panels and the connecting chain.
- Ch 1. Sc in each sc around the first panel.
- Sc in each ch along the connecting chain.
- Sc in each sc around the second panel.
- Sc in each ch along the other side of the connecting chain.
- Use stitch markers to mark the corners where the chain meets the panels to help keep track.
- The video then divides the work into three sections and continues to build the body. This suggests working in continuous rounds around the entire circumference created by joining the two panels.
- Body Rounds (Straight): Continue working straight rounds of single crochet, without increases or decreases, until the bag reaches your desired height before shaping the top (e.g., 5-7 inches / 12-18 cm).
- The video shows a structured body with specific stitch patterns for each section. For simplicity, continuous single crochet will create a sturdy bag. If you want a specific texture, you could try working in BLO or using a different stitch.
Part 3: Shaping the Top (Main Yarn Color)
The video shows increasing and decreasing rows to shape the bag. Given the continuous round construction, we’ll use decreases for shaping.
- Decrease Round 1: Ch 1. Sc in next X sc, dec over next 2 sc. Repeat from * to * around. Join with a sl st to the first sc.
- Adjust ‘X’ based on your current stitch count to ensure even decreases. You’ll want to reduce the circumference gradually.
- Decrease Round 2 (Optional): Ch 1. Sc in next Y sc, dec over next 2 sc. Repeat from * to * around. Join with a sl st to the first sc.
- Continue with 1-2 more decrease rounds if you want a more tapered top, ensuring you maintain an even stitch count for the opening.
Part 4: Top Border (Main Yarn Color)
- Final Border Round: Ch 1. Sc in each sc around the bag’s opening. Join with a sl st to the first sc.
- This creates a neat, finished edge for the bag opening.

FO, leaving a long tail for weaving in.
Part 5: Handles (Make 2 – Main Yarn Color)
These handles are made using the Romanian Cord technique.
- Create a Romanian Cord until it reaches your desired handle length (e.g., 10-12 inches / 25-30 cm).
- The video uses this technique for the handles. It creates a very strong, rounded, and elegant cord.
FO, leaving a long tail at each end for attaching. Repeat to make a second handle.
Part 6: Assembly & Finishing Touches
- Weave in all ends: Use your tapestry needle to neatly weave in any remaining loose yarn tails throughout the bag.
- Attach Handles:
- Position your Romanian cord handles evenly on the top front and back of the bag opening.
- Using the long tails from the handles and your tapestry needle, securely sew the handles to the bag. Ensure they are firmly attached to withstand weight.
- Add Closure (Optional):
- Magnetic Clasp: Sew a magnetic clasp to the inside top edges of the bag for a secure closure.
- Zipper: For a more secure closure, you can hand-sew a zipper into the bag’s opening.
Video tutorial
Versatile Uses for Your Stylish & Structured Bag:
- Everyday Carryall: Spacious enough for your essentials, a small book, or a tablet.
- Work Bag: A chic option for light work items.
- Shopping Bag: Lightweight and durable for quick trips.
- Gift: A truly impressive and unique handmade gift.
Customization & Tips:
- Yarn Choice: Experiment with different colors of chain yarn. The stiffness of the yarn will greatly impact the bag’s structure.
- Size Adjustment:
- Larger Bag: Increase the initial stitch count for the base and the number of increase rounds. Add more straight rounds for height.
- Smaller Bag: Decrease the initial stitch count for the base and the number of increase rounds. Reduce the number of straight rounds.
- Stitch Variation: While single crochet creates a dense fabric, you could experiment with half double crochet for a slightly faster-working fabric, but ensure it still holds its shape.
- Lining (Optional): For extra durability and to prevent small items from slipping through stitches, you can sew a fabric lining inside the bag.
Enjoy crocheting your own simple, practical, and stylish everyday bag! It’s a fantastic way to create a unique and functional accessory that’s sure to become a favorite.


