 by
by 
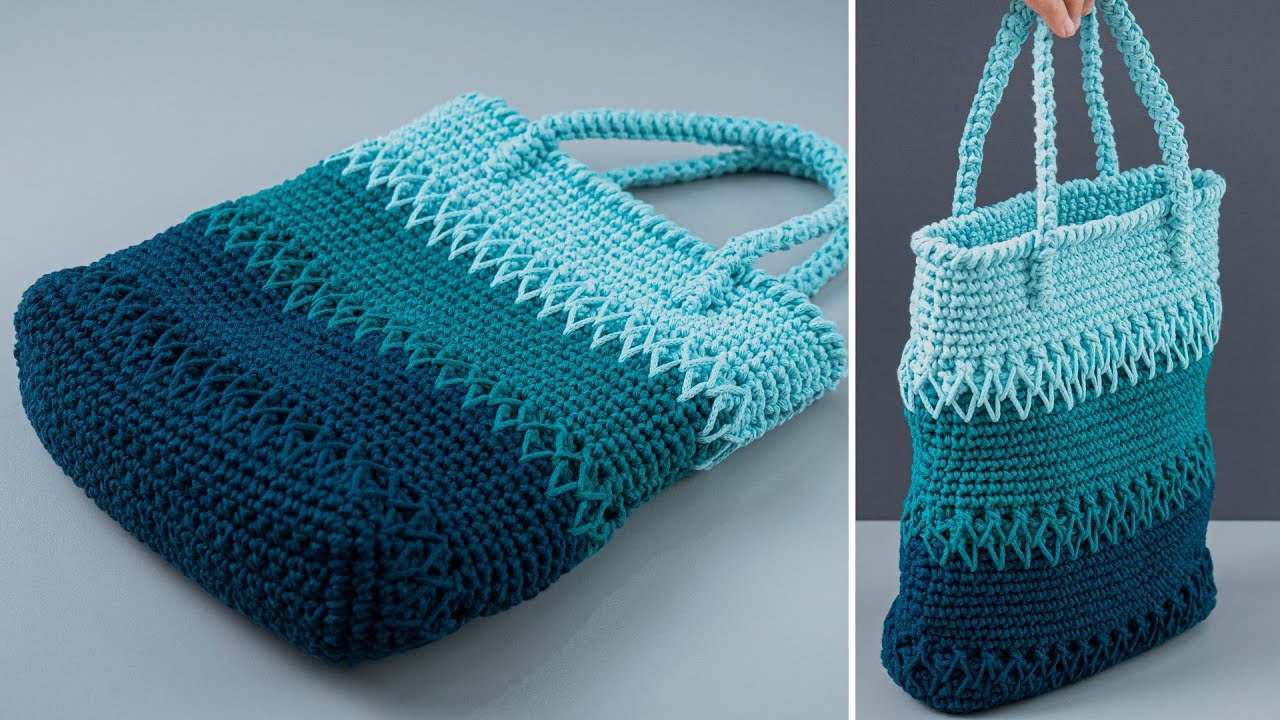
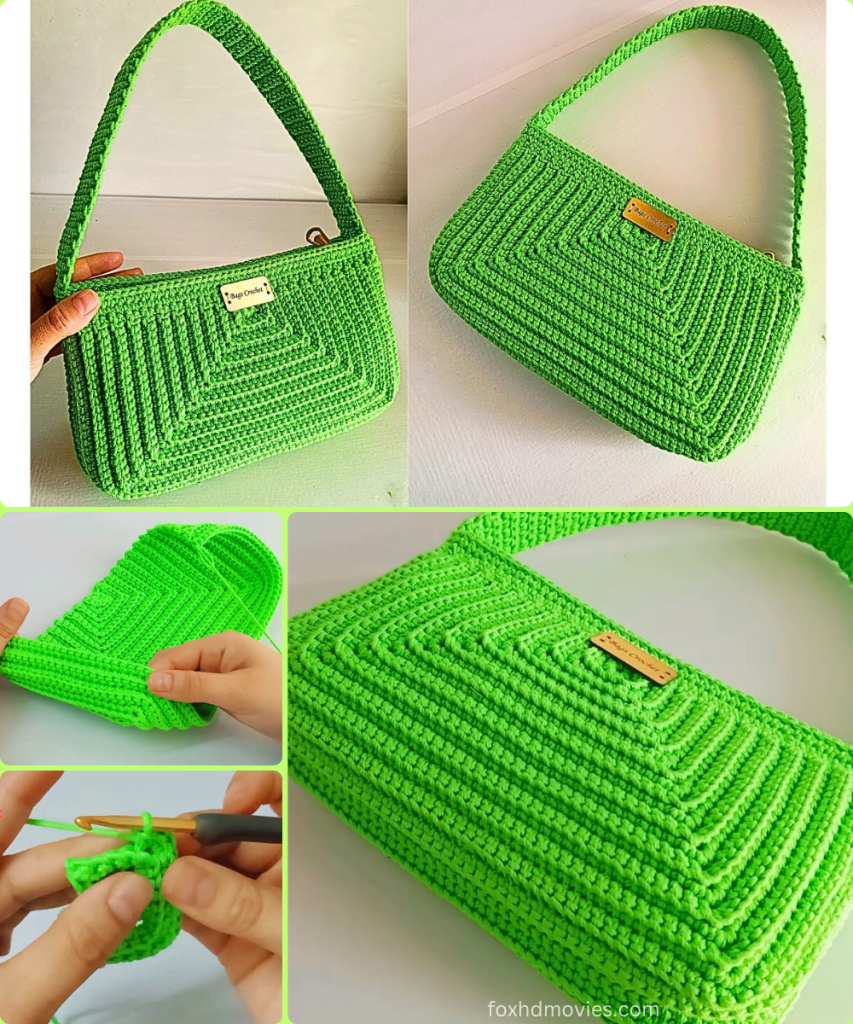
Create your own elegant and practical bag with this straightforward crochet pattern, perfect for adding a touch of handmade charm to your daily routine! Inspired by a clear and concise tutorial, this design focuses on simplicity and functionality, resulting in a stylish accessory that’s easy to make and versatile for various uses.
Skill Level: Easy
Finished Size (Approximate):
- Base: Approximately 10-12 inches (25-30 cm) long x 4-5 inches (10-12.5 cm) wide
- Bag Height: Approximately 8-10 inches (20-25 cm)
- Size can vary based on yarn, hook, and tension.
Materials You’ll Need:
- Yarn: Approximately 300-500 grams of sturdy yarn (e.g., cotton blend, acrylic, or even T-shirt yarn/trapillo for a firmer bag) in your chosen color.
- The video uses a yarn that creates a nice, structured fabric. Choose a yarn that will hold its shape well.
- Crochet Hook: A hook size appropriate for your chosen yarn, typically 4.0 mm (G/6) to 6.0 mm (J/10).
- Choose a hook size that creates a firm, dense fabric with no gaps when working with your chosen yarn.
- Tapesty Needle: For weaving in ends and seaming (if applicable).
- Scissors
- Stitch Marker (Optional): To mark the beginning of rounds or specific stitches.
- Bag Handles (Optional): Two pre-made bag handles (e.g., leather, bamboo, or plastic rings) if you prefer not to crochet them.
- Magnetic Clasp or Button (Optional): For bag closure.
Gauge (Crucial for Bag Structure!):
Achieving a firm, dense fabric is crucial for this bag to hold its elegant shape. Work a swatch to ensure your stitches are tight with no visible gaps. If your fabric is too loose, go down a hook size.
Abbreviations (US Crochet Terms):
- ch: chain
- sl st: slip stitch
- sc: single crochet
- hdc: half double crochet
- dc: double crochet
- inc: increase (2 sc/hdc/dc in the same stitch)
- st(s): stitch(es)
- MR: Magic Ring (if starting with a circular base)
- FO: Fasten off
- BLO: Back Loop Only
Let’s Crochet Your Simple & Stylish Bag!
This bag is constructed in a straightforward manner, typically starting with a base and then working up the sides. The video focuses on a simple, elegant design.
Part 1: The Bag Base (Main Yarn Color)
The video appears to create a rectangular or oval base. We’ll use an oval base for versatility.
- Ch 30. (Adjust this chain length for a longer or shorter bag base. For a wider base, increase the initial chain).
- Round 1: Sc in 2nd ch from hook. Sc in next 27 ch. 3 sc in last ch.
- Now working on the opposite side of the chain: Sc in next 27 ch. 2 sc in last ch. Join with a sl st to the first sc. (60 sc)
- Round 2: Ch 1 (does not count as a stitch). Inc in first sc. Sc in next 27 sc. Inc in next 3 sc. Sc in next 27 sc. Inc in last 2 sc. Join with a sl st to the first sc. (66 sc)
- Round 3: Ch 1. Sc in first 2 sc. Inc in next sc. Sc in next 27 sc. Sc in next sc, inc in next sc. Repeat from * to * 2 more times (3 times total). Sc in next 27 sc. Sc in next sc, inc in next sc. Repeat from * to * 1 more time (2 times total). Join with a sl st to the first sc. (74 sc)
- Continue increasing in this manner for a few more rounds if you desire a wider base, ensuring your increases are at the ends of the oval to maintain the shape.
- The video suggests a simple base. You can adjust the number of increase rounds to achieve your desired base size (e.g., 10-12 inches long x 4-5 inches wide).
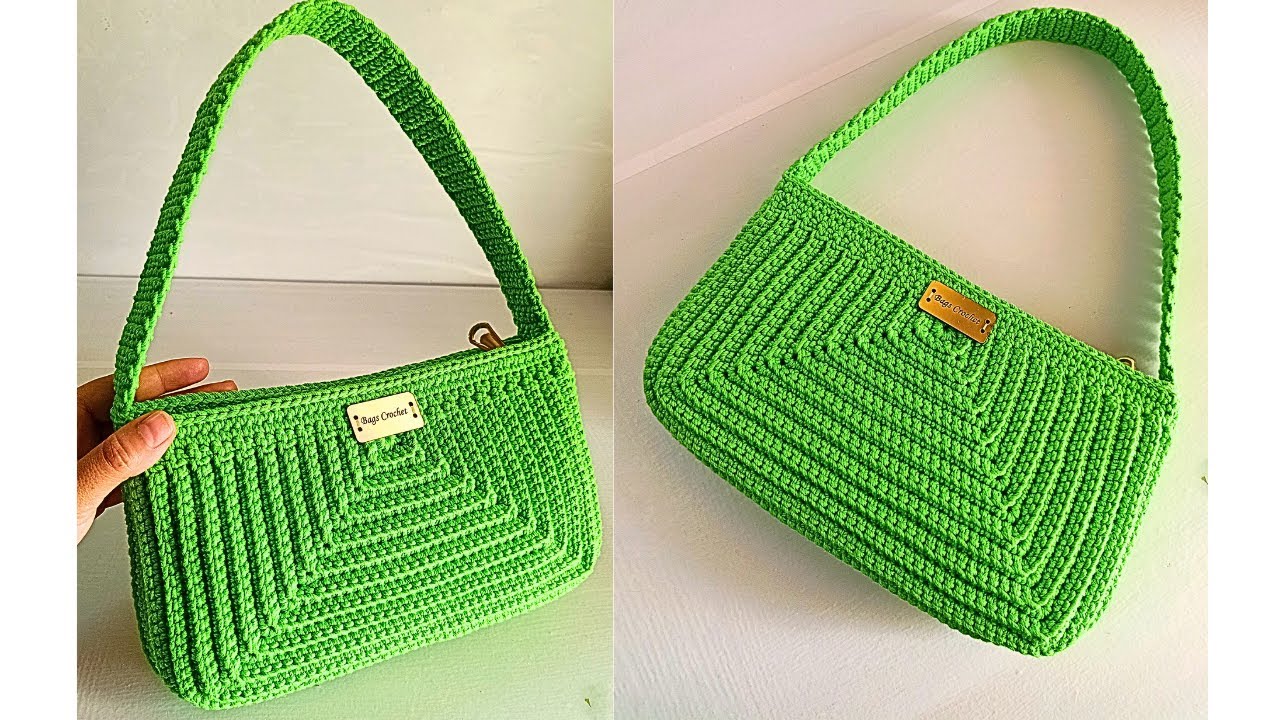
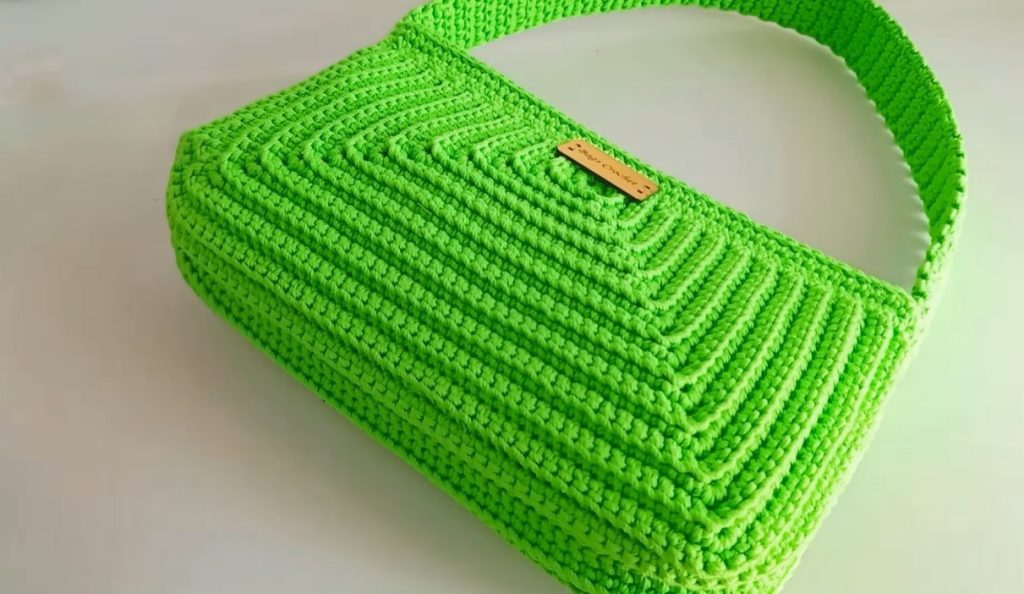
Part 2: Bag Body – Straight Rounds (Main Yarn Color)
Now, we will work straight rounds to build the height of the bag.
- Round X (First Body Round): Ch 1 (does not count as a stitch). Sc in each sc around, working in the Back Loop Only (BLO) for this round. Join with a sl st to the first sc.
- Working in BLO for this round creates a defined edge between the base and the sides of the bag, helping it stand up.
- Round X+1 – X+Y (Body Height): Ch 1. Sc in each sc around, working through both loops. Join with a sl st to the first sc.
- Continue working straight rounds of sc until the bag reaches your desired height (e.g., 8-10 inches). The video emphasizes a simple stitch, so single crochet is a good choice for a sturdy, dense fabric.
FO, leaving a long tail for weaving in.
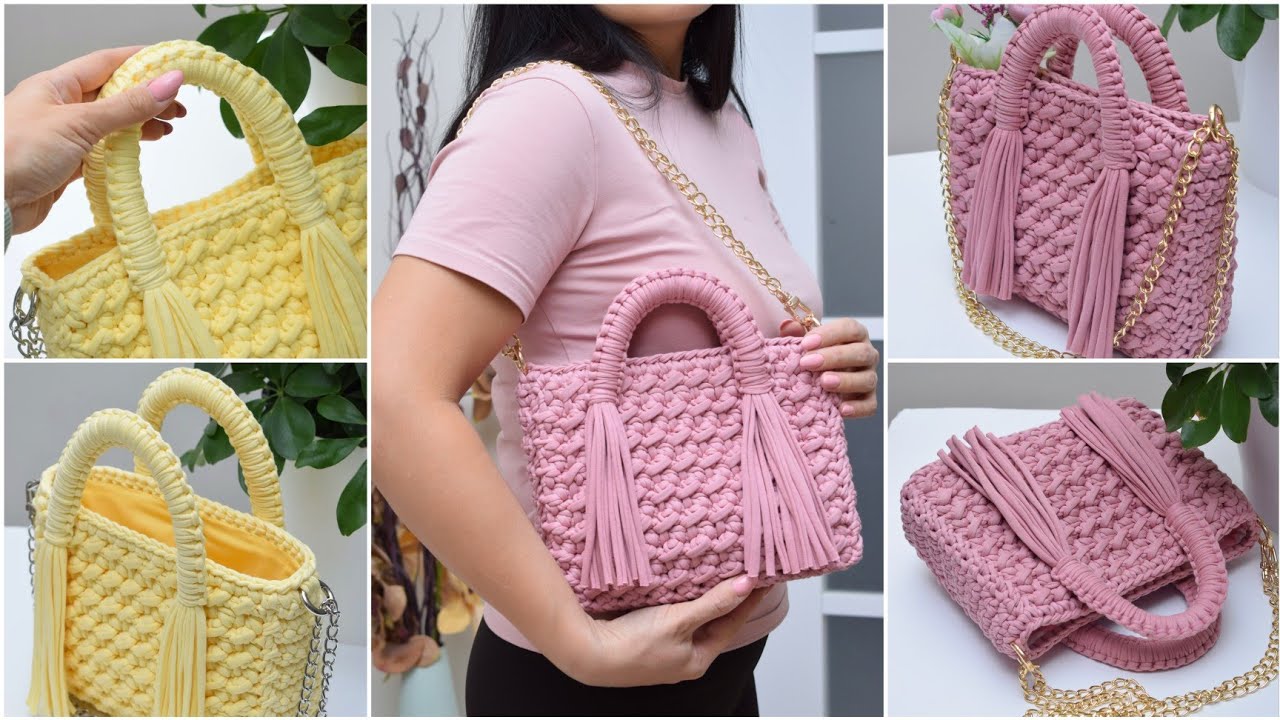
Part 3: Crocheted Handles (Make 2 – Main Yarn Color)
If you’re not using pre-made handles, here’s a simple crocheted strap.
- Ch 60. (Adjust this chain length for a longer or shorter handle. For a wider handle, increase the initial chain).
- Row 1: Sc in 2nd ch from hook and in each ch across. Ch 1, turn. (59 sc)
- Row 2 – 3: Sc in each sc across. Ch 1, turn. (59 sc)
- Work 2-3 rows for a sturdy, flat handle. You can make it wider by adding more initial chains and rows.
FO, leaving a long tail at each end for attaching.
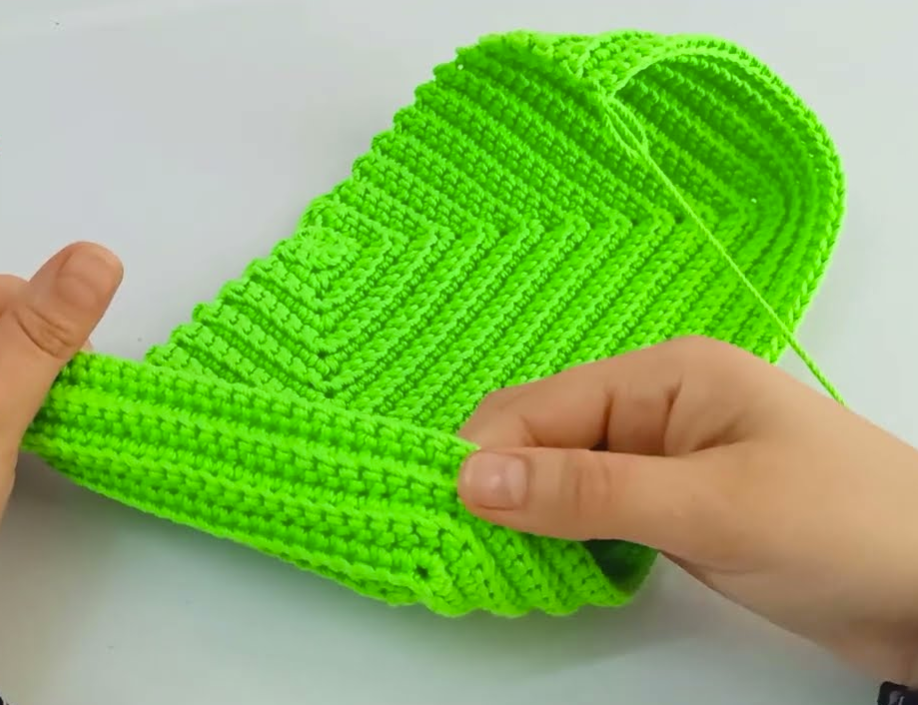
Part 4: Assembly & Finishing Touches
- Weave in all ends: Use your tapestry needle to neatly weave in any remaining loose yarn tails throughout the bag.
- Attach Handles:
- Position your crocheted handles (or pre-made handles) evenly on the top front and back of the bag opening.
- Using the long tails from the handles and your tapestry needle, securely sew the handles to the bag. Ensure they are firmly attached to withstand weight.
- Add Closure (Optional):
- Magnetic Clasp: Sew a magnetic clasp to the inside top edges of the bag for a secure closure.
- Button & Loop: Sew a button to one side of the opening. Create a small chain loop (ch 5-10) on the opposite side to go around the button.
- Drawstring: Work a round of (dc, ch 1, skip 1) around the top opening, then thread a crocheted chain or ribbon through the ch-1 spaces for a drawstring.
Video tutorial
Versatile Uses for Your Simple & Stylish Bag:
- Everyday Carryall: Perfect for your phone, wallet, keys, and other essentials.
- Project Bag: A great size for carrying a small crochet or knitting project.
- Shopping Bag: Lightweight and durable for quick trips.
- Gift: A thoughtful and impressive handmade gift.
Customization & Tips:
- Yarn Choice: Experiment with different colors and textures of yarn. A variegated yarn could create a unique look without complex stitches.
- Size Adjustment:
- Larger Bag: Increase the initial chain count for the base and the number of increase rounds. Add more straight rounds for height.
- Smaller Bag: Decrease the initial chain count for the base and the number of increase rounds. Reduce the number of straight rounds.
- Stitch Variation: While single crochet creates a dense fabric, you could experiment with half double crochet or double crochet for a looser, faster-working fabric, but ensure it still holds its shape.
- Lining (Optional): For extra durability and to prevent small items from slipping through stitches, you can sew a fabric lining inside the bag.
Enjoy crocheting your own simple, practical, and stylish everyday bag! It’s a fantastic way to create a unique and functional accessory that’s sure to become a favorite.