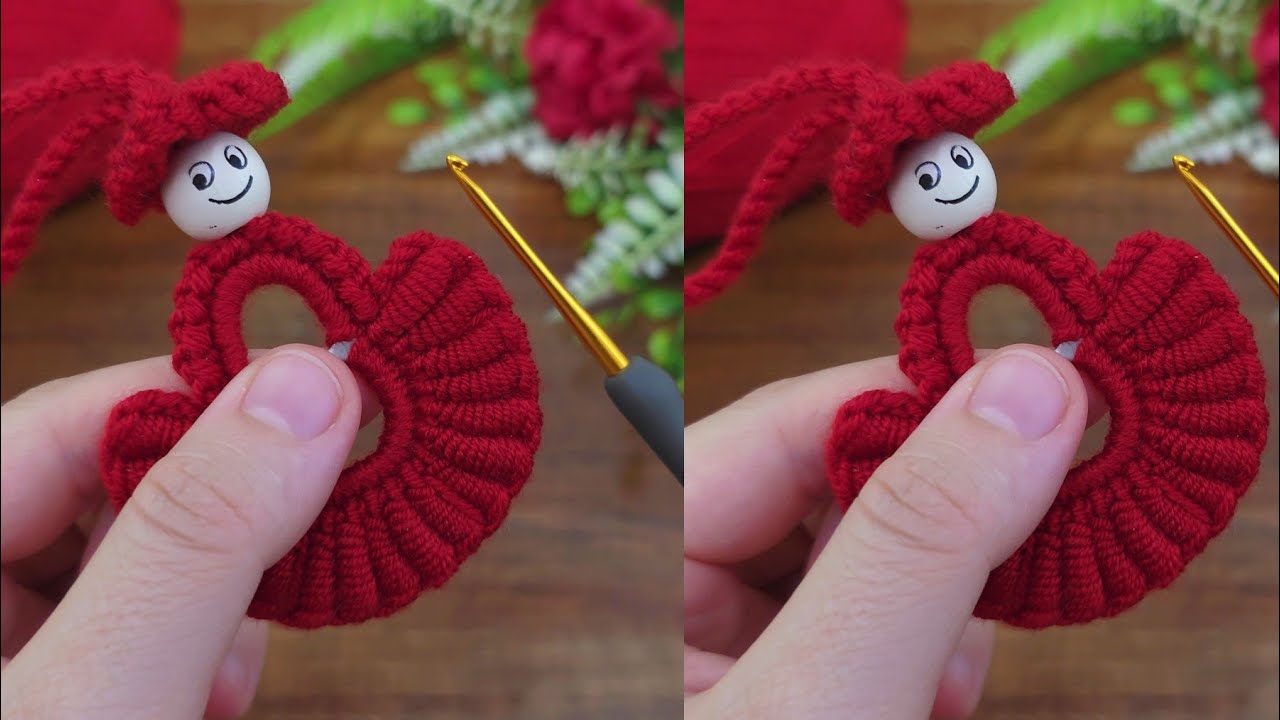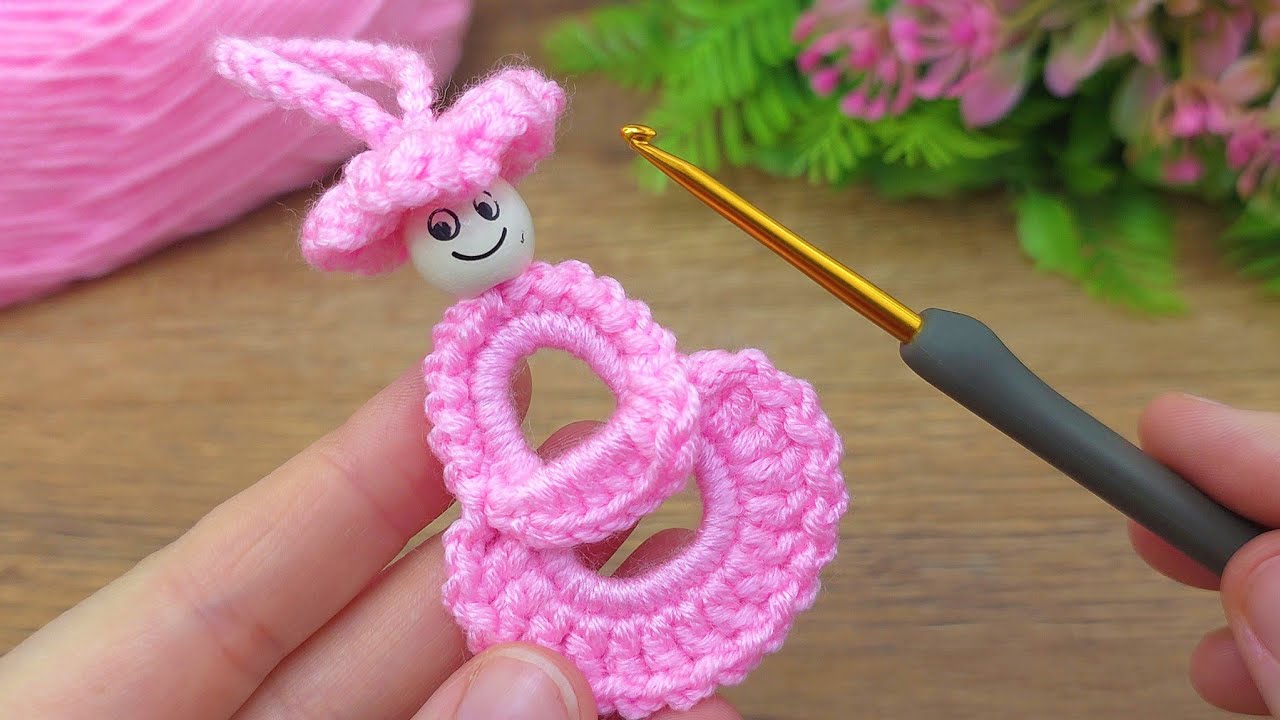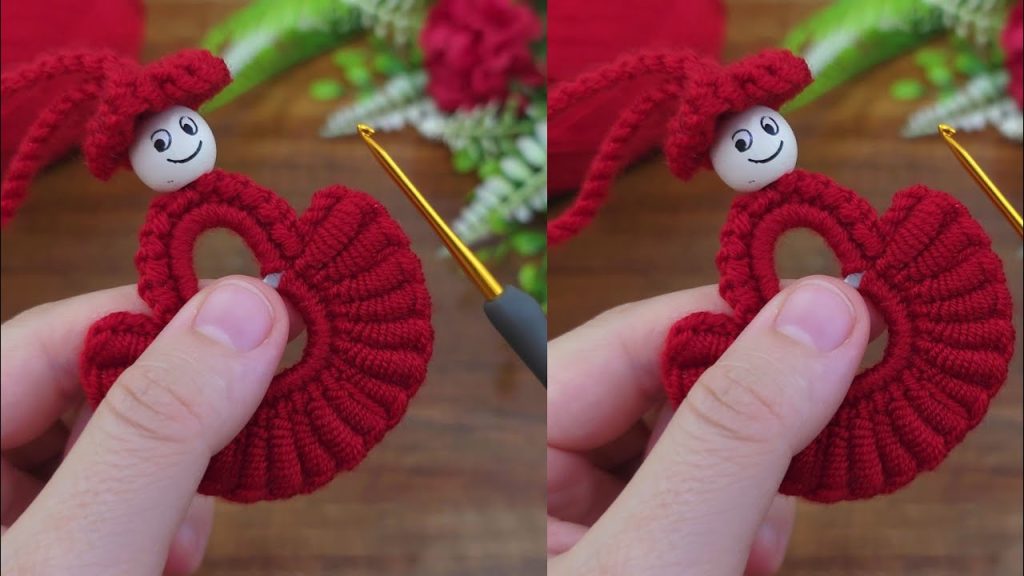
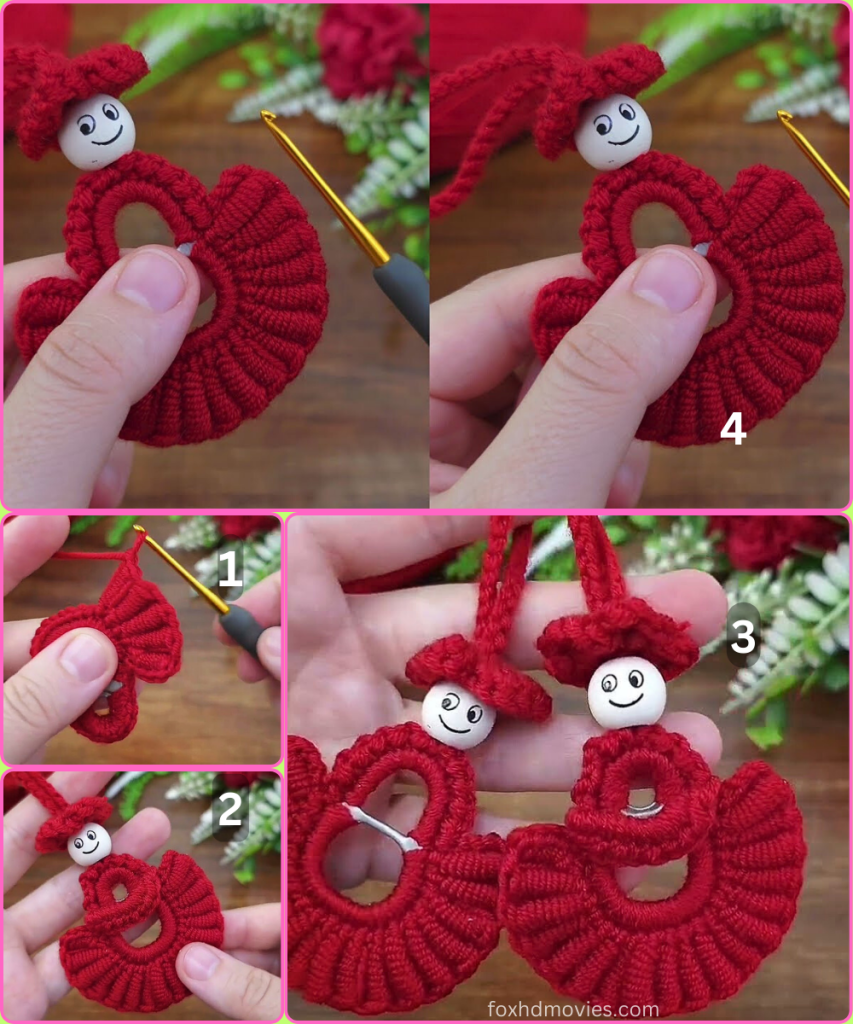
Ready to create a truly unique and charming crochet piece? This detailed pattern will guide you in making a sweet heart-shaped character that is perfect for a keychain, a bag charm, or a simple decorative accent. The main body features a beautiful, ridged texture created by a simple technique, giving it a unique, tactile quality.
This project is a fantastic way to master a new technique while creating a finished piece that is both personal and adorable. We’ll walk you through each step, from the ridged heart body to the tiny decorative top, ensuring your finished character is perfect.
Your Essential Materials Checklist
Choosing the right materials is key to bringing this little character to life.
- Yarn: I recommend worsted-weight (size 4) yarn in a solid color for the main body. A smooth yarn will best highlight the ridged texture. You’ll also need a small amount of a contrasting color for the decorative top if you choose to make it.
- Crochet Hook: A 4.0mm (G-6) or 4.5mm (G-7) hook. The key is to choose a hook size that gives you a nice, firm tension. This is crucial for making the ridges stand out and for the item to hold its shape without being floppy.
- For the Head: A small wooden bead with a face painted on it (like in the image) or you can crochet a small sphere if you prefer.
- Essential Tools: You will need a pair of scissors, a tapestry needle for weaving in your ends, and fiberfill stuffing.
- Accessories: A keychain ring and a small amount of strong glue if you are attaching a wooden bead head.
Stitches and Techniques
This pattern uses a few basic crochet stitches, along with a special technique to create the ridged texture.
- Magic Ring (mr): The best way to start a project in the round. It creates a tightly closed center with no hole.
- Slip Stitch (sl st): Used to join rounds and secure stitches.
- Single Crochet (sc): The most basic stitch, used for a dense, tight fabric.
- Half-Double Crochet (hdc): A slightly taller stitch that is also dense.
- Back Loop Only (BLO): This is the magic behind the ridges! When you work a stitch, you normally insert your hook under both loops of the stitch from the previous round. For this pattern, you will only insert your hook under the back loop—the loop furthest away from you. This leaves the front loop exposed, creating the defined, horizontal ridge.
The Pattern
All instructions are written in US crochet terms. The body is worked in continuous rounds. You will not be joining with a slip stitch at the end of each round unless specified. Instead, you’ll work into the next stitch to begin the new round.
Part 1: The Heart-Shaped Body

- Round 1: Start with a magic ring (mr). Or, you can chain 4 and sl st to the first ch to form a ring. Work 12 hdc into the ring. (12 sts)
- Round 2: Do not join. Work 2 hdc in each stitch around. (24 sts)
- Round 3: Work 1 hdc in the next st, then work 2 hdc in the following st. Repeat from * to * around. (36 sts)
- Round 4: Work 1 hdc in the back loop only (BLO) of the next 2 sts, then work 2 hdc in the BLO of the following st. Repeat from * to * around. This is your first ridged round. (48 sts)
- Round 5: Work 1 hdc in the BLO of the next 3 sts, then work 2 hdc in the BLO of the following st. Repeat from * to * around. (60 sts)
- Round 6: Work 1 hdc in the BLO of the next 4 sts, then work 2 hdc in the BLO of the following st. Repeat from * to * around. (72 sts)

Now we will begin the shaping of the heart.
- Round 7: Work 1 hdc in the BLO of the next 8 sts, then work hdc2tog (decrease) in the BLO of the next 2 sts. Repeat from * to * around. (64 sts)
- Round 8: Work 1 hdc in the BLO of the next 7 sts, then work hdc2tog (decrease) in the BLO of the next 2 sts. Repeat from * to * around. (56 sts)
Begin stuffing the piece with fiberfill, continuing to stuff as you go.
- Round 9: Work 1 hdc in the BLO of the next 6 sts, then work hdc2tog (decrease) in the BLO of the next 2 sts. Repeat from * to * around. (48 sts)
- Round 10: Work 1 hdc in the BLO of the next 5 sts, then work hdc2tog (decrease) in the BLO of the next 2 sts. Repeat from * to * around. (40 sts)
Fasten off leaving a long tail for closing. Use your yarn needle to weave the tail through the remaining stitches and cinch the hole closed. Weave in the tail.

Part 2: Assembly
- Attaching the Head: Use a small amount of strong craft glue to attach the wooden bead to the top center of the heart. If you crocheted a head, you can sew it on securely.
- Attaching the Hair/Bow: Use a small piece of yarn to create a simple bow and tie it to the top of the head.
- Final Touches: Weave in all remaining ends securely to ensure your piece is durable. You can also thread a keychain ring through the top of the heart.
Your adorable heart character is now complete!
