 by
by Hello, detail-loving crafters!
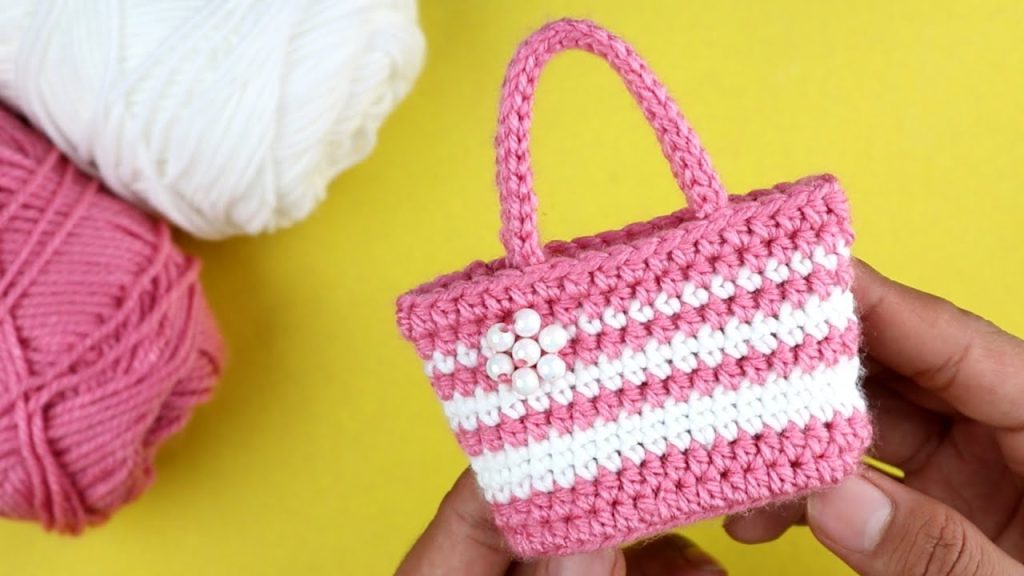
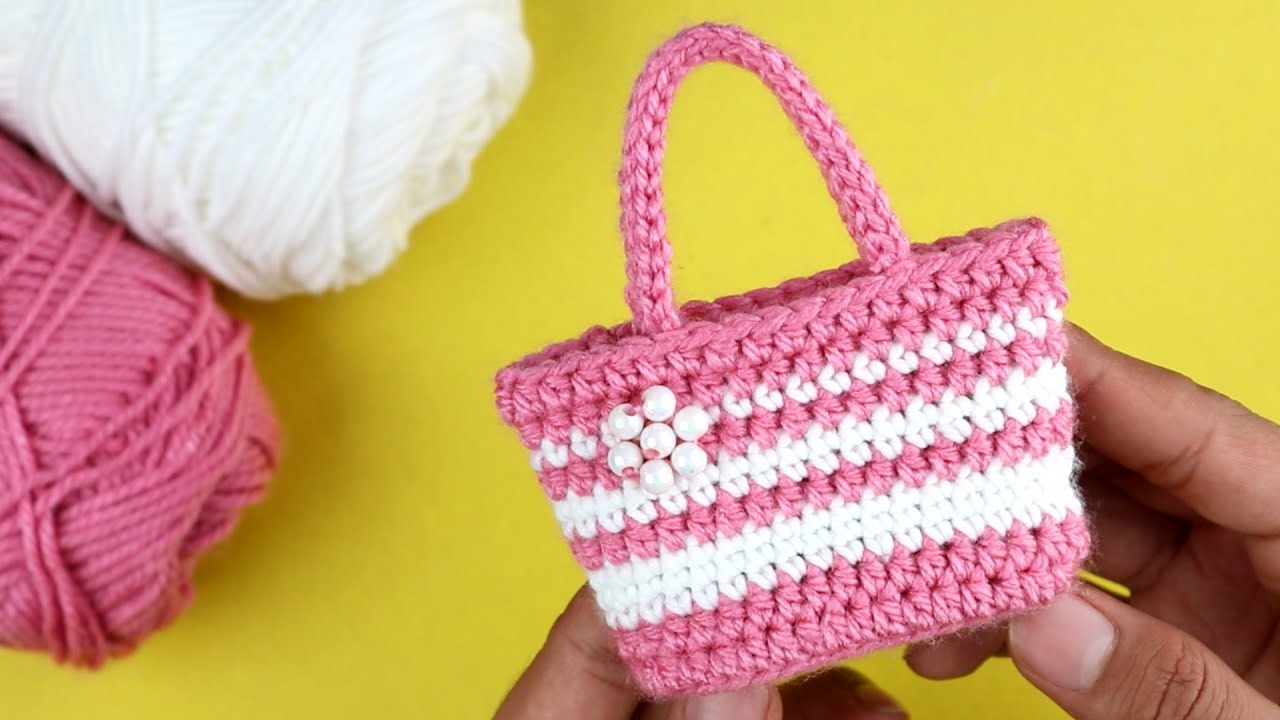
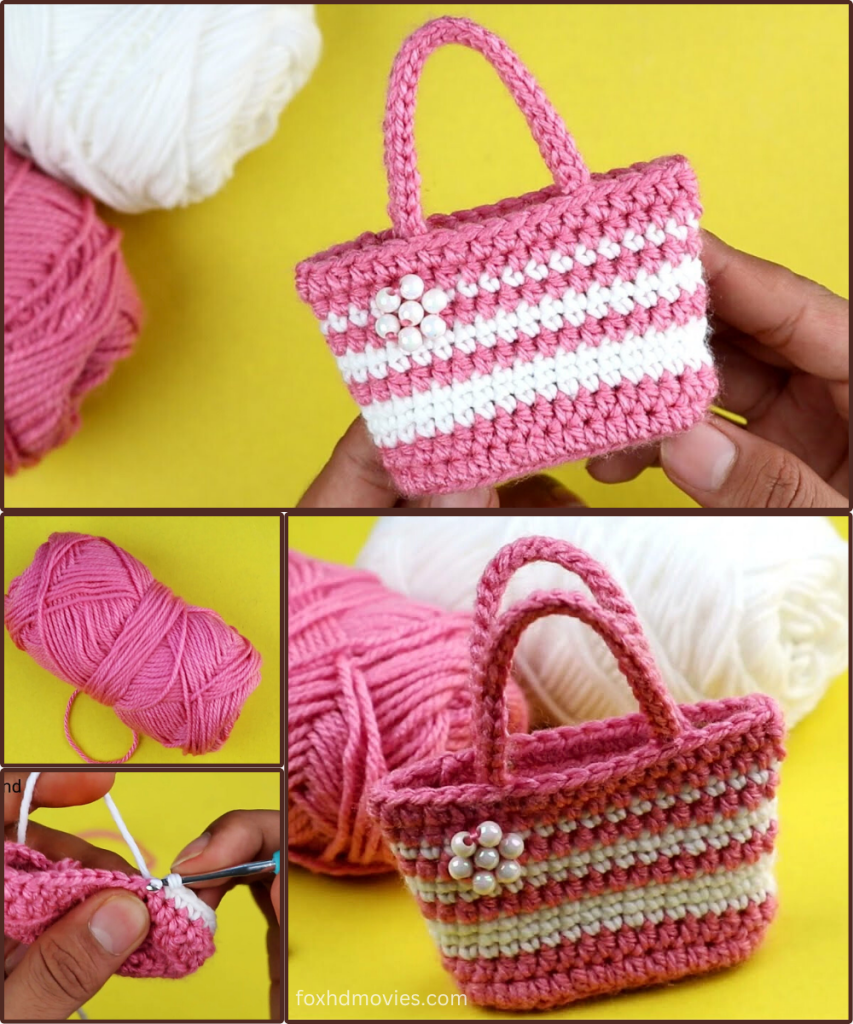
Are you ready for a project that’s utterly adorable, incredibly quick to make, and perfect for adding a touch of personalized charm? Today, we’re diving into creating the “Sweet Stripes & Pearls” Mini Tote! This delightful little bag, as seen in the image, features charming stripes, sturdy handles, and a sweet beaded flower embellishment that makes it truly special.
This mini tote is fantastic for a variety of uses: a unique gift bag for jewelry or small trinkets, a cute coin purse, a holder for earbuds, or even an adorable accessory for a doll. It’s a wonderful way to play with color and add a little sparkle!
Ready to stitch up some miniature magic? Let’s gather our supplies!
What you’ll need:
- Yarn: A Worsted weight (Aran/10-ply) or DK (light worsted) yarn.
- Main Color (MC): (Pink in the example image) Approx. 25-35 yards.
- Contrasting Color (CC): (White in the example image) Approx. 10-15 yards.
- Crochet Hook: A hook size appropriate for your chosen yarn. For worsted weight yarn, a 4.0mm (G/6) or 4.5mm (7) hook would work well. For DK, a 3.5mm (E/4) or 4.0mm (G/6) hook. (The hook used in the image appears to be around a 4.0mm).
- Scissors
- Tapestry Needle (for weaving in ends)
- Small Pearl Beads: (Approx. 5-7, 4-6mm size) for the flower embellishment.
- Sewing Needle and Thread: Matching thread for attaching beads.
- Stitch Marker (optional, but helpful for working in rounds)
Abbreviations (US Terms):
- ch: chain
- st(s): stitch(es)
- sl st: slip stitch
- sc: single crochet
- inc: increase (work 2 sts in the same st)
- sk: skip
- rep: repeat
- BLO: Back Loop Only
The “Sweet Stripes & Pearls” Mini Tote Pattern (Make 1)
We’ll start with the base, work up the striped sides in continuous rounds, and finish with the integrated handles and a beaded embellishment.
Part 1: The Base (Start with MC – Pink)
Work in continuous spiral rounds. Use a stitch marker to mark the first stitch of each round.

- Ch 11.
- Round 1: Sc in the 2nd ch from hook. Sc in the next 8 ch. 3 sc in the last ch. (Now working along the opposite side of the chain) Sc in the next 8 ch. 2 sc in the last ch (the very first chain you worked into). (22 sc total).
- You’ve formed an oval base. Do not join with a sl st; continue to the next round.
- Round 2: Inc in the first st. Sc in the next 8 sts. Inc in the next 3 sts. Sc in the next 8 sts. Inc in the last 2 sts. (28 sc total).
- Move your stitch marker to the new first stitch of each round.
- Round 3: Sc in the first st. Inc in the next st. Sc in the next 9 sts. Inc in the next 2 sts. Sc in the next 9 sts. Inc in the next st. (32 sc total).
- Your base is now complete.
Part 2: The Bag Body (Stripes – Worked in continuous spiral rounds)
This section creates the striped sides of the bag. We will be changing colors.
- Round 4 (Creating the Side Wall):(With MC) Sc in the BLO (back loop only) of each sc around. (32 sc).
- Working in the back loop here helps create a defined, neat corner for the bottom of the bag.
- Round 5: (With MC) Sc in each sc around. (32 sc).
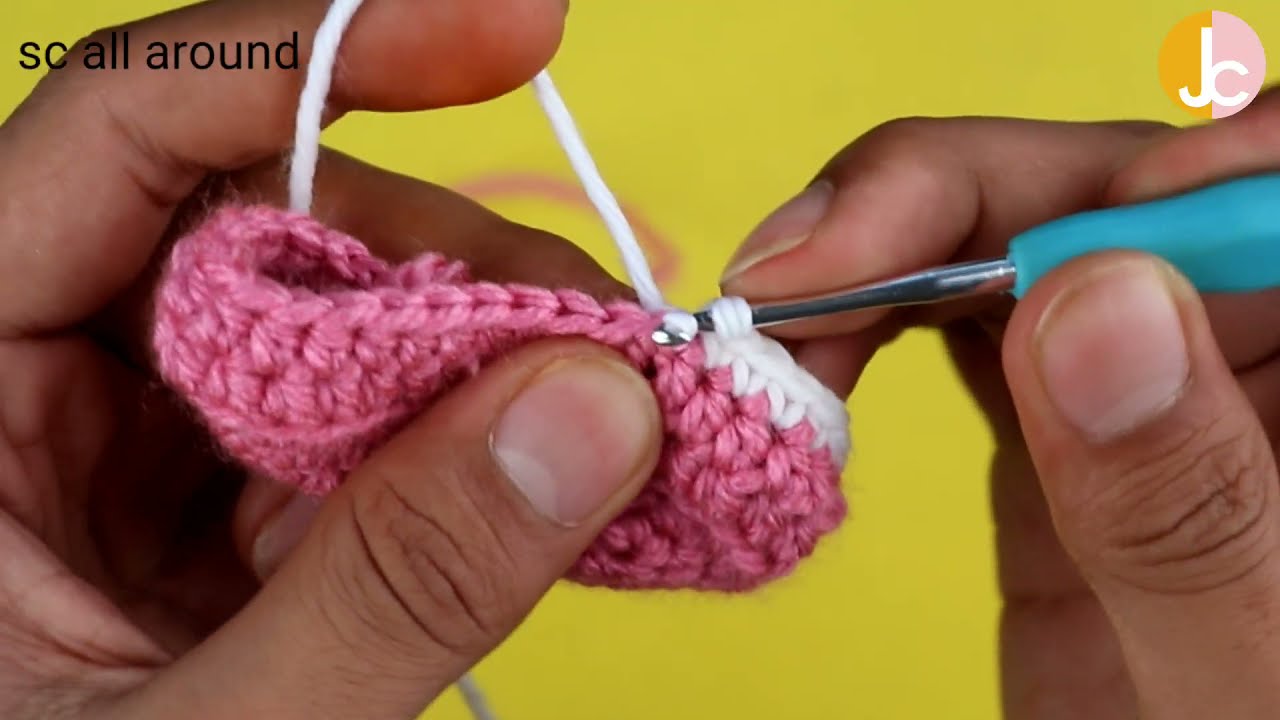
- Round 6:(Switch to CC – White) Sc in each sc around. (32 sc).
- To switch colors: On the last sc of the previous round, insert hook into st, yo, pull up a loop (2 loops on hook). Drop MC, pick up CC, yo with CC, pull through both loops on hook. This completes the stitch in the new color. Continue with the new color.
- Round 7: (With CC) Sc in each sc around. (32 sc).
- Round 8: (Switch to MC – Pink) Sc in each sc around. (32 sc).
- Round 9: (With MC) Sc in each sc around. (32 sc).
- Round 10: (Switch to CC – White) Sc in each sc around. (32 sc).
- Round 11: (With CC) Sc in each sc around. (32 sc).
- Round 12:(Switch to MC – Pink) Sc in each sc around. (32 sc).
- You should now have 3 white stripes and the top portion in pink, matching the image.
Part 3: The Handles (Still with MC – Pink)
We’ll now create the openings for the handles.
- Round 13 (Handle Openings):
- Sc in the next 6 sts.
- Ch 5 (this creates the first part of your handle opening). Sk next 5 sts.
- Sc in the next 10 sts.
- Ch 5 (this creates the second part of your handle opening). Sk next 5 sts.
- Sc in the remaining 6 sts. (22 sc, 2 ch-5 spaces).
- This round should end roughly where your stitch marker was, creating two gaps for the handles.
- Round 14 (Forming the Handles):
- Sl st to the first sc of the round. Ch 1.
- Sc in the next 6 sc.
- Sc 6 times around the ch-5 space (working into the chain itself, not into individual chains).
- Sc in the next 10 sc.
- Sc 6 times around the next ch-5 space.
- Sc in the remaining 6 sc. Sl st to the first sc to join. (34 sc).
- You’ve now created the top edge of the bag with two formed handle loops.
- Round 15 (Handle Firming): Ch 1. Sc in each sc around. Sl st to the first sc to join. (34 sc).
- This final round helps to firm up the handles and give a neat finish to the top edge.
- Fasten off MC. Leave a tail of about 6 inches.
Part 4: The Beaded Flower Embellishment
This charming flower is created by sewing beads onto the bag.

- Preparation: Thread your sewing needle with matching thread (white or light pink) and knot the end.
- Petal Formation: On the front of the bag, roughly centered on the second white stripe, decide on the placement for your beads.
- Center Bead: Sew one pearl bead securely in the center. Pass the needle through the fabric and bead a few times.
- Surrounding Petals: Arrange 5-6 more pearl beads around the center bead to form a flower shape. For each bead, pass the needle through the bead and then securely through the crochet fabric, anchoring each bead firmly.
- Knot your thread securely on the inside of the bag and trim any excess.
Finishing:
- Weave in all remaining loose yarn ends securely with your tapestry needle.
- Gently shape your mini tote with your hands.
Video tutorial
Tips for Your “Sweet Stripes & Pearls” Mini Tote:
- Tension Matters: Consistent tension, especially in the base and handle rounds, will ensure your bag holds its shape well.
- Neat Color Changes: When switching colors, pull the new color through firmly to create a neat transition. You can carry the unused color loosely up the inside seam of the bag if you don’t want to cut and rejoin, but for such a small project, cutting and rejoining for each stripe is often neater.
- Bead Placement: Before sewing, you can arrange the beads with a bit of fabric glue (just a tiny dot to hold them temporarily) to finalize their placement.
- Customization:
- Colors: Experiment with different color combinations for the stripes!
- Embellishment: Instead of beads, you could embroider a tiny star, sew on a small crocheted flower, or even a small button.
- Size: To make a larger version, increase the initial chain for the base and add more increase rounds. Add more rounds to the body for a taller bag. Adjust chain length for handles if needed.
This “Sweet Stripes & Pearls” Mini Tote is a wonderful project that allows for creativity and results in a truly charming, personalized accessory. Enjoy making these little beauties!
Happy Crocheting!