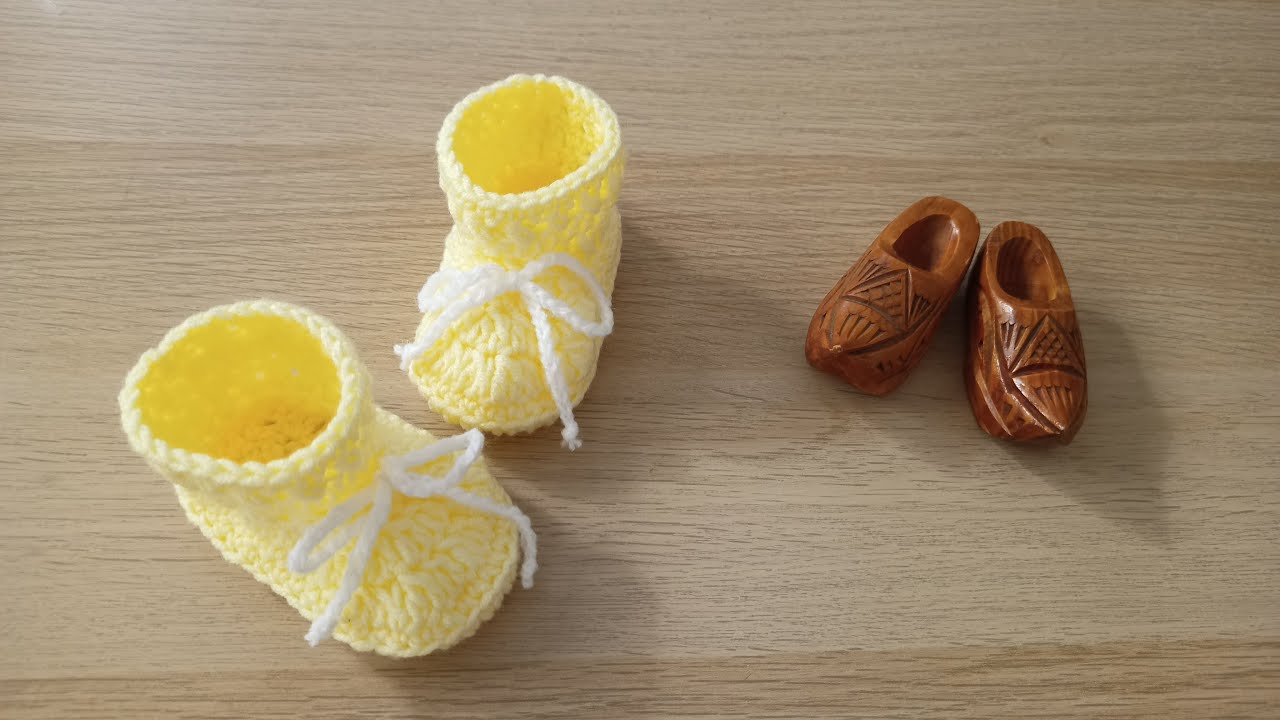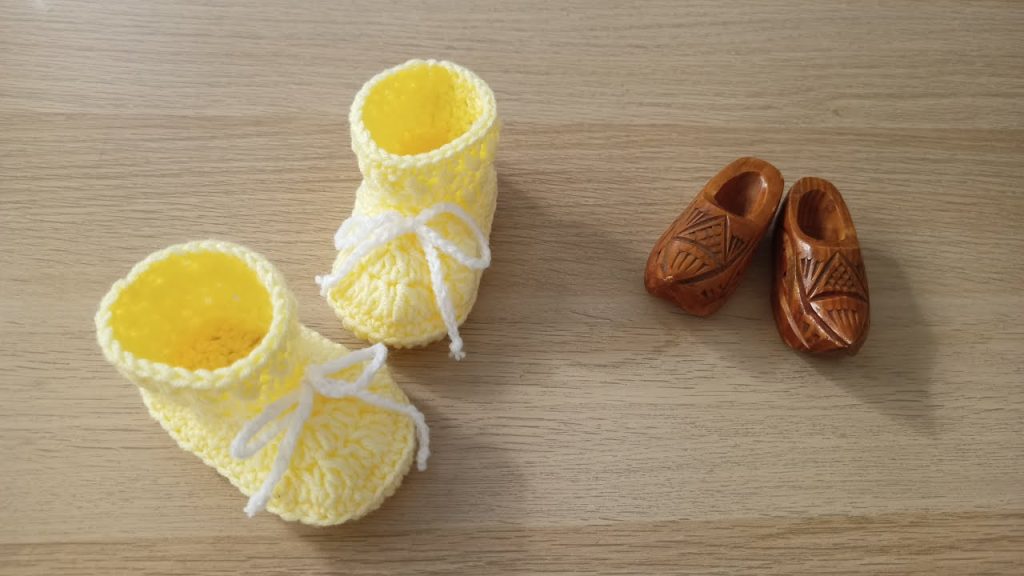
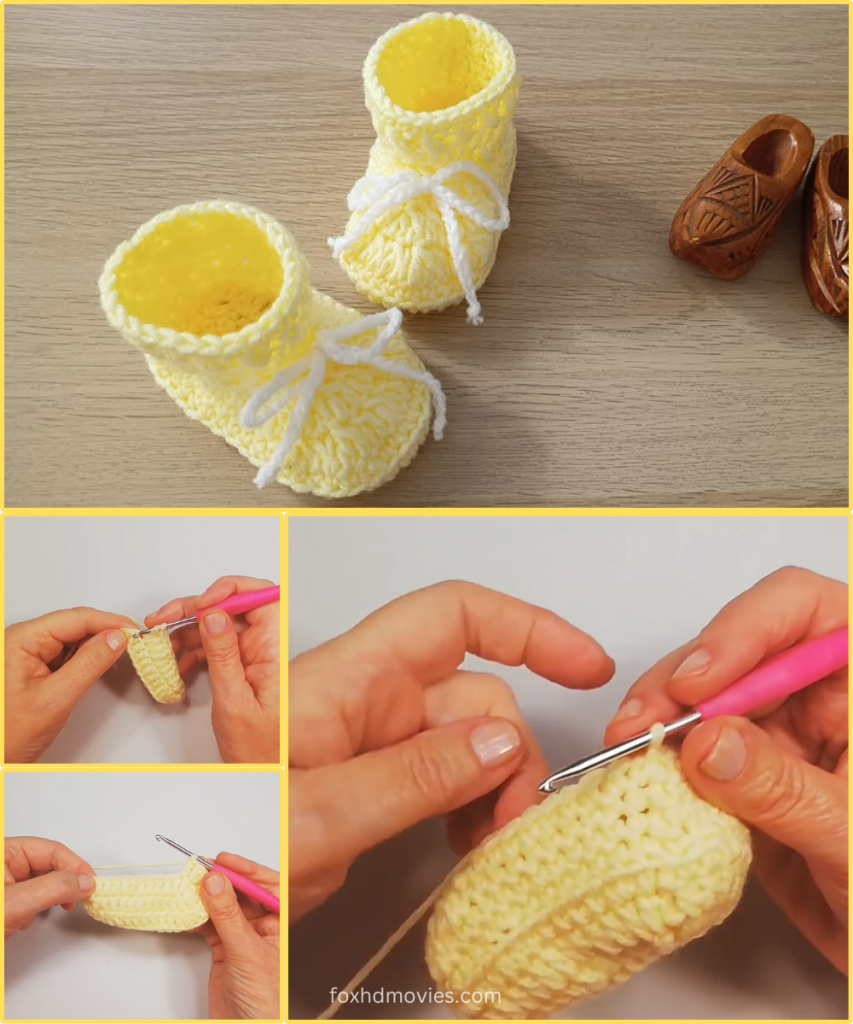
Hello, wonderful makers! Brighten any little one’s day with these utterly charming crochet baby booties! Featuring a sunny yellow hue and simple white ties, these classic booties are both practical and adorable. They’re perfect for keeping tiny feet cozy and make a thoughtful, cherished handmade gift for baby showers or welcoming a new arrival.
The booties in the image appear to be worked primarily in a Half Double Crochet (hdc) stitch, which creates a soft yet sturdy fabric. The main body has a subtle texture, possibly from working into specific loops or just the natural appearance of hdc worked in the round. The tied closure adds a lovely traditional touch and helps keep them securely on active little feet. This pattern is suitable for confident beginners and intermediate crocheters.
Materials You’ll Need:
- Yarn: DK weight (Light Worsted / 8 ply) yarn.
- Main Color: Yellow (approx. 50-70g for the pair, depending on size).
- Tie Color: White (small amount, approx. 5-10g).
- Crochet Hook: 3.5mm (E/4) or 4.0mm (G/6) – choose the hook size that gives you a nice, soft fabric with your chosen yarn.
- Yarn Needle: For weaving in ends and weaving the tie.
- Scissors
- Stitch Markers (optional, but helpful for rounds)
Abbreviations Used:
- ch: chain
- sl st: slip stitch
- sc: single crochet
- hdc: half double crochet
- dc: double crochet
- inc: increase (2 stitches in the same stitch)
- hdc2tog: half double crochet 2 together (decrease)
- st(s): stitch(es)
- FO: fasten off
- BLO: back loop only
Gauge (Approximate):
While not strictly necessary for this project, achieving a similar gauge will help ensure your booties are roughly the same size as the pattern. 18 hdc x 13 rows = 4 inches (10 cm)
Pattern: Sunny Day Booties
These booties are worked from the sole up. The pattern is for approximately 0-3 months, with notes on how to adjust for slightly larger sizes.
Finished Sole Length (approx): 3.5 – 4 inches (9-10 cm)
Part 1: The Sole (Make 2 – in Main Color: Yellow)
We’ll start by creating the oval sole, forming the foundation of the bootie.

Row 1: Ch 12. Row 2: 2 sc in 2nd ch from hook, sc in next 9 ch, 6 sc in last ch. Working along the other side of the starting chain: sc in next 9 ch, 2 sc in last ch. Join with a sl st to the top of the first sc. (28 sc) Row 3: Ch 1. Inc in first 2 sc, sc in next 9 sc, inc in next 6 sc, sc in next 9 sc, inc in last 2 sc. Join with a sl st to the top of the first sc. (40 sc) Row 4: Ch 1. Sc in first 2 sc, inc in next 2 sc, sc in next 9 sc, (inc, sc) repeat 6 times, sc in next 9 sc, inc in last 2 sc. Join with a sl st to the top of the first sc. (52 sc)
- For a slightly larger sole (3-6 months): You can add an additional increase round (e.g., using hdc) after Row 4, ensuring increases are evenly distributed to maintain the oval shape. For an even larger size, add another round, increasing as needed.
FO and weave in ends.
Part 2: Building the Sides
The main body of the bootie uses a consistent half double crochet stitch.
Round 5 (Foundation for Sides): Join Main Color (Yellow) with a sl st to any stitch. Ch 1. Hdc in BLO around. Join with a sl st to the top of the first hdc. (52 hdc)
- Working in the BLO for this round creates a distinct, clean edge where the sole meets the upper, as seen in the image.
Round 6-9: Ch 1. Hdc in each hdc around. Join with a sl st to the top of the first hdc. (52 hdc)
- You should have 5 rounds of hdc above the sole (including Round 5). This forms the main height of the bootie before the toe shaping and tie opening.

Part 3: Shaping the Toe
Now we’ll decrease to form the toe of the bootie.
Round 10: Ch 1. Hdc in next 16 hdc. (Hdc2tog) 10 times. Hdc in next 16 hdc. Join with a sl st to the top of the first hdc. (42 hdc)
Round 11: Ch 1. Hdc in next 12 hdc. (Hdc2tog) 9 times. Hdc in next 12 hdc. Join with a sl st to the top of the first hdc. (33 hdc)
Round 12: Ch 1. Sc in next 9 sc. (Sc2tog) 7 times. Sc in next 10 sc. Join with a sl st to the top of the first sc. (26 sc)
- For a wider opening, you can stop here or do one less decrease round.
Part 4: Ankle Opening & Tie Holes
This section creates the height for the ankle and the eyelets for the tie.
Round 13 (Tie Hole Round): Ch 1. Sc in first sc. Ch 1, skip next st, sc in next st. Repeat from * to * around. Join with a sl st to the top of the first sc. (Approx. 13 sc and 13 ch-1 spaces)
- This round creates the perfect spaces for your drawstring.
Round 14: Ch 1. Sc in each sc and each ch-1 space around. Join with a sl st to the top of the first sc. (26 sc)
Round 15: Ch 1. Sc in each sc around. Join with a sl st to the top of the first sc. (26 sc)
- This creates a neat, finished edge for the top of the bootie.

FO and weave in all ends securely.
Part 5: The Tie (Make 2 – in Tie Color: White)
The image shows a simple crocheted chain tie.
Tie: Ch 50-60 (or desired length for a good bow). Sl st in 2nd ch from hook and in each ch across. FO.
- Weave this chain through the eyelet holes created in Round 13 of the bootie. Start from the front center and weave it through to the back, then back to the front on the other side. This ensures the bow ties neatly at the front.
Video tutorial
Finishing Touches:
- Weave in any remaining loose ends neatly.
- Give your finished booties a gentle block if desired to even out stitches and perfect their shape.
- Tie the laces neatly at the front.
- Present your beautiful handmade Sunny Day Booties to a lucky little one!
I hope you enjoy making these classic and charming crochet booties! They are a wonderful project for showcasing a lovely stitch and creating a practical, stylish gift. Don’t forget to share your finished projects – I’d love to see them. Happy crocheting!
