by
by Here is the pattern:
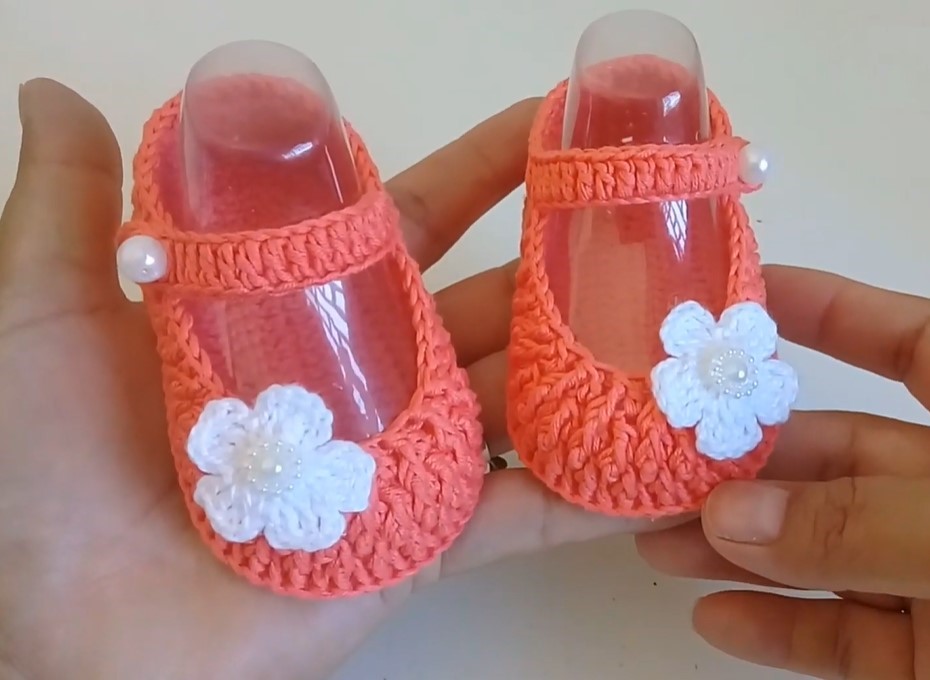
Beautiful Crochet Baby Shoe with Flower Pattern
This pattern provides detailed instructions to crochet a sweet baby shoe with a lovely flower embellishment. It includes shaping for the sole and upper for a better fit.
Skill Level: Intermediate (requires knowledge of increases and decreases)
Size: 0-3 Months (approx. 3.5 – 3.75 inches sole length)
Note: To adjust the size, you will need to modify the starting chain length and the number of increase rounds in the sole, as well as potentially the number of rows in the upper.
Materials:
- For the Shoe: Approximately 50-70 yards of DK weight yarn in your main color.
- For the Flower: Small amount of DK weight yarn in a contrasting color.
- Crochet hook size E/4 (3.5 mm) or size needed to obtain gauge.
- Tapestry needle for weaving in ends and assembly.
- Scissors
- Stitch marker (optional, but highly recommended for working in the round)
Gauge:
18 hdc stitches and 14 rows = 4 inches (10 cm) in hdc.
Note: Achieving the correct gauge is important for the finished size of the shoe.
Abbreviations:
- ch: chain
- st(s): stitch(es)
- sl st: slip stitch
- sc: single crochet
- hdc: half double crochet
- dc: double crochet
- inc: increase (work 2 hdc in the same stitch)
- dec: decrease (hdc2tog – half double crochet 2 stitches together)
- FO: Fasten off
- BLO: Back loop only
Notes:
- The sole is worked in the round.
- The upper is worked in rounds, joining with a sl st at the end of each round.
- The flower is worked separately and attached at the end.

Pattern Instructions:
Make 2 (for a pair)
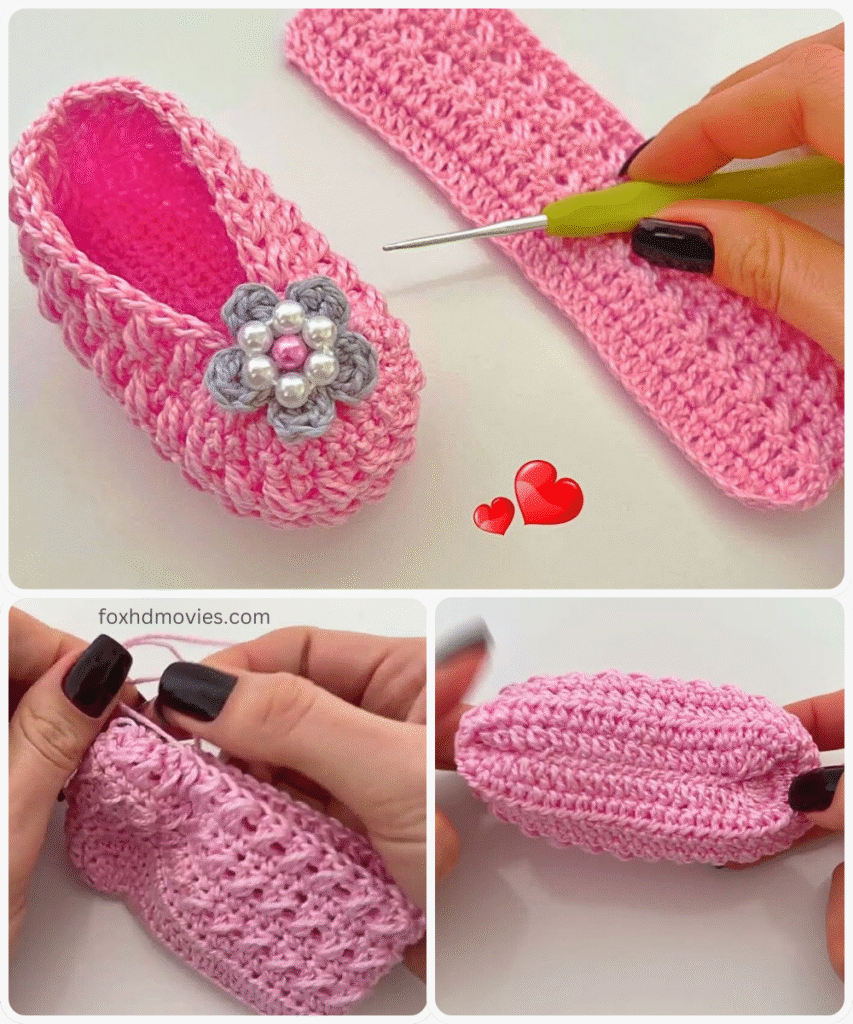
Part 1: The Sole
We will start by creating an oval sole.
Round 1: Ch 11. Hdc in the 2nd ch from the hook and in the next 8 chs. 3 hdc in the last ch. Now working on the opposite side of the starting chain, hdc in the next 8 chs. 2 hdc in the last ch. Join with a sl st to the first hdc. (22 hdc)
Round 2: Ch 1 (does not count as a st). Inc in the first st. Hdc in the next 8 sts. Inc in the next 3 sts. Hdc in the next 8 sts. Inc in the next 2 sts. Join with a sl st to the first hdc. (28 hdc)
Round 3: Ch 1 (does not count as a st). Hdc in the first st. Inc in the next st. Hdc in the next 8 sts. (Hdc in next st, inc in next st) 3 times. Hdc in the next 8 sts. (Hdc in next st, inc in next st) 2 times. Join with a sl st to the first hdc. (34 hdc)
Round 4: Ch 1 (does not count as a st). Hdc in the first 2 sts. Inc in the next st. Hdc in the next 8 sts. (Hdc in next 2 sts, inc in next st) 3 times. Hdc in the next 8 sts. (Hdc in next 2 sts, inc in next st) 2 times. Join with a sl st to the first hdc. (40 hdc)
Note: For a larger size, add more increase rounds here, following the pattern of adding more hdc stitches between the increases at the ends of the oval.
Round 5: Ch 1 (does not count as a st). Hdc in BLO in each st around. Join with a sl st to the first hdc. (40 hdc)

Working in the back loop only for this round creates a defined edge for the upper part of the shoe.
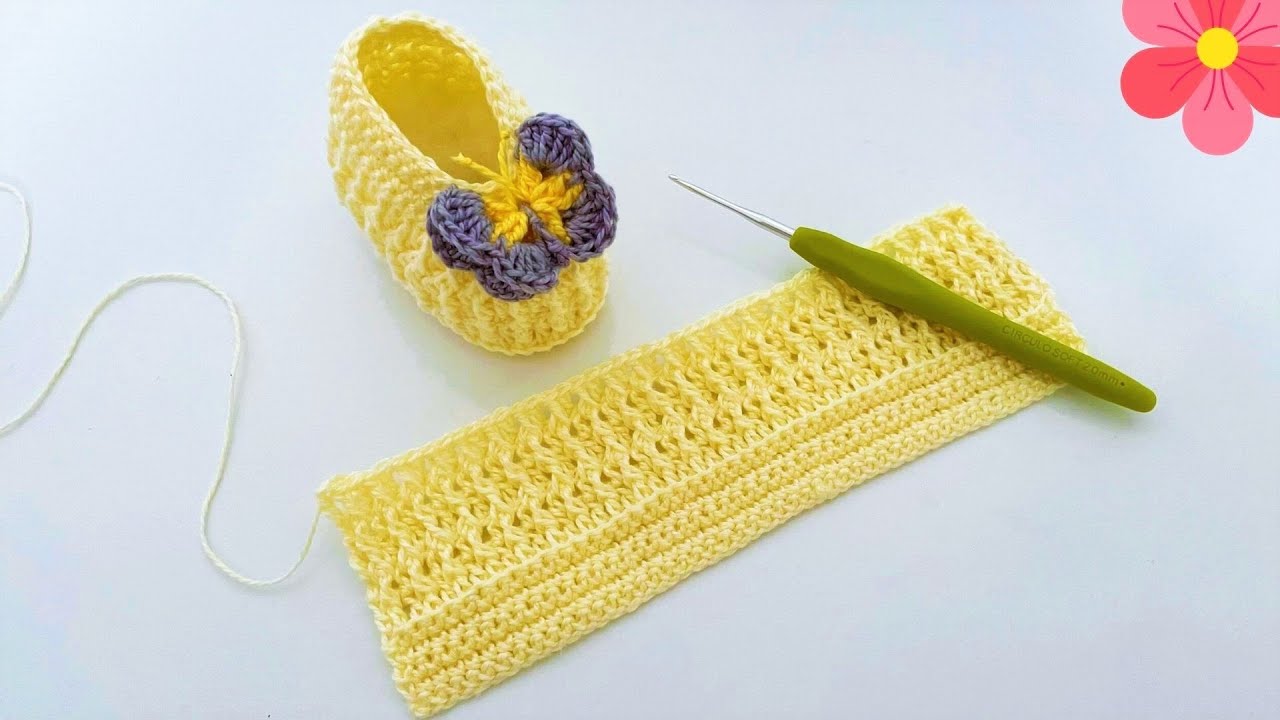
Part 2: The Upper
Now we will build up the sides and shape the toe.
Round 6: Ch 1 (does not count as a st). Hdc in each st around. Join with a sl st to the first hdc. (40 hdc)
Round 7: Ch 1 (does not count as a st). Hdc in the first 12 sts. Dec 8 times. Hdc in the last 12 sts. Join with a sl st to the first hdc. (32 hdc)
Round 8: Ch 1 (does not count as a st). Hdc in the first 10 sts. Dec 6 times. Hdc in the last 10 sts. Join with a sl st to the first hdc. (26 hdc)
Round 9: Ch 1 (does not count as a st). Hdc in the first 8 sts. Dec 5 times. Hdc in the last 8 sts. Join with a sl st to the first hdc. (21 hdc)
Part 3: The Ankle/Cuff
This creates the opening for the foot.
Round 10: Ch 1 (does not count as a st). Sc in each st around. Join with a sl st to the first sc. (21 sc)
Round 11: Ch 1 (does not count as a st). Sc in each st around. Join with a sl st to the first sc. (21 sc)
FO and weave in ends securely.
Part 4: The Flower
Make 2 (one for each shoe)
Using your contrasting color yarn:
Round 1: Make a magic ring. Ch 1 (does not count as a st). 10 hdc in the ring. Pull ring closed. Join with a sl st to the first hdc. (10 hdc)
Round 2: Petal: Ch 2. Work 3 dc in the same st as the ch 2. Ch 2, sl st in the same st. Sl st into the next st. Repeat from * 4 more times to create 5 petals. (5 petals)
FO, leaving a tail for sewing.
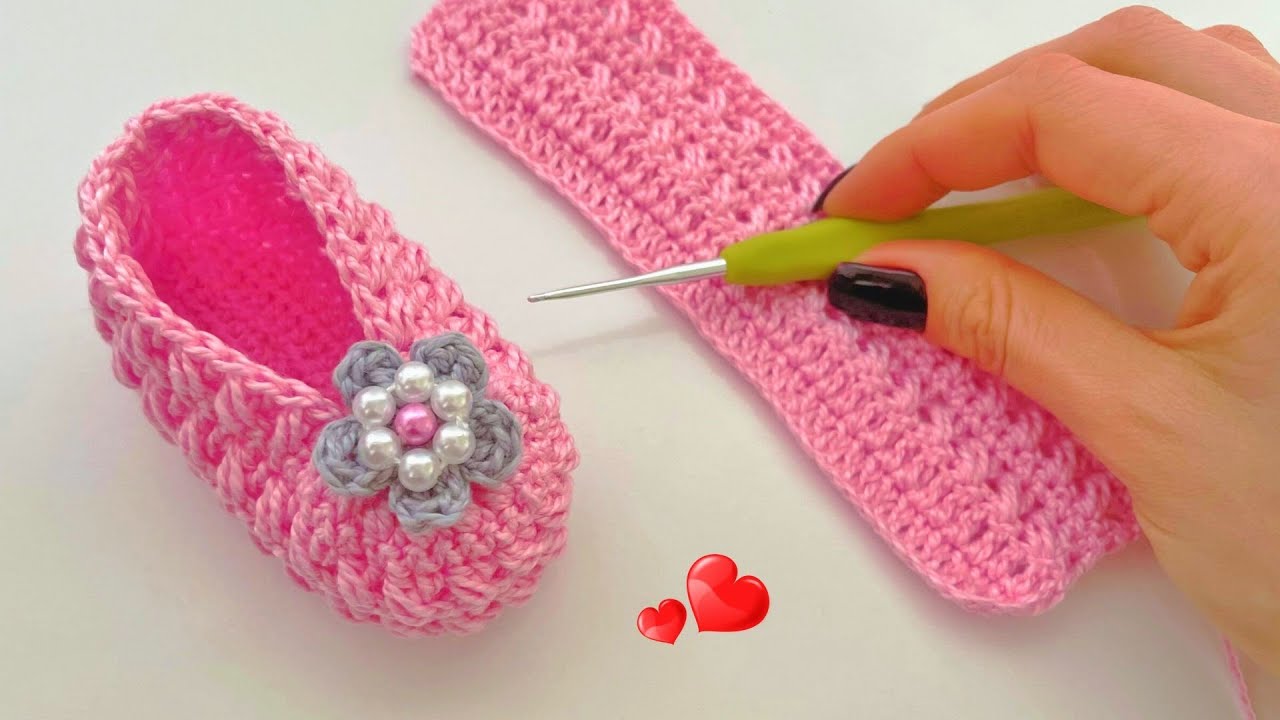
Video tutorial
Assembly:
- Weave in all ends on the shoe.
- Position the flower on the side of the shoe, slightly towards the front.
- Using the tail left on the flower and a tapestry needle, sew the flower securely to the shoe. Stitch through the center of the flower and into the upper part of the shoe, making sure your stitches are neat on the inside.
- Weave in the flower tail securely on the inside of the shoe.
Repeat assembly for the second shoe.