by
by 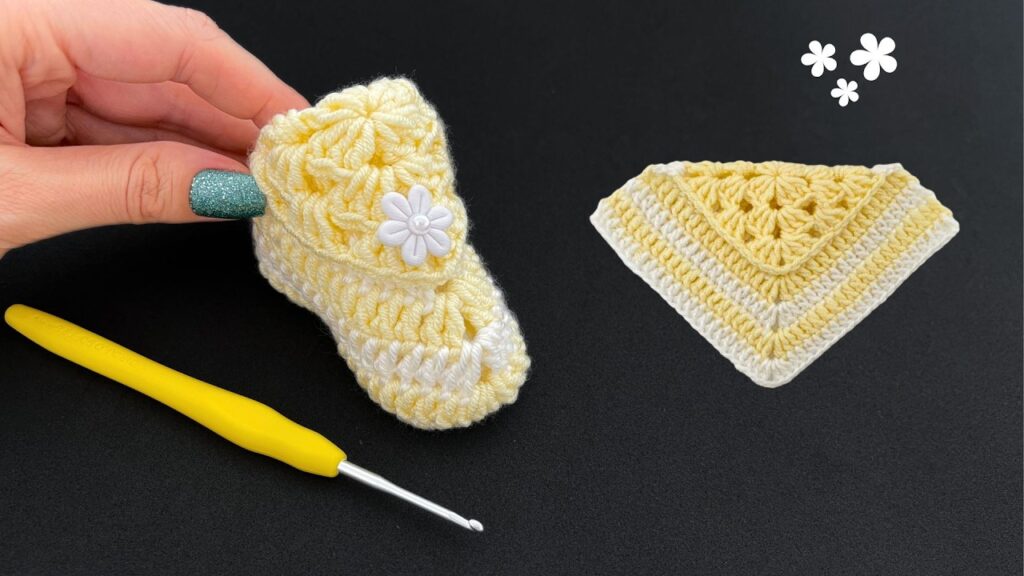
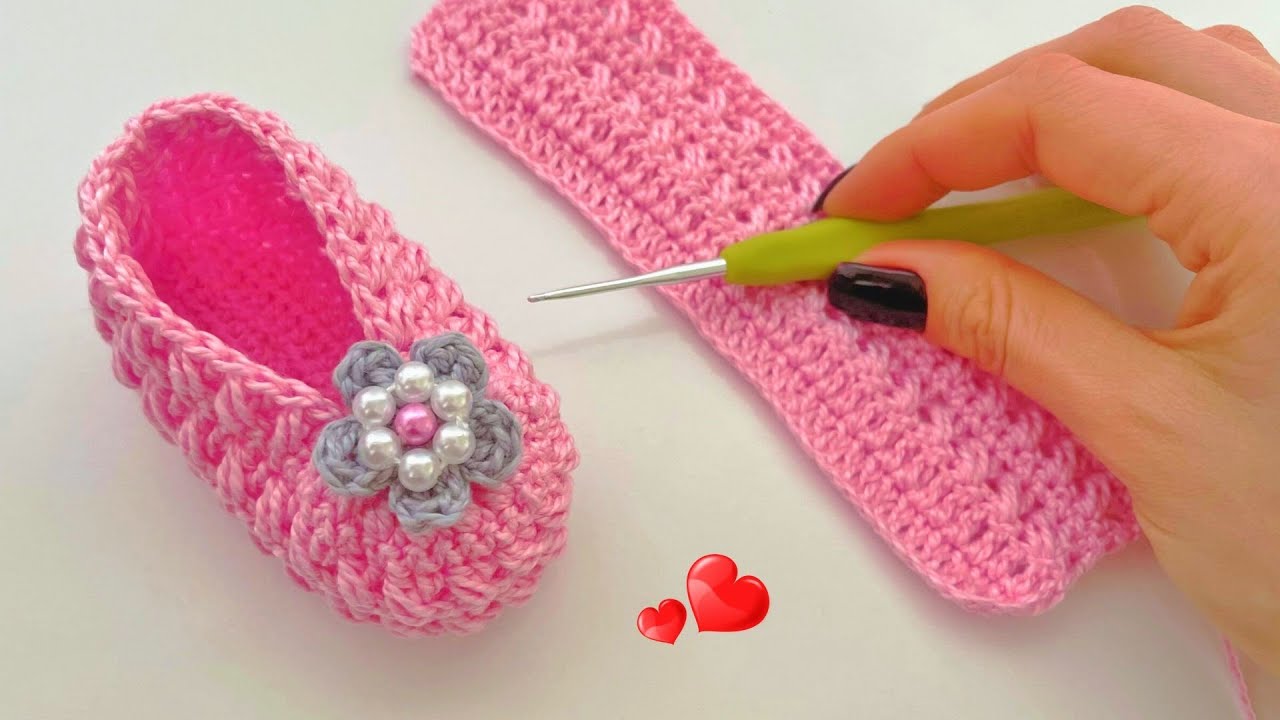
Give tiny feet a touch of handmade magic with these adorable crocheted baby booties! Featuring a beautiful textured stitch that resembles little stars or puffs, a smart two-tone design, and an elegant side closure, these booties are as cozy as they are charming. They’re a perfect project for a special gift or for your own little star!
This pattern is suitable for intermediate crocheters, or adventurous beginners who are comfortable learning a new textured stitch and seaming.
Yarn:
- DK (Double Knit) or Light Worsted Weight yarn in two contrasting colors (e.g., Yellow for Main Color, White for Contrast Color, as pictured). Choose a soft, machine-washable baby-friendly yarn like acrylic or a cotton blend.
Hook:
- 3.5 mm (US E/4) crochet hook (adjust hook size if necessary to achieve desired fabric and tension).
Notions:
- Tapestry needle for seaming and weaving in ends
- Scissors
- 2 small decorative buttons or flower embellishments (one for each bootie, as shown)
Gauge (Important for Sizing!):
- For the Star Stitch: A 4-stitch star stitch repeat should measure approximately 1 inch (2.5 cm) wide, and 2 rows of star stitch should measure about 0.75 inches (2 cm) tall.
- Always make a small swatch to check your gauge, as it’s crucial for the finished size of the booties!
Size:
- Newborn to 3 months (approximately 3.75 – 4 inches / 9.5-10 cm sole length when finished).
- To adjust for larger sizes, you will need to increase the starting chain for the sole and add more repeats of the star stitch pattern for both width and length. Ensure your starting chain for the bootie body is a multiple of 2 for the star stitch pattern.
Abbreviations (US Crochet Terms):
- Ch: Chain
- Sl St: Slip Stitch
- SC: Single Crochet
- HDC: Half Double Crochet
- DC: Double Crochet
- St(s): Stitch(es)
- FO: Fasten Off
- BLO: Back Loop Only (insert hook only into the back loop of the stitch)
- FDC: Foundation Double Crochet (optional, for a stretchy start)
- Star St (Star Stitch): Insert hook into 2nd ch from hook, pull up a loop; insert hook into next ch, pull up a loop; (insert hook into next ch, pull up a loop) 3 more times (6 loops on hook). Yo, pull through all 6 loops. Ch 1 (to close the star stitch).
Pattern Instructions:
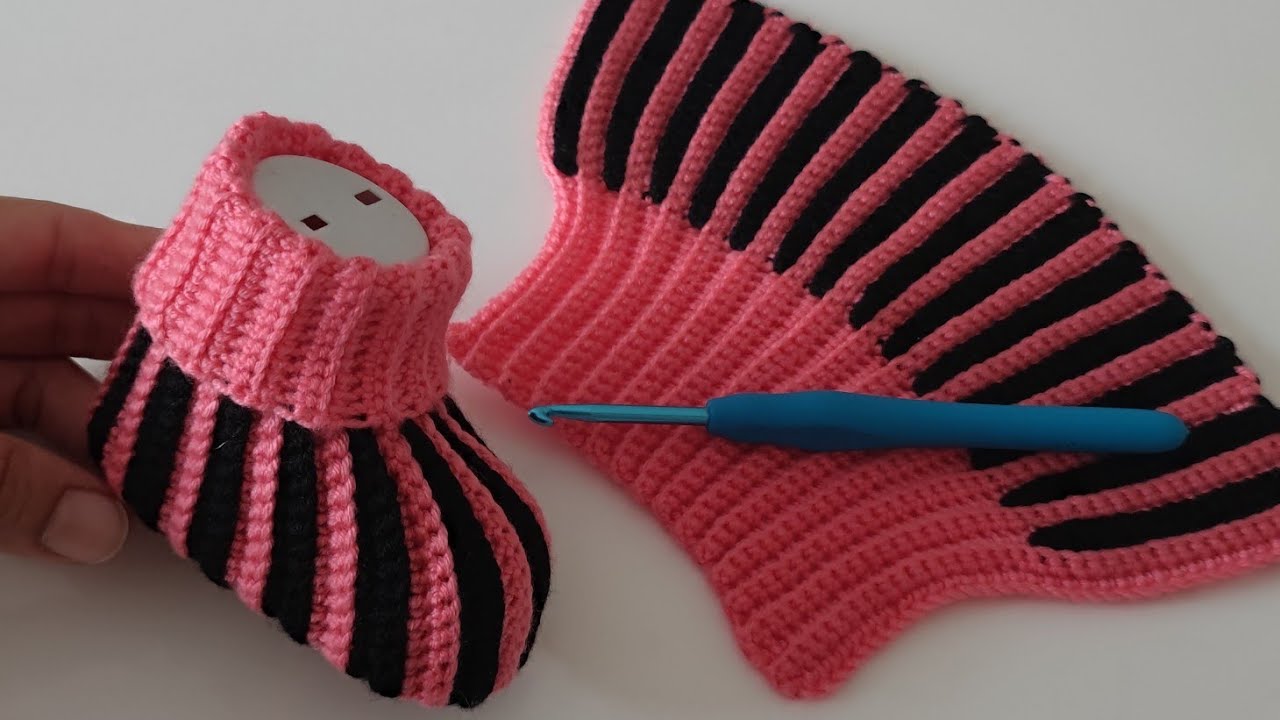
These booties are made in two main parts: the sole and the main body/upper, which is then shaped and seamed. The image shows the body as a flat, triangular piece.
Part 1: The Sole (Main Color – Yellow)
The sole is worked in continuous rounds to create an oval shape.

- Ch 14.
- Round 1: SC in 2nd Ch from hook. SC in next 11 Ch. 3 SC in last Ch. (Work around the end of the chain). Working along the other side of the starting chain: SC in next 11 Ch. 2 SC in the very last Ch (this is the same ch as your very first SC). Sl St to first SC to join. (28 SC)
- Round 2: Ch 1 (does not count as a stitch). 2 SC in first SC. SC in next 11 SC. 2 SC in next 3 SC. SC in next 11 SC. 2 SC in last 2 SC. Sl St to first SC to join. (34 SC)
- Round 3: Ch 1. 2 SC in first SC. SC in next 13 SC. 2 SC in next 3 SC. SC in next 13 SC. 2 SC in last 2 SC. Sl St to first SC to join. (40 SC)
- This completes the sole. FO, leaving a long tail for sewing the sole to the upper.
Part 2: The Bootie Body/Upper (Main Color – Yellow & Contrast Color – White)
This section is worked flat in rows, then shaped. The stitch pattern resembles a “star stitch” variation or linked DC. We’ll use a variation of the star stitch as it creates a beautiful texture similar to the image.
- Start with Main Color (Yellow).
- Ch 29. (This chain will form the ankle opening and length of the bootie).
- Row 1 (RS): SC in 2nd Ch from hook. SC in next 27 Ch. (28 SC). Ch 1, turn.
- The 28 SC ensures an even number for the star stitch pattern.
- Row 2 (WS): SC in each SC across. Ch 2 (does not count as st), turn.
- Row 3 (RS – Star Stitch Row):
- Work first half of Star St: Insert hook in 2nd ch from hook, pull up a loop; insert hook in 3rd ch from hook, pull up a loop; insert hook in first SC of row, pull up a loop (4 loops on hook). Yo, pull through all 4 loops. Ch 1 (to close the first star stitch).
- Work subsequent Star Stitches: Insert hook into the Ch-1 sp of the previous star stitch, pull up a loop; insert hook into the last post of the previous star stitch, pull up a loop; insert hook into the same SC where the last leg of the previous star stitch was worked, pull up a loop; insert hook into next unworked SC, pull up a loop (5 loops on hook). Yo, pull through all 5 loops. Ch 1.
- Repeat from * to * across the row. You should end with a Star St in the last SC. (13 Star Stitches). Ch 2, turn.
- This is a common way to start and continue Star Stitches for a straight edge. If you prefer a simpler version of the star stitch, you can use: Insert hook into 2nd ch from hook, pull up loop; insert hook into next ch, pull up loop; (insert hook into next st, pull up loop) 3 more times. Yo, pull through all 6 loops. Ch 1 to secure.
- Row 4 (WS): HDC in the top of each Star St and in each Ch-1 sp across. You should have 27 HDC (or 28 depending on how you count the final stitch, aim for an even number). Ch 2, turn.
- Repeat Rows 3 & 4 two more times. You will have 3 rows of yellow star stitch.

Change to Contrast Color (White) and continue the pattern:
- Row 9 (RS – White Star Stitch Row): Join white yarn. Ch 2. Work Star Stitches across (as in Row 3). Ch 2, turn. (13 Star Stitches).
- Row 10 (WS): HDC in each Star St and Ch-1 sp across. (27 HDC). Ch 2, turn.
- Repeat Rows 9 & 10 one more time. You will have 2 rows of white star stitch. FO.
- Your flat piece should now resemble the triangular shape shown in the image, with one long edge (the starting chain) and the other edge decreasing.

Part 3: Assembly
- Weave in all loose ends on both the sole and the upper piece.
- Attach Upper to Sole:
- With the RS of the upper facing out, align the long flat edge of the upper (the starting chain edge) to the sole.
- Using your tapestry needle and the long tail from the sole, whip stitch or mattress stitch the upper to the sole, working all the way around the oval. Ensure the edges meet neatly and the sole is centered.
- Seam the Back:
- Fold the upper part of the bootie (the star stitch section) so the side edges meet at the back.
- Using your tapestry needle, seam the back of the bootie from the heel up the ankle, stopping before the top edge where the strap will be.
- Create the Side Flap/Strap:
- The image shows a flap that folds over and secures with a button. The tapered edge of your flat piece will form this.
- Identify the side where the tapered edge begins (this will be the front-outer side of the bootie). This tapering should naturally create a flap.
- Attach Embellishment:
- Place your decorative button or flower on the side of the bootie where the flap will secure. Stitch it firmly in place.
- The strap itself is formed by the natural tapering of the upper. You can create a small loop with a chain stitch on the underside of the flap if your button requires a functional loop, or simply sew the flap down with the button as decoration.
- Make a Second Bootie: Repeat all steps to create a matching pair!
Video tutorial
And there you have it! Beautiful, handmade star stitch baby booties that are sure to be a cherished item. Enjoy the process of creating these lovely tiny shoes!
Happy crocheting!