by
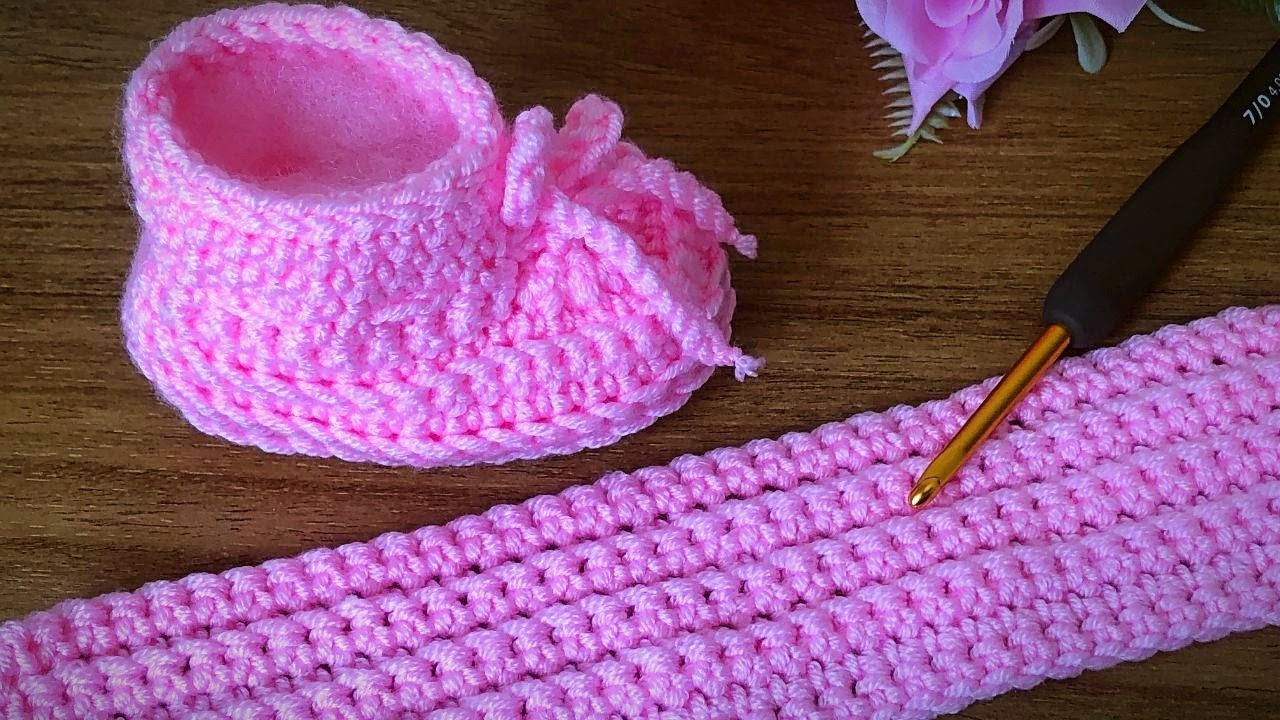
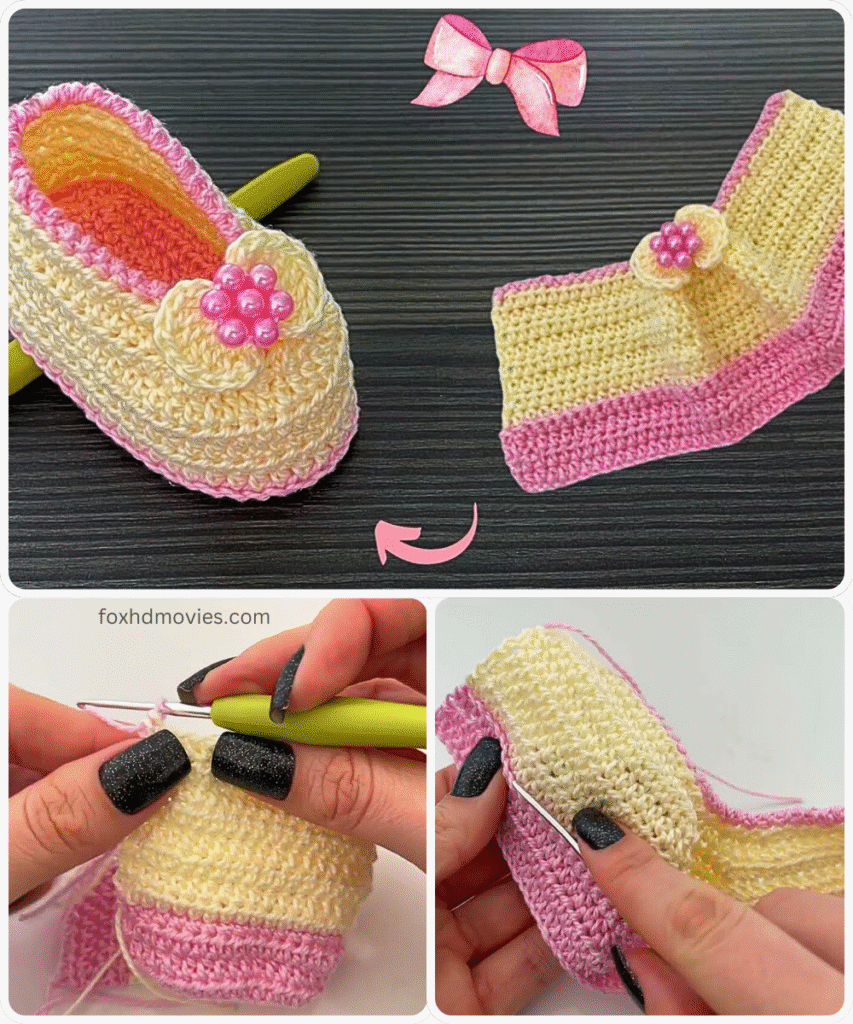
by Here’s another detailed crochet pattern for baby shoes, presented in a standard format:
Skill Level: Intermediate
Materials:
- Worsted weight yarn in your choice of color(s)
- Crochet hook size US E/4 (3.5 mm)
- Yarn needle for weaving in ends
- Scissors
- Stitch markers (optional, but helpful for marking rounds)
- Buttons, appliques, or other embellishments (optional)
Gauge:
- While not critical for baby shoes, a gauge of approximately 5 single crochet (sc) stitches and 5 rows equaling 1 inch is a good目安.
Abbreviations (US Crochet Terms):
- ch – chain
- sc – single crochet
- hdc – half double crochet
- dc – double crochet
- sl st – slip stitch
- st(s) – stitch(es)
- inc – increase (work 2 sc in the same stitch)
- dec – decrease (sc two stitches together)
- BLO – back loop only
- FLO – front loop only
Special Stitches:
- Magic Ring (Adjustable Ring): Wrap yarn around your fingers to create a loop. Insert hook into the loop, yarn over and pull through a loop. Yarn over and pull through the loop on your hook to secure the ring. This creates your starting ring.
- Invisible Decrease: Insert hook into the front loop only of the first stitch, then insert hook into the front loop only of the next stitch. Yarn over and pull through both front loops. Yarn over and pull through the two loops on your hook. This creates a less bulky decrease.
Pattern:
Part 1: The Sole
- Round 1: Start with a magic ring. Work 6 sc into the ring. Pull the tail tight to close the ring. (6 sts)
- Round 2: Inc in each stitch around. (12 sts)
- Round 3: (Sc in the next stitch, inc in the next stitch) repeat 6 times. (18 sts)
- Round 4: (Sc in the next 2 stitches, inc in the next stitch) repeat 6 times. (24 sts)
- Round 5: (Sc in the next 3 stitches, inc in the next stitch) repeat 6 times. (30 sts)
- Round 6: Sc in each stitch around. (30 sts) To make a larger sole, continue increasing in the same manner, adding one more single crochet between each increase in each subsequent round. For example, Round 7 would be (sc in the next 4 sts, inc) repeat 6 times, and so on.
Part 2: The Upper
- Round 7: Working in the back loops only (BLO), sc in each stitch around. (30 sts) Working in the back loops creates a ridge that separates the sole from the upper part of the shoe.
- Round 8: Sc in the next 20 stitches, invisible decrease (dec), sc in the next 8 stitches. (29 sts)
- Round 9: Sc in the next 19 stitches, invisible decrease (dec), sc in the next 8 stitches. (28 sts)
- Round 10: Sc in the next 18 stitches, invisible decrease (dec), sc in the next 8 stitches. (27 sts)
- Round 11: Sc in the next 17 stitches, invisible decrease (dec), sc in the next 8 stitches. (26 sts)
- Round 12: Sc in the next 16 stitches, invisible decrease (dec), sc in the next 8 stitches. (25 sts) These decrease rounds shape the front of the shoe.
Part 3: The Instep Flap
- Round 13: Sc in the next 9 stitches. Turn. (9 sts)
- Rows 14-18: Ch 1 (does not count as a stitch), sc in each of the 9 stitches across. Turn. (9 sts) These rows create the flap that goes over the baby’s instep. Adjust the number of rows to make the flap longer or shorter.
- Joining Round 19: Ch 1, sc in the next 9 stitches (across the instep flap), work 5 sc evenly down the side of the instep flap, sc in the next 6 stitches of the front of the shoe, work 5 sc evenly up the other side of the instep flap, sc in the remaining 10 stitches of the round. (35 sts)
Part 4: The Ankle Cuff
- Round 20: Sc in each stitch around. (35 sts)
- Round 21: (Hdc in the next stitch, dc in the next stitch) repeat around. (70 sts) This creates a simple, slightly stretchy cuff. You can modify this round with different stitch combinations or add more rounds for a taller cuff.
- Fasten off, leaving a long tail for sewing if needed.
Finishing:
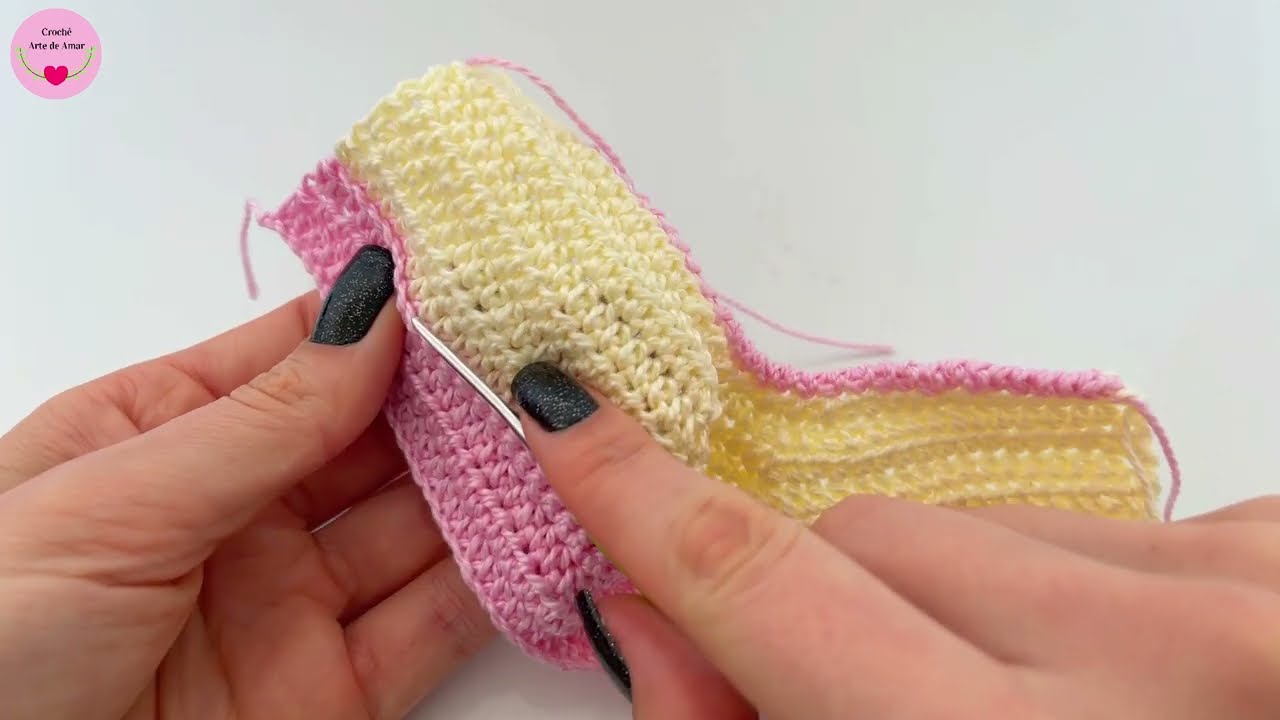
- Seaming (Optional): If there is a small gap at the back of the heel where the rounds didn’t perfectly meet, use the long tail to sew it closed.
- Weave in all loose yarn ends securely using your yarn needle.
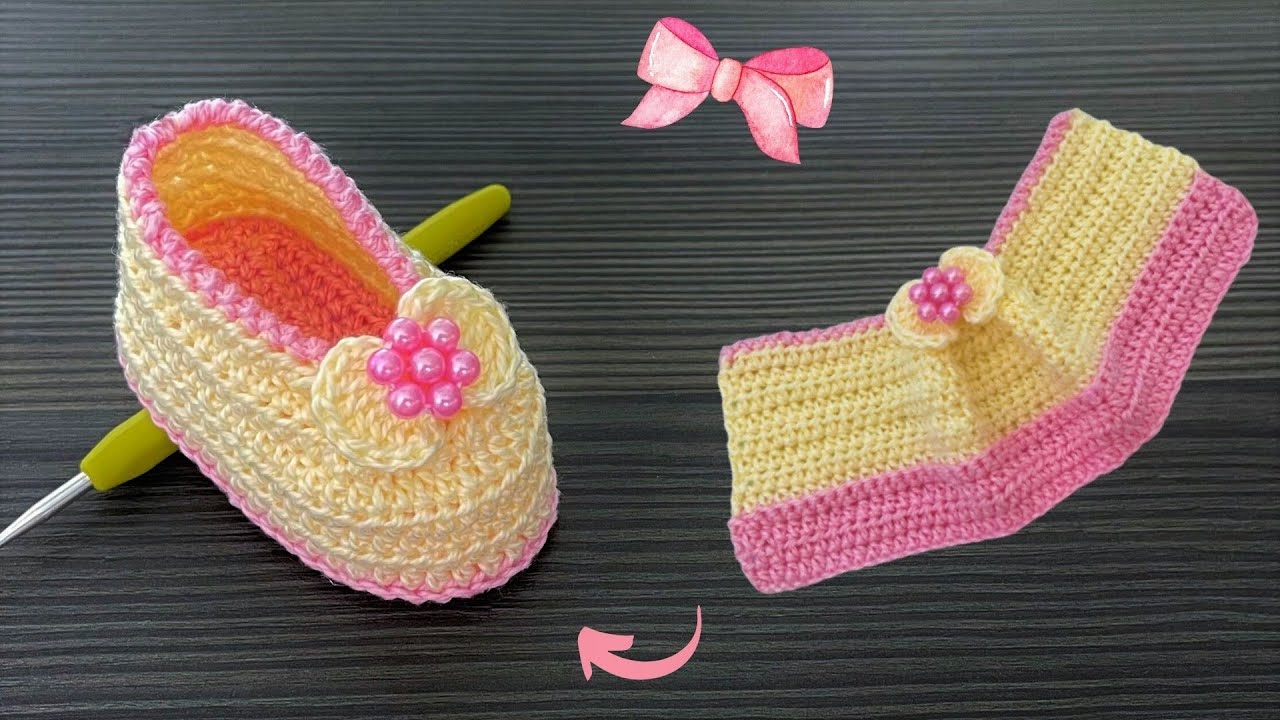
- Embellish (Optional): Sew buttons, appliques, or other decorations onto the instep flap or around the ankle cuff to personalize your baby shoes.
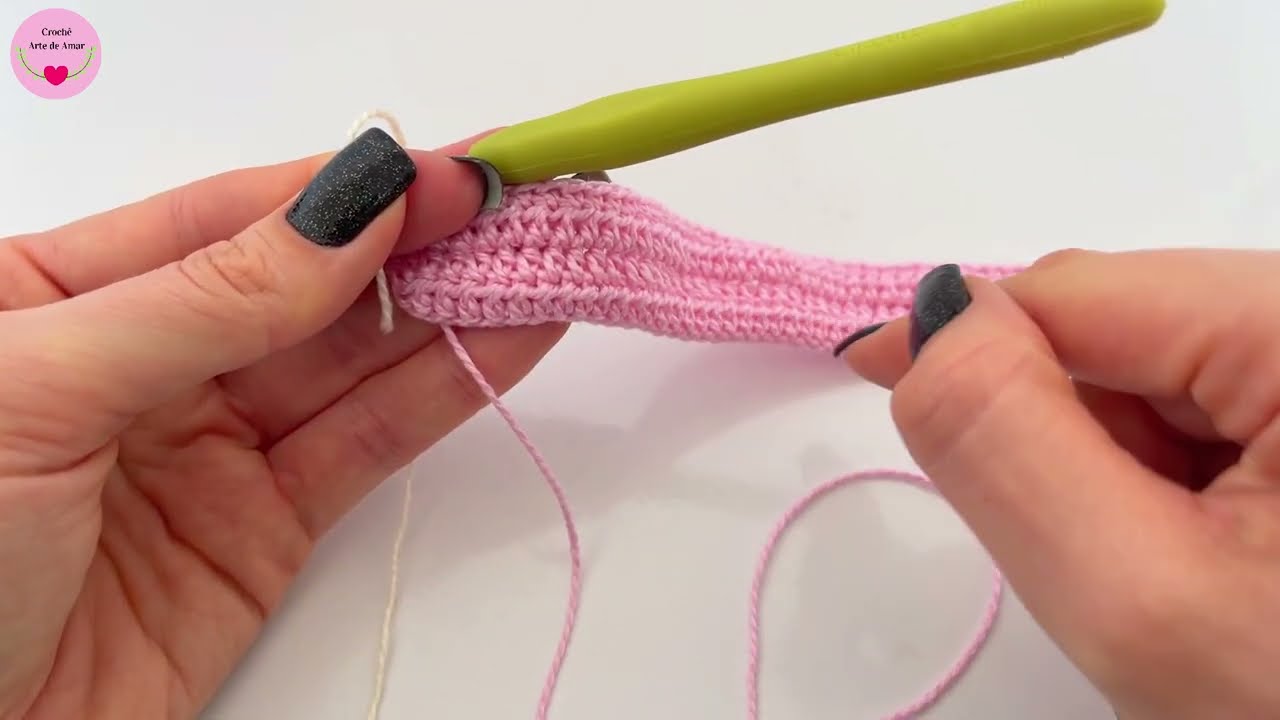
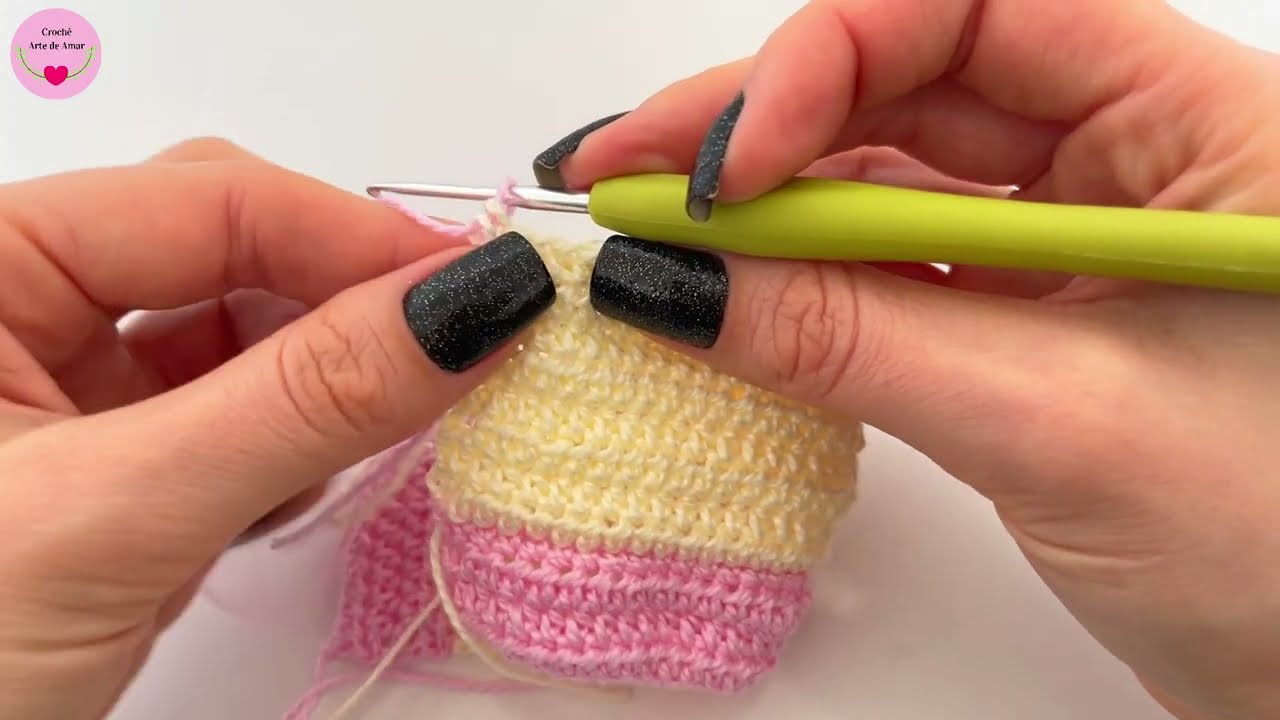
Video tutorial
Variations and Ideas:
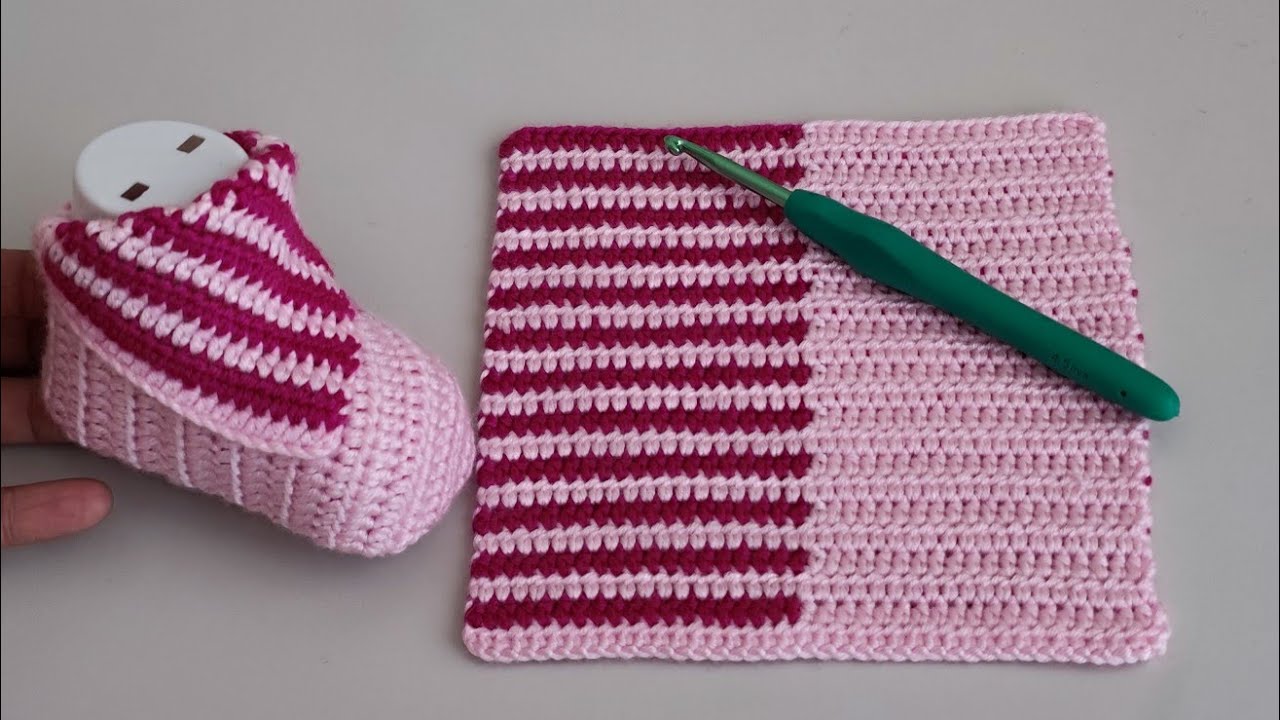
- Color Blocking: Change yarn colors between different parts (sole, upper, cuff) or within rounds/rows for a unique look.
- Stitch Textures: Experiment with different stitches for the upper rounds (e.g., hdc, dc, or textured stitches) to add visual interest.
- Straps: To create a Mary Jane style shoe, you can add a strap that fastens with a button or Velcro across the instep. To do this, after completing the instep flap, chain a desired number of stitches for the strap length, and then slip stitch to the opposite side of the shoe. Add a loop or buttonhole at the end of the strap and sew a button onto the side of the shoe.
- Bootie Height: To make a taller bootie, continue working single crochet rounds after Round 12 of the upper before starting the instep flap.
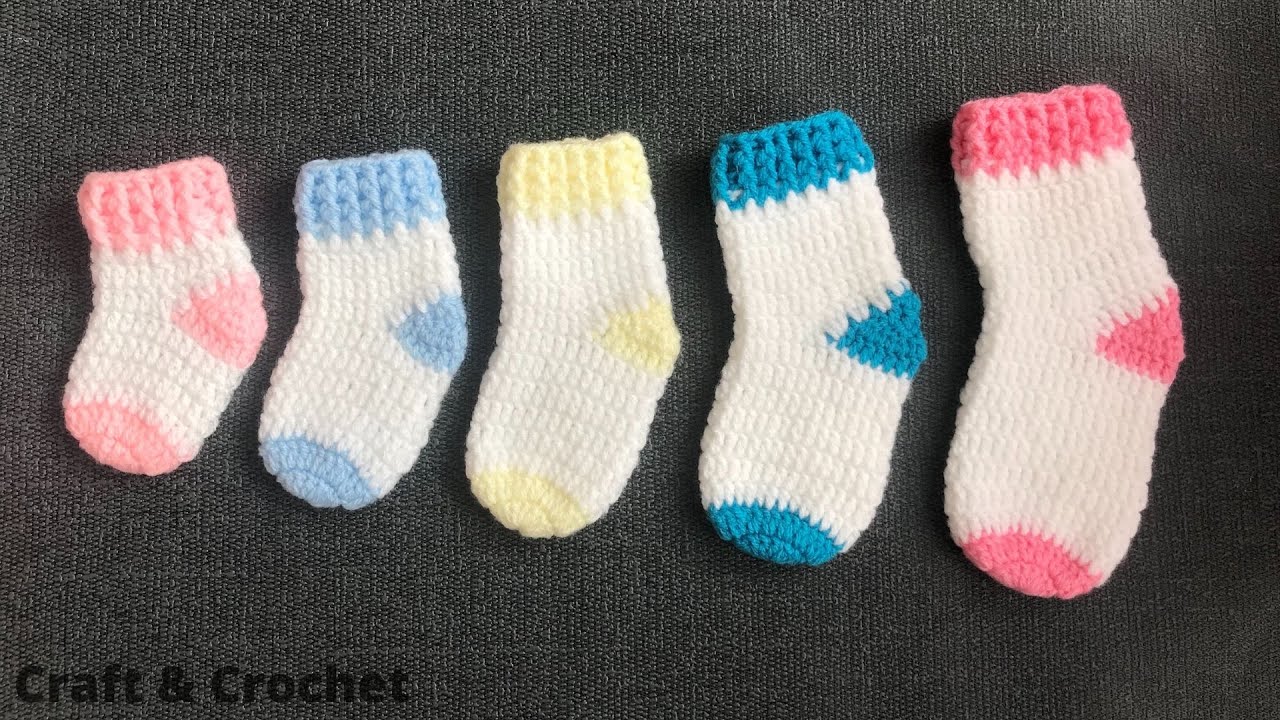
- Sole Size Adjustments: Remember the note in the sole section about adding more increase rounds for a larger size. You may also need to adjust the number of decrease rounds in the upper accordingly.