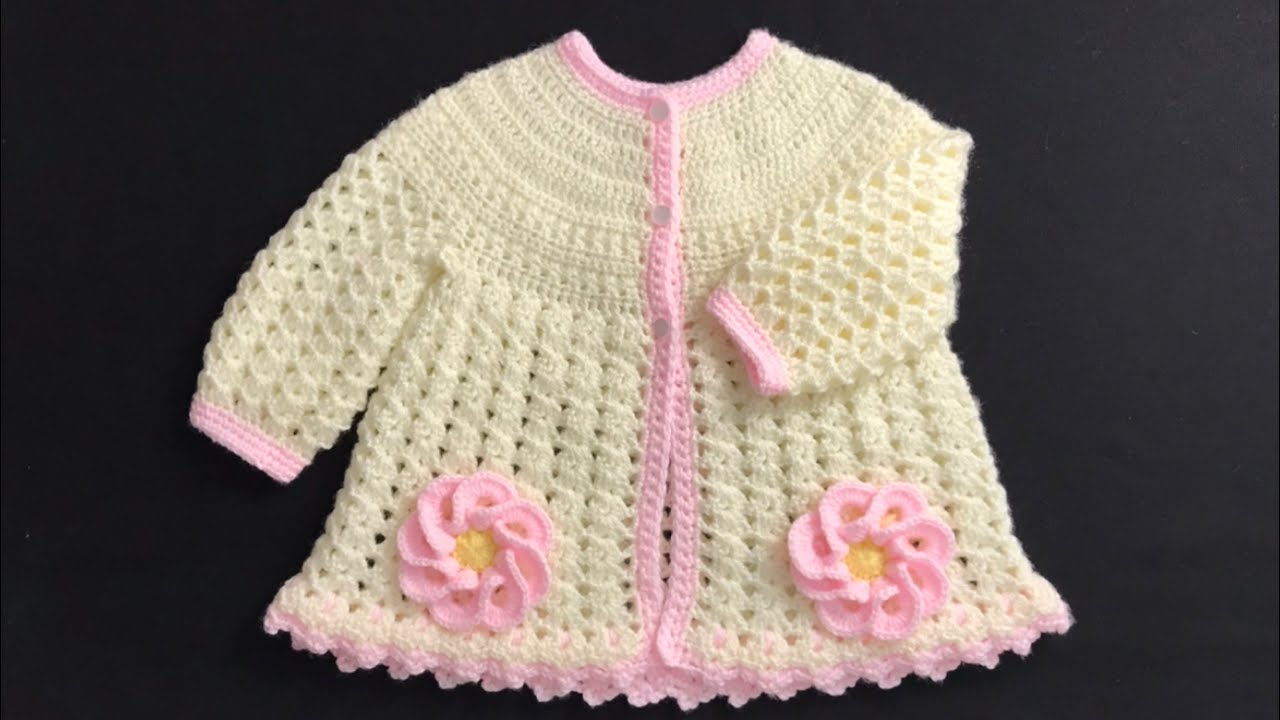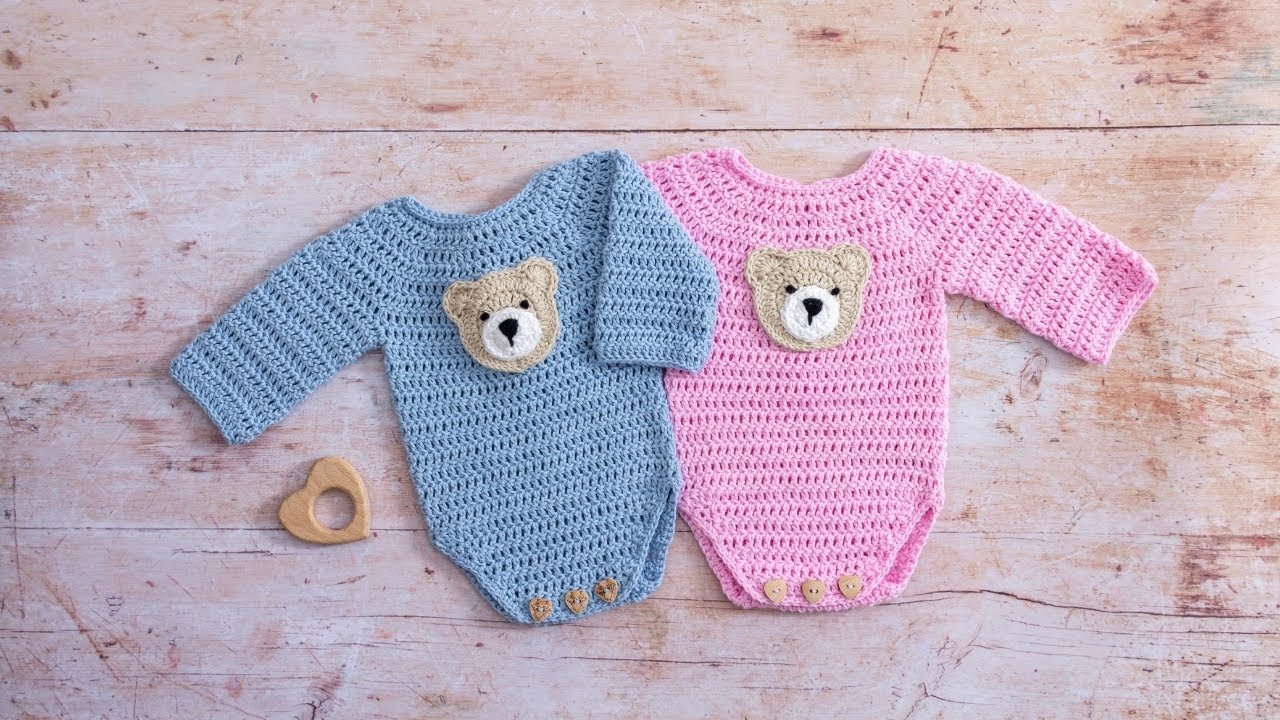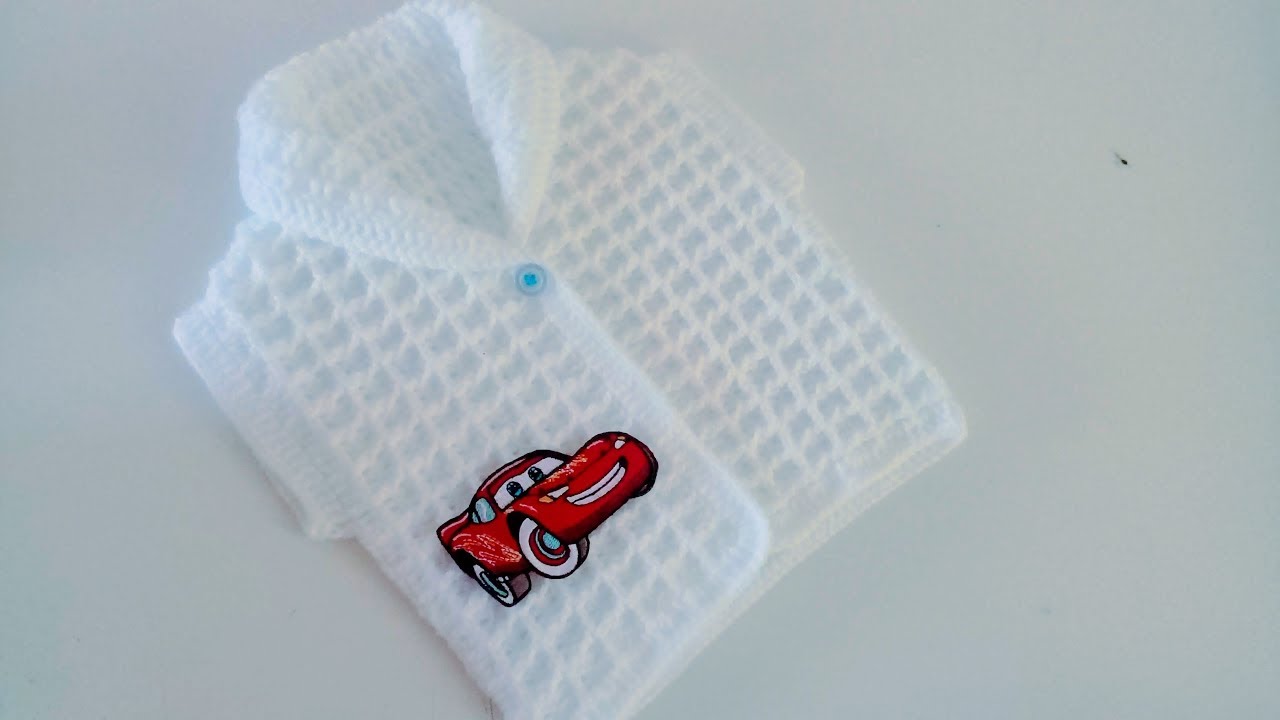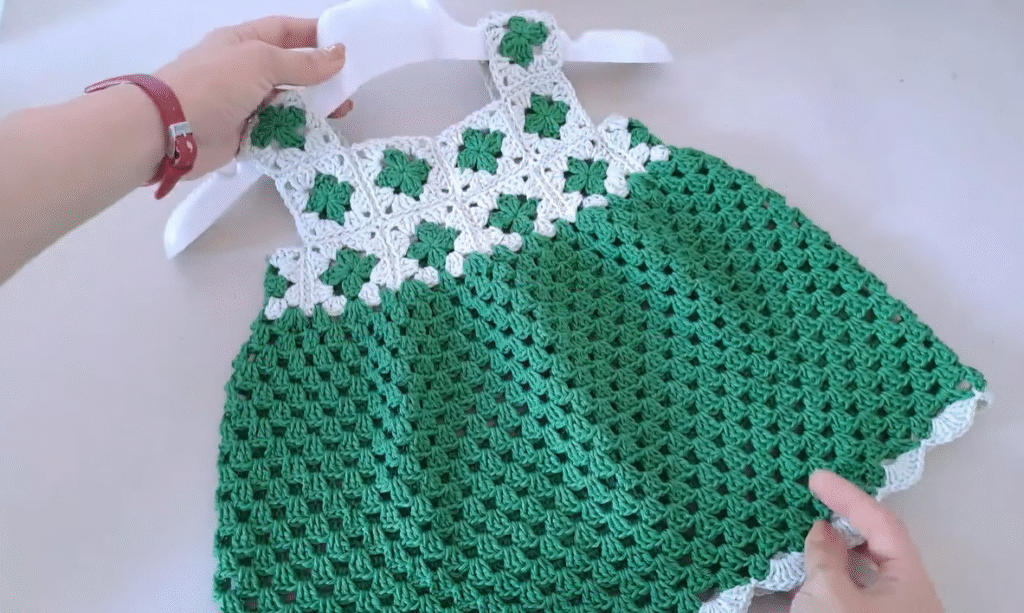
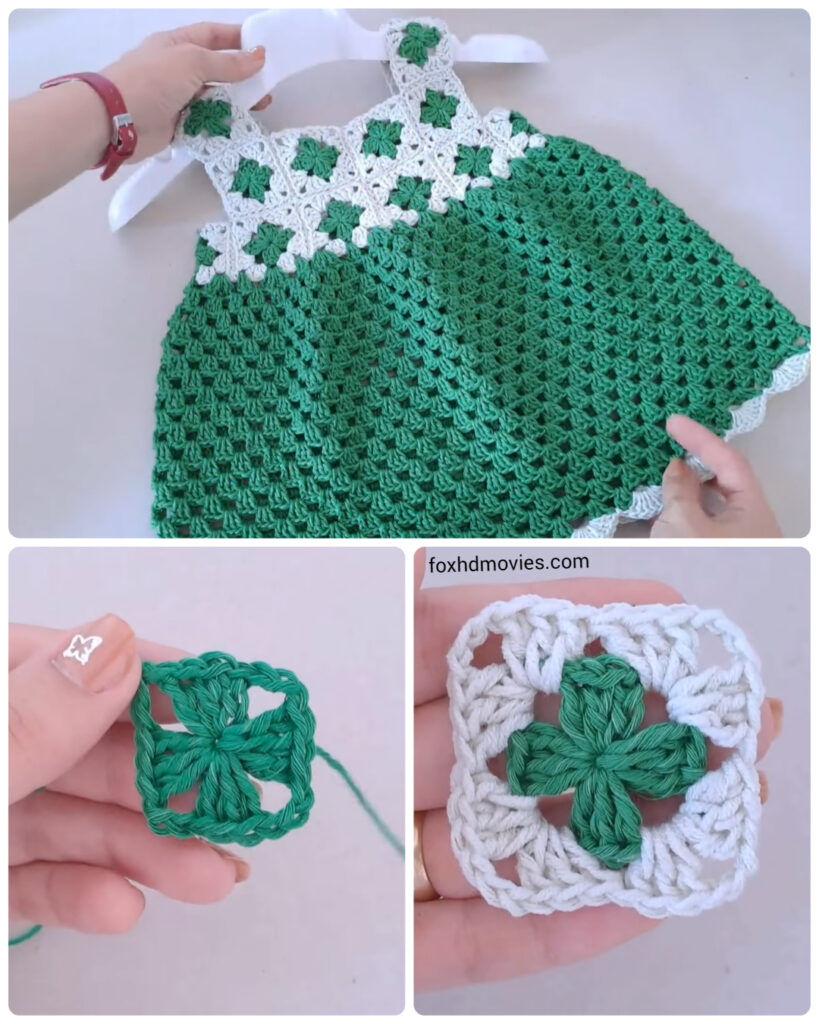
Imagine your little one twirling in this adorable handmade crochet dress! This charming design features a unique square motif yoke that creates a beautiful neckline and straps, paired with a flowing shell stitch skirt. The contrast between the solid motifs and the lacy skirt makes for a truly special garment, perfect for warm weather or layering.
This pattern is ideal for intermediate crocheters or confident beginners who are comfortable joining motifs.
Yarn:
- DK (Double Knit) or Light Worsted Weight yarn in two contrasting colors (e.g., Green and White, as pictured). Choose a soft, baby-friendly yarn that is machine washable for easy care.
Hook:
- 3.5 mm (US E/4) crochet hook (adjust hook size if necessary to achieve gauge and desired fabric).
Notions:
- Tapestry needle for weaving in ends and joining motifs
- Scissors
- Small buttons (2-3, for the back closure)
- Stitch markers (helpful for keeping track of motif placement)
Gauge (Crucial for Sizing!):
- One square motif: Approximately 2.5 x 2.5 inches (6.5 x 6.5 cm).
- For the Skirt (Shell Stitch): A shell (5 DC) should be approximately 1.25 inches wide and 1 inch tall.
- Please make a gauge swatch of one motif and a small section of the skirt pattern to ensure your measurements match. Adjust hook size if needed.
Finished Measurements (Approximate for 6-12 Months):
- Chest Circumference: 19-20 inches (48-51 cm)
- Dress Length (from shoulder to hem): 15-16 inches (38-41 cm)
Abbreviations (US Crochet Terms):
- Ch: Chain
- Sl St: Slip Stitch
- SC: Single Crochet
- HDC: Half Double Crochet
- DC: Double Crochet
- Tr: Treble Crochet (or Triple Crochet)
- St(s): Stitch(es)
- Sk: Skip
- Sp: Space
- FO: Fasten Off
- Yo: Yarn Over
- Picot: Ch 3, Sl St into the first Ch.
- V-stitch: (DC, Ch 1, DC) in the same stitch/space
- Shell: 5 DC in the same stitch/space
- DC Cluster (dc-cl): Yo, insert hook into st/sp, Yo, pull up loop, Yo, pull through 2 loops (2 loops on hook); (Yo, insert hook into same st/sp, Yo, pull up loop, Yo, pull through 2 loops) 2 more times (4 loops on hook); Yo, pull through all 4 loops. (This forms a 3-DC Cluster).
Pattern Instructions:
Part 1: The Square Motif Yoke
The yoke is made from individual squares joined together. Each square has a central “flower” design.

Motif Pattern (Make 12-14 in total for 6-12 months size):
- Make 8-10 motifs in White (for front/back/sides)
- Make 4 motifs in Green (for shoulder straps)
Start with Color A (Green for center, then White for outer rounds, OR White for center, then Green for outer rounds – as seen, the center of the ‘flower’ is green, then bordered by white). Let’s assume Green for center, White for outer rounds based on the image’s overall color distribution.
Round 1 (Green Yarn): Ch 4, Sl St to first Ch to form a ring. Ch 3 (counts as 1st DC). Work 15 DC into the ring. Sl St to top of beginning Ch 3. (16 DC)
Round 2 (Green Yarn): Ch 1. SC in next DC, Ch 3. Repeat from * to * around. Sl St to first SC. (16 Ch-3 loops) FO Green yarn.
Round 3 (White Yarn): Join White yarn with a Sl St into any Ch-3 loop. Ch 3 (counts as 1st DC). (DC, Ch 2, 2 DC) in the same Ch-3 loop (this forms your first corner). Sk next Ch-3 loop, (2 DC, Ch 2, 2 DC) in next Ch-3 loop. Repeat from * to * around. You will create 4 corners. Sl St to top of beginning Ch 3. (16 DC and 4 Ch-2 spaces)
Round 4 (White Yarn): Ch 3 (counts as 1st DC). DC in next DC. (2 DC, Ch 2, 2 DC) in next Ch-2 sp (corner). DC in next 4 DC. (2 DC, Ch 2, 2 DC) in next Ch-2 sp (corner). Repeat from * to * around. DC in remaining 2 DC. Sl St to top of beginning Ch 3. FO.
- Your motifs should now be square and measure approx. 2.5 x 2.5 inches.
- Note: The image shows a very specific type of motif. The provided pattern is for a common square flower motif. If the exact motif in the image is desired, a more advanced “puff stitch flower square” or “granny square flower” pattern would be needed.
- Alternative Motif for the Image’s Exact Look (more complex):
- Center (Green): Magic Ring, Ch 3, (DC-cl, Ch 2) 7 times. Sl St to top of first DC-cl. (8 clusters).
- Next Round (White): Sl St into first Ch-2 sp. Ch 3, (2 DC-cl, Ch 2) in same sp. (DC-cl, Ch 2, 2 DC-cl, Ch 2) in next sp. Continue forming corners with (2 DC-cl, Ch 2, 2 DC-cl, Ch 2) and sides with (DC-cl, Ch 2). This might be more accurate to the “starburst” appearance.
- For simplicity, I will continue with the standard flower square pattern above, which is a good approximation for a beginner-friendly blog post.
- Alternative Motif for the Image’s Exact Look (more complex):

Joining the Motifs:
Arrange your motifs:
- Front: 4 white motifs in a row.
- Back: 4 white motifs in a row.
- Straps: 2 green motifs for each shoulder (4 total green motifs).
- Sew/Crochet Join: Join the motifs using a whip stitch (tapestry needle) or a slip stitch/SC join (crochet hook).
- Join the 4 front motifs side-by-side.
- Join the 4 back motifs side-by-side.
- For the straps, join 2 green motifs together to form a strip. Make two of these.
- Assemble the Yoke:
- Lay out the front row of motifs.
- Attach one end of a green strap strip to the top corner of the first front motif.
- Attach the other end of that strap strip to the top corner of the last front motif.
- Repeat for the second green strap.
- Now, attach the front motif row to the back motif row, connecting the side edges of the front/back motifs. Leave a gap in the center of the back for buttons (approx. 2 motifs wide).
- Attach the loose ends of the green straps to the top corners of the back motifs.
- You should have a square/rectangular yoke formed by 8 white motifs (front and back) and 4 green motifs (straps), with armholes and a neck opening.
Part 2: The Skirt (Green & White)
We’ll use a Shell Stitch pattern (5 DC in the same stitch, skip 4 stitches).
- Round 1 (Green Yarn): Join Green yarn with a Sl St to any corner of the bottom edge of your yoke (where the white motifs meet). Ch 3 (counts as 1st DC). 4 DC in the same stitch/space (first Shell made).
- You need to ensure your stitch count around the bottom of the yoke is a multiple of 5 for the shells. You may need to adjust by skipping 3 or 5 stitches occasionally, or adding extra stitches evenly around, to make it work.
- Alternatively, you can work a foundation round of DC stitches evenly spaced around the bottom of the yoke, aiming for a multiple of 5, then start your shells into those DC stitches.
- *Let’s assume you’ve made a foundation round of DC. Work a Shell (5 DC) in the next appropriate stitch. Sk 4 stitches, Shell (5 DC) in next stitch. Repeat from * to * around. Sl St to top of beginning Ch 3.
- Round 2: Sl St into the center DC of the first Shell. Ch 3, 4 DC in the same center DC (first Shell made). Sk 4 DC, Shell (5 DC) in the center DC of the next Shell. Repeat from * to * around. Sl St to top of beginning Ch 3.
- Repeat Round 2 for 15-18 more rounds (or until the green section of the skirt measures approx. 9-10 inches / 23-25 cm from the join, or desired length for a 6-12 month baby).
Skirt Edging (White Yarn):
- Change to White Yarn: Join White yarn with a Sl St into the center DC of any shell.
- Round 1 (White Edging): Ch 1. SC in the center DC of the current shell, (Ch 2, SC in the space between the current shell and the next shell, Ch 2). Repeat from * to * around. Sl St to first SC.
- Round 2 (Picot Edge): Ch 1. SC in the first SC, (SC in next Ch-2 sp, Picot (Ch 3, Sl St into 1st Ch), SC in same Ch-2 sp). Repeat from * to * around. Sl St to first SC. FO.

Part 3: Finishing Touches
- Weave in all loose ends neatly with your tapestry needle.
- Back Closure:
- For the back opening of the yoke, you may need to add a simple SC border along each side of the opening to create a clean edge and buttonholes.
- Along one side of the back opening: SC evenly up the edge.
- Along the other side: SC evenly up the edge. On the way back down, work (Ch 2, Sk 2 SC, SC) for your buttonholes. Make 2-3 buttonholes evenly spaced.
- Sew 2-3 small buttons onto the opposite side of the back opening to align with your buttonholes.
- Block (Optional but Recommended): Gently wet the dress, reshape it to the correct measurements, and pin it to a foam board or towel. Allow it to air dry completely. This will open up the stitches and give the dress a beautiful drape and professional finish.
Video tutorial
And there you have it! A delightful handmade crochet dress that’s as charming as it is comfortable. This dress is perfect for photos, special occasions, or just everyday cuteness. Enjoy the process of creating this lovely garment for a little one!
Happy crocheting!

