by
by 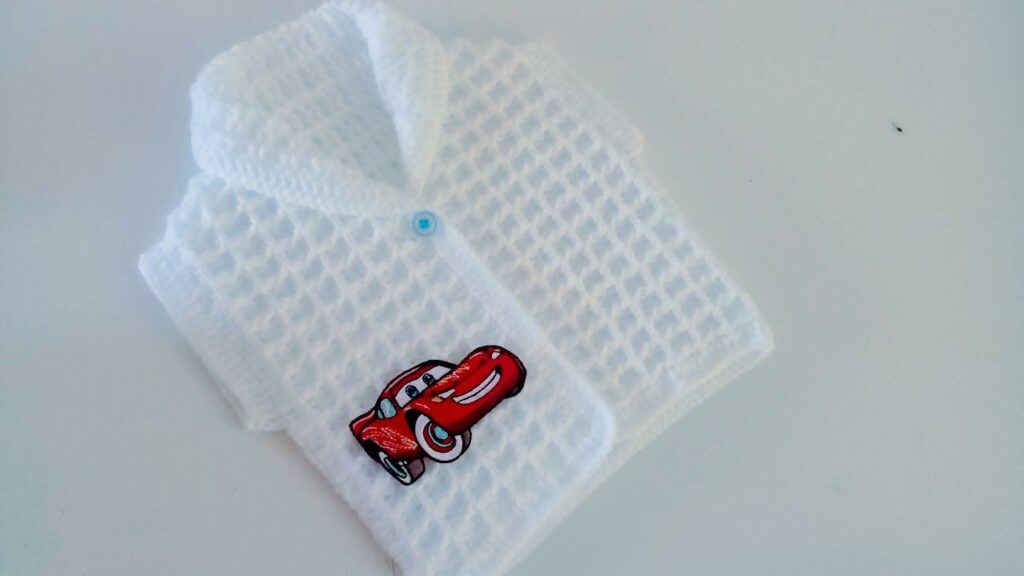
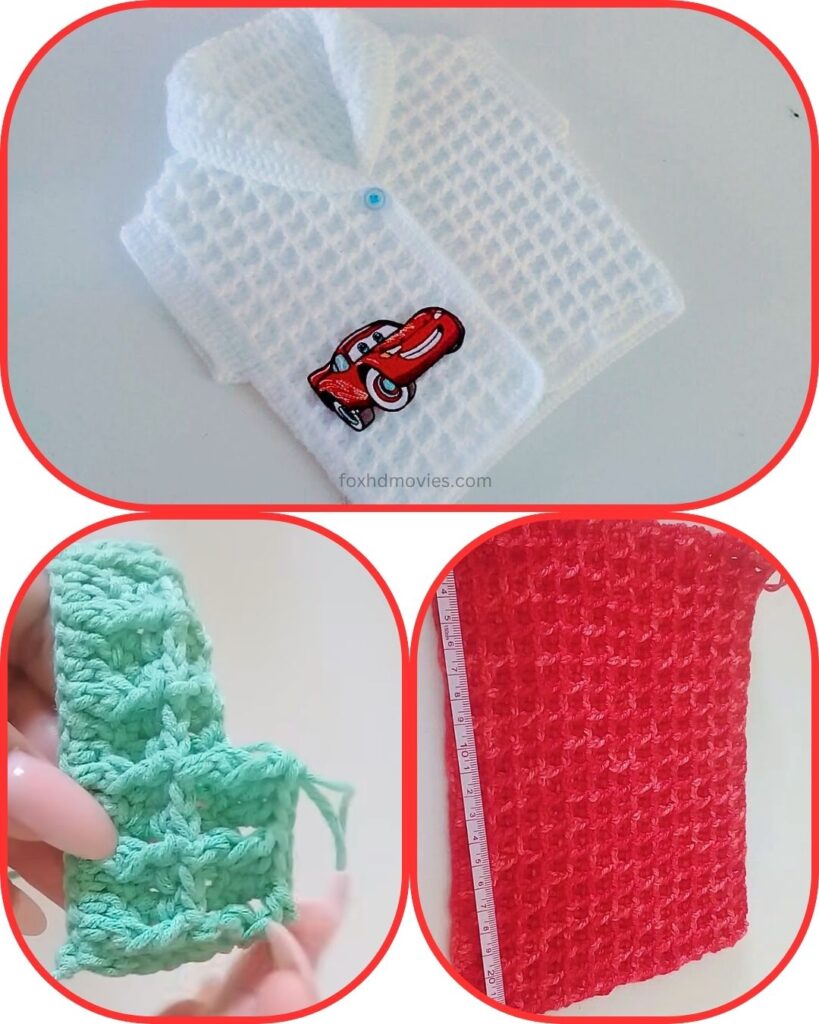
Looking for that perfect layering piece that’s both stylish and incredibly comfortable? Meet your new favorite project: the Waffle Stitch Vest! This beautiful stitch creates a rich, textured fabric that feels wonderfully squishy and warm, making it ideal for transitioning seasons or adding a touch of cozy elegance to any outfit. Plus, it works up quicker than you think!
Why the Waffle Stitch? The waffle stitch isn’t just pretty; its raised texture is excellent for trapping warmth, making this vest surprisingly toasty without being bulky. It also has fantastic drape!
Skill Level: Easy to Intermediate (Familiarity with basic stitches, working in rows, and front post double crochet is helpful).
Materials:
- Yarn: Worsted Weight (Aran) yarn. A soft acrylic, wool, or blend is recommended for stitch definition and drape.
- Approx. 500-800 yards, depending on size and desired length.
- Crochet Hook: Size I/9 (5.5 mm) or J/10 (6.0 mm), or size needed to obtain gauge. (A slightly larger hook than usual for worsted weight often works best for drape with the waffle stitch).
- Yarn Needle: For weaving in ends and seaming.
- Scissors
- Stitch Markers: Helpful for marking armholes or collar shaping.
Gauge (Crucial for Sizing!):
Achieving the correct gauge is essential for your vest to fit as intended.
- For Waffle Stitch: Work a swatch in the pattern (see stitch instructions below).
- 4 rows of waffle stitch = 2 inches
- 9 double crochet stitches (including post stitches) = 4 inches
- Adjust your hook size if necessary to meet this gauge. If your swatch is too small, use a larger hook; if too large, use a smaller hook.
Finished Size (Approximate Adult Small/Medium):
- Bust/Chest Circumference: 38-40 inches
- Length (Shoulder to Hem): 22-24 inches
- Adjustments for other sizes: Guidance will be provided within the pattern.
Abbreviations (US Crochet Terms):
- ch: chain
- sl st: slip stitch
- dc: double crochet
- fpdc: front post double crochet (see Special Stitches below)
- st(s): stitch(es)
- sk: skip
- rep: repeat
- ( ): repeat instructions in parentheses a specified number of times
- [ ]: total stitches at the end of the row
Special Stitch: Front Post Double Crochet (fpdc)
YO, insert hook from front to back around the post of the indicated dc stitch from the previous row, YO, pull up a loop. YO, pull through 2 loops. YO, pull through remaining 2 loops on hook.
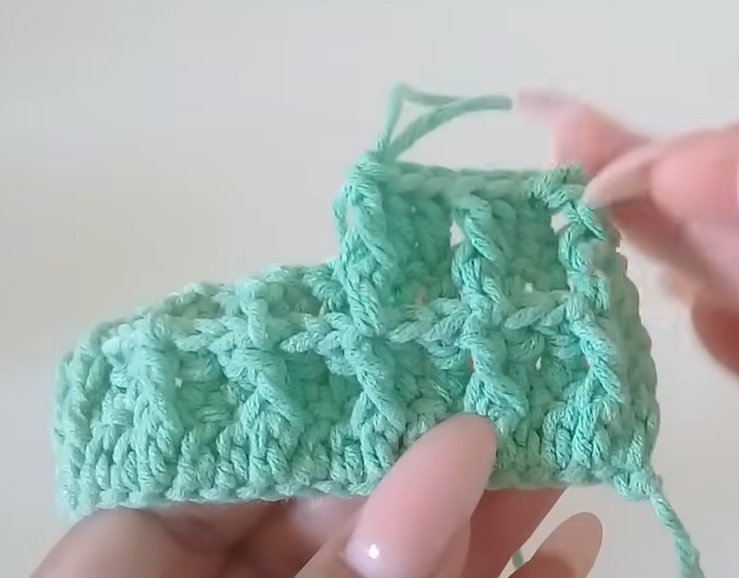
The Waffle Stitch Pattern (2-Row Repeat):
The waffle stitch is worked over a multiple of 3 + 2 stitches.
Row 1 (Foundation): Ch (multiple of 3 + 2). Dc in 4th ch from hook (counts as first dc) and in each ch across. Row 2: Ch 2 (counts as first dc), turn. *Fpdc around next st, dc in next 2 sts.* Rep from * to * across until 2 sts remain. Fpdc around next st, dc in top of turning chain. Row 3: Ch 2 (counts as first dc), turn. *Dc in next fpdc, fpdc around next 2 dc.* Rep from * to * across until 2 sts remain. Dc in next fpdc, dc in top of turning chain.
Repeat Rows 2 and 3 for the waffle stitch pattern.
Pattern for Your Quick & Easy Waffle Stitch Vest
This vest is worked in two separate panels (Front and Back) and then seamed.
Part 1: Back Panel
Initial Chain: Ch a number that is a multiple of 3 + 2, and that gives you a width of approximately 19-20 inches (for S/M). For the suggested gauge, this would be Ch 86.
- To adjust width: Chain more or fewer stitches, ensuring it’s a multiple of 3 + 2. Measure against your body, or a garment that fits well, allowing for some ease.
Row 1 (Foundation): Dc in 4th ch from hook and in each ch across. [84 dc]
- Ch 2, turn.
Rows 2-3 (Waffle Stitch): Work Rows 2 and 3 of the Waffle Stitch Pattern as described above.
Continue working Rows 2 and 3 of the Waffle Stitch Pattern until your back panel measures approximately 20-22 inches from the beginning, or your desired length before the shoulder shaping. Ensure you end on a Row 3 repeat.
- To adjust length: Work more or fewer rows.
Shape Shoulders (Optional, for a better fit): The simplest method for shoulder shaping in a vest this style is to create a shallower neckline or omit shaping entirely, relying on the drape of the fabric. For a classic look, we’ll gently shape.
Next Row (Shoulder 1 – Row 2 repeat): Ch 2, turn. Work waffle stitch across until you have 20-22 stitches remaining on the current side (this leaves space for the neck opening). Fasten off.
Next Row (Shoulder 2 – Row 2 repeat): Sk the center stitches (for the neck opening). Join yarn with sl st to the 21st-23rd stitch from the last working stitch. Ch 2, work waffle stitch to end of row. Fasten off.
- Ensure both shoulder sections have the same number of stitches.
Part 2: Front Panels (Make 2)
The front of the vest will be split into two panels for the opening.
Initial Chain: Ch a number that is a multiple of 3 + 2, and that gives you a width of approximately 9-10 inches (for S/M). For the suggested gauge, this would be Ch 38.
- To adjust width: Chain more or fewer stitches, ensuring it’s a multiple of 3 + 2. Each front panel will be half the width of the back panel, minus any overlap/button band.
Row 1 (Foundation): Dc in 4th ch from hook and in each ch across. [36 dc]
- Ch 2, turn.
Rows 2-3 (Waffle Stitch): Work Rows 2 and 3 of the Waffle Stitch Pattern as described above.

Continue working Rows 2 and 3 of the Waffle Stitch Pattern until your front panel measures approximately 16-18 inches from the beginning, or about 4-6 inches less than your back panel length. This creates the v-neck opening. Ensure you end on a Row 3 repeat.
Shape V-Neck (Decreases): From this point, you will begin decreasing at the neck edge to create the V-shape. Continue the waffle stitch pattern.
Decrease Row (Row 2 repeat): Ch 2, turn. Work waffle stitch across until 3 stitches remain. Hdc2tog over next 2 sts, dc in last st (this creates a subtle decrease while trying to maintain the stitch pattern). [1 st decreased]
- Ch 2, turn.
Next Row (Row 3 repeat – no decrease): Work waffle stitch across.
- Ch 2, turn.
Repeat these two rows (one decrease row, one regular row) until your front panel reaches the same length as your back panel’s shoulder shaping point, and you have approximately 20-22 stitches remaining for the shoulder. Fasten off.
Repeat for the Second Front Panel: Make an identical front panel. Ensure your decreases are mirrored (i.e., one panel decreases at the end of the row, the other decreases at the beginning).
Part 3: Assembly
- Seaming Shoulders: Lay the Front and Back panels flat with right sides facing up. Align the shoulder sections. Use your yarn needle and your preferred seaming method (e.g., whip stitch, mattress stitch, or slip stitch through both loops) to join the shoulder seams.
- Seaming Sides: Fold the vest in half, matching the front and back panels. Decide on your armhole depth (typically 8-9 inches from the shoulder seam down). Place a stitch marker at this point on both side seams. Use your yarn needle to seam the sides from the bottom hem up to the stitch markers, leaving the armholes open.

Part 4: Finishing Touches
- Armhole Edging: Join yarn with a sl st to the bottom of one armhole. Ch 1, work sc evenly around the entire armhole opening. Join with sl st to first sc.
- Optional: Work a second round of sc for a slightly thicker edge, or a round of sl st for a very neat, non-stretching edge.
- Fasten off and weave in ends. Repeat for the second armhole.
- Front Opening & Neckline Edging: Join yarn with a sl st to the bottom front corner of the vest. Ch 1, work sc evenly all along the front opening, up around the V-neck, and down the other side to the bottom. Aim for a consistent number of sc per row of waffle stitch (e.g., 2 sc per hdc row, 1 sc per dc row, adjust as needed). Join with sl st to first sc if you meet neatly, or just fasten off.
- Optional: Work a second round of sc, or a round of sl st for a very neat finish.
- Fasten off and weave in all ends.
- Weave in all remaining ends securely.
- Blocking (Recommended!): Gently block your vest to open up the waffle stitch, even out your tension, and improve drape. Wet the vest thoroughly, gently squeeze out excess water, lay flat, and shape it to the correct dimensions. Let it dry completely.
Video Tutorial
You’ve done it! You now have a stylish and cozy Waffle Stitch Vest, perfect for layering and showcasing that beautiful texture. Enjoy!