 by
by 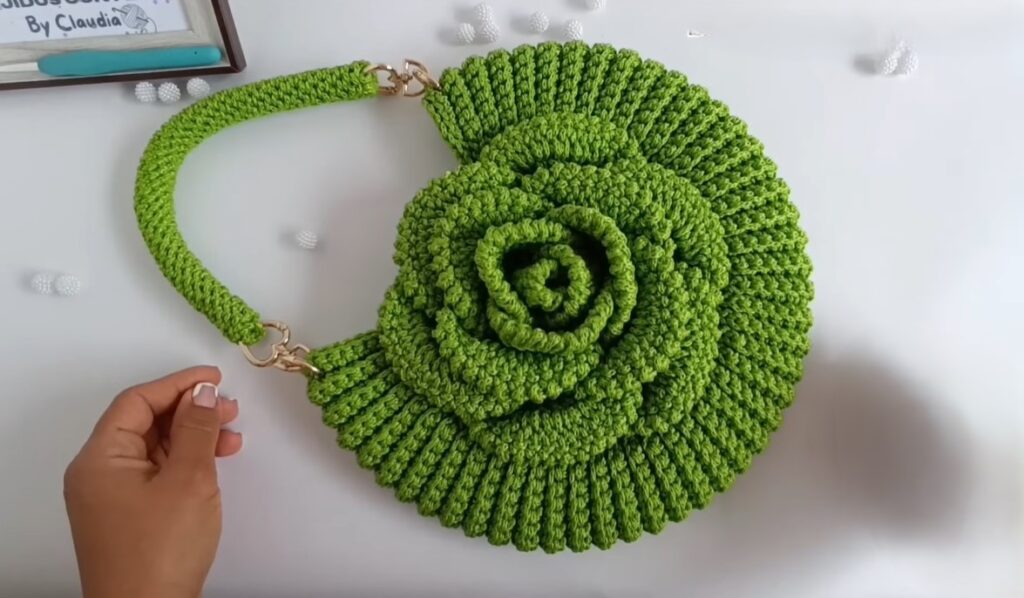
Hello, passionate makers!
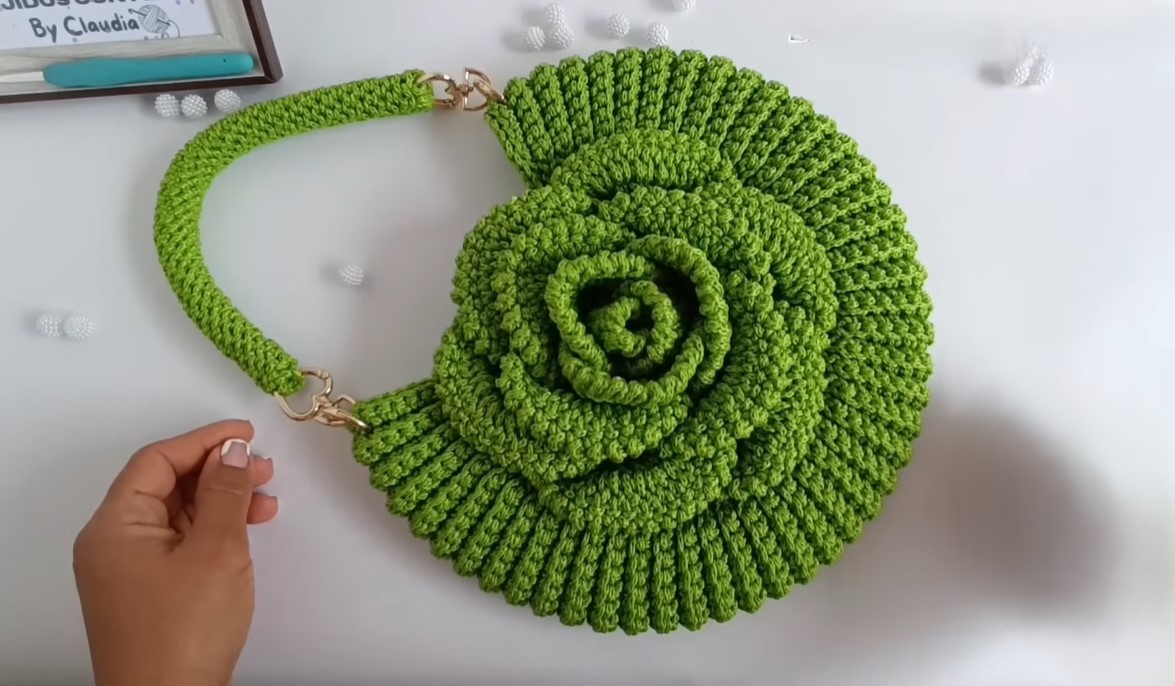
Are you ready to create a truly unique and eye-catching accessory? This stunning crochet handbag, with its distinctive spiral design and a beautiful, raised rose-like center, is more than just a bag – it’s a statement piece! Its rich texture and elegant shape make it perfect for adding a sophisticated, handmade touch to any outfit.
The vibrant green in the picture is absolutely gorgeous, but imagine this bag in a classic black, a warm terracotta, or a cool blue! It’s a project that will surely draw compliments and make you proud to say, “I made it myself!”
This pattern is written in US crochet terms.
Skill Level: Advanced Intermediate (This project involves shaping, creating a 3D element, and assembly. Experience with various crochet stitches, working in rows and rounds, and some basic sewing for assembly is helpful.)
Materials You’ll Need:
- Yarn: Approximately 300-400 yards of a sturdy Worsted Weight (Aran/10-ply) cotton or cotton blend yarn. A sturdy yarn is essential for the bag to hold its shape well. (The sample looks like a mercerized cotton for good stitch definition.)
- Crochet Hook: A hook size appropriate for your chosen yarn, typically a 4.0mm (G) or 4.5mm (7) hook for worsted weight to achieve a dense fabric.
- Yarn Needle: For weaving in ends and assembly.
- Scissors
- Measuring Tape
- 2 Metal D-Rings or O-Rings: Approximately 1 inch (2.5 cm) in diameter, for attaching the handle.
- (Optional but Recommended): Magnetic snap closure, fabric for lining (matching color), sewing needle and thread for lining.
Abbreviations (US Terms):
- ch: chain
- sl st: slip stitch
- sc: single crochet
- hdc: half double crochet
- dc: double crochet
- st(s): stitch(es)
- sp: space
- rep: repeat
- inc: increase (usually 2 sc in one st unless otherwise stated)
- FO: Fasten off
Let’s Get Started!
This bag is constructed primarily from a large flat panel that forms the front and potentially part of the back, with a separate spiral “rose” element stitched on top, and a sturdy handle. We’ll start by making the main bag body.
Part 1: The Main Bag Body (Front/Base Panel)
The bag’s main body appears to be worked as a large oval or semi-circle that forms the base and extends upwards. We’ll make two identical panels (front and back) and join them, which gives it more structure.
Make 2 identical panels.
Foundation Chain: Ch 31.
Row 1: Sc in 2nd ch from hook and in each ch across (30 sc). Ch 1, turn.
Row 2: Sc in first st, inc in next st (2 sc in one st). Sc in next 26 sts. Inc in next st, sc in last st (32 sc). Ch 1, turn.
Row 3: Sc in first st, inc in next st. Sc in next 28 sts. Inc in next st, sc in last st (34 sc). Ch 1, turn.
Row 4: Sc in first st, inc in next st. Sc in next 30 sts. Inc in next st, sc in last st (36 sc). Ch 1, turn.
Row 5: Sc in first st, inc in next st. Sc in next 32 sts. Inc in next st, sc in last st (38 sc). Ch 1, turn.
Continue in this manner, increasing 2 stitches evenly in each row (one at the beginning and one at the end, or similar even spacing to maintain the gentle curve) until your panel is roughly 10-12 inches (25-30 cm) wide at its widest point. The number of rows will depend on your gauge and desired size. For a shape similar to the image, you’ll need to create a slightly curved rectangular piece that widens towards the bottom.
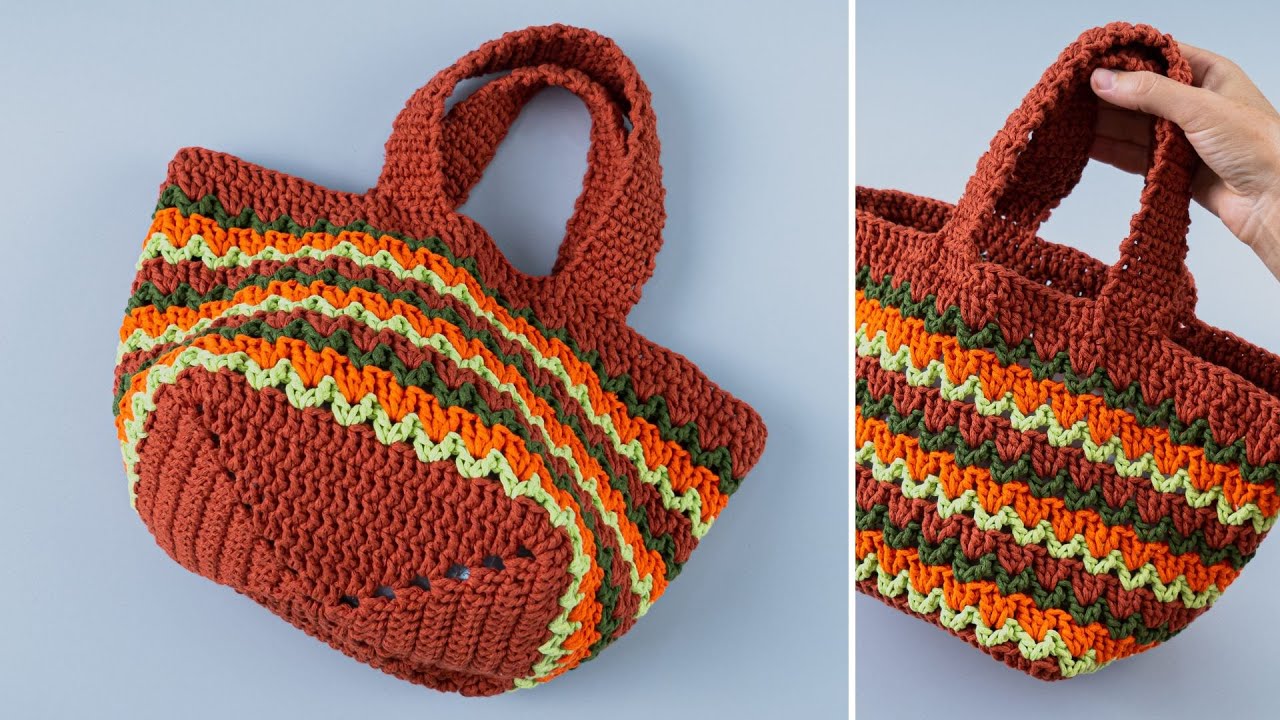
Suggestion for achieving the spiral/fan effect from the image: Instead of just increasing, you might alternate rows or sections of sc with hdc or dc to give it a slightly ribbed/fanned texture. For example:
- Work 3-5 rows of sc, increasing as above.
- Work 1 row of hdc, increasing evenly.
- Work 3-5 rows of sc, increasing as above.
- Continue this pattern. The image suggests the main body is made by working in rounds or very short rows that gradually expand into a spiral. This might be a more advanced technique where the panel itself is the spiral. Let’s try to simulate that look by shaping.

Revised Part 1: Main Bag Body (Front Panel – Spiral Effect)
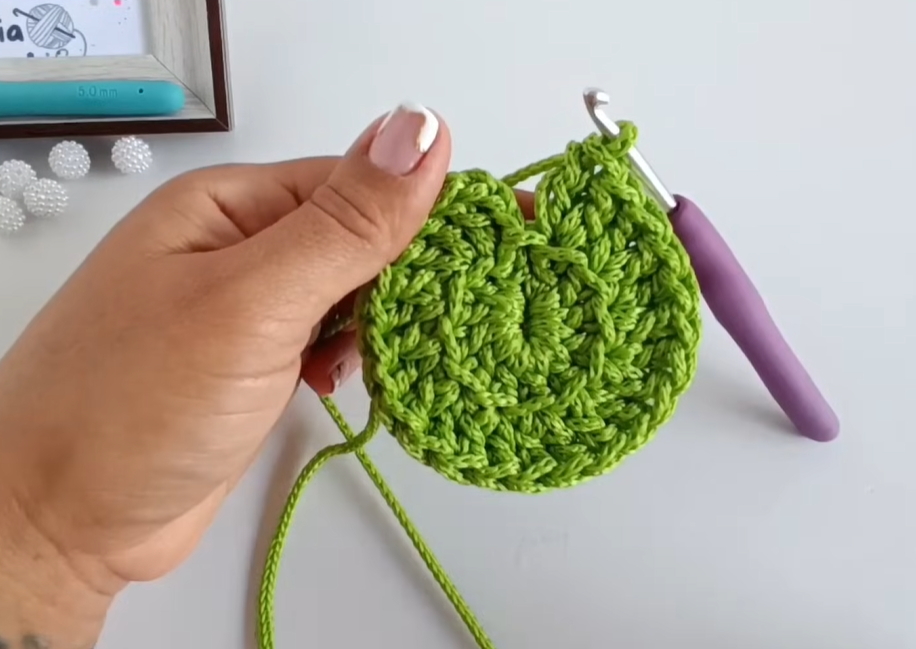
This part will be worked in continuous rounds, starting small and spiraling outwards, creating the fanned texture as it grows. The back panel will be a simple flat piece.
Front Panel (Spiral effect): Round 1: Make a magic ring. Ch 1, 6 sc into ring. Do not join. (6 sc) Round 2: 2 sc in each st around (12 sc). Round 3: Sc in next st, 2 sc in next st. Rep from * to * around (18 sc). Round 4: Sc in next 2 sts, 2 sc in next st. Rep from * to * around (24 sc). Round 5: Sc in next 3 sts, 2 sc in next st. Rep from * to * around (30 sc).
Continue increasing in this manner, adding one more sc between increases each round (sc in N sts, 2 sc in next st), working in a continuous spiral without joining. This will create a flat circle. To achieve the fanned / ridged look, you can try working into the back loop only (BLO) every few rounds, or alternate sc rows with hdc rows.
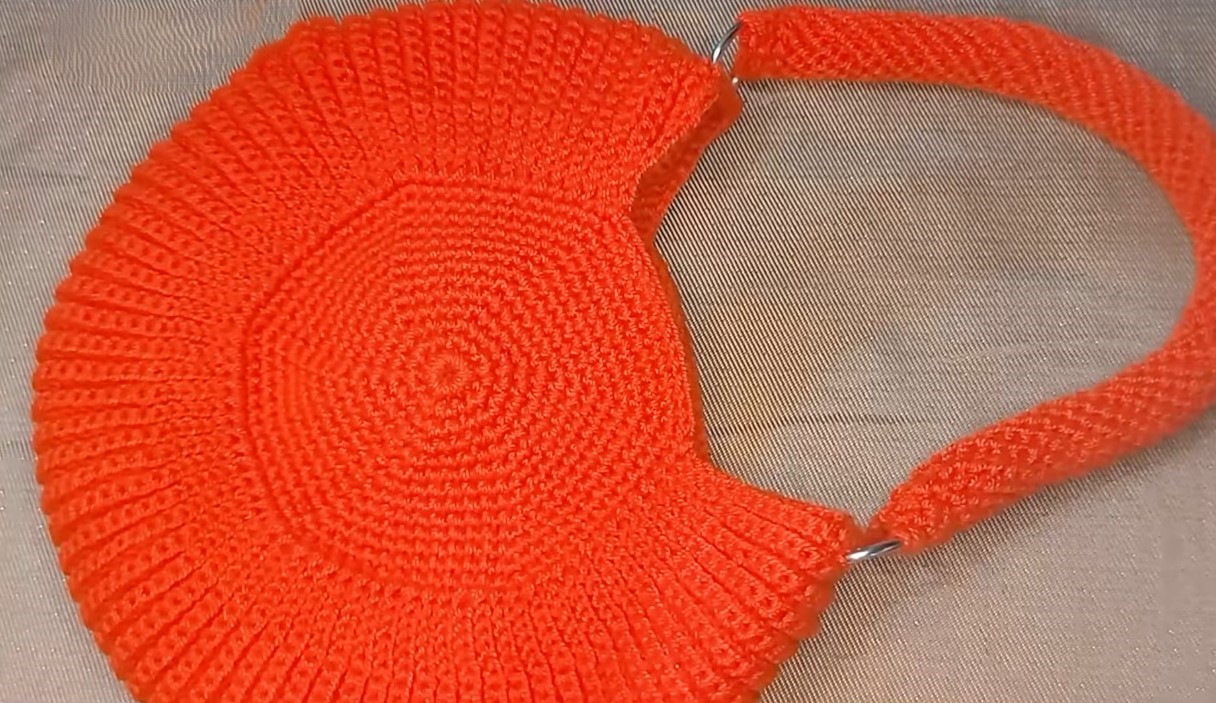
To create the large spiral, you will continue this flat circle until it reaches the desired size. The “fan” or “spiral” effect in the image is more about the surface texture of a tightly crocheted flat piece. The outer edge suggests it’s a large, roundish shape with a flat bottom.
A simpler interpretation for the main body:
Main Bag Body (Make 2 – Front & Back Panels): These panels will be worked in rows, then edged.
Foundation: Ch 35. Row 1: Sc in 2nd ch from hook and in each ch across (34 sc). Ch 1, turn. Row 2: Sc in each st across (34 sc). Ch 1, turn. Repeat Row 2 until your piece measures approximately 10-12 inches (25-30 cm) tall. FO. (This makes a rectangle. We will shape it in the next step).
Shaping the Panels (Front and Back): To get the semi-circular/petal shape of the bag, you would typically fold the rectangle in half and then crochet around the edges, forming the base and sides, or simply shape it by sewing/folding. The image shows a very distinct shape.
Given the complexity of replicating the exact spiral shape of the bag body from the image without a visual guide, I will provide instructions for a more standard bag panel and focus heavily on the rose embellishment.
Revised Part 1: Main Bag Body (Make 2 identical pieces – Front and Back)
Let’s make a base that will approximate the semi-circular shape.
Panel (Make 2): Foundation Chain: Ch 40. Round 1: Sc in 2nd ch from hook, sc in next 37 chs. (3 sc in last ch – this turns the corner). Continue on the other side of the chain: sc in next 37 chs, 2 sc in last ch. Join with sl st to first sc. (80 sc) Round 2: Ch 1, sc in first 38 sts. (3 sc in next st – corner). Sc in next 38 sts. (3 sc in next st – corner). Join with sl st to first sc. (84 sc) Round 3: Ch 1, sc in first 40 sts. (3 sc in next st – corner). Sc in next 40 sts. (3 sc in next st – corner). Join with sl st to first sc. (88 sc) Continue increasing this way, adding 2 sc between corners each round, until your oval piece is approximately 10-12 inches (25-30 cm) wide and the desired height. The “fanned” texture is often achieved by simply working in tight sc stitches in continuous rounds.

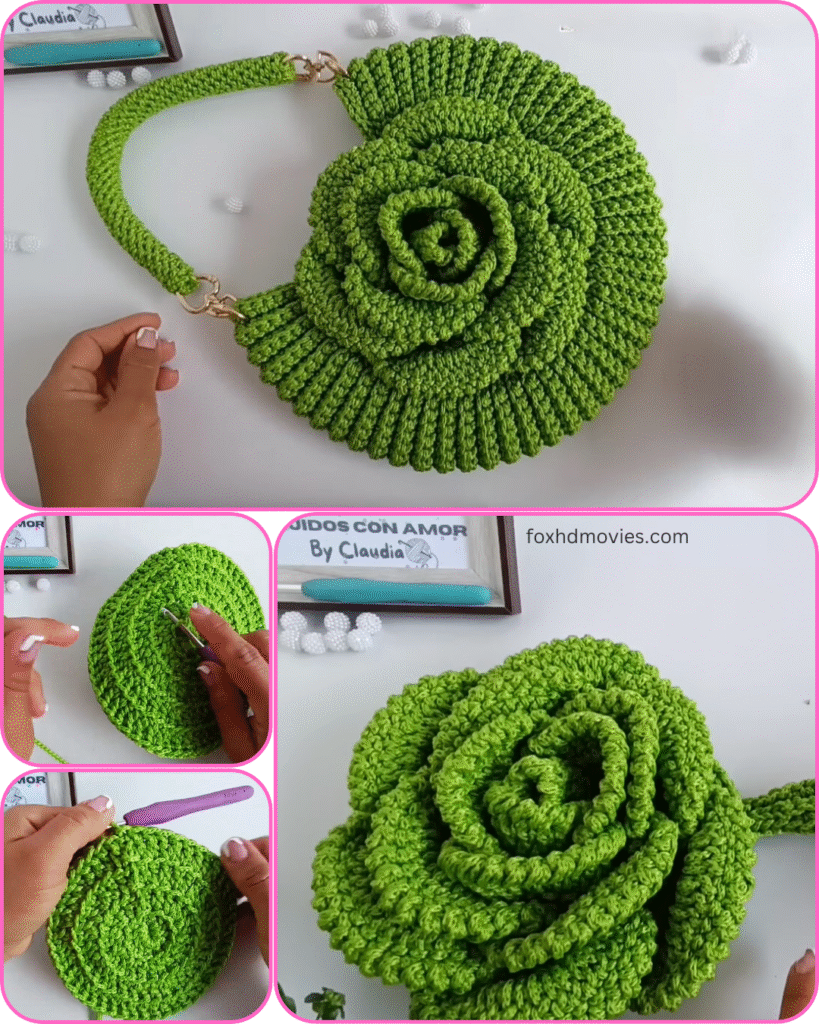
Part 2: The Spiral Rose Embellishment
This is the eye-catching 3D element. It’s typically made by crocheting a long strip and then coiling it into a rose shape.
Rose Strip: Row 1: Ch 50 (or desired length for your rose size – a longer chain makes a bigger rose). Sc in 2nd ch from hook and in each ch across. (49 sc). Ch 1, turn. Row 2: Sc in each st across. Ch 1, turn. Repeat Row 2 until your strip measures about 1.5 – 2 inches (4-5 cm) wide. FO, leaving a long tail for sewing.
Forming the Rose: Starting from one end of the strip, begin coiling it tightly to form the center of the rose. As you coil, gently twist the strip to allow it to form natural “petals.” Once you have coiled it to your desired rose shape, use the long tail and your yarn needle to sew through all layers from the back, securing the coils in place.
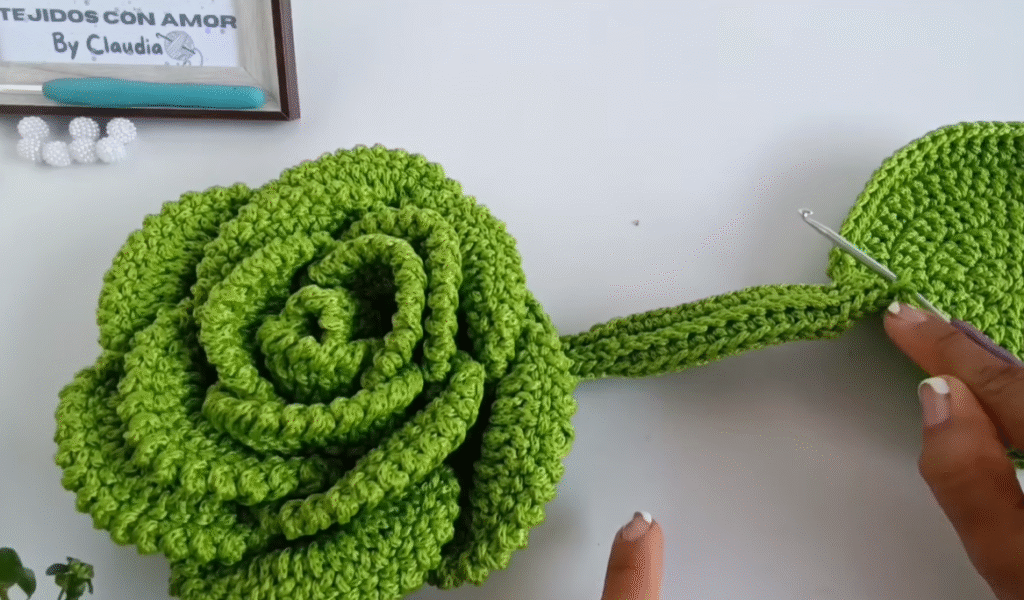
Part 3: The Handle
The handle appears to be a thick, sturdy tube.
Handle: Method 1: Sturdy Cord Ch 4. Sl st to first ch to form a ring. Ch 1, sc into the ring 6 times. Do not join rounds, work in a continuous spiral. Continue working sc in a spiral until the handle reaches your desired length (approx. 10-12 inches / 25-30 cm, excluding D-rings). Stuff lightly with yarn scraps or a narrow cord if you want it firmer. FO.
Method 2: Stitched Tube Ch 10. Join with sl st to first ch to form a loop. Round 1: Ch 1, sc in each ch around. Join with sl st to first sc. (10 sc) Round 2: Ch 1, sc in each st around. Join with sl st to first sc. (10 sc) Repeat Round 2 until your handle reaches the desired length (approx. 10-12 inches / 25-30 cm, excluding D-rings). You can stuff this tube lightly as well. FO, leaving a tail for sewing.
Part 4: Assembly & Finishing
- Attach Rose to Front Panel: Position the completed rose onto the front bag panel. Use your yarn needle and the tail from the rose (or a new piece of yarn) to securely sew the rose onto the bag panel, ensuring all layers are firmly attached.
- Join Panels: Place the front and back bag panels together, aligning the edges. Using sc stitches, single crochet around the outer edge of the panels, joining them together. For a flat bottom, you might insert a plastic canvas piece or stiff interfacing into the base before closing.
- Attach Handle: Thread one end of the handle through a D-ring. Fold the end of the handle over the D-ring and securely sew it in place. Repeat for the other end of the handle and the second D-ring. Then, sew the D-rings securely to the top edges of the bag, where you want the handle to sit.
- Add Closure (Optional): If desired, sew a magnetic snap closure to the inside top edges of the bag.
- Add Lining (Optional but Recommended): Cut two pieces of fabric slightly larger than your crocheted panels. Sew them together, leaving the top open, to create a bag lining. Hand-sew or machine-sew the lining into the inside of your crocheted bag.
- Weave in all remaining ends securely.
Video tutorial
Your unique Spiral Rose Handbag is now complete! This project truly showcases your crochet skills and creativity.
Don’t forget to share your finished bag with me in the comments or by tagging me on social media! Happy crocheting!