 by
by 
Hello fellow yarn lovers!
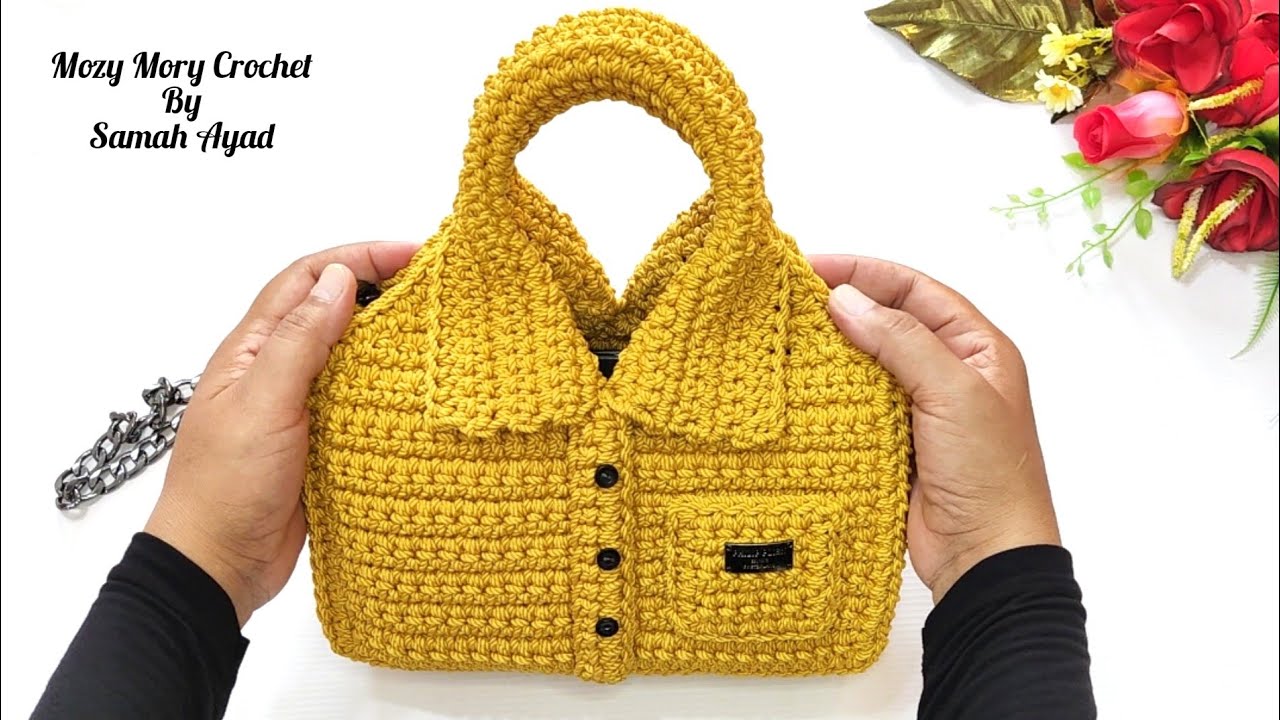
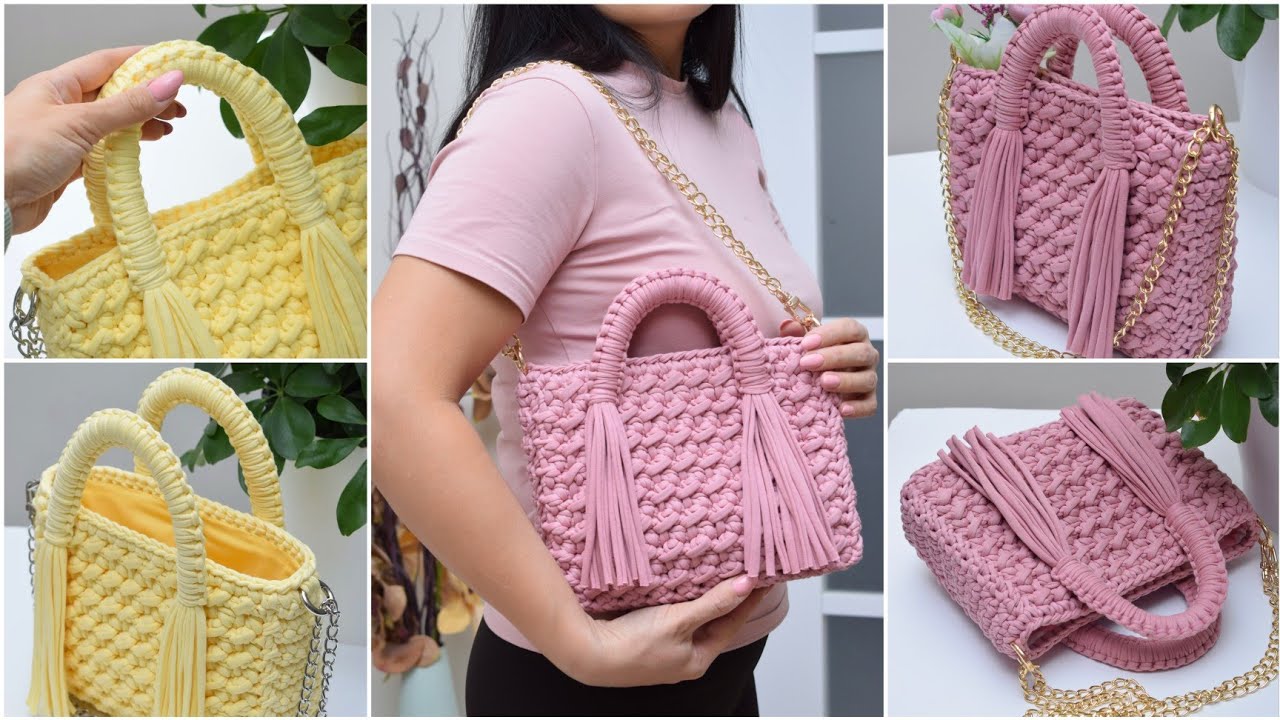
Prepare to turn heads with your next handmade creation! This “Textured Tote Bag” is a stunning accessory that combines elegant design with practical functionality. With its beautiful textured stitch, sturdy top handles, and stylish chain strap, it’s perfect for adding a touch of handmade luxury to any outfit, from casual to chic. Whether you choose a soft pink, sunny yellow, or a bold hue, this bag is sure to become a favorite!
Difficulty Level: Intermediate (Adjust this based on the actual complexity of the main body stitch)

Materials You’ll Need:
- Yarn:
- Approx. [Yarn Quantity – e.g., 400-500g] of [Yarn Type, e.g., Super Bulky T-shirt Yarn / Macrame Cord] in your chosen color (e.g., Pink or Yellow)
- (Note: Yarn quantities can vary based on your tension and desired bag size. It’s always best to have a bit extra!)
- Crochet Hook: [Hook Size, e.g., 8.0mm (L) or 9.0mm (M/N)]
- Stitch Marker(s)
- Yarn Needle
- Scissors
- Metal Chain Strap: Approx. [e.g., 40-50 inches / 100-125 cm] long, with lobster clasps on each end.
- 4 Metal D-rings or Rectangular Rings (for attaching handles and chain strap)
- Optional: Fabric for lining, sewing needle and thread (if adding a lining).
Finished Dimensions (Approximate):
- Height: [e.g., 8 inches / 20 cm]
- Width: [e.g., 10 inches / 25 cm]
- Depth (Base): [e.g., 4 inches / 10 cm]
Gauge:
- Body (textured stitch): [e.g., [X] of the textured stitch pattern = [Y] inches.] (Checking your gauge is crucial for your bag to turn out the intended size and shape!)
Abbreviations (US Terms):
- ch – chain
- st(s) – stitch(es)
- sl st – slip stitch
- sc – single crochet
- inc – increase (2 sc in the same stitch)
- FO – fasten off
- rep – repeat
- BLO – back loop only
- FLO – front loop only
- [Specific Textured Stitch Abbreviation] – [Full description of your chosen textured stitch for the body, e.g., “Puff st: (Yo, insert hook into st, yo, pull up loop) 3 times in same st, yo, pull through all 7 loops on hook.”]
Let’s Get Crocheting!
Notes:
- The main body of the bag is worked in continuous rounds, from the bottom up. Do not join rounds unless specified. Use a stitch marker to keep track of your first stitch.
- [Add any other important notes about tension, stitch placement, or specific techniques for working with your chosen yarn type.]

Pattern:
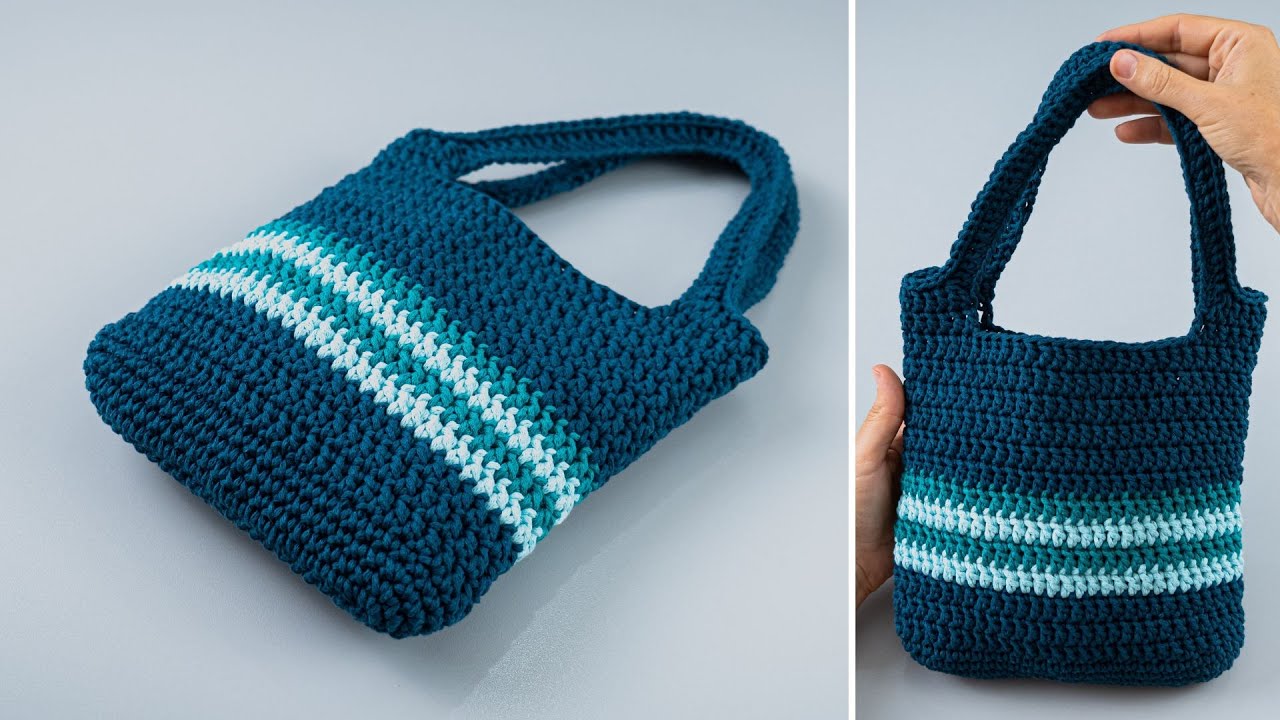
1. Base of the Bag (Worked in Main Color)
The base is typically an oval or rectangular shape.
- Chain: Ch [e.g., 20]
- Round 1: Sc in 2nd ch from hook, sc in next [e.g., 17] chs, 3 sc in last ch. Turn your work and continue on the other side of the chain: sc in next [e.g., 17] chs, 2 sc in last ch. (Total stitches: [e.g., 40])
- Round 2: 1 sc in first st, inc in next st, sc in next [e.g., 17] sts, inc in next 3 sts, sc in next [e.g., 17] sts, inc in last 2 sts. (Total stitches: [e.g., 46])
- Round 3: [e.g., Sc around, working 2sc in each of the 6 corner stitches from the previous round.] (Total stitches: [e.g., 52])
- Continue increasing in the corners as needed until your base reaches the desired length and width (e.g., 3-4 rounds). Ensure the final stitch count is suitable for the body.
- Last Base Round: Sc in the back loop only (BLO) around. This creates a neat ridge for the sides of the bag to build upon. (Total stitches: [Final stitch count from base])
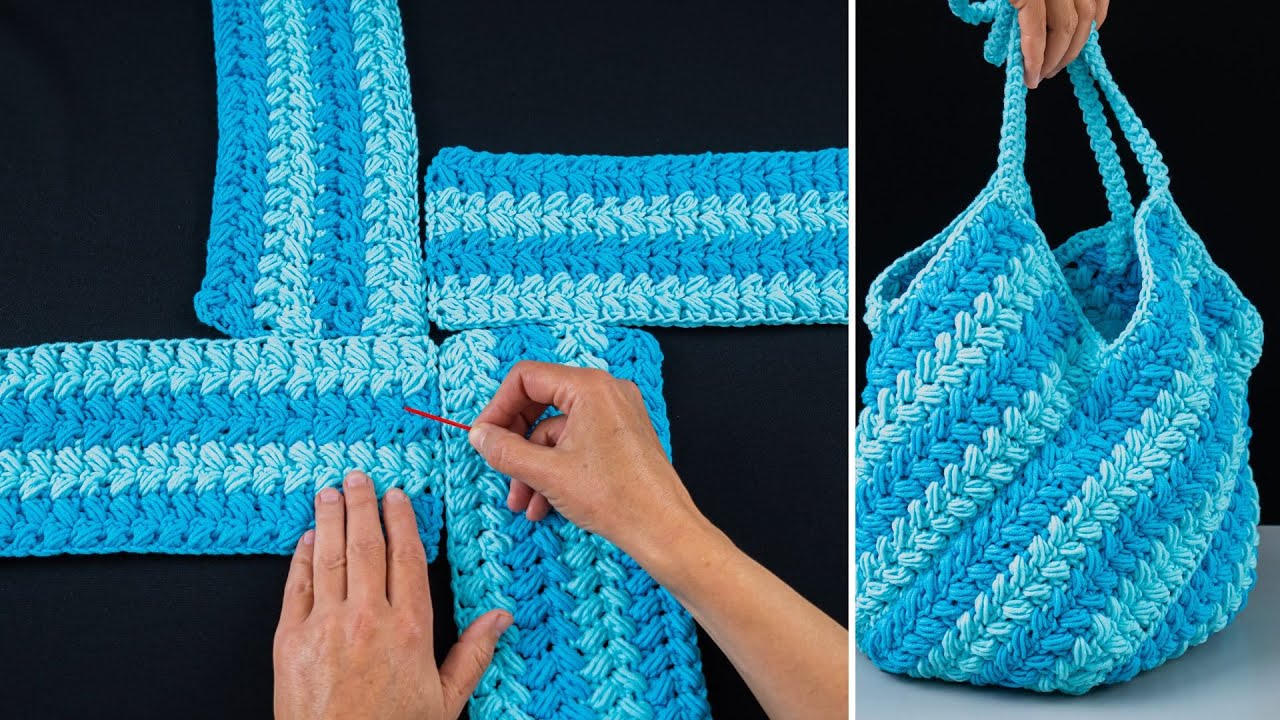
2. Body of the Bag (Worked in Main Color – Textured Stitch)
This is where the beautiful texture comes to life!
- Round [e.g., 5]: [Begin working your specific textured stitch here. E.g., Ch 1, work (sc, puff st) around, or simply work your specific textured stitch consistently around. Join with sl st if your stitch requires it, otherwise continue in continuous rounds.]
- Repeat Round [e.g., 5] (or the sequence of rounds that creates your textured pattern) until the body of the bag reaches your desired height, approximately [e.g., 7 inches / 18 cm] from the base.
3. Top Edging and D-ring Attachment Points
This section prepares the top for handles and strap.
- Round [e.g., 25]: Sc in each st around.
- Round [e.g., 26]: Ch 1, sc in each st around. On this round, you’ll attach your D-rings.
- Place 2 stitch markers on the front side and 2 on the back side, evenly spaced, where your handles will attach (and where your chain strap will clip).
- When you reach a stitch marker, work 1 sc, then place your D-ring, then work another sc over the ring (enclosing it) into the same stitch or next stitch to secure it firmly. Continue sc around.
- Round [e.g., 27]: Ch 1, sl st in each st around for a neat, sturdy top edge. FO.

4. Top Handles (Make 2)
These handles look thick and rounded.
- Option 1: Densely Crocheted Handle
- Ch [e.g., 8] (or desired thickness/width of handle).
- Row 1: Sc in 2nd ch from hook, sc in each ch across. (7 sts)
- Row 2: Ch 1, turn, sc in BLO across. (7 sts)
- Row 3: Ch 1, turn, sc in FLO across. (7 sts)
- Repeat Rows 2 and 3, alternating BLO and FLO, until the handle reaches your desired length (e.g., [e.g., 10 inches / 25 cm]), creating a rounded, cord-like effect. FO.
- Attachment: Use your yarn needle to securely sew the ends of each handle to the D-rings attached to the top of the bag. Reinforce well.
- Option 2: Crocheted Around a Cord (for extra firmness)
- [Instructions for crocheting sc stitches around a pre-cut length of firm cord/rope.]
5. Tassel (Make 1 or 2)
A fun embellishment for your bag!
- Using your main color, cut several strands of yarn approximately [e.g., 12 inches / 30 cm] long.
- Gather the strands together and fold them in half.
- Tie a separate piece of yarn tightly around the folded loop, about [e.g., 0.75 inch / 2 cm] from the top.
- Wrap another piece of yarn tightly around the top section of the tassel to form the “head.”
- Trim the bottom loops to create an even fringe.
- Attach the tassel to one of the D-rings using a jump ring or by directly tying it on.
6. Chain Strap Attachment
- Clip the lobster clasps of your metal chain strap to the two D-rings on the top sides of your bag.
Finishing Touches:
- Weave in all remaining loose ends securely on the inside of the bag.
- Consider adding a fabric lining to your bag for extra durability, to prevent small items from slipping through stitches, and to give it a more finished, professional look.