 by
by 
Hello, passionate crocheters!
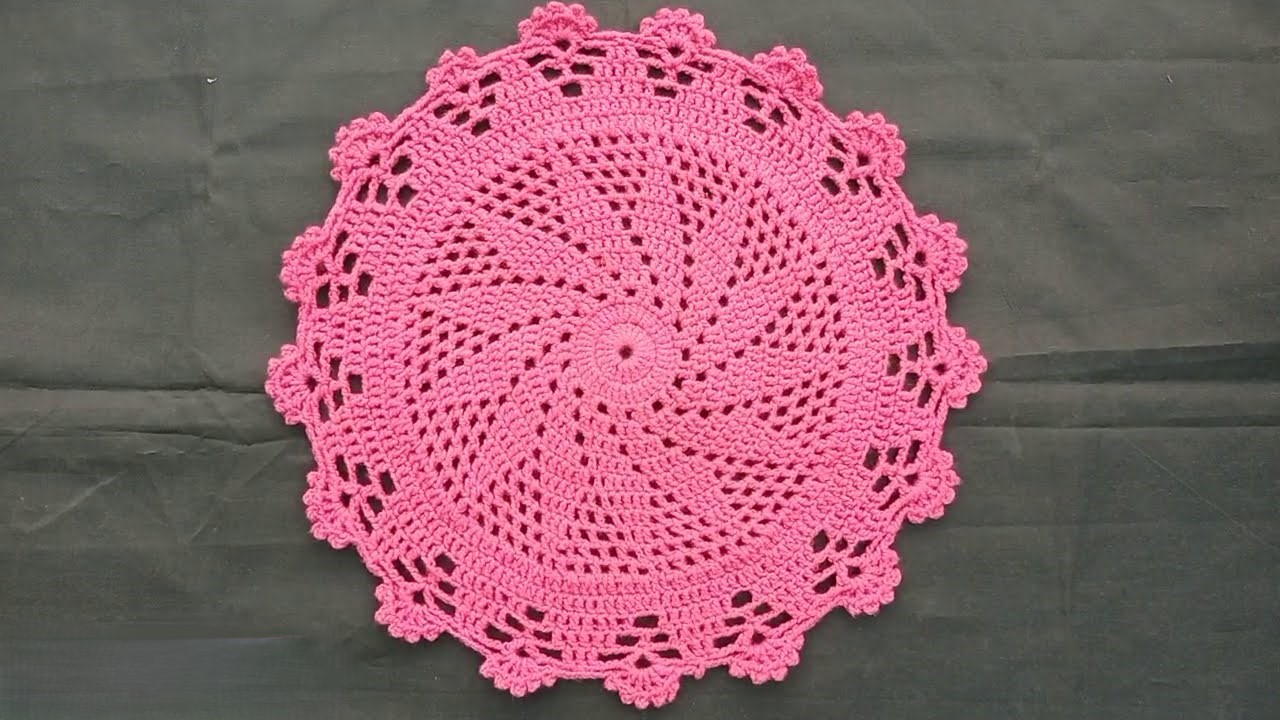
There’s something truly captivating about a doily that combines classic roundness with intricate textured details. This pink doily, with its striking fanned sections and elegant scalloped border, is a joy to create and a delight to display. It adds a touch of handmade warmth and charm to any surface.
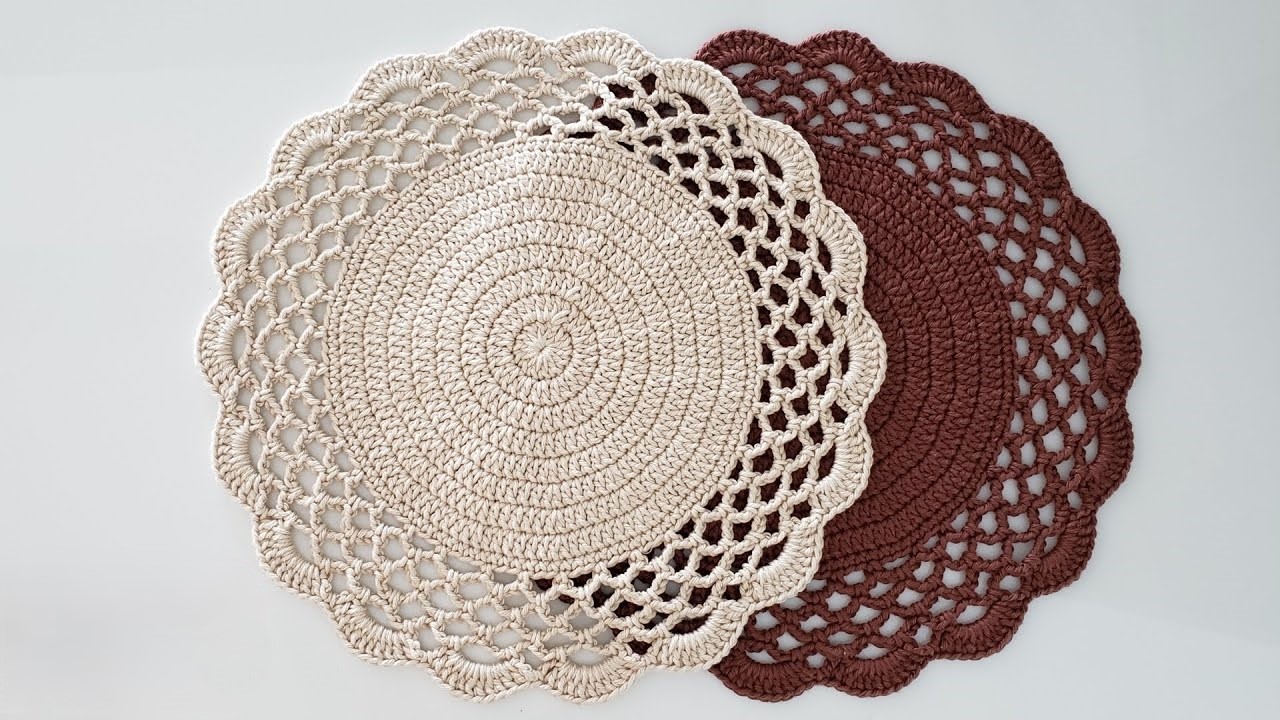
While the vibrant pink in the image is wonderfully cheerful, imagine this doily in a serene cream, a delicate blue, or a rich burgundy! Its versatile design makes it suitable for various decors.
This pattern is written in US crochet terms.
Skill Level: Intermediate (Familiarity with basic crochet stitches, working in the round, and understanding how to create increases for flat circles and lace patterns is beneficial.)
Materials You’ll Need:
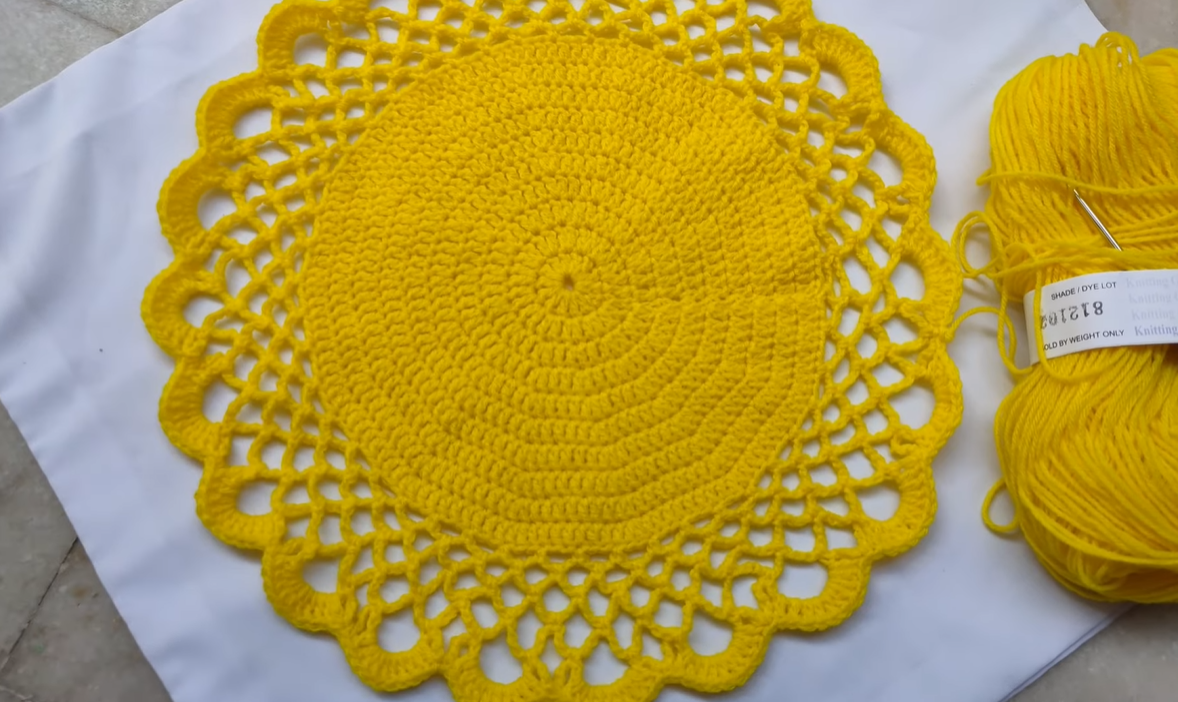
- Yarn: Approximately 100-150 yards of Dk (light worsted) or Sport Weight cotton yarn. Cotton is highly recommended for doilies as it provides excellent stitch definition and blocks beautifully, allowing the lace to shine.
- Crochet Hook: A hook size appropriate for your chosen yarn, typically a 3.5mm (E/4) or 4.0mm (G/6) hook. Adjust to achieve your desired drape and stitch density.
- Yarn Needle: For weaving in ends.
- Scissors
- (Optional) Stitch Marker: Helpful for marking the beginning of rounds if you tend to lose your place.
Abbreviations (US Terms):
- ch: chain
- sl st: slip stitch
- sc: single crochet
- dc: double crochet
- tr: treble crochet (or triple crochet)
- st(s): stitch(es)
- sp: space
- ch-sp: chain space
- rep: repeat
- V-st: (dc, ch 1, dc) in indicated stitch/space
- Shell: (2 dc, ch 1, 2 dc) in indicated stitch/space (or specific variations as indicated)
Let’s Get Started!
This doily is worked in continuous rounds, starting from a solid center and gradually expanding into the textured fanned sections and lacy border.
Part 1: Solid Center & Initial Shaping
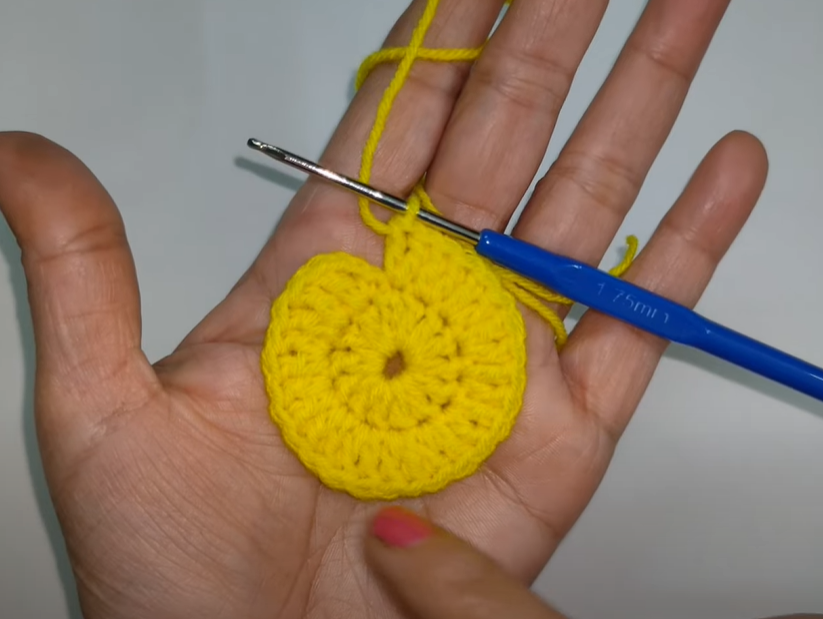
Round 1: Ch 4, sl st to first ch to form a ring. (Alternatively, make a magic ring). Ch 3 (counts as first dc), 11 dc into the ring. Join with sl st to top of beg ch-3. [12 dc]
Round 2: Ch 3 (counts as first dc), dc in same st. 2 dc in each st around. Join with sl st to top of beg ch-3. [24 dc]
Round 3: Ch 3 (counts as first dc), dc in same st. Dc in next st, 2 dc in next st. Rep from * to * around, ending with dc in last st. Join with sl st to top of beg ch-3. [36 dc]
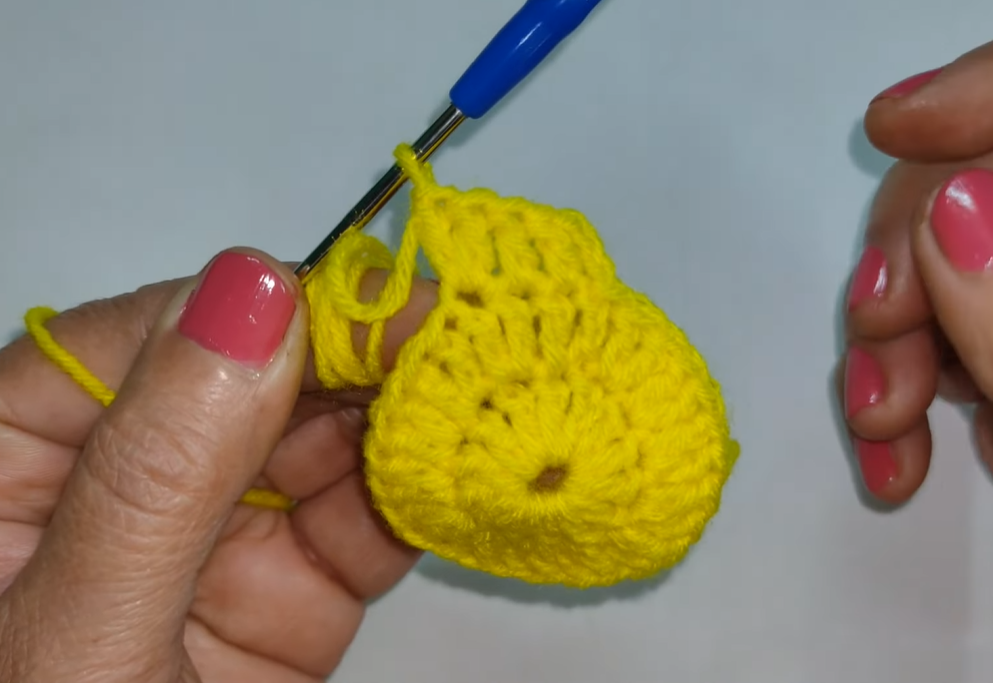
Part 2: Creating the Fanned Sections
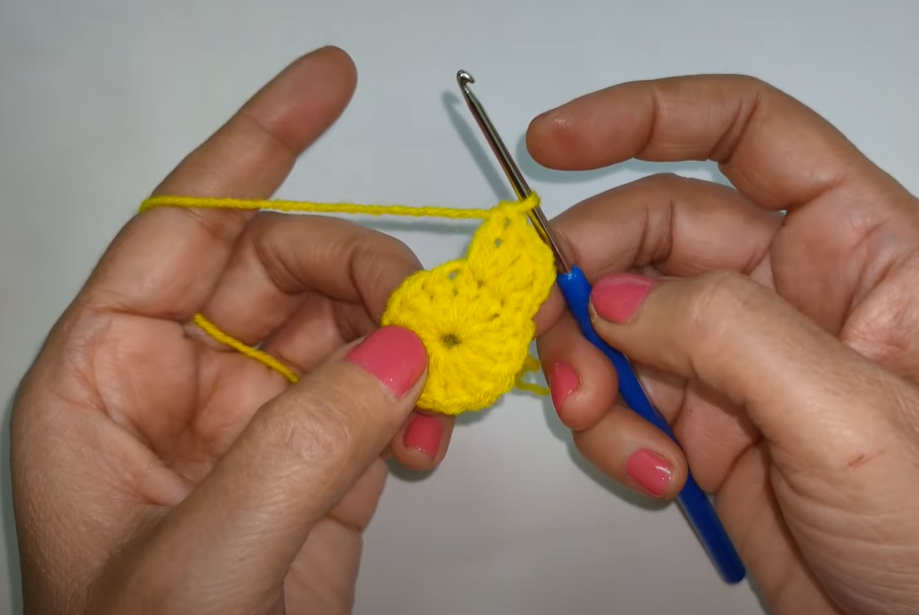
Round 4 (Foundation for Fan Divisions): Ch 1, sc in same st. Ch 3, skip 2 sts, sc in next st. Rep from * to * around, ending with ch 3, sl st to first sc. [12 sc, 12 ch-3 sps]
Round 5 (First Fan Layer): Sl st into first ch-3 sp. Ch 3 (counts as first dc), (2 dc, ch 3, 3 dc) in same ch-3 sp (this is your first “Fan Shell”). Sc in next sc. (3 dc, ch 3, 3 dc) in next ch-3 sp. Rep from * to * around, ending with sc in last sc. Join with sl st to top of beg ch-3. [6 Fan Shells, 6 sc]
Round 6 (Expanding Fan Layer): Sl st into next 2 dc to reach the ch-3 sp of the first Fan Shell. Ch 3 (counts as first dc), (2 dc, ch 3, 3 dc) in same ch-3 sp. Ch 1, sk next 3 dc, sk next sc, sk next 3 dc, (3 dc, ch 3, 3 dc) in ch-3 sp of next Fan Shell. Rep from * to * around, ending with ch 1. Join with sl st to top of beg ch-3. [6 Fan Shells, 6 ch-1 sps]
Round 7 (Openwork Fan Layer): Sl st into next 2 dc to reach the ch-3 sp of the first Fan Shell. Ch 3 (counts as first dc), (2 dc, ch 3, 3 dc) in same ch-3 sp. Ch 2, sc in next ch-1 sp, Ch 2, (3 dc, ch 3, 3 dc) in ch-3 sp of next Fan Shell. Rep from * to * around. Join with sl st to top of beg ch-3. [6 Fan Shells, 12 ch-2 sps, 6 sc]
Round 8 (Larger Openwork): Sl st into next 2 dc to reach the ch-3 sp of the first Fan Shell. Ch 1, sc in same ch-3 sp. Ch 5, sc in next ch-2 sp. Ch 5, sc in next sc. Ch 5, sc in next ch-2 sp. Ch 5, sc in next ch-3 sp (of next Fan Shell). Rep from * to * around. Join with sl st to first sc. [24 sc, 24 ch-5 sps]
Round 9 (Dense Layer): Sl st into first ch-5 sp. Ch 3 (counts as first dc), 6 dc in same ch-5 sp. 7 dc in next ch-5 sp. Rep from * to * around. Join with sl st to top of beg ch-3. [24 groups of 7 dc = 168 dc total]
Round 10 (Textured Separation): Ch 1, sc in same st. Sc in next 6 sts. Ch 3, skip 2 sts, sc in next 7 sts. Rep from * to * around, ending with ch 3, sl st to first sc. [24 groups of 7 sc, 24 ch-3 sps]
Part 3: The Scalloped Edge
Round 11 (Foundation for Final Scallops): Sl st into first ch-3 sp. Ch 3 (counts as first dc), (2 dc, ch 3, 3 dc) in same ch-3 sp (creating a smaller shell). Ch 1, skip 7 sc, (3 dc, ch 3, 3 dc) in next ch-3 sp. Rep from * to * around, ending with ch 1. Join with sl st to top of beg ch-3. [24 smaller shells, 24 ch-1 sps]
Round 12 (Scallop Base): Sl st into next 2 dc to reach the ch-3 sp of the first smaller shell. Ch 1, (sc, ch 3, sc) in same ch-3 sp. Sk next 3 dc, ch 1, sk next 3 dc, (sc, ch 3, sc) in ch-3 sp of next smaller shell. Rep from * to * around, ending with ch 1. Join with sl st to first sc. [48 sc, 24 ch-3 sps, 24 ch-1 sps]
Round 13 (Final Scallop Layer): Sl st into first ch-3 sp. Ch 1, 5 dc in same ch-3 sp. In next ch-1 sp, (sc, ch 2, sc), then 5 dc in next ch-3 sp. Rep from * to * around. Join with sl st to first dc of the round. This creates the beautiful, defined scalloped edge!
Video tutorial
Finishing:
- Fasten off and weave in all loose ends securely.
- Blocking is essential for doilies! To truly open up the lace pattern and give your doily a crisp, professional finish, wet your doily thoroughly (you can gently wash it or spray it with water). Gently squeeze out excess water.
- Carefully pin the doily to a foam blocking mat or a clean towel, shaping it into a perfect circle and gently stretching each fan and scallop to define its shape.
- Let it dry completely.
Your beautiful Fanned Lace Doily is now complete! It’s a wonderful piece that showcases the intricate beauty of crochet.
Don’t forget to share your finished creations with me in the comments or by tagging me on social media! Happy crocheting!