by
by 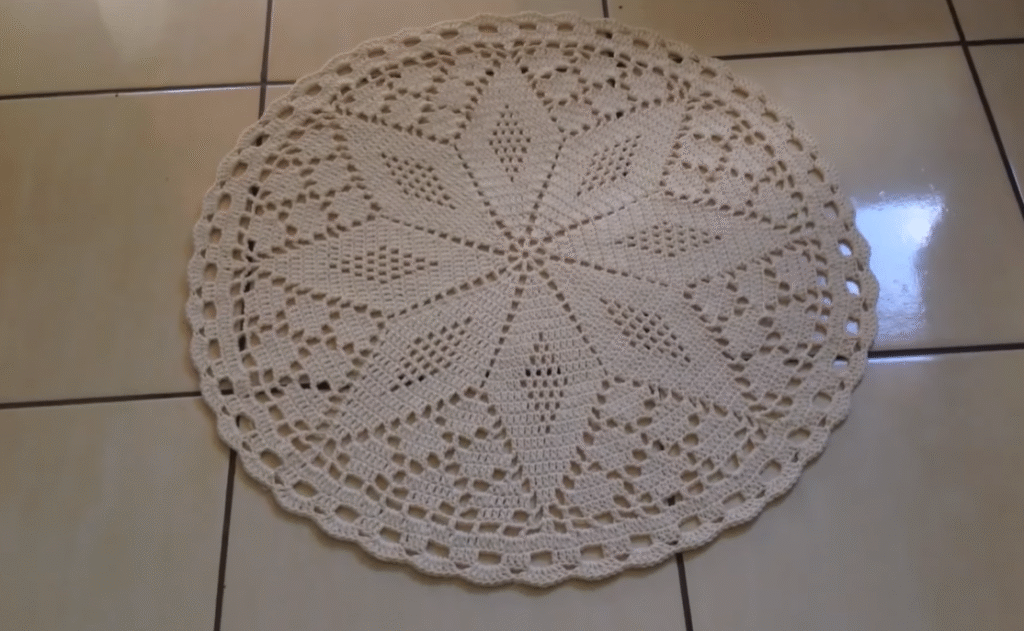
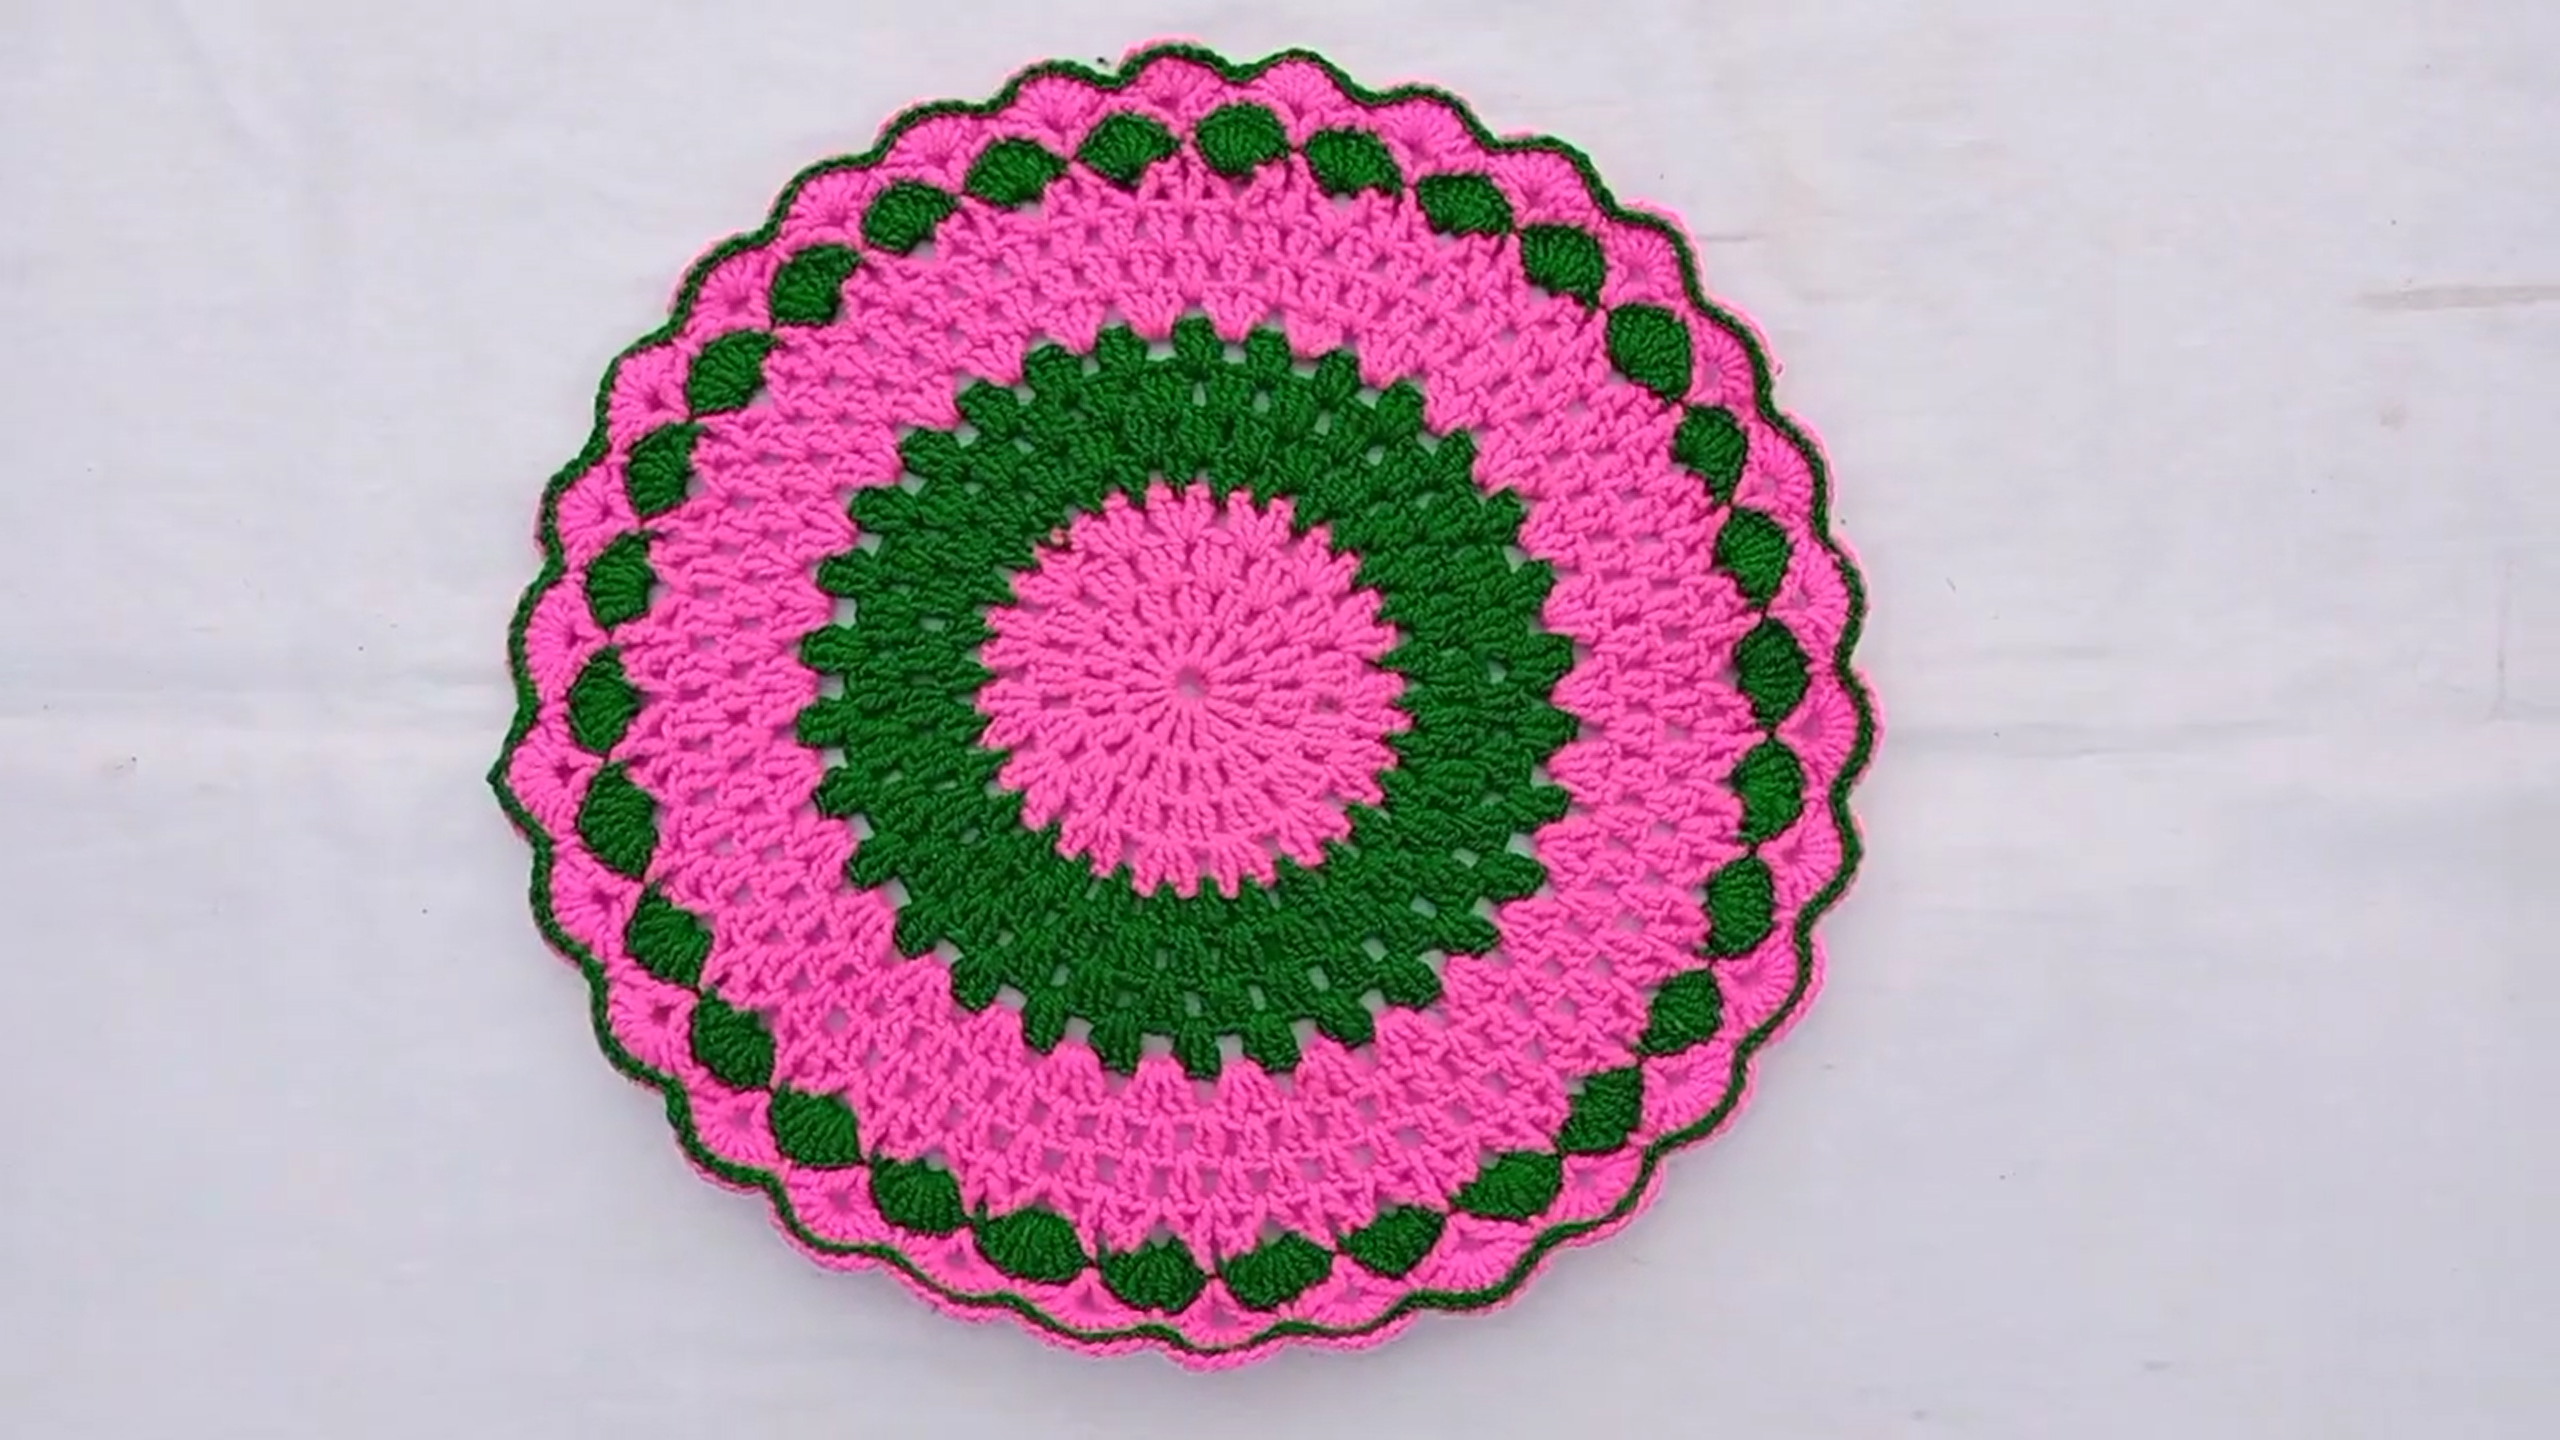
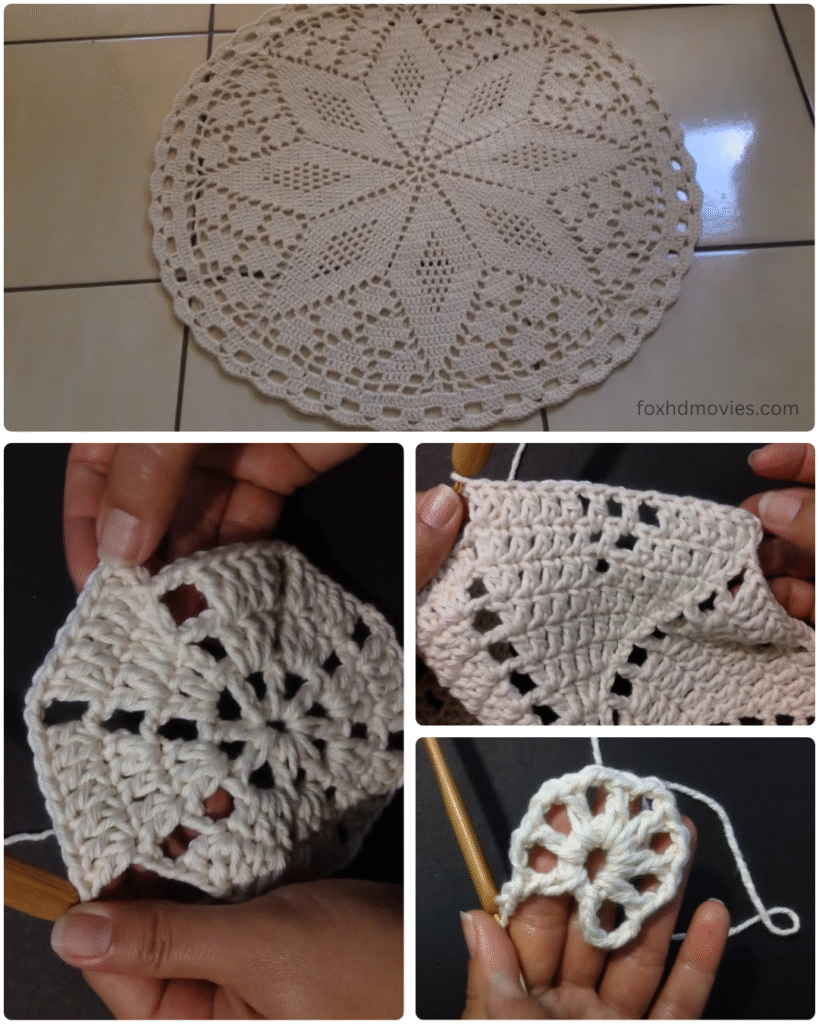
Bring a celestial touch to your home with a stunning starburst crochet rug or doily! This captivating design features a central star motif that radiates outwards, creating a mesmerizing pattern with both solid and openwork sections. It’s a truly rewarding project that will impress with its intricate appearance, yet it’s built from surprisingly manageable stitches.
The piece in your image showcases the elegance of a single color, allowing the detailed stitch work to truly shine. Whether you use chunky yarn for a cozy rug or fine thread for a delicate doily, this pattern is versatile and beautiful.
What You’ll Need:
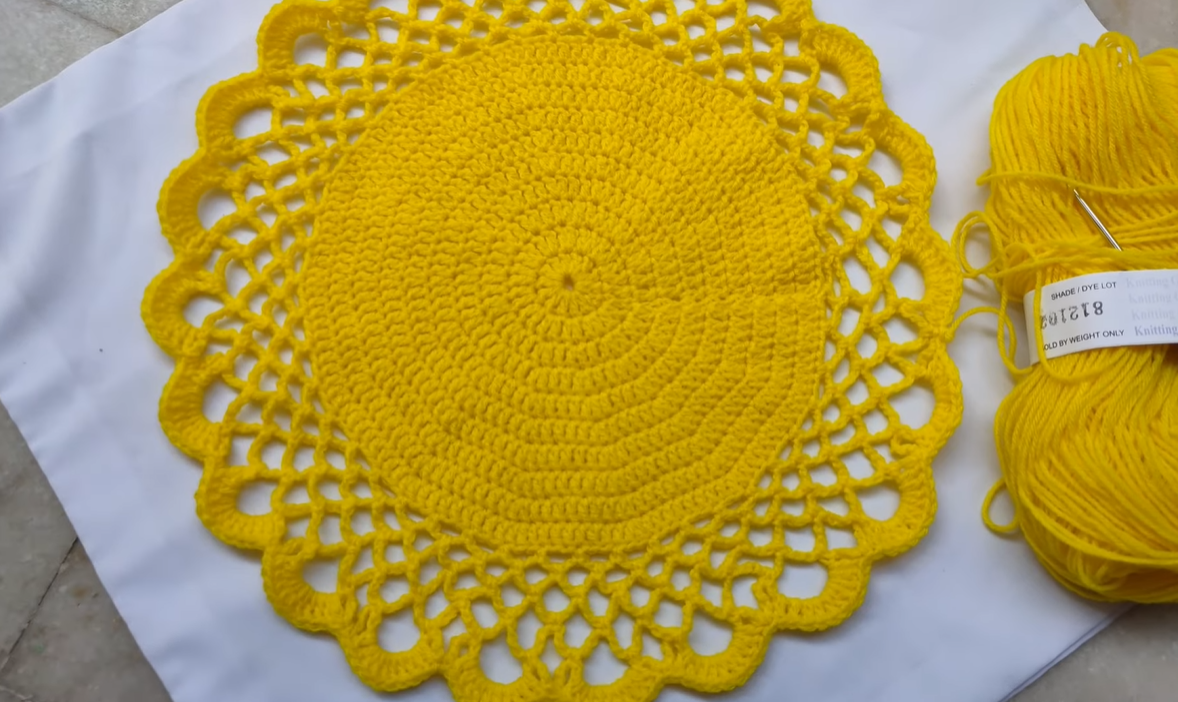
- Yarn:
- For a rug, I highly recommend Bulky (Category 5) or Super Bulky (Category 6) yarn for durability and quick work-up. Cotton or a cotton blend is excellent. Yardage will vary significantly based on size, typically 1000-2000+ yards for a rug.
- For a doily, use DK (Category 3), Worsted (Category 4), or crochet thread (#10 or thicker).
- Crochet Hook:
- For a rug, use a 9.0mm (M/N) to 15.0mm (P/Q) hook with bulky yarn.
- For a doily, use a 3.5mm (E) to 5.0mm (H) hook for worsted/DK, or a smaller steel hook for thread.
- Always check your yarn label for the best recommendation.
- Scissors
- Yarn Needle (for weaving in ends)
- Stitch Markers (helpful for marking repeat sections, especially in early rounds)
Abbreviations (US Terms):
- ch: chain
- sl st: slip stitch
- sc: single crochet
- hdc: half double crochet
- dc: double crochet
- tr: treble crochet (yarn over 2 times)
- dtr: double treble crochet (yarn over 3 times)
- st(s): stitch(es)
- sp: space
- yo: yarn over
- MR: magic ring (or magic circle)
- sk: skip
- FO: fasten off
Let’s Get Started!
Difficulty: Intermediate (requires familiarity with basic stitches, taller stitches, and reading patterns with increases and skips).
Notes:
- The beginning chains usually do NOT count as a stitch unless specified.
- Join each round with a slip stitch to the first stitch of the round (not the starting chain) unless directed otherwise.
- Maintain consistent tension to ensure your piece lies flat. If it begins to ruffle, you may be increasing too much. If it begins to cup (bowl), you may need more increases or a larger hook. The pattern aims for a flat circle with a prominent star design, which often means an increase of 12 stitches per round for DC sections.
Pattern for a Starburst Rug/Doily:
(This pattern aims for 8 points for the main star, as seen in the image.)
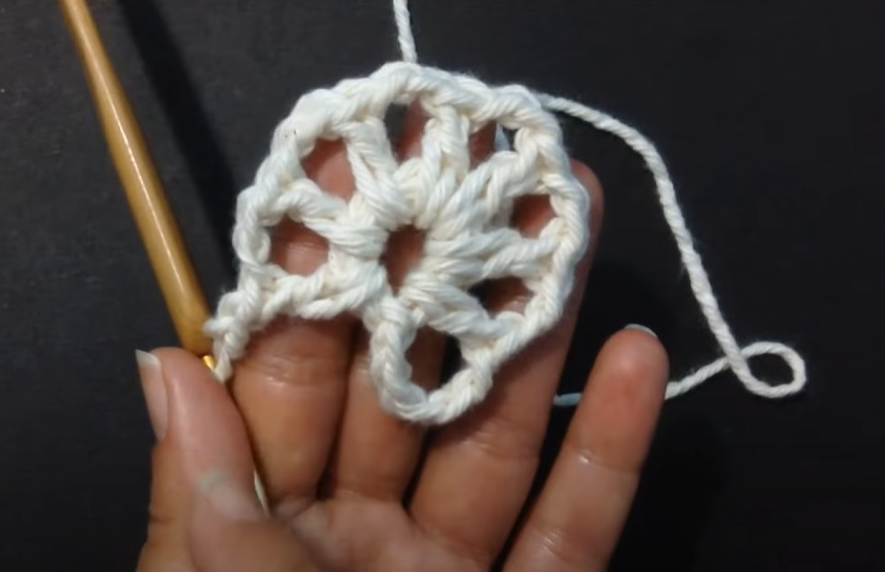
Round 1: (Center Ring)
- Start with a Magic Ring (MR).
- Ch 2 (does not count as st). Work 16 dc into the MR.
- Pull MR tight to close. Sl st to the top of the first dc to join. (16 dc)
Round 2: (Establishing Star Points)
- Ch 3 (counts as 1 dc). Work 1 dc in the same st.
- Ch 1, sk 1 st, 2 dc in next st. Repeat from * to * around. You will create 8 sets of (2 dc, ch 1, sk 1 st).
- Ch 1, sl st to the top of the initial Ch 3 to join. (16 dc, 8 ch-1 spaces)
Round 3: (Building the Points)
- Sl st into the ch-1 space.
- Ch 2 (does not count as st). Work (3 dc, ch 2, 3 dc) in the same ch-1 space. This forms the first point.
- Sk the 2 dc before the next ch-1 space. In the next ch-1 space, work (3 dc, ch 2, 3 dc). Repeat from * to * around.
- Sl st to the top of the first dc to join. (8 points created by 6 dc groups and 8 ch-2 spaces)

Round 4: (Expanding the Star)
- Sl st into the next 2 dc and into the ch-2 space.
- Ch 3 (counts as 1 dc). In the same ch-2 space, work (2 dc, ch 2, 3 dc).
- Work 1 dc in each of the next 3 dc. Sk the space between the points (the 6 dc group). Work 1 dc in each of the next 3 dc (of the next point).
- In the ch-2 space, work (3 dc, ch 2, 3 dc).
- Repeat steps 3-4 around.
- Sl st to the top of the initial Ch 3 to join.
Round 5: (More Expansion & Definition)
- Sl st into the next 2 dc and into the ch-2 space.
- Ch 3 (counts as 1 dc). In the same ch-2 space, work (2 dc, ch 2, 3 dc).
- Work 1 dc in each of the next 5 dc. Sk the space between points. Work 1 dc in each of the next 5 dc.
- In the ch-2 space, work (3 dc, ch 2, 3 dc).
- Repeat steps 3-4 around.
- Sl st to the top of the initial Ch 3 to join.
Round 6: (Transition Round – Filling in the spaces)
- Ch 2 (does not count as st). Work 1 dc in each st around, including working 3 dc into each ch-2 space. This round will create a solid foundation before the next openwork section.
- Sl st to the top of the first dc to join. (Total dc stitches will be 8 x (5+5+3) = 104 dc)
Round 7: (First Round of Openwork)
- Ch 3 (counts as 1 dc).
- Ch 1, sk 1 st, dc in next st. Repeat from * to * around.
- Ch 1, sl st to the top of the initial Ch 3 to join.
Round 8: (Creating “Eyelets” or Small Holes)
- Ch 1 (does not count as st). Sc in each dc and in each ch-1 space around.
- Sl st to the first sc to join.

Round 9: (Building on Eyelets)
- Ch 1. Sc in the first 2 sts.
- Ch 1, sk 1 st, sc in next 2 sts. Repeat from * to * around.
- Ch 1, sl st to the first sc to join.
Round 10: (Solidify again)
- Ch 2. Work 1 dc in each sc and in each ch-1 space around.
- Sl st to the top of the first dc to join.
Continuing to Expand and Shape (General Guidelines for Large Rugs/Doilies):
The beauty of this design comes from the alternation of solid and openwork sections. To continue growing your rug and achieve a similar look to the image:
- Maintain Radial Symmetry: Continue working in a multiple of your starting star points (8 in this case).
- Increase Stitches Evenly: As your circle grows, you need more stitches per round to keep it flat. In solid dc rounds, you’ll typically increase by 8-12 stitches per round, distributing them evenly. In openwork rounds, the pattern of chains and skipped stitches handles the increase.
- Vary Stitch Heights: Use dc for solidity, and tr/dtr with chain spaces for the more open, airy sections.
- Repeat/Adapt Patterns: The pattern in the image seems to repeat variations of the “eyelet” section (like Rounds 7-9) and then transition to sections of taller stitches before a final border.
- The “Net” Effect: The outer section of the image shows a “net” or “grid” pattern, often made by (dc, ch 1, sk 1) or (tr, ch 1, sk 1) repeats, potentially with clusters of stitches in between for texture.
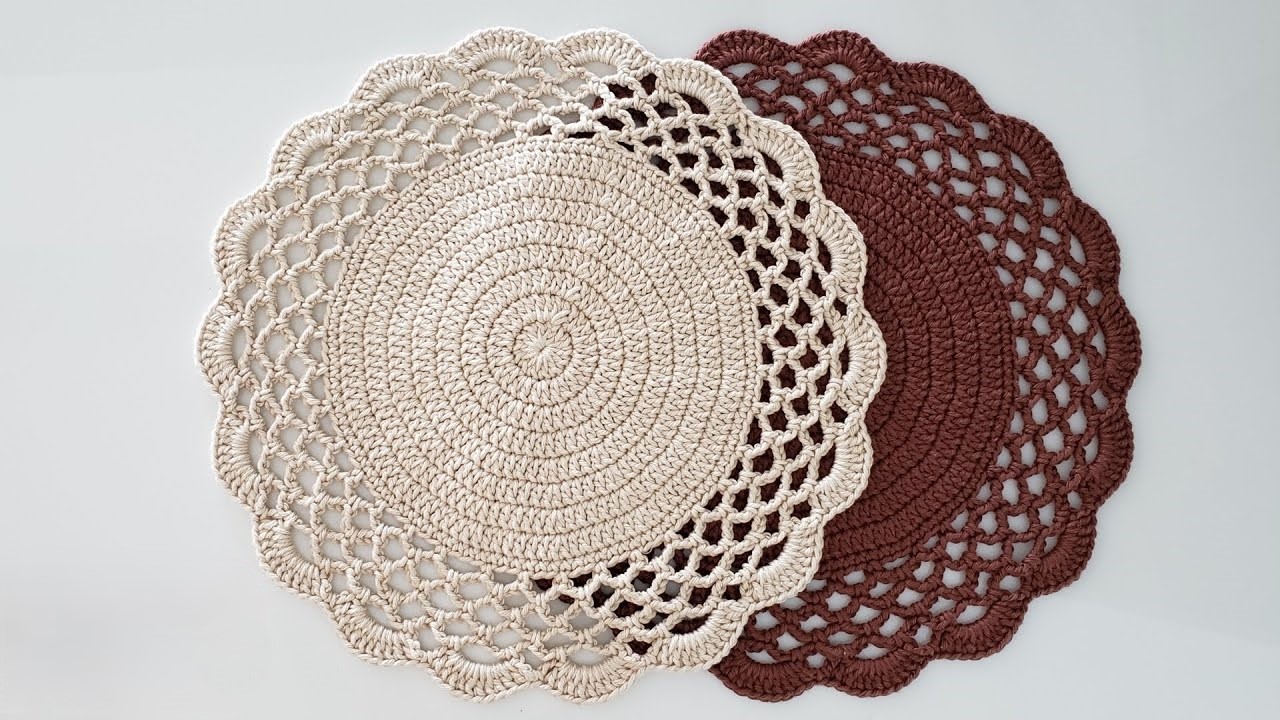
Final Border – Scalloped Edge:
The edge of the rug has a lovely, classic scallop. This is typically the last round or two of the pattern.
Example of a Scalloped Edge Round:
- Ch 1 (does not count as st). Sc in the first st.
- Sk 2 sts, work (2 dc, ch 1, 2 dc) in the next st. Sk 2 sts, sc in the next st. Repeat from * to * around.
- Sl st to the first sc to join.
- FO.
Alternative Scallop: You could also use a larger shell (e.g., 5 dc or 7 dc in a stitch/space) for a more pronounced scallop, or add picots (ch 3, sl st in first ch) at the top of your shells for extra detail.
Video tutorial
Finishing Up!
- Fasten Off (FO): Once your rug reaches the desired size, cut your yarn, leaving a long tail. Pull the tail completely through the last loop on your hook to secure.
- Weave in all ends: Use your yarn needle to neatly weave in all starting and ending tails. For rugs, secure them very well to withstand foot traffic and washing.
- Blocking (Highly Recommended): This is crucial for circular projects, especially those with intricate openwork. Lay your finished piece flat. Gently stretch and shape it into a perfect circle, making sure all the star points and openwork sections are defined. Pin it down using rust-proof pins if needed. Mist it lightly with water (for cotton) or use a steam iron (hovering, not touching the yarn directly, especially for acrylics). Let it dry completely in shape. Blocking will make a significant difference in the final appearance of your rug or doily.
This starburst pattern is a rewarding journey, and the finished piece will be a stunning testament to your crochet skills! Enjoy the process of watching this beautiful design unfold. Happy crocheting!