 by
by 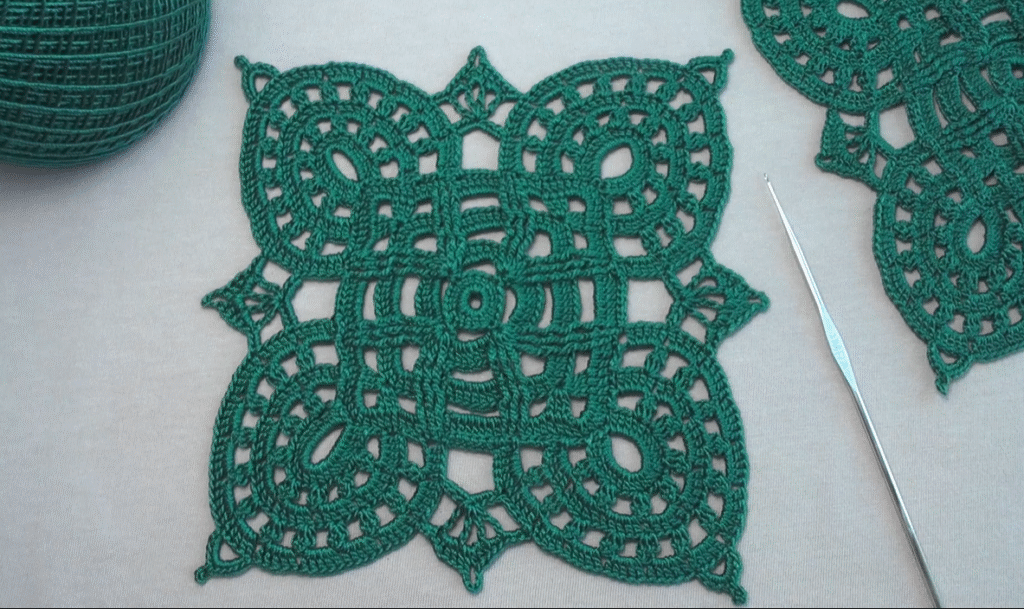
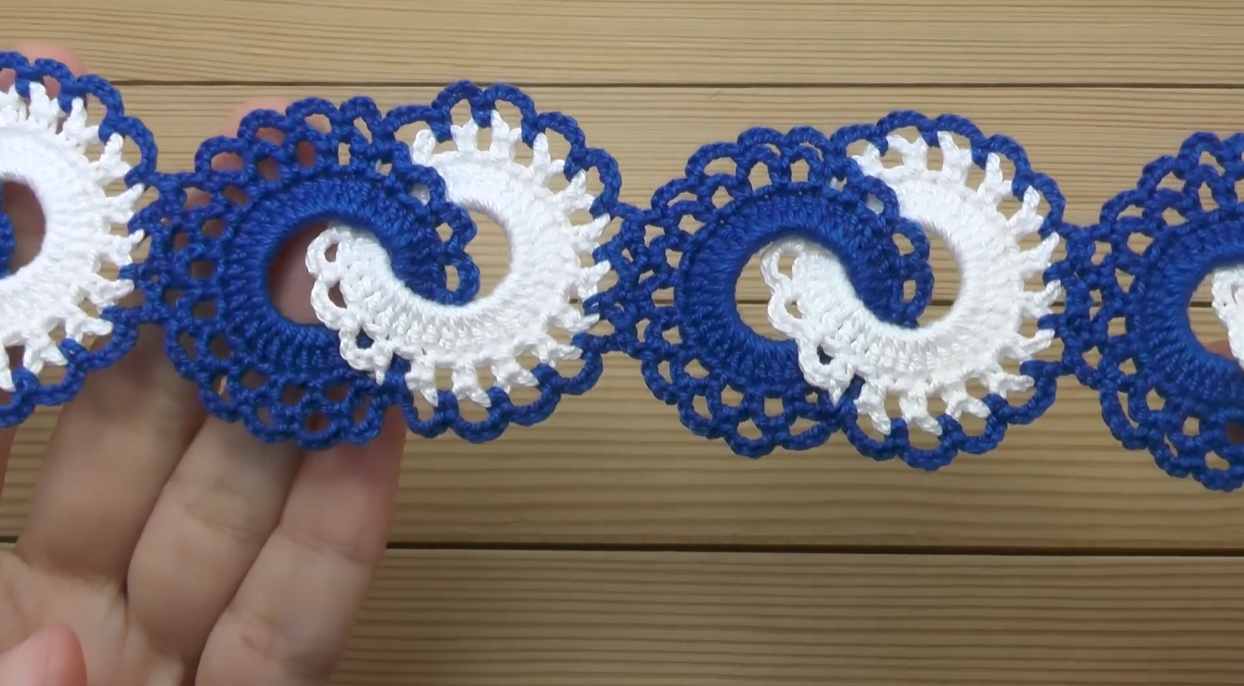
Hello fellow fiber artists!
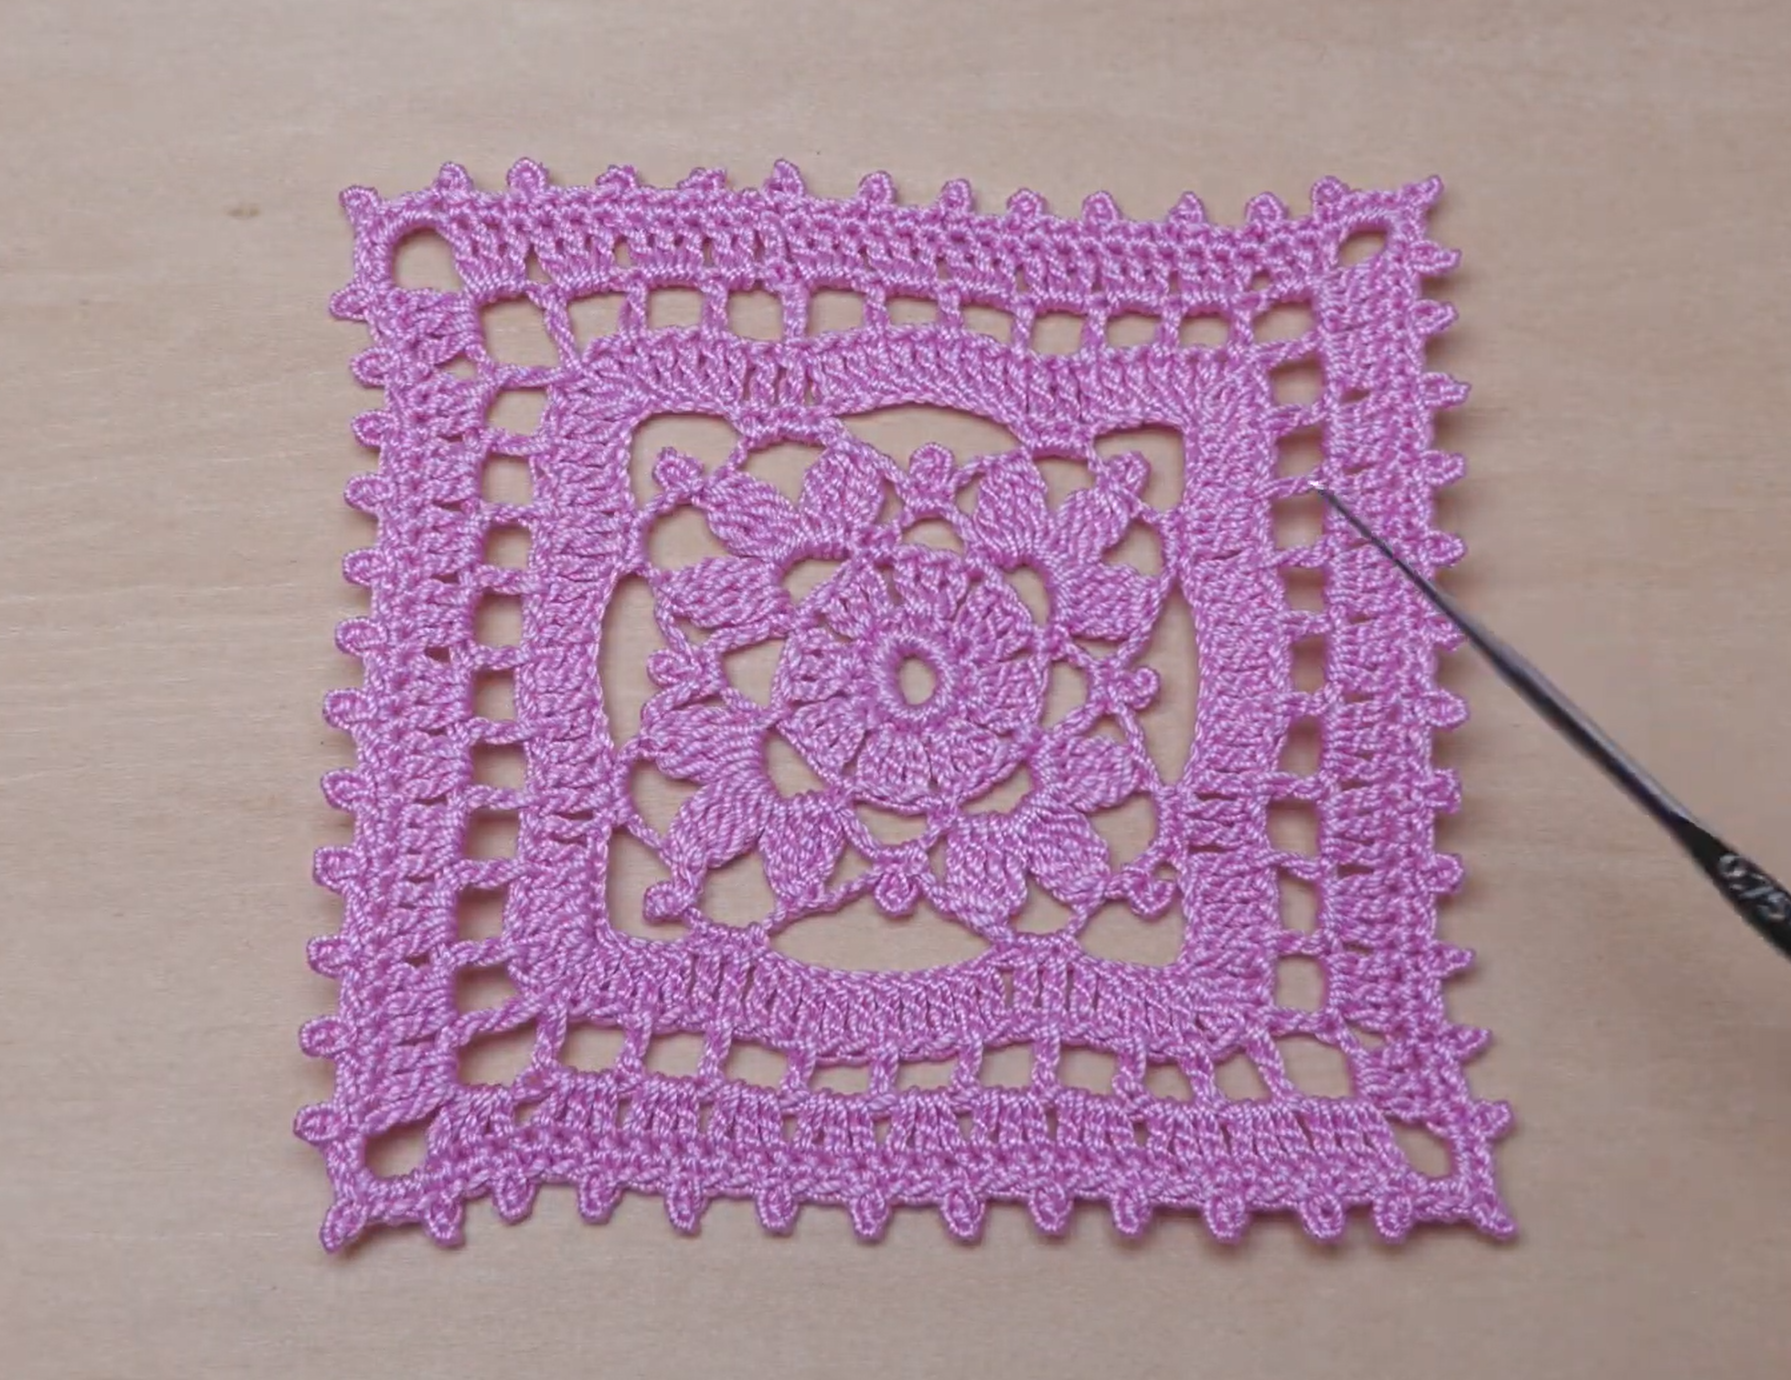
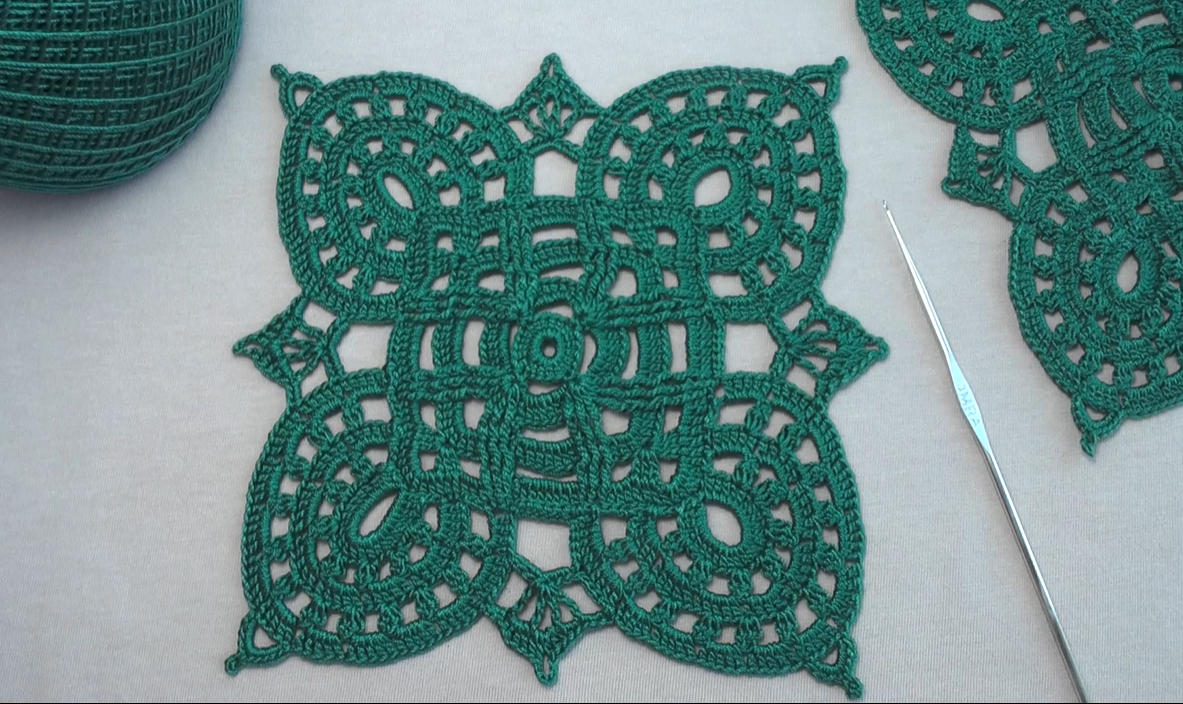
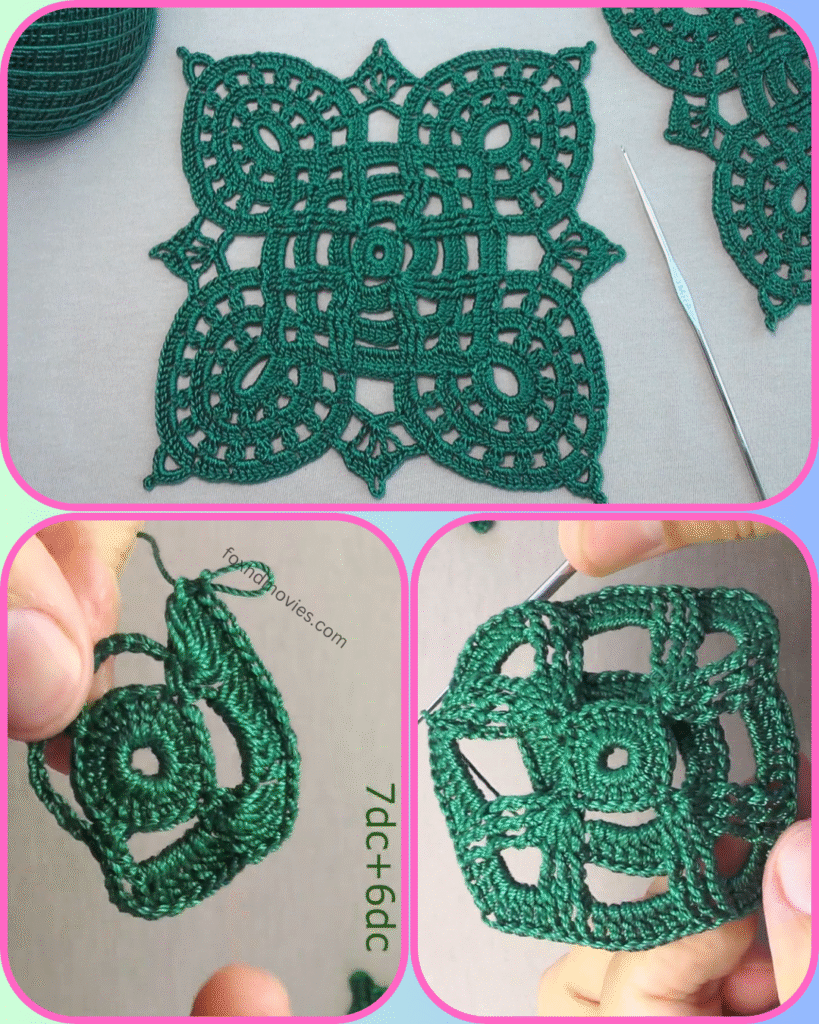
Prepare to be mesmerized by this intricate and elegant crochet square! Today, we’re diving into a pattern that creates a beautiful interlocking lace motif, reminiscent of traditional knotwork. The open, airy design is perfect for creating stunning doilies, table runners, delicate shawls, or even unique garment embellishments.
The deep teal color in the example truly highlights the complex design, giving it a rich, timeless feel. Imagine this piece in a classic white, a soft cream, or even a metallic thread for a touch of glamour!
This pattern requires a bit of focus on stitch placement and counting, so take your time and enjoy the process of watching this beauty unfold.
Skill Level: Intermediate to Advanced (familiarity with basic stitches, precise stitch placement, and working with fine threads is essential.)
Materials You’ll Need:
- Yarn: Fine crochet thread (Size 10 or similar) is ideal for achieving the delicate lace effect seen in the image. Mercerized cotton thread will give the best stitch definition.
- Crochet Hook: A steel crochet hook appropriate for your chosen thread. For Size 10 thread, a 1.5mm – 1.75mm (US steel hook size 7 to 0) would be suitable. (The hook in the image looks like a very fine 0.75mm, suggesting an even finer thread was used.)
- Yarn Needle: For weaving in ends.
- Scissors
- Stitch Markers (optional): To mark corners or important stitches.
Abbreviations (US Crochet Terms):
- ch: chain
- sl st: slip stitch
- sc: single crochet
- dc: double crochet
- tr: treble crochet
- dtr: double treble crochet (yarn over 3 times, insert hook, yarn over pull through 2 loops 4 times)
- sk: skip
- sp: space
- st(s): stitch(es)
- picot: ch 3, sl st into 3rd ch from hook
- *to*: repeat instructions between asterisks
The Interlocking Lace Square Motif Pattern (Make as many as desired)
Each motif is worked in the round. Take your time, as precise stitch placement is crucial for this pattern!

Round 1 (Central Ring): Ch 8, join with sl st to first ch to form a ring. (Or use a magic ring if comfortable with working many stitches into it.)
Round 2: Ch 4 (counts as 1 tr), 15 tr into the ring. Join with sl st to top of beg ch-4. (16 tr)
Round 3: Ch 1, 1 sc in same st. *Ch 5, sk 1 st, 1 sc in next st*. Repeat from * to * around. Join with sl st to first sc. (8 ch-5 sps)
Round 4 (Forming Inner Circles): Sl st into first ch-5 sp. Ch 4 (counts as 1 tr), (4 tr, ch 3, 5 tr) in same ch-5 sp. *Ch 2, sk next sc, (5 tr, ch 3, 5 tr) in next ch-5 sp*. Repeat from * to * 6 more times. Ch 2, sk next sc. Join with sl st to top of beg ch-4. (8 sections of (5 tr, ch 3, 5 tr), separated by ch-2 sps)
Round 5 (Connecting Inner Circles & Squaring): Sl st into next 2 tr until you reach the ch-3 sp of a (5 tr, ch 3, 5 tr) group. In ch-3 sp: (Ch 4, 1 tr, ch 3, 2 tr) – this forms a corner. *Ch 3, sk next 5 tr, sk next ch-2 sp, sk next 5 tr. In next ch-3 sp of the next (5 tr, ch 3, 5 tr) group: (2 tr, ch 3, 2 tr) – this forms the side between corners. Ch 3, sk next 5 tr, sk next ch-2 sp, sk next 5 tr. In next ch-3 sp: (2 tr, ch 3, 2 tr) – this forms the next corner. Repeat from * to * around. Join with sl st to top of beg ch-4. (You should now have 4 corners (2tr, ch3, 2tr) and 4 sides (2tr, ch3, 2tr), with ch-3 sps connecting them.)

Round 6 (Creating the Interlocking Pattern): Sl st into next tr until you reach the corner ch-3 sp. In corner ch-3 sp: Ch 4 (counts as 1 tr), (1 tr, ch 3, 2 tr) in same corner sp. *Ch 5, sk next 2 tr, sk next ch-3 sp, sk next 2 tr. In the ch-3 sp of the next ‘side’ group (from Round 5), work: 1 sc. Ch 5, sk next 2 tr, sk next ch-3 sp, sk next 2 tr. In next corner ch-3 sp: (2 tr, ch 3, 2 tr)*. Repeat from * to * 3 more times, omitting the last corner on the last repeat. Join with sl st to top of beg ch-4. (This round creates the long ch-5 arches that give the interlocking look, connected by the sc.)
Round 7 (Solidifying the Interlock & Outer Detail): Sl st into next tr until you reach the corner ch-3 sp. In corner ch-3 sp: (Ch 3, 2 dc, picot, 3 dc) in same corner sp. *Ch 1, 1 sc in next ch-5 sp. Ch 1, 1 tr in next sc (from Round 6). Ch 1, 1 sc in next ch-5 sp. Ch 1, sk next 2 tr, (3 dc, picot, 3 dc) in next corner ch-3 sp*. Repeat from * to * 3 more times, omitting the last corner on the last repeat. Join with sl st to top of beg ch-3.
Fasten off and weave in ends securely.

Joining Your Squares (If making a larger project)
The pointed picot edges of this square suggest a very clean join, possibly done with a needle or a minimal slip stitch join.
- Needle Join (Whipstitch/Mattress Stitch): Complete all your squares. Using your yarn needle, carefully stitch the squares together by aligning corresponding picots and chain spaces. This is often the best method for highly detailed lace where you don’t want the join to detract from the pattern.
- Invisible Slip Stitch Join: On the final round (Round 7) of your second and subsequent squares, you can incorporate the join. When you reach a picot that should connect to an existing square, work
ch 2, sl st into corresponding picot of adjacent square, ch 1, sl st into 3rd ch from hook of your current picot. For side joins, you might connect with a sl st in the corresponding ch-1 sps.
Video tutorial
Finishing Touches
- Blocking is absolutely essential! For intricate lace patterns like this, blocking will transform your piece. Wet your crochet square, gently squeeze out excess water, and pin it to a blocking mat or soft surface, carefully shaping each point and opening up the lacework. Allow it to dry completely. Blocking will make the design crisp and defined.
- Weave in any remaining loose ends with care.
And there you have it! A truly captivating crochet square that showcases the beauty of lace and intricate design. This piece is a testament to the magic of crochet, and it will be a cherished addition to any project.
Happy crocheting! We’d love to see your finished creations, so feel free to share them in the comments below!