 by
by 
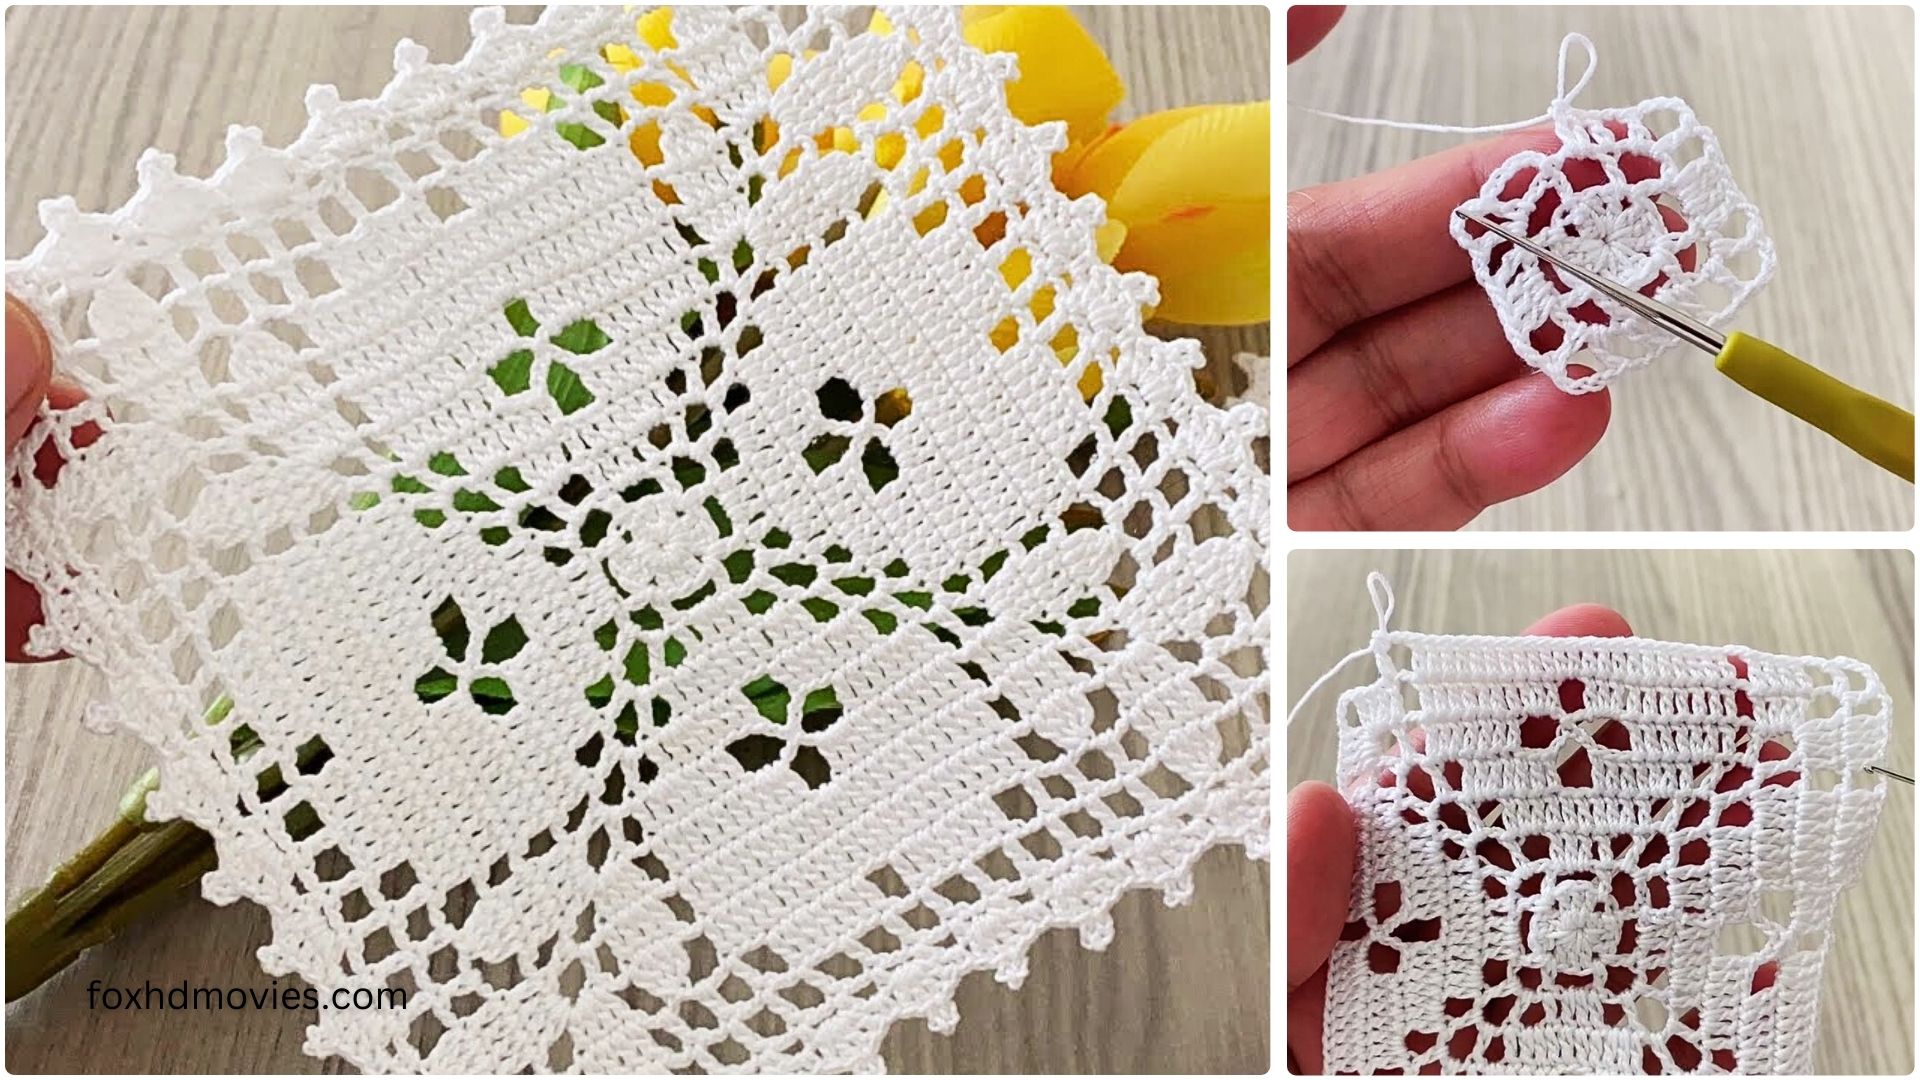
Embrace the beauty of nature with this versatile and easy-to-follow crochet pattern for a large leaves motif! Perfect for adding a touch of botanical elegance to blankets, scarves, hats, bags, or even as unique coasters. This pattern uses simple stitches to create a realistic and appealing leaf shape that will elevate any project.
Skill Level: Easy
Materials:
- Worsted weight yarn in green (various shades are great for a natural look!)
- Crochet hook size G/6 (4.0 mm) or H/8 (5.0 mm) – choose based on desired leaf size and yarn thickness
- Yarn needle for weaving in ends
- Scissors
Gauge:
Gauge isn’t critical for this motif, as it’s a standalone piece. However, using a larger hook will result in a larger leaf, and a smaller hook will create a smaller leaf.
Finished Size:
Using worsted weight yarn and a 4.0mm hook, your leaf will be approximately 4-5 inches long.
Abbreviations (US Crochet Terms):
- ch: chain
- sl st: slip stitch
- sc: single crochet
- hdc: half double crochet
- dc: double crochet
- tr: treble crochet (or triple crochet)
- dtr: double treble crochet
- sk: skip
- st(s): stitch(es)
- YO: yarn over
- picot: ch 3, sl st into the 3rd ch from hook (creates a small bump)
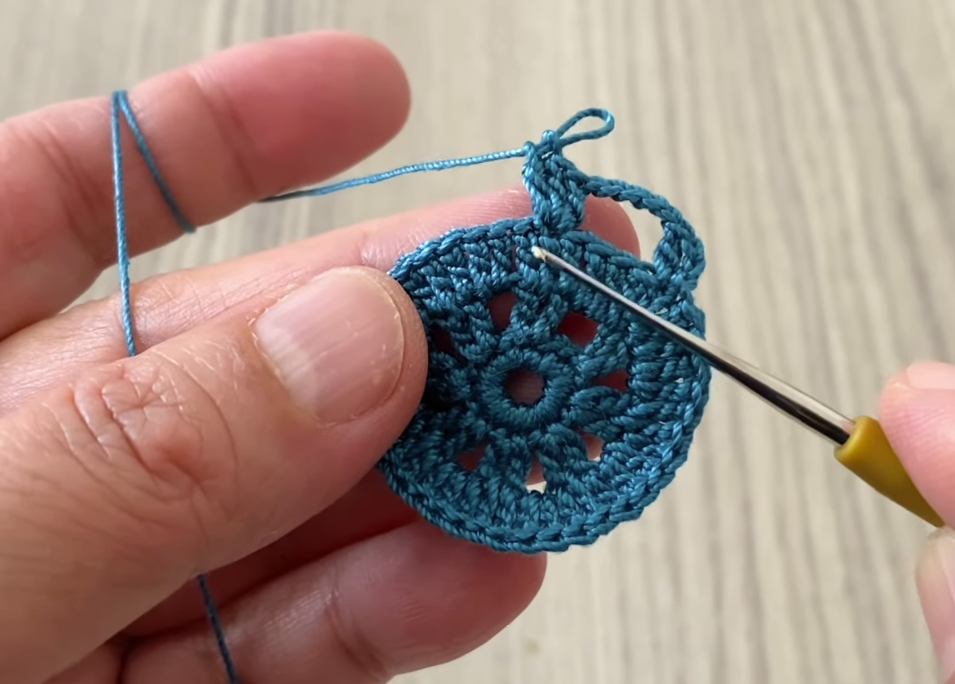
Let’s Get Leafy!
We’ll work this motif in rows, turning at the end of each, and then work around the perimeter to create the final shape and central vein.
Starting the Leaf (Spine):
- Ch 15.
Working the First Side of the Leaf:
We’ll work back down the chain to form the first half of the leaf.
- In the 2nd ch from hook, sc 1.
- Hdc in the next ch.
- Dc in the next 2 ch.
- Tr in the next 2 ch.
- Dtr in the next 2 ch.
- Tr in the next 2 ch.
- Dc in the next 2 ch.
- Hdc in the next ch.
- Sc in the last ch. (This last sc is at the tip of the leaf).

Creating the Tip and Turning:
- Ch 3 (this chain forms the tip of the leaf).
Working the Second Side of the Leaf:
Now we’ll work back up the other side of your starting chain, mirroring the stitches you just made.
- Working into the bottom loops of the same last ch (where you made the last sc), sc 1.
- Hdc in the next ch.
- Dc in the next 2 ch.
- Tr in the next 2 ch.
- Dtr in the next 2 ch.
- Tr in the next 2 ch.
- Dc in the next 2 ch.
- Hdc in the next ch.
- Sc in the last ch.
Creating the Stem (Optional, but recommended for realism):
- Ch 6 (or desired length for your stem).
- Sl st into the 2nd ch from hook, and then sl st in each remaining ch of the stem.
- Sl st back into the base of the leaf (the very first starting chain).
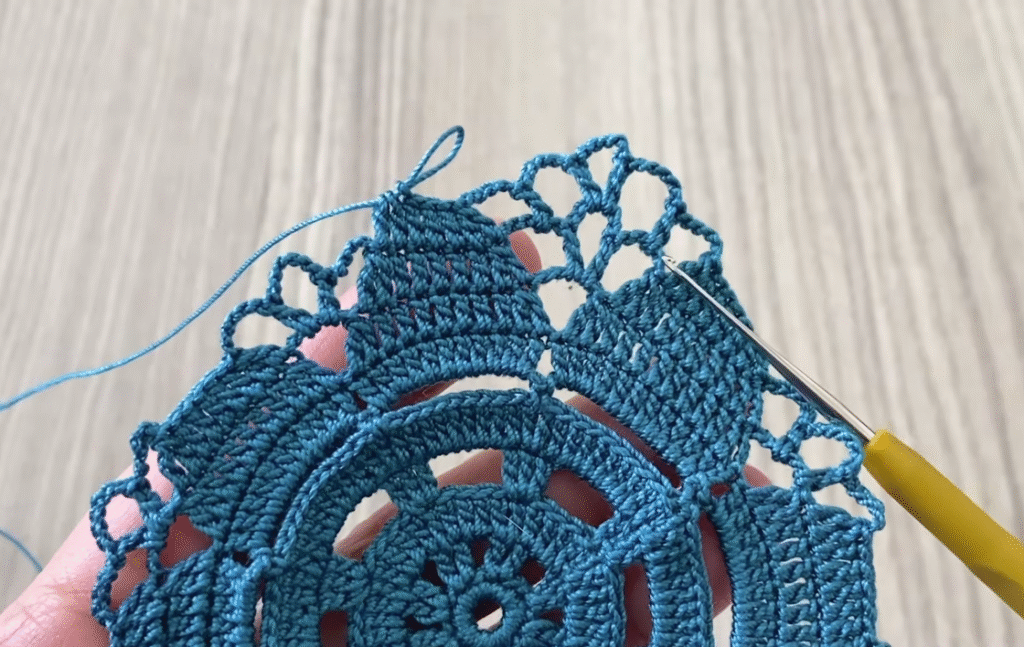
Adding the Final Edging and Vein (Optional, for a more defined look):
This step will create a nice clean edge and a subtle central vein.
- Working along the edge: Ch 1, sc evenly around the entire leaf edge. When you reach the tip (the ch-3 space you created earlier), work (sc, ch 1, sc) into that ch-3 space to create a sharp point. Continue sc evenly down the other side.
- Creating the central vein: Once you reach the base of the leaf again, do not fasten off. Now we’ll create the central vein. Insert your hook into the center of the first dc of the first side of the leaf (essentially going into the “gap” in the starting chain). Sl st along the center of the leaf, following the path of the original chain, to the tip. Try to keep this loose enough not to pull the leaf in.
- When you reach the ch-3 tip, sl st into the middle ch of the tip.
- Fasten off and weave in all ends securely.

Voila! Your Lush Large Leaves Motif is complete!
Video tutorial
Tips for Success & Variations:
- Varying Shades of Green: Use different shades of green yarn within the same project or for different leaves to create a more natural, organic feel.
- Embellishments: These leaves are perfect for applique! Sew them onto hats, bags, scarves, or clothing.
- Garlands: String multiple leaves together to create a beautiful nature-inspired garland.
- Coasters: Make two leaves and sew them together (wrong sides facing) for a unique leaf-shaped coaster. You can even stuff them lightly for a more plush coaster.
- “Fall” Leaves: Use autumnal colors like reds, oranges, yellows, and browns for a seasonal touch.
- Picot Edging: For a more decorative edge, you can substitute the sc edging with a repeating pattern of (sc, picot, sc) or similar, especially around the outer curves.
- Customizing Size:
- To make a larger leaf, start with a longer chain and add more tr and dtr stitches in the middle.
- To make a smaller leaf, start with a shorter chain and use fewer tr/dtr stitches, or even stick to just hdc and dc.
- Stiffening (Optional): If you want your leaf to hold its shape, you can lightly block it or use a fabric stiffener after it’s crocheted and woven in.
Have fun creating your beautiful leaves! They’re a fantastic way to add a touch of handmade nature to any project. Happy crocheting!