by
by 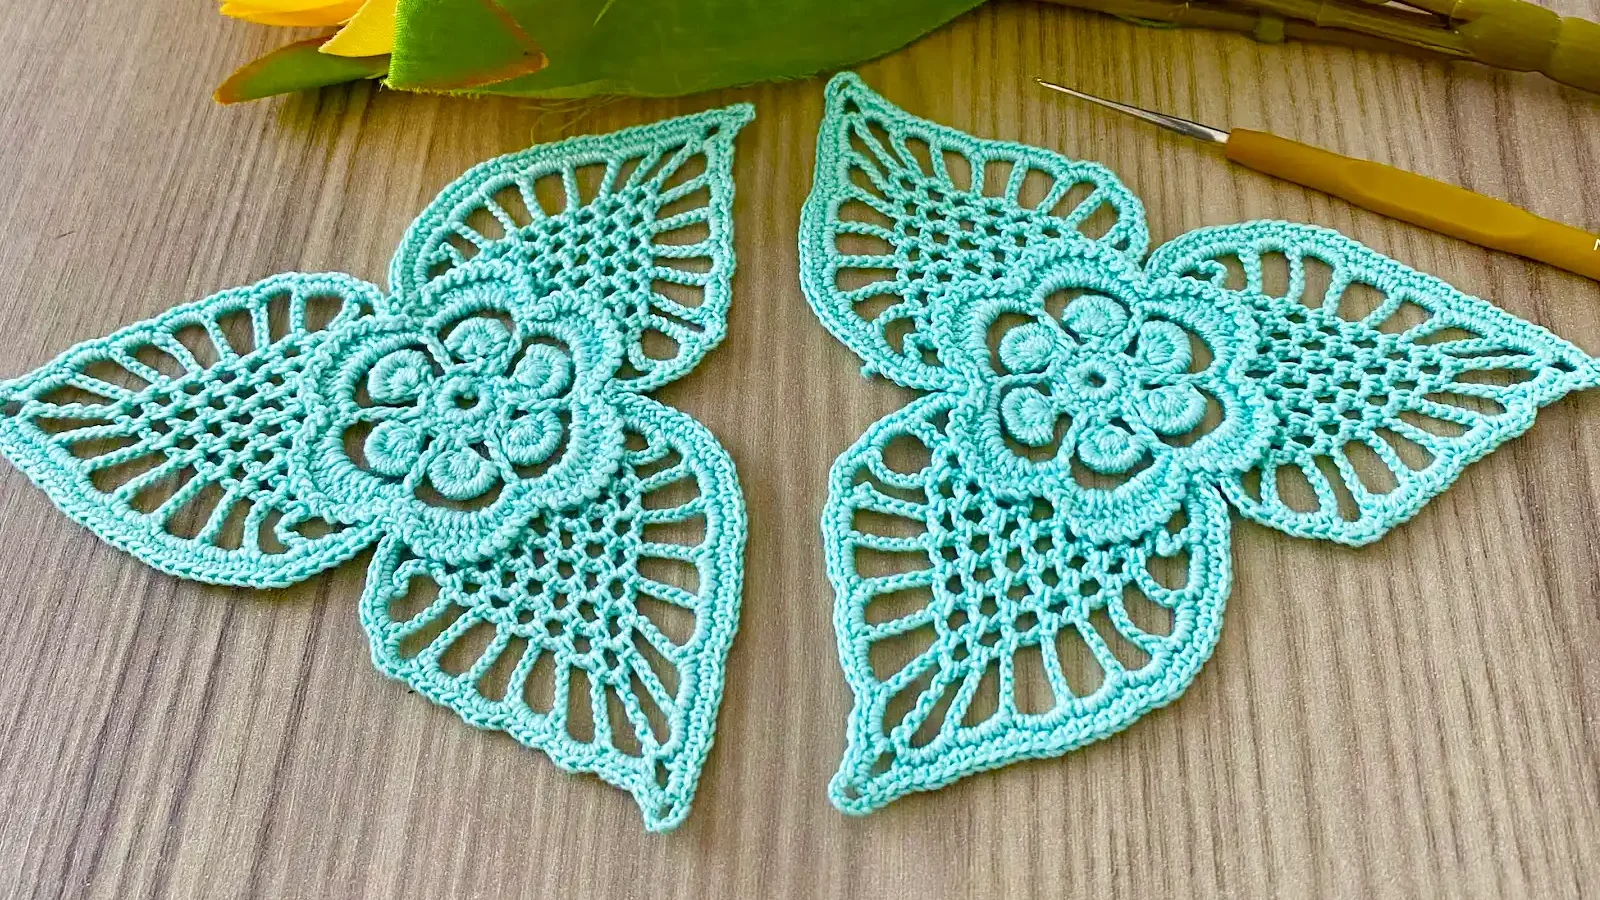
Add a touch of natural elegance to your crochet creations with these charming and easy lace leaves! Perfect for embellishing hats, scarves, blankets, or even as decorative elements for home decor, these delicate leaves work up quickly and use just a few basic stitches. Even if you’re new to lace crochet, this pattern is designed to be straightforward and rewarding.
Skill Level: Easy
Materials:
- Any weight yarn (Fingering or DK weight yarn will give a more delicate look, while worsted weight will create a more substantial leaf)
- Crochet hook appropriate for your chosen yarn (e.g., C/2 (2.75mm) for fingering, G/6 (4.0mm) for DK, H/8 (5.0mm) for worsted)
- Yarn needle for weaving in ends
- Scissors
Abbreviations (US Crochet Terms):
- ch: chain
- sl st: slip stitch
- sc: single crochet
- hdc: half double crochet
- dc: double crochet
- tr: treble crochet (or triple crochet)
- dtr: double treble crochet (or quadruple crochet)
- trtr: triple treble crochet (or quintuple crochet)
- sk: skip
- st(s): stitch(es)
- sp: space
- picot: ch 3, sl st into the 3rd ch from hook (creates a small decorative bump)
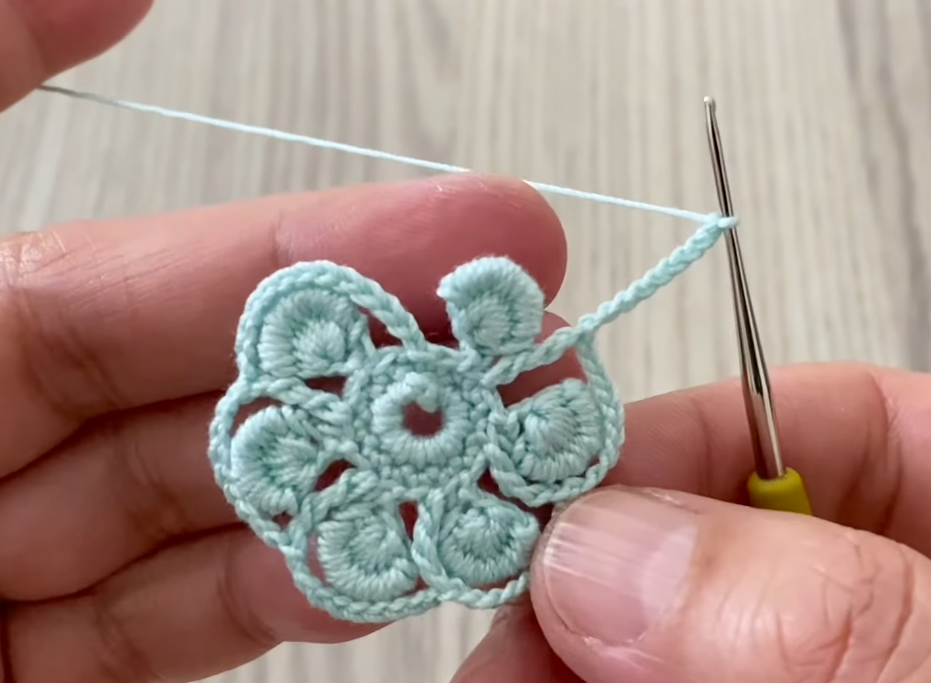
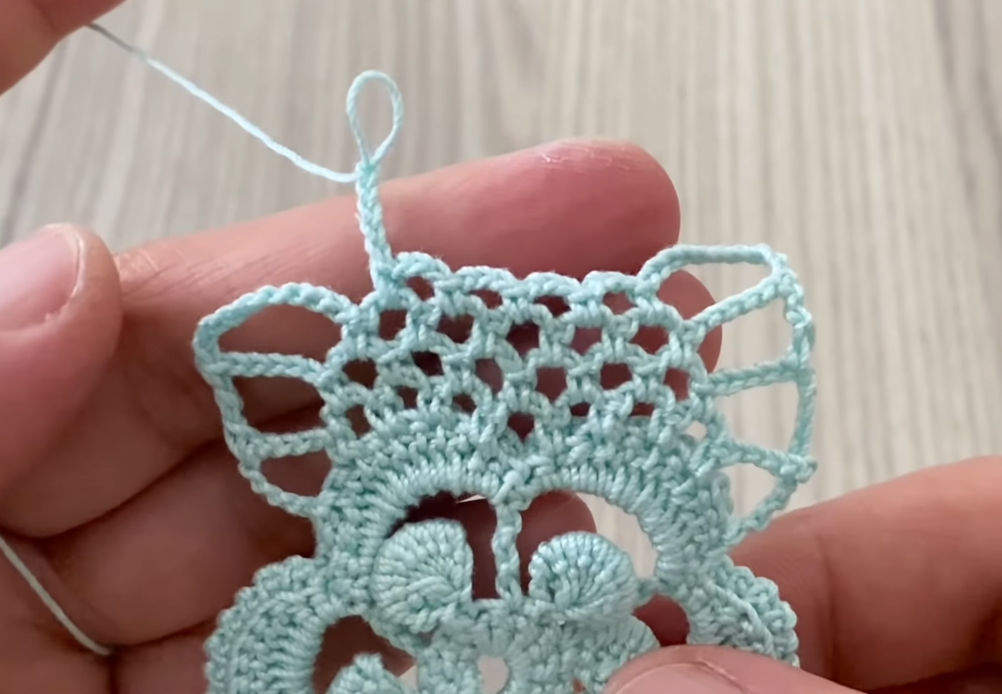
Let’s Create a Leaf!
This pattern builds the leaf from the bottom up, working around a central chain.
Foundation Chain: Ch 12.
Row 1 (Working up one side of the chain):
- Sc in the 2nd ch from hook. (This forms the tip of your leaf’s stem)
- Hdc in the next ch.
- Dc in the next ch.
- Tr in the next ch.
- Dtr in the next ch.
- Trtr in the next ch.
- Dtr in the next ch.
- Tr in the next ch.
- Dc in the next ch.
- Hdc in the next ch.
- Sc in the last ch. (You’ve now worked up one side of your chain and are at the “top” of the leaf curve).

Creating the Leaf Tip (Working into the last stitch and turning): 12. Ch 3 (this creates your picot). Sl st into the 3rd ch from hook. (This is the very tip of your leaf).
Row 2 (Working down the other side of the chain):
- Rotate your work so you are now working into the other side of the foundation chain stitches.
- Sc in the first available loop of the same ch where you made the last sc of Row 1.
- Hdc in the next available loop of the foundation ch.
- Dc in the next available loop of the foundation ch.
- Tr in the next available loop of the foundation ch.
- Dtr in the next available loop of the foundation ch.
- Trtr in the next available loop of the foundation ch.
- Dtr in the next available loop of the foundation ch.
- Tr in the next available loop of the foundation ch.
- Dc in the next available loop of the foundation ch.
- Hdc in the next available loop of the foundation ch.
- Sl st into the base of the very first sc you made (at the bottom of the stem).
Finishing: Ch 1 (optional, but helps secure). Fasten off, leaving a tail for weaving in or attaching. Weave in all ends.
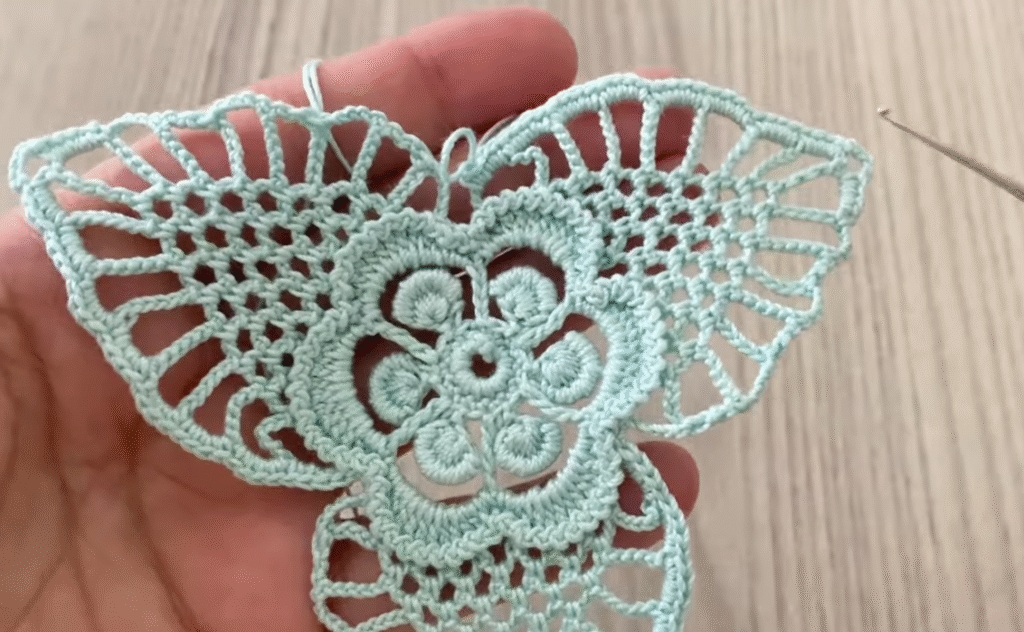
Voilà! Your beautiful lace leaf is complete!
Video tutorial
Tips for Perfect Lace Leaves:
- Tension is Key: Consistent tension is crucial for lace patterns. Try to keep your stitches even. If your leaf is curling too much, you might be pulling too tightly; if it’s too floppy, your tension might be too loose.
- Blocking: For the best results, especially with delicate lace, wet blocking is highly recommended. Pin your finished leaf onto a foam board (or any surface that can handle pins and moisture), gently spray with water until damp, and allow it to dry completely. This will open up the stitches and give your leaf a crisp, defined shape.
- Yarn Choice:
- Fingering or Lace Weight: Will create a very delicate, airy leaf, perfect for fine embellishments or jewelry.
- DK or Sport Weight: A great all-around choice for a noticeable but still elegant leaf.
- Worsted Weight: Will produce a sturdier, thicker leaf, good for garlands or appliqués that need more body.
- Hook Size: Always use a hook size appropriate for your yarn weight. Going up one hook size from what you’d typically use for solid fabric with that yarn can also help achieve a lacier, more open look.
- Adding a Stem: If you want a longer stem for your leaf, simply add more chain stitches to your foundation chain before starting Row 1, and then work slip stitches or single crochets into those extra chains on both sides at the very beginning/end.
- Variations in Leaf Size:
- Smaller Leaf: Reduce the initial chain length and the height of the stitches (e.g., using more hdc/dc and fewer tr/dtr).
- Larger Leaf: Increase the initial chain length and incorporate even taller stitches like trtr and dtrtr (double triple treble crochet, ch 6, YO 5 times).
Ways to Use Your Lace Leaves:
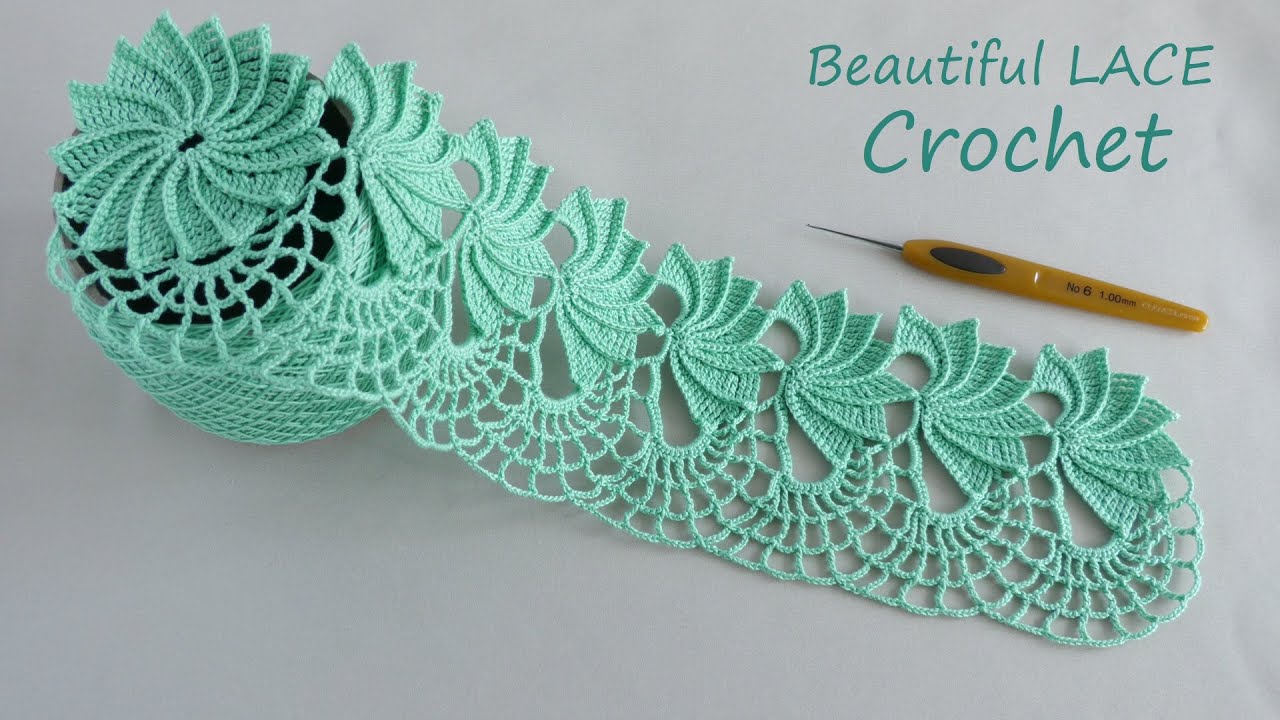
- Garlands: Crochet multiple leaves and string them together for a beautiful decorative garland.
- Embellishments: Sew them onto hats, scarves, sweaters, bags, or headbands.
- Jewelry: Use fine yarn and thread to create delicate earrings or pendants.
- Appliqués: Attach them to fabric projects.
- Bookmarks: A single, well-blocked leaf makes a lovely bookmark.
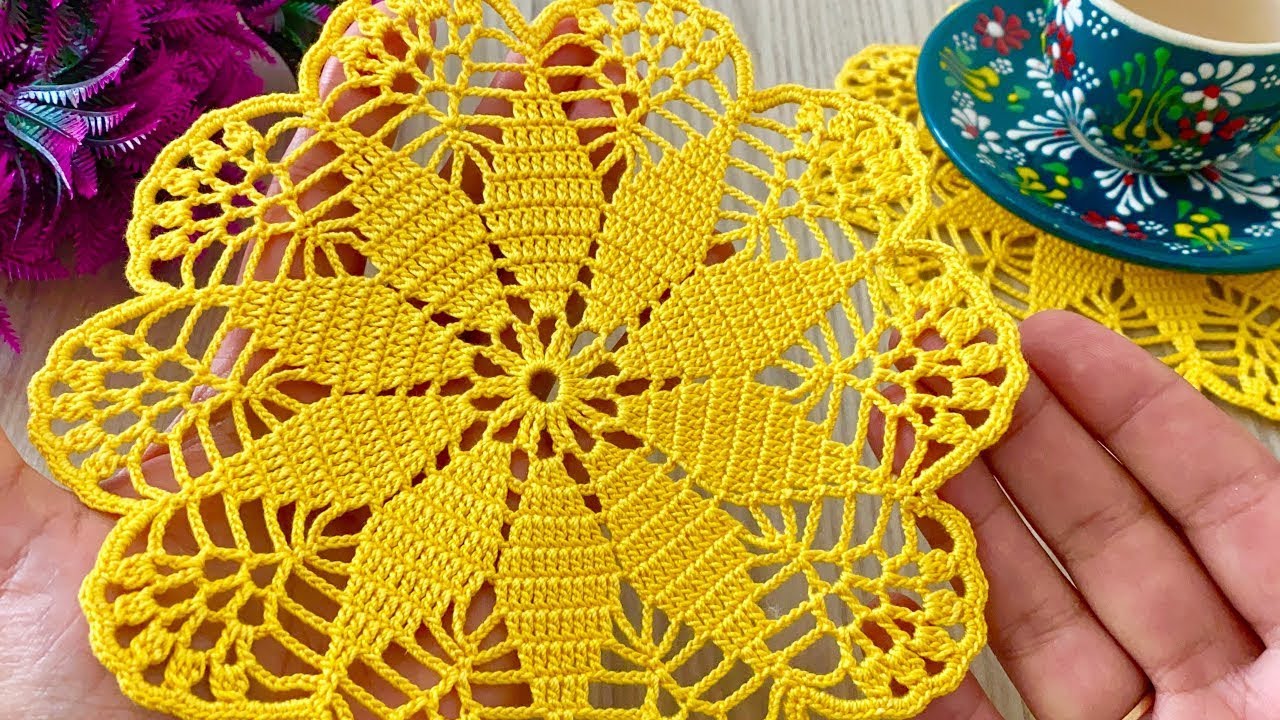
- Coasters/Doilies: Join several leaves together for a nature-inspired design.