by
by 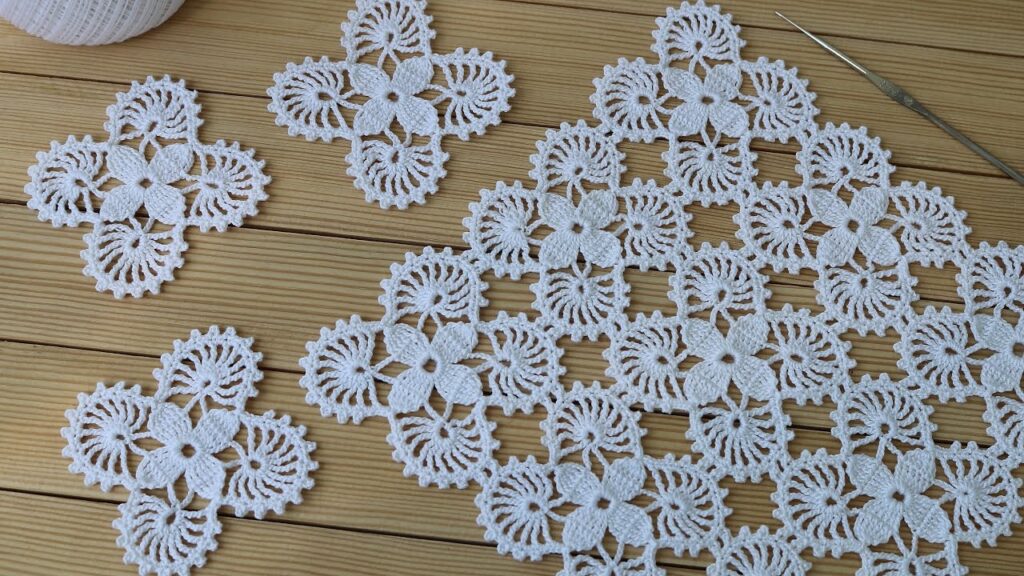
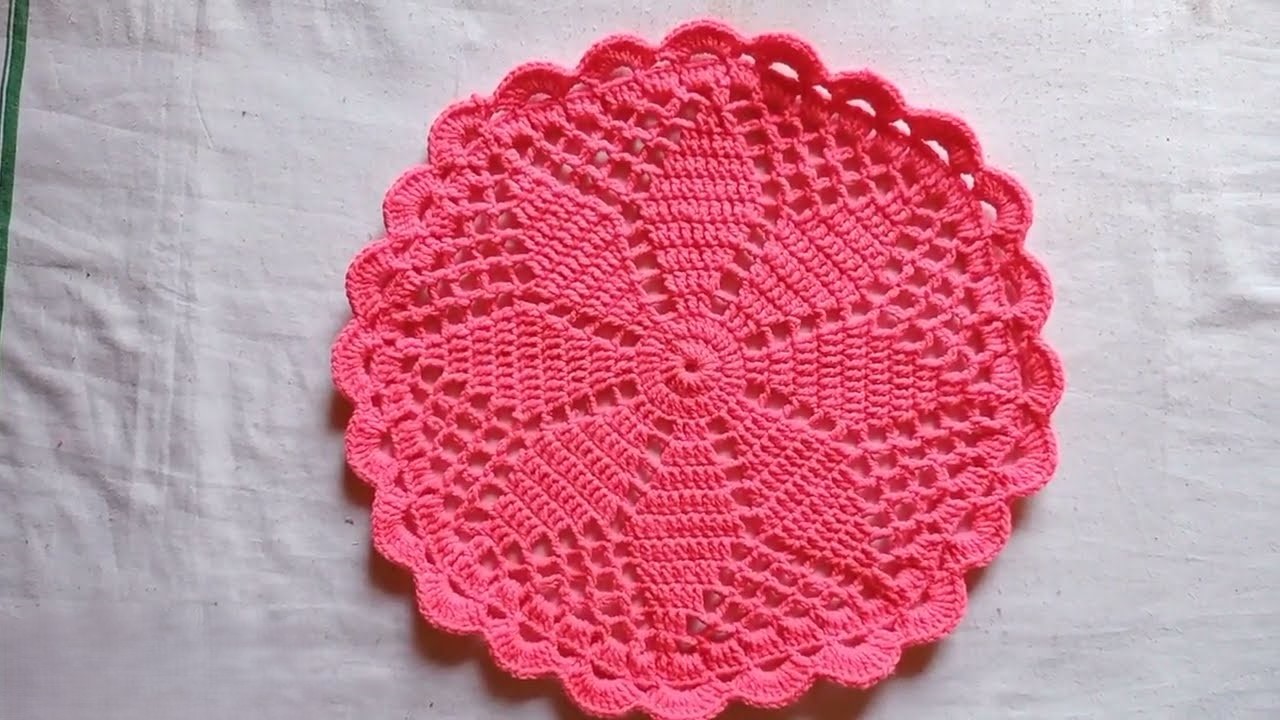
Bring a touch of delicate charm to your home decor or wardrobe with these exquisite crocheted flower square motifs! Perfect for creating stunning doilies, table runners, blankets, or even as embellishments on garments, these intricate yet achievable designs will surely impress. The example in pristine white yarn highlights the beautiful texture and detail, but imagine them in any color to match your personal style!
What You’ll Need:
- Yarn: A fine crochet thread or lace weight yarn. The example uses white, which is classic, but pastels or brights would also be lovely! (e.g., Aunt Lydia’s Classic Crochet Thread Size 10 or similar mercerized cotton)
- Crochet Hook: A hook appropriate for your chosen yarn. For fine thread, this might be a 1.5mm – 2.25mm (US steel hook size 7-1). A smaller hook will yield a more delicate, intricate result.
- Scissors
- Tapestry Needle (for weaving in ends)
Understanding the Motif:
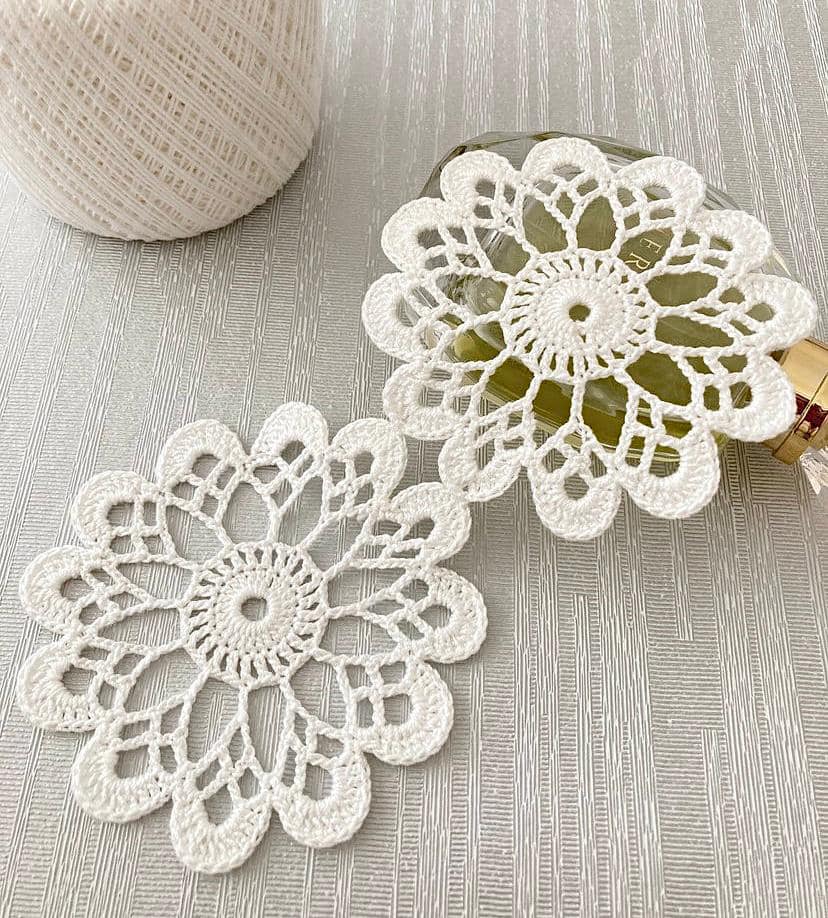
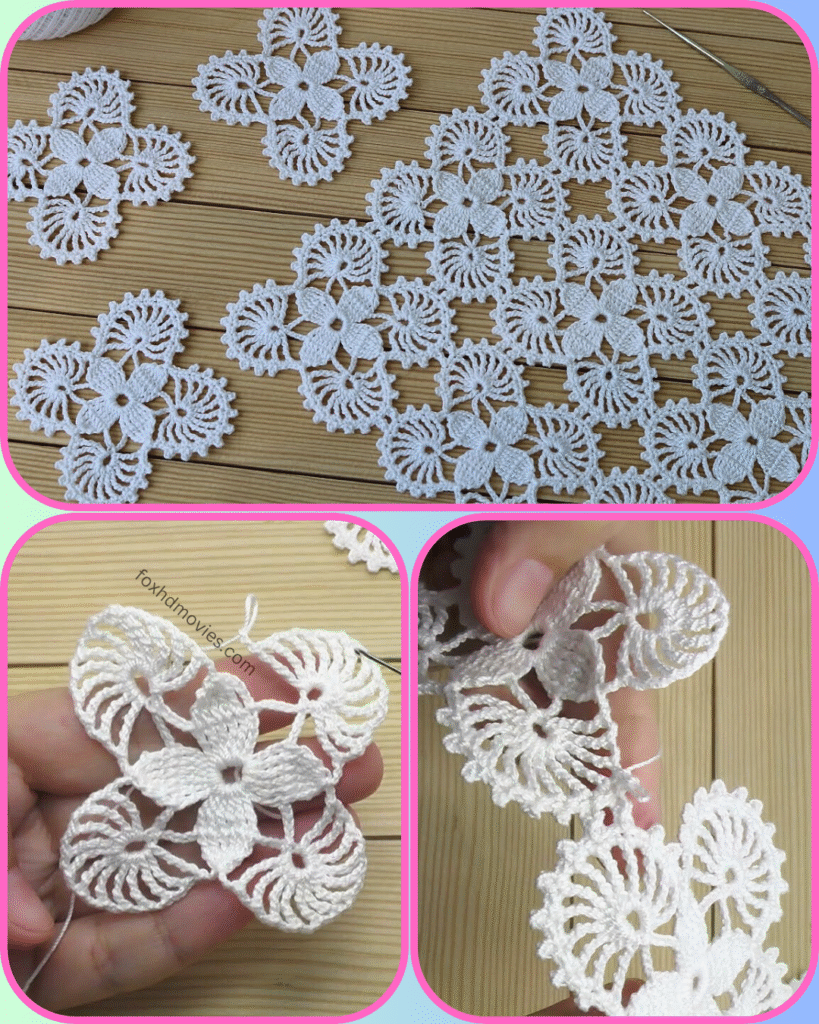
These lovely motifs are characterized by a central floral design, which then expands into a square shape with distinctive “fan” or “shell” elements on each side. They are then joined together to form a larger, cohesive piece.
Key features we’ll be aiming for:
- A central flower, likely formed by petals made with clusters or groups of stitches.
- Four “petals” or “points” extending from the center, which then form the basis of the square.
- “Fan” or “shell” stitch elements on the sides of the square, adding beautiful texture and openwork.
- Clear corner spaces for joining multiple motifs.
Getting Started: The Central Flower
The foundation of this motif is the charming central flower. We’ll begin from the middle and work our way outwards.

Instructions for the Central Flower:
- Magic Ring (or Chain 4, join with sl st to form a ring): This creates a neat, tight center for your flower.
- Round 1 (Flower Center): Chain 3 (counts as 1 dc), then work [number] double crochet stitches into the ring. Join with a slip stitch to the top of the initial Ch 3.
- Tip: This round could also be single crochets or another base for the petals. The image suggests a dense center.
- Round 2 (First Petal Layer): This round will likely form the initial petals of the flower. You’ll probably use chain spaces and groups of stitches (like dc clusters or puff stitches) to create these.
- Example Idea: Ch 1, [Work X dc in next stitch, Ch Y, skip Z stitches], repeat around. Join with sl st. Or perhaps (sc, ch 3, sc) into chain spaces for pointed petals.
- Round 3 & Beyond (Developing the Flower): Continue building out the floral design. You might be creating more layers of petals, or adding chain spaces that will later form the base for squaring off.
- Consider: How many distinct “petals” does the central flower have? It appears to have 8 points radiating from the center.

Squaring Off and Adding Fan Elements:
Once your central flower is complete, you’ll transition to creating the square shape and those lovely fan stitches.
- Next Round (Establishing Square Points): This round will likely involve forming the points of the “cross” shape that eventually becomes the square. You might use taller stitches (like treble crochet) and chain spaces to create these extensions.
- Example Idea: [Ch X, Work (tr, ch Y, tr) in next stitch/space, Ch X, skip Z stitches], repeat 4 times for the corners.
- Next Round (Introducing Fan/Shell Stitches): This is where you’ll start incorporating the distinctive fan or shell stitches along the sides of your square. These are typically groups of double crochets or treble crochets worked into a single stitch or chain space.
- Example Idea: In each of the large chain spaces created in the previous round, work [number] dc, then ch [number]. Or, multiple sets of (dc, ch 1, dc) to create the fan shape.
- Final Round(s) of the Motif: Complete the outer border of your motif, adding any final picots or decorative elements. Ensure your stitch count allows for easy joining to other motifs, likely through chain spaces or specific corner stitches.

Joining Your Motifs:
The beautiful fabric comes alive when you join these squares together. The image shows them seamlessly connected.
The most common and clean methods for joining these types of motifs are:
- Join-as-you-go (JAYG): This is highly recommended for lace motifs. As you work the final round of your second (and subsequent) motif, you’ll slip stitch or single crochet into the corresponding chains or stitches of the previously completed motif, creating a continuous fabric.
- Whip Stitch or Slip Stitch Joining: You can complete all your motifs first, and then use a tapestry needle and a length of yarn to whip stitch them together, or use your crochet hook to slip stitch them together. For this intricate design, JAYG will likely give the best result.
Finishing Touches:
- Weave in all ends: This is crucial for a neat and professional finish.
- Blocking: For lace crochet, blocking is absolutely essential. It opens up the stitches, evens out your work, and truly showcases the delicate design of the flower and the fan elements. Wet your motifs, gently squeeze out excess water, pin them to shape on a blocking mat or towel, and let them dry completely.
Video tutorial
Share Your Creations!
I can’t wait to see your own beautiful crocheted flower square motifs! Once you’ve made them, share them on social media and tag me! What will you create with yours – a stunning doily, a delicate blanket, or something else entirely?
Happy Crocheting!