 by
by 
Imagine a wardrobe staple that’s both handmade and effortlessly chic. Our “Easy Square Motif” is the secret! Once you master this simple square, you’ll be able to crochet your way to a charming top, a luxurious shawl, or a snuggly sweater. This pattern is perfect for crocheters looking to move beyond basic scarves and create something truly unique and wearable.
Skill Level: Easy
Materials:
- DK (Light Worsted) or Worsted weight yarn in your desired color(s). The amount will vary greatly depending on your chosen project and size (e.g., 800-1500 yards for a sweater, 400-800 yards for a blouse, 600-1000 yards for a shawl).
- Crochet hook size G/6 (4.0 mm) or H/8 (5.0 mm), or size needed to obtain gauge. (Choose based on your yarn weight and desired fabric drape).
- Yarn needle for weaving in ends and seaming.
- Scissors
- Stitch markers (optional, but highly recommended for joining and marking corners)
Gauge (Crucial for Sizing!):
It is essential to make a gauge swatch (one complete square motif) before starting your project. The size of your finished square will determine how many squares you need for your chosen garment.
- After Round 4 of the motif (using a G/6 hook and DK yarn), your square should measure approximately 5 inches x 5 inches.
- Adjust your hook size up or down to achieve this measurement. If your square is too small, use a larger hook. If it’s too big, use a smaller hook.
Abbreviations (US Crochet Terms):
- ch: chain
- sl st: slip stitch
- dc: double crochet
- sp: space
- st(s): stitch(es)
- beg: beginning
- rep: repeat
- YO: yarn over

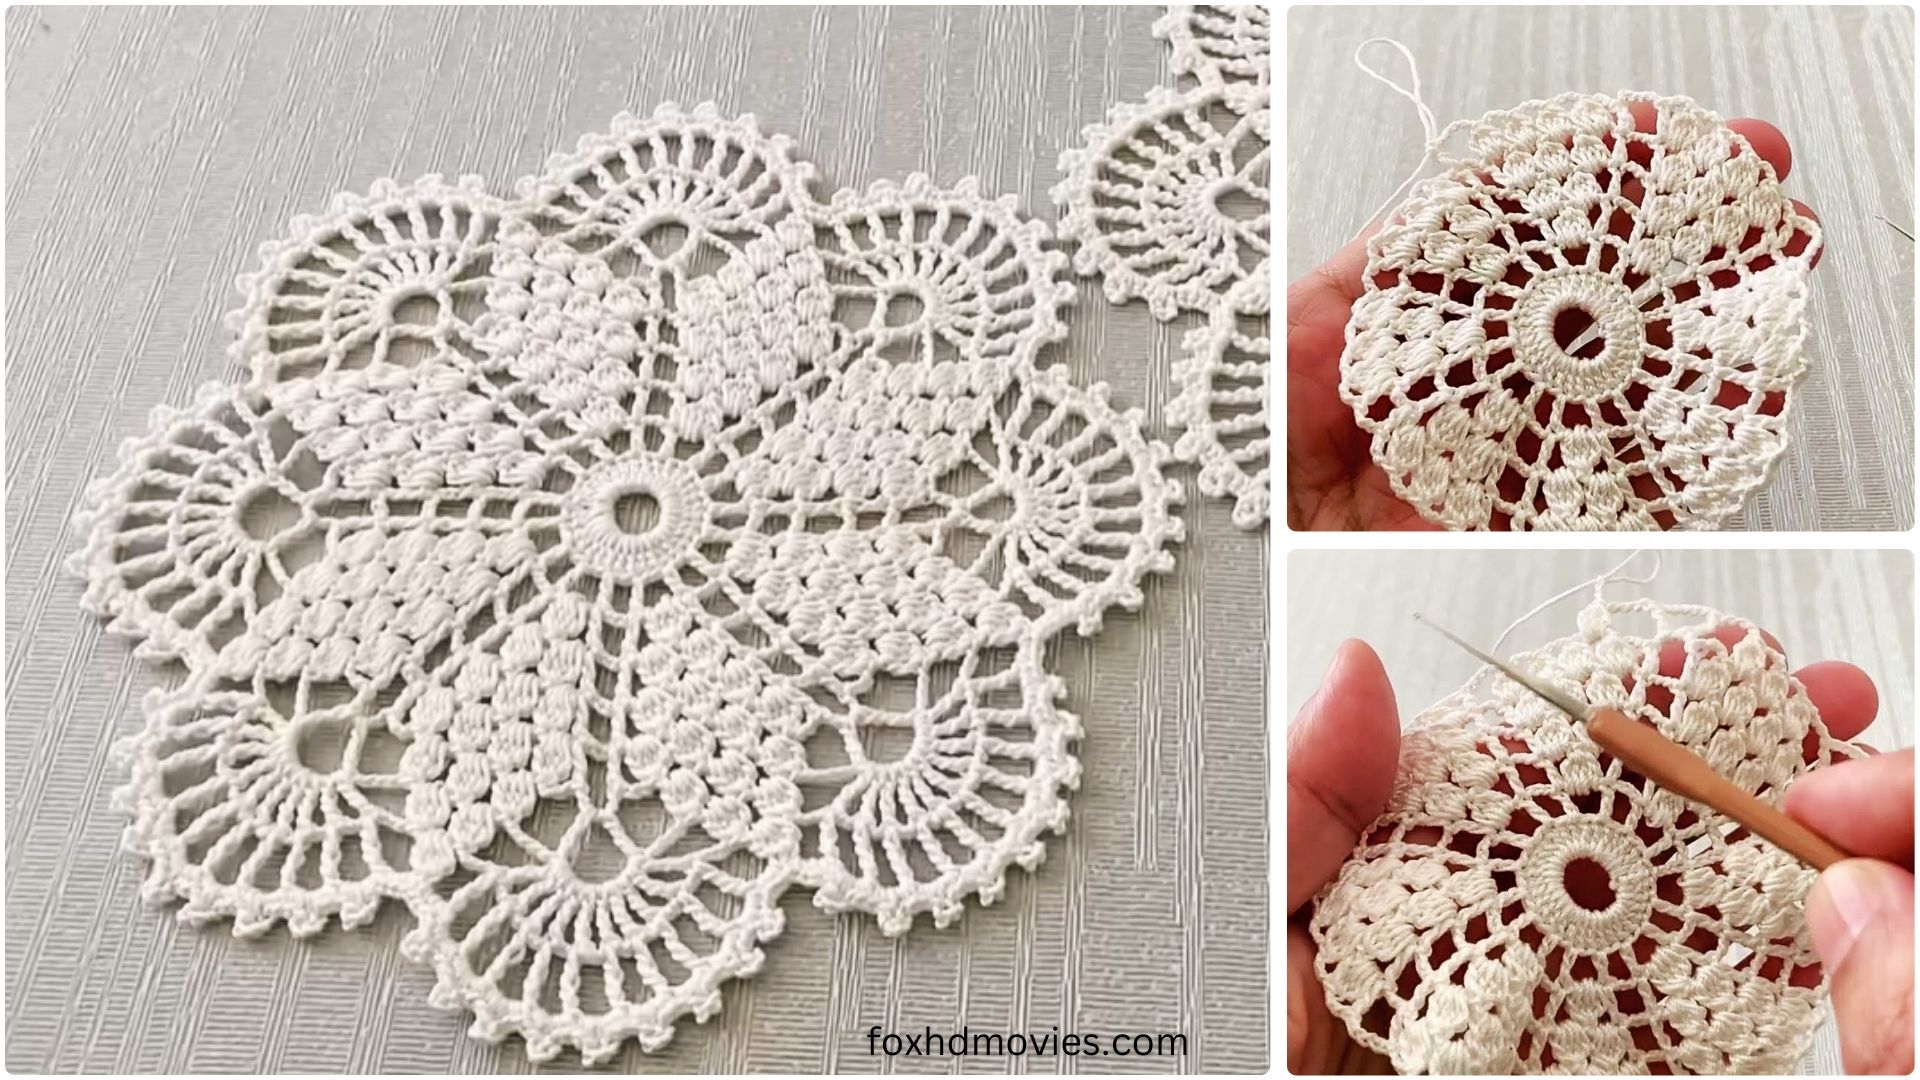
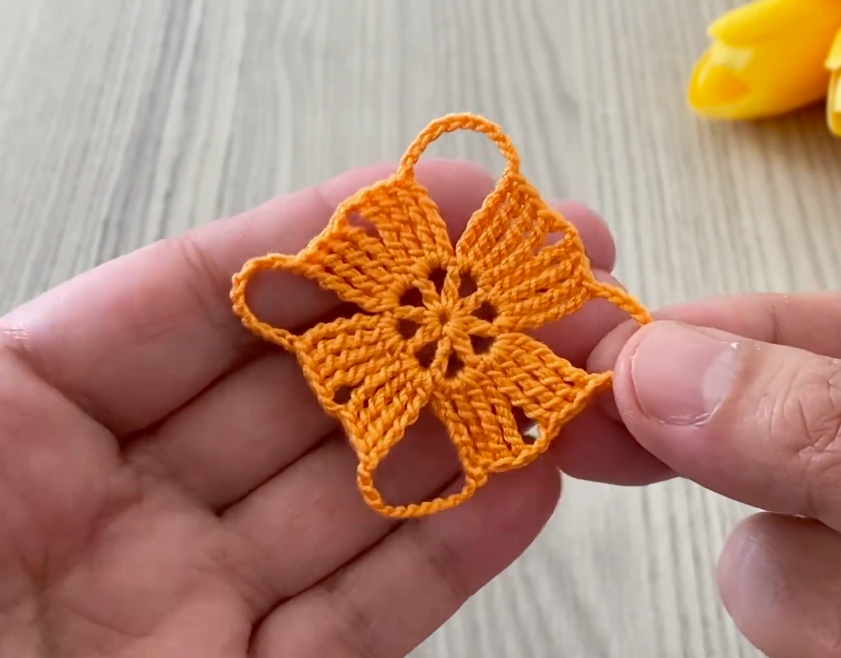
Part 1: The Easy Solid Square Motif (Make Many!)
This motif is a variation of the classic granny square, but worked solid for a less holey fabric, perfect for garments. Feel free to use one color throughout or change colors every round for a striped effect.
Round 1: Start with a magic ring (or ch 4 and sl st to first ch to form a ring). Ch 3 (counts as first dc), 2 dc in ring, ch 2, *3 dc in ring, ch 2*. Repeat from * to * 2 more times. 3 dc in ring, sl st to top of beg ch 3. You should have 4 sets of 3 dc stitches separated by 4 ch-2 spaces.
Round 2: Sl st into the next 2 dc and into the first ch-2 sp. Ch 3 (counts as first dc), (2 dc, ch 2, 3 dc) in the same ch-2 sp (this is your first corner). *Dc in each of the next 3 dc. (3 dc, ch 2, 3 dc) in the next ch-2 sp (corner).* Repeat from * to * 2 more times. Dc in each of the last 3 dc. Sl st to the top of the beg ch 3. You should now have 4 larger corners and 3 dc stitches along each side.
Round 3: Sl st into the next 2 dc and into the first ch-2 sp. Ch 3 (counts as first dc), (2 dc, ch 2, 3 dc) in the same ch-2 sp (corner). *Dc in each dc across to the next corner ch-2 sp. (3 dc, ch 2, 3 dc) in the next ch-2 sp (corner).* Repeat from * to * 2 more times. Dc in each dc across to the end. Sl st to the top of the beg ch 3.
Round 4 (and subsequent rounds if desired for a larger square): Repeat Round 3. Your square should now be approximately 5 inches x 5 inches. If you want a larger square, simply repeat Round 3 one or more times.
Fasten off and weave in ends for each completed square.
Part 2: Planning Your Project – How Many Squares Do You Need?
This is where your gauge swatch (finished square) comes in handy!
- Measure Yourself: Take measurements of your bust/chest circumference, desired length, and sleeve length if making a top or sweater.
- Calculate Squares per Inch: If your square is 5 inches, then 1 square = 5 inches.
- Layout Blueprint: Draw a simple grid on paper. Each square on your grid represents one crocheted motif.
General Guidelines (Adjust based on your measurements and square size):
- Shawl:
- A simple rectangular shawl typically measures around 18-24 inches wide by 60-72 inches long.
- If your square is 5 inches, you might need a width of 4-5 squares (20-25 inches) and a length of 12-14 squares (60-70 inches).
- Total Squares: 4-5 (width) x 12-14 (length) = 48-70 squares.
- Blouse (Front & Back Panels):
- Sizing is highly individual! Measure your bust/chest circumference. Divide by 2 for the front/back panel width.
- Example for a ~40-inch bust: Each panel needs to be about 20 inches wide. With 5-inch squares, that’s 4 squares across.
- Length: Decide how long you want your blouse. For a 20-inch long blouse, that’s 4 squares in length.
- Total Squares (Front & Back): (4 squares wide x 4 squares long) x 2 panels = 32 squares.
- Sleeves: Depending on desired sleeve length and width, you might need 2-3 squares wide by 2-3 squares long for each sleeve. (e.g., 2 sleeves x 2 wide x 3 long = 12 squares).
- Total Blouse Squares (Estimate): 32 (body) + 12 (sleeves) = ~44 squares.
- Sweater (Similar to Blouse, but typically longer and possibly wider sleeves):
- Follow the same measuring and calculation method as the blouse. You’ll likely need more squares for added length and potentially wider, longer sleeves.

Pro-Tip: Arrange your physical squares on the floor or a large table according to your blueprint. This helps visualize the final garment and ensures you have enough squares before joining.
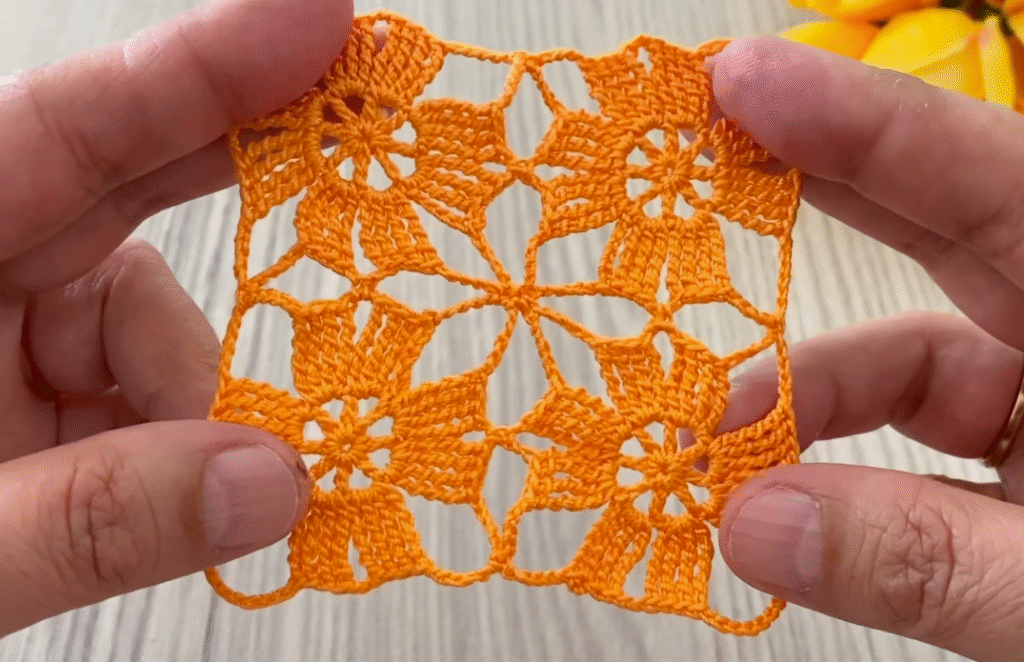
Part 3: Joining Your Motifs (The Magic Happens!)
There are several ways to join crochet squares. Choose the method you find easiest and that gives the desired look.
- Whip Stitch (Invisible Seam):
- Place two squares right sides together, aligning the stitches.
- Using your yarn needle, insert the needle under both loops of the first stitch on both squares.
- Whip stitch across, picking up both loops of each corresponding stitch. This creates a neat, almost invisible seam.
- Slip Stitch Join (Flat Seam):
- Place two squares right sides together, aligning the stitches.
- Insert your hook into the first stitch of both squares, YO, pull through all loops on hook (sl st).
- Continue working sl sts into corresponding stitches across the edge. This creates a very flat seam.
- Single Crochet Join (Raised Seam):
- Place two squares wrong sides together (or right sides if you want the seam to be visible on the outside).
- Join yarn with a sl st to the corner, ch 1.
- Work sc through both loops of corresponding stitches across the edge. This creates a sturdy, slightly raised seam that can add a design element.
- Join-As-You-Go (JAYG) (Advanced, but time-saving):
- This method involves joining squares while you crochet the final round of the new square. It avoids a lot of post-crochet seaming.
- Essentially, on the last round of your new square, when you reach a corner or a side that needs to be joined to an existing square, you replace a ‘ch 1’ or ‘ch 2’ with a slip stitch into the corresponding space/stitch of the existing square. This is a bit more complex for beginners but worth looking up a tutorial for larger projects.

Construction Sequence:
- Body Panels: Join your front panel squares together according to your blueprint. Do the same for the back panel.
- Shoulders: Place front and back panels right sides together. Join along the top shoulder seams using your chosen method. Leave a gap in the center for the neck opening.
- Side Seams: Join the side seams of the front and back panels, leaving spaces for armholes.
- Sleeves (if applicable): Join your sleeve squares to form tubes. Attach the sleeve tubes to the armholes.
Part 4: Finishing Touches & Edging
Once your squares are joined and your garment is assembled, adding a final border will give it a polished, professional look.
- Neckline:
- Join yarn to the back of the neckline.
- Simple Sc/Hdc Border: Ch 1, work sc or hdc evenly around the neckline. Sl st to join. Repeat for 1-3 rounds for a neat edge.
- Ribbed Neckline: Work a few rounds of front post/back post double crochet (FPDC/BPDC) or half double crochet (FPHDC/BPHDC) around the neckline for a stretchy, ribbed finish.
- Armholes/Cuffs (Blouse/Sweater):
- Work 1-3 rounds of sc, hdc, or ribbed stitches around the armholes/cuffs.
- Hemline:
- Work 1-3 rounds of sc, hdc, or ribbed stitches around the bottom hem of the blouse/sweater or the entire perimeter of the shawl. A simple shell stitch border can also add a lovely decorative touch to a shawl.
Final Touches:
- Weave in any remaining loose ends meticulously. Nothing detracts from a beautiful handmade item like stray yarn tails.
- Blocking: For best results, especially with garments, block your finished piece. This relaxes the stitches, evens out tension, and helps the garment lay beautifully. Gently wet the item, shape it to your desired dimensions, and let it air dry flat.