by
by 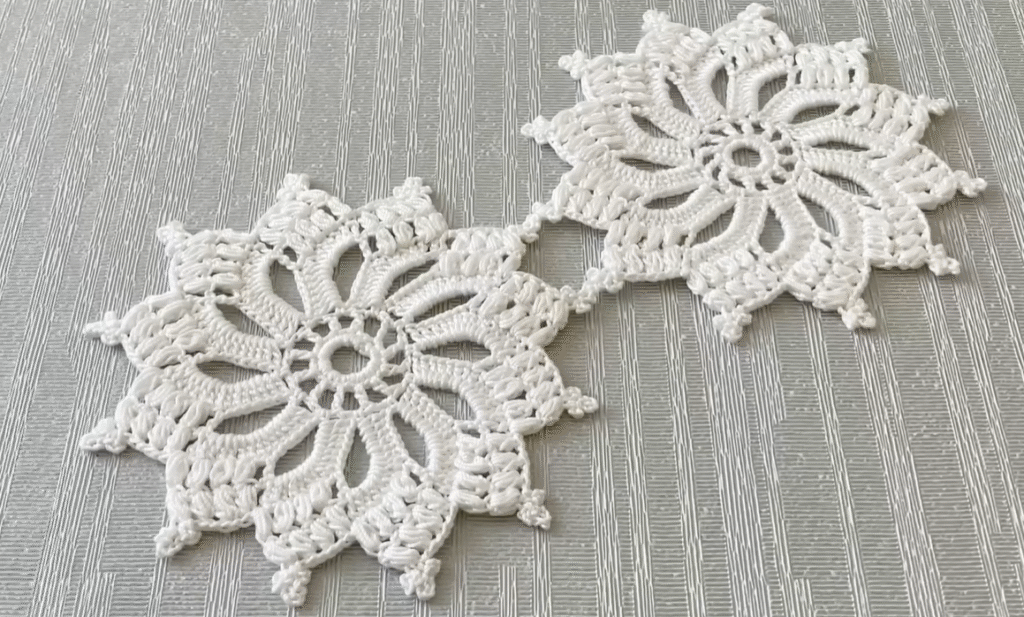
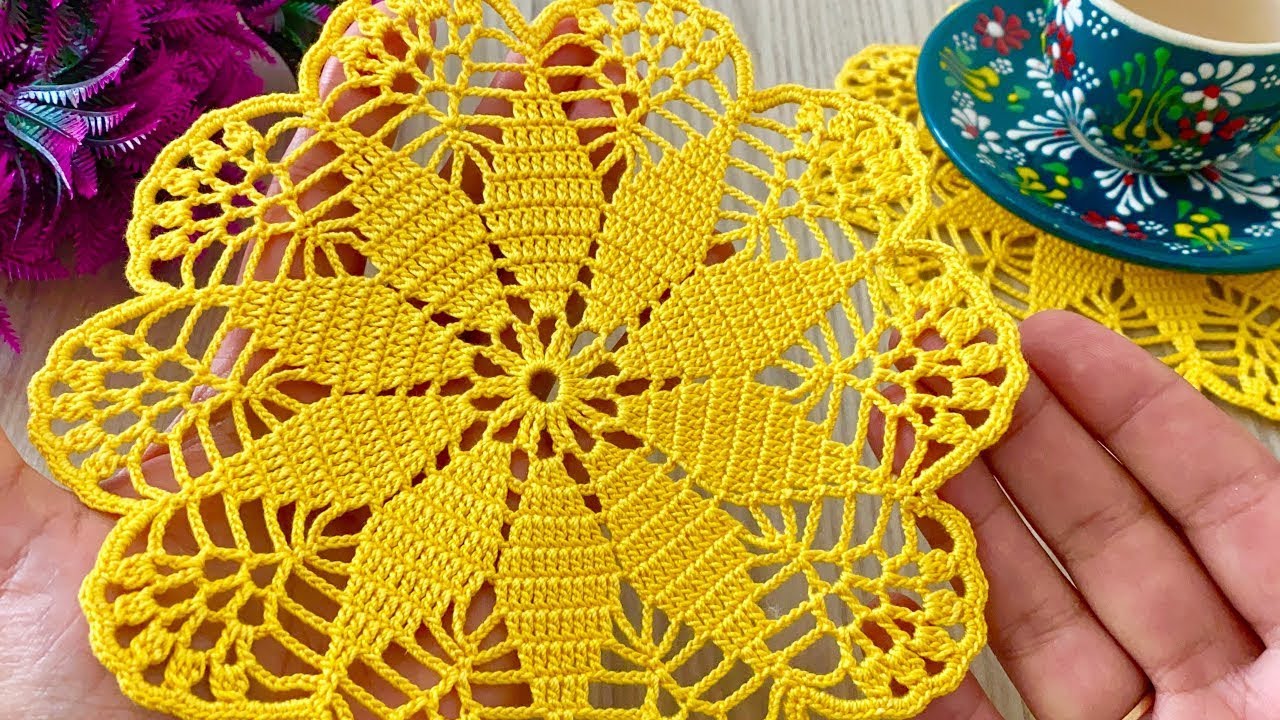
Imagine your dining table adorned with a stunning, handmade crochet tablecloth. Each delicate motif, meticulously crafted by your hands, comes together to form a piece of art that will be cherished for years. This pattern is designed to be a beautiful and achievable motif, perfect for creating a classic, elegant tablecloth. It’s intricate enough to be eye-catching but uses familiar stitches to ensure a smooth crocheting experience.
Skill Level: Intermediate (Confident Beginner can attempt with attention to detail)
Materials:
- Crochet Thread (Size 10): This is the most common size for tablecloths, giving a delicate, lacy finish. You’ll need a significant amount depending on your desired tablecloth size (e.g., 500-1000 yards for a medium-sized tablecloth).
- Steel Crochet Hook (Size 7 or 8 – 1.5mm or 1.6mm): Or the size recommended for your chosen thread, or size needed to obtain gauge. A smaller hook creates a denser, more defined fabric.
- Yarn needle for weaving in ends
- Scissors
- Stitch markers (optional, but helpful for rounds)
Gauge:
To ensure your motifs are consistent and your tablecloth lays flat, gauge is important. After completing Round 5, your motif should measure approximately 2.5 inches in diameter. Adjust your hook size if necessary to meet this gauge. A slight variation is okay, but significant differences will affect your final tablecloth size and drape.
Abbreviations (US Crochet Terms):
- ch: chain
- sl st: slip stitch
- sc: single crochet
- hdc: half double crochet
- dc: double crochet
- tr: treble crochet (yarn over twice, insert hook, YO and pull up loop, [YO and draw through 2 loops] 3 times)
- dtr: double treble crochet (yarn over three times, insert hook, YO and pull up loop, [YO and draw through 2 loops] 4 times)
- picot: ch 3, sl st in 3rd ch from hook
- sp: space
- st(s): stitch(es)
- beg: beginning
- rep: repeat
- sk: skip
- FO: Fasten off
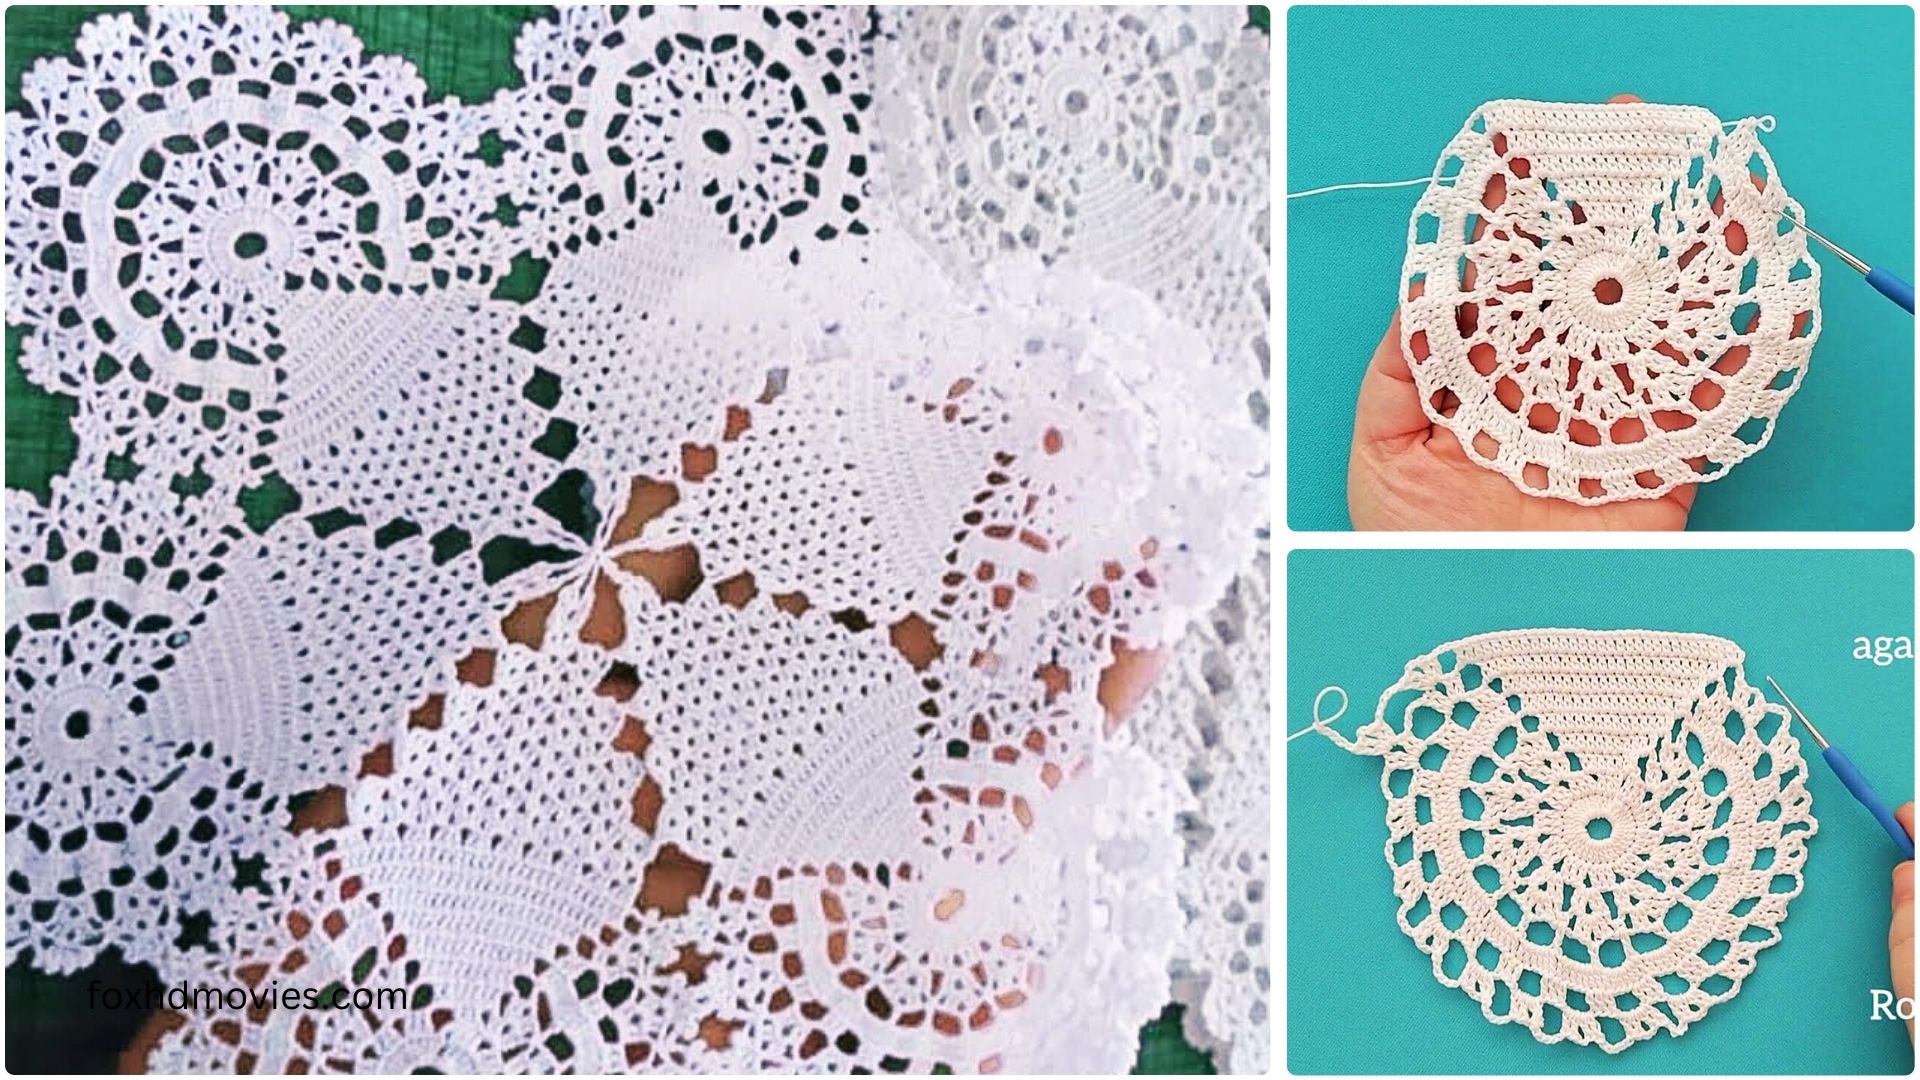
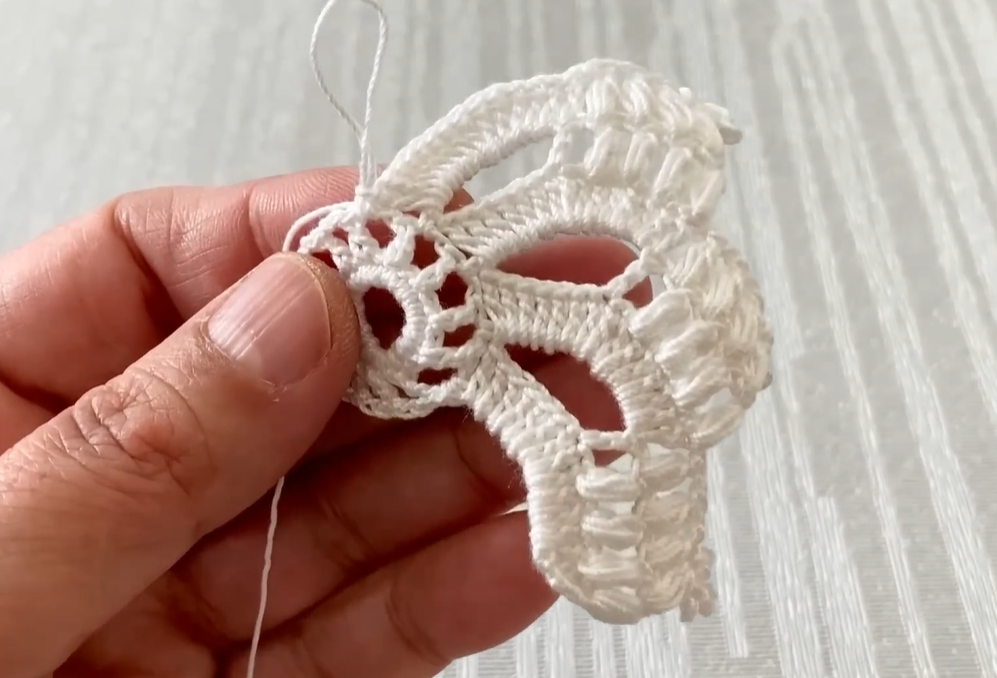
Let’s Begin Crocheting Your Elegant Motif!
This motif will build outwards from a central point, creating a lovely lacy pattern.

Starting the Motif:
Round 1: Ch 6, sl st to join in first ch to form a ring. Ch 3 (counts as first dc), 15 dc in ring. Sl st to top of beg ch-3 to join. (16 dc)
Round 2: Ch 5 (counts as 1 dc, ch 2 sp), sk next dc, *dc in next dc, ch 2, sk next dc*. Rep from * to * 6 more times. Sl st to 3rd ch of beg ch-5 to join. (8 dc, 8 ch-2 sps)
Round 3: Ch 1, sc in same st. *5 dc in next ch-2 sp, sc in next dc*. Rep from * to * 7 more times. Sl st to first sc to join. (8 sc, 8 dc-shells of 5 dc)
Round 4: Ch 1, sc in same sc. *Ch 3, sk next 2 dc, dc in next dc (the center of the 5-dc shell), ch 3, sk next 2 dc, sc in next sc*. Rep from * to * 7 more times. Sl st to first sc to join. (8 sc, 8 dc, 16 ch-3 sps)
Round 5: Ch 3 (counts as first dc), 2 dc in same sc. *Ch 1, (3 dc, ch 1, 3 dc) in next dc (this forms your corner), ch 1, sk next ch-3 sp, 3 dc in next sc*. Rep from * to * 3 more times, omitting the last 3 dc in the last rep. Sl st to top of beg ch-3 to join. You should now have a square-ish shape taking form.

Round 6: Ch 1, sc in same st. *Ch 3, sc in next ch-1 sp, ch 3, sc in next ch-1 sp. Ch 3, (sc, ch 3, sc) in corner ch-1 sp. Ch 3, sc in next ch-1 sp, ch 3, sc in next ch-1 sp*. Rep from * to * 3 more times, omitting the last sc on the last rep. Sl st to first sc to join. This round creates a lacy border and prepares for the final round.
Round 7: The Decorative Edge & Joining Points
This is the final round for your motif, and it’s where you’ll create the beautiful picot edge and the joining points for connecting multiple motifs.
Ch 1, sc in same st. *[Ch 3, sc in next ch-3 sp] twice. Join point: (Ch 3, sc in corner ch-3 sp, picot, ch 3, sc in same corner ch-3 sp). [Ch 3, sc in next ch-3 sp] twice. Sc in next sc*. Rep from * to * 3 more times, omitting the last sc on the last rep. Sl st to first sc to join.
Fasten off, leaving a tail for weaving in. Weave in all loose ends securely.
Congratulations! You’ve completed your first Tablecloth Motif!
Creating Your Tablecloth:
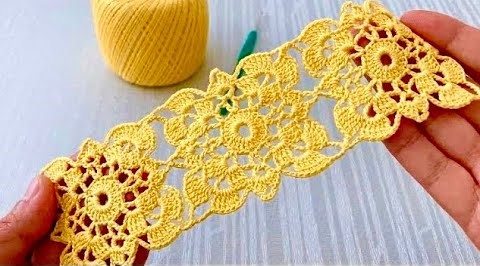
To make a tablecloth, you’ll need to create many of these motifs and then join them together.

Joining Methods:
There are several ways to join crochet motifs, each creating a slightly different look:
- Whip Stitch: A simple and common method. Place two motifs together with wrong sides facing, and using your yarn needle and a new piece of thread, whip stitch through the corresponding loops of both motifs. This creates a neat, almost invisible seam.
- Slip Stitch Join: A flat and strong join. Place two motifs together with wrong sides facing. Insert your hook through corresponding stitches on both motifs, yarn over, and pull through all loops on your hook. This creates a raised “ridge” seam.
- Join-As-You-Go (JAYG): This is often the preferred method for large projects like tablecloths, as it saves a lot of seaming at the end. Instead of completing Round 7 entirely on all motifs, you’ll join them as you crochet the last round of each new motif.
- How to JAYG (Simplified for this motif): When you reach a “join point” (the corner picot) on a new motif, instead of making the picot simply, you will:
ch 1, sl st into the picot of the corresponding corner on the already completed motif, ch 1, sc in the corner ch-3 sp of your working motif.This replaces one side of the picot and connects the motifs. You might also join directly into the ch-3 spaces on the sides by replacing one of your ch 3s with a sl st into the corresponding ch-3 sp on the adjacent motif. Experiment to see what looks best for this specific motif.
- How to JAYG (Simplified for this motif): When you reach a “join point” (the corner picot) on a new motif, instead of making the picot simply, you will:
Video Tutorial
Tips for a Perfect Tablecloth:
- Blocking: This is CRUCIAL for crochet tablecloths! Once all your motifs are joined, wet the entire tablecloth and gently stretch it into shape, pinning it to a blocking mat or foam board. Let it dry completely. This will open up your stitches, make the lace work even, and give your tablecloth a professional, polished finish.
- Thread Choice: While Size 10 is standard, you can go finer (e.g., Size 20 or 30) for an even more delicate look, or slightly thicker (e.g., Size 3) for a less fragile piece.
- Practice: Make a few motifs first to get comfortable with the pattern and ensure your tension is consistent before embarking on the entire tablecloth.
- Layout: Before joining, lay out all your finished motifs on the table you intend to cover to plan your arrangement and ensure you have enough.
- Care: Hand wash or gentle machine wash your finished tablecloth with a mild detergent, then block it again to maintain its shape.
This motif, when repeated and joined, will create a stunning and timeless piece for your home. Embrace the meditative rhythm of crochet, and enjoy watching your beautiful tablecloth come to life, one exquisite motif at a time! Happy crocheting!