 by
by 
Crochet motifs are incredibly versatile building blocks. They allow for endless color combinations, customizable sizes, and a unique, handcrafted aesthetic. Whether you’re a seasoned crocheter or just starting out, mastering a simple square opens up a world of creative possibilities!
Skill Level for Motif: Easy Skill Level for Projects: Easy to Intermediate (depending on complexity of shaping)
General Materials:
- Yarn: DK (light worsted) or Worsted weight yarn.
- For Blouse/Shawl: Choose a soft, draping yarn (e.g., cotton blend, merino wool).
- For Runner/Pillow: A more durable yarn works well (e.g., acrylic, cotton).
- Always check your yarn label for recommended hook size and fiber content.
- Crochet Hook: Size G/6 (4.0 mm) or H/8 (5.0 mm), or size needed to obtain gauge.
- Yarn Needle: For weaving in ends and seaming.
- Scissors
- Stitch Markers: Very helpful for marking corners and joins.
- Blocking Mats & Pins (Highly Recommended): For shaping and evening out your motifs.
Gauge for Motif (using a 4.0mm hook with DK yarn): After Round 4, your square should measure approximately 3.5 – 4 inches. Gauge is crucial when making multiple motifs for a project to ensure they all fit together correctly. Adjust your hook size if needed to match gauge.
Abbreviations (US Crochet Terms):
- ch: chain
- sl st: slip stitch
- sc: single crochet
- hdc: half double crochet
- dc: double crochet
- sp: space
- st(s): stitch(es)
- beg: beginning
- rep: repeat
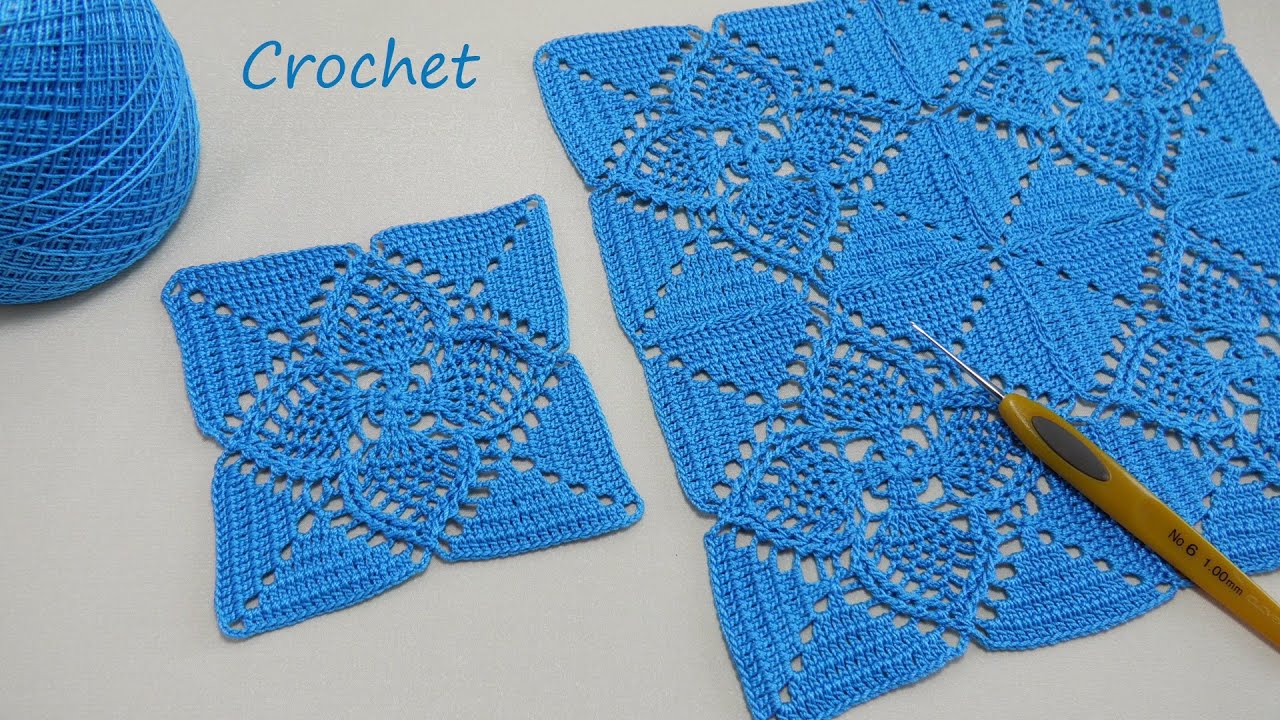
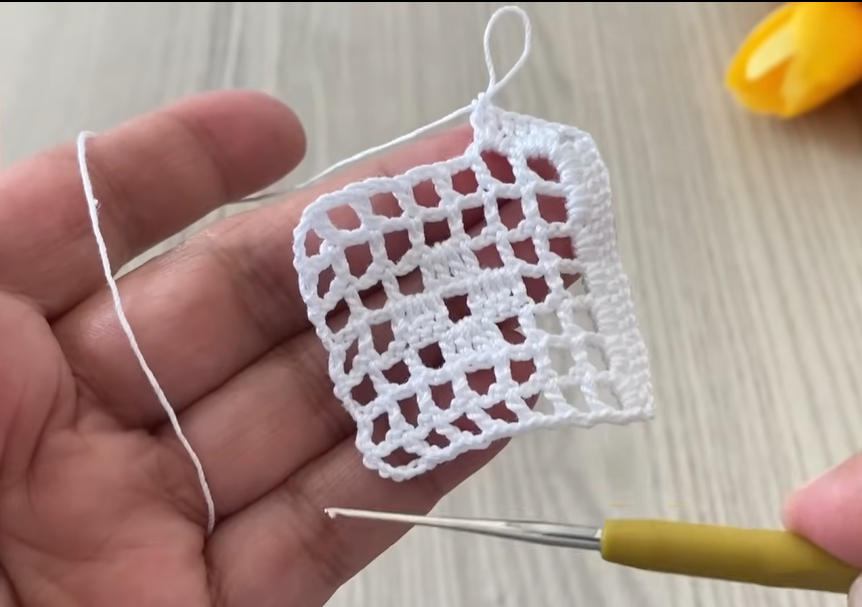
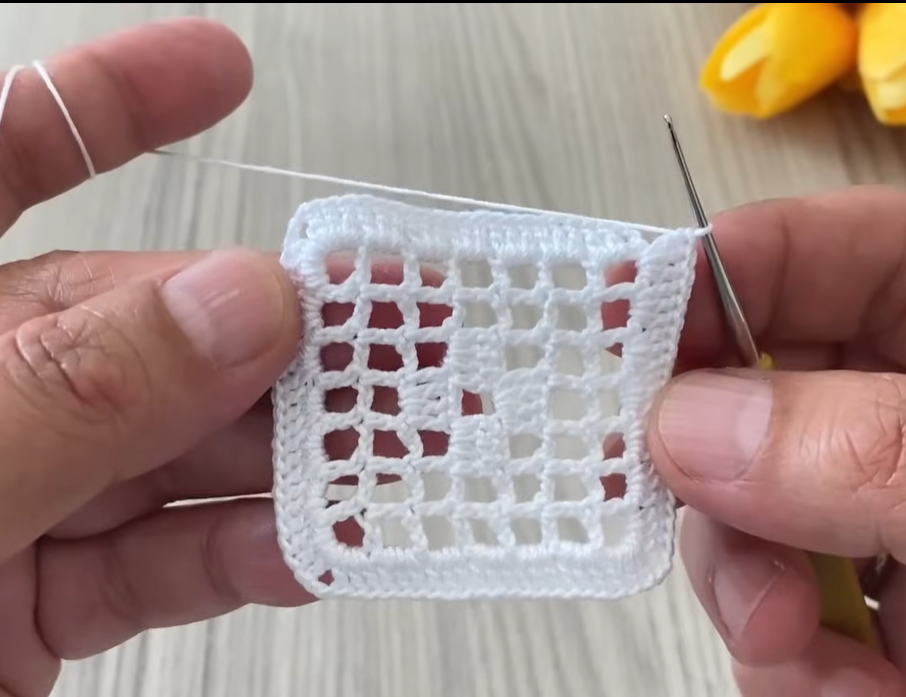
The Foundation: Your Versatile Solid Granny Square Motif
We’ll use a classic solid granny square that creates a sturdy and versatile fabric. Feel free to use a single color for each square, or change colors for each round as desired!
Motif Pattern (Make as many as needed for your chosen project):
Round 1: Ch 4, sl st to join into a ring. (Alternatively, use a magic ring). Ch 3 (counts as first dc), 2 dc in the ring, ch 2, *3 dc in the ring, ch 2; rep from * twice more. Sl st to the top of the beg ch-3. (4 clusters of 3 dc, 4 ch-2 spaces)
Round 2: Sl st into the next 2 dc and into the first ch-2 sp. Ch 3 (counts as first dc), (2 dc, ch 2, 3 dc) in the same ch-2 sp (this creates your first corner). *Ch 1, (3 dc, ch 2, 3 dc) in the next ch-2 sp (corner made); rep from * twice more. Ch 1. Sl st to the top of the beg ch-3.
Round 3: Sl st into the next 2 dc and into the first ch-2 sp. Ch 3 (counts as first dc), (2 dc, ch 2, 3 dc) in the same ch-2 sp (first corner). *Ch 1, 3 dc in the next ch-1 sp, ch 1, (3 dc, ch 2, 3 dc) in the next ch-2 sp (corner made); rep from * twice more. Ch 1, 3 dc in the last ch-1 sp, ch 1. Sl st to the top of the beg ch-3.
Round 4: Sl st into the next 2 dc and into the first ch-2 sp. Ch 3 (counts as first dc), (2 dc, ch 2, 3 dc) in the same ch-2 sp (first corner). *Ch 1, 3 dc in each ch-1 sp across to the next corner, ch 1, (3 dc, ch 2, 3 dc) in the next ch-2 sp (corner made); rep from * twice more. Ch 1, 3 dc in each ch-1 sp across to the last corner, ch 1. Sl st to the top of the beg ch-3.
Fasten off and weave in all ends. Repeat this motif until you have the required number of squares for your project.
Project 1: The Elegant Motif Table Runner
A crochet table runner adds a touch of handmade elegance to any table setting. This is a straightforward project for beginners.
Skill Level: Easy Layout: A single row of squares joined end-to-end. Approximate Size:
- For a runner 12-16 inches wide, use squares that are 3-4 inches. You’ll need 3-4 squares for the width.
- For a runner 48-60 inches long, you’ll need 12-15 squares in length (assuming 4-inch squares).
- Example (4″ squares): A runner 12″ x 48″ would be 3 squares wide by 12 squares long (36 squares total). Adjust based on your table size.
Assembly:
- Plan your layout: Arrange your finished squares on a flat surface to visualize the pattern and determine the final dimensions.
- Joining Method (Choose one):
- Whip Stitch (Invisible Join): Place two squares with wrong sides together. Using a yarn needle and a matching yarn, stitch through the outer loops of both squares. This creates a nearly invisible seam.
- Slip Stitch Join (Flat Join): Place two squares with wrong sides together. Using your hook, sl st through both loops of the corresponding stitches on both squares. This creates a flat, durable seam.
- Single Crochet Join (Raised Seam): Place two squares with wrong sides together. Using your hook, sc through both loops of the corresponding stitches on both squares. This creates a more pronounced, decorative seam.
- Join-As-You-Go (JAYG): If you’re confident, you can join the squares as you crochet the final round. This eliminates significant seaming at the end. (Look up specific JAYG tutorials if new to this method).
- Join Rows First: It’s often easiest to join all squares in one row first, then join the rows together.
- Weave in ends: After joining, weave in any remaining loose ends.
Finishing (Optional Border): Once all squares are joined, add a simple border for a polished look.
- Join yarn to any corner ch-2 sp.
- Round 1: Ch 1, sc evenly around the entire runner, working (sc, ch 1, sc) in each corner sp. Sl st to first sc.
- Round 2 (Optional): Ch 1, sc in each sc around, working (sc, ch 1, sc) in each corner ch-1 sp. Sl st to first sc.
- Fasten off and weave in ends. Block if desired for crisp edges.
Project 2: The Chic Motif Blouse
Creating a garment from motifs allows for a custom fit and unique design. This pattern provides a basic structure; feel free to adapt!
Skill Level: Intermediate (due to shaping and fit) Approximate Size: One Size (Small/Medium, easily adjustable by adding/removing squares)
- For a S/M, assume 3.5-4″ squares.
- Front Panel: 4 squares wide x 4-5 squares tall
- Back Panel: 4 squares wide x 4-5 squares tall
- Sleeves: 2 squares wide x 2-3 squares tall (or desired length)
Layout (Example for S/M):
- Front: Arrange 4×4 squares (16 squares total).
- Back: Arrange 4×4 squares (16 squares total).
- Sleeves (x2): Arrange 2×2 squares (4 squares per sleeve, 8 total).
- Total Squares (approx): 16 (Front) + 16 (Back) + 8 (Sleeves) = 40 squares.
Assembly:
- Block all motifs: This is critical for garment making to ensure they are uniform in size and will fit together correctly.
- Join Front & Back Panels: Join squares for the front and back panels separately using a flat join (slip stitch or whip stitch) for a smooth finish.
- Shoulder Seams:
- Place front and back panels together, right sides facing.
- Join across the top (shoulder) edges, leaving an opening for the neckline. For a scoop neck, you might join the outermost 1-2 squares on each side, leaving the center for the neck.
- Side Seams:
- Join the side edges of the front and back panels, leaving openings for armholes. The armhole opening will depend on your sleeve width – typically 2-3 squares high from the shoulder.
- Sleeves:
- Join squares for each sleeve panel.
- Join the long edges of each sleeve panel to form a tube.
- Attach the sleeve tubes into the armholes, centering the sleeve seam at the bottom of the armhole.
- Weave in all ends.

Shaping (Optional):
- Neckline: For a deeper neckline, strategically omit squares from the top center of the front panel, or add a few rows of sc/hdc around the edge to smooth it out.
- Armholes: Adjust the number of squares used for the armhole opening.
- Waist: For a more fitted look, you could slightly decrease the width of the squares towards the bottom, or add rows of hdc/sc with decreases.
Finishing (Optional Edging): Add a simple border around the neckline, armholes, and bottom hem for a clean finish. A round or two of single crochet works well.
Project 3: The Cozy Motif Shawl
A motif shawl is a beautiful way to showcase your chosen colors and a lovely accessory for any season.
Skill Level: Easy Layout: A large rectangle is the simplest. Approximate Size:
- A comfortable shawl might be 18-24 inches wide by 60-72 inches long.
- Example (4″ squares): A 20″ x 64″ shawl would be 5 squares wide x 16 squares long (80 squares total). Adjust to your preference.
Assembly:
- Plan your layout: Arrange your squares into the desired rectangular shape.
- Joining Method: Use any preferred joining method (whip stitch, sl st, or sc join). The choice will affect the drape and appearance of the seams.
- Join all squares: Work row by row, then join the rows.
- Weave in all ends.
Finishing (Essential Border): A beautiful border elevates a shawl from a simple rectangle to a finished piece.
- Join yarn to any corner ch-2 sp.
- Round 1: Ch 1, sc evenly around the entire shawl, working (sc, ch 1, sc) in each corner sp. Sl st to first sc.
- Round 2: Ch 3 (counts as first dc), dc in each sc around. In each corner ch-1 sp, work (dc, ch 2, dc). Sl st to top of beg ch-3.
- Round 3 (Shell Stitch Border): Ch 1, sc in first st. *Skip 2 sts, (5 dc) in next st (shell made), skip 2 sts, sc in next st.* Repeat from * to * around the entire edge. When you reach a corner, work a shell directly into the corner ch-2 sp. Adjust skips as needed to keep the pattern even. Sl st to first sc.
- Fasten off and weave in ends. Block the shawl to open up the stitches and achieve nice drape.

Project 4: The Stylish Motif Pillow
A motif pillow is a quick and charming way to add a personalized touch to your home decor.
Skill Level: Easy Layout: Two large panels made from joined squares. Approximate Size:
- Depends on your pillow insert. For a 16″ x 16″ pillow, you would need 4×4 squares per panel (16 squares total per panel, 32 squares total).
- Example (4″ squares): For a 16″ x 16″ pillow, make two panels, each consisting of 4 squares wide by 4 squares tall.
Assembly:
- Join Squares for Panels: Join the squares for each panel (front and back) using your preferred joining method. A whip stitch or slip stitch join provides a neat look.
- Weave in all ends on both panels.
- Join Panels Together:
- Place the two finished panels together with right sides facing each other.
- Using your yarn needle or hook, join three sides of the pillow using whip stitch, slip stitch, or single crochet.
- Leave one side open for inserting the pillow form.
- Insert Pillow Form: Turn the pillow cover right side out and insert your pillow form.
- Close Opening: Stitch the remaining open side closed using whip stitch or mattress stitch for an invisible seam.
Finishing (Optional Edging or Fastening):
- Simple Seam: If you just want a stitched-in pillow.
- Button Closure: Before joining the last side, add a button band to one or both panels. This involves crocheting a few rows along the edge with buttonholes on one side and buttons sewn to the other.
- Zipper: For a more professional look, sew a zipper along one edge before joining the panels.
- Border: You can add a border to each panel before joining them, or add a single border around the entire pillow after inserting the form (if you’re using a permanent closure).
Video Tutorial
General Tips for Motif Projects:
- Blocking is Your Best Friend: For multi-motif projects, especially garments, blocking each square to uniform dimensions before joining is highly recommended. It makes joining much easier and gives your finished project a professional, polished look.
- Consistent Tension: Try to maintain an even tension throughout your work. Inconsistent tension can lead to uneven squares, making joining difficult.
- Weave Ends As You Go: Nothing is worse than having hundreds of ends to weave in at the very end. Weave in ends after completing each square, or at least after joining sections.
- Test Swatch: Always make a test square to check your gauge and ensure you’re happy with the size and fabric before committing to the full project.
- Mix and Match: Don’t be afraid to experiment with different colors for each square, or different joining techniques to see what effect you prefer.
With these detailed instructions, you’re now equipped to create a stunning collection of crochet items using the versatile solid granny square motif. Happy hooking!