by
by 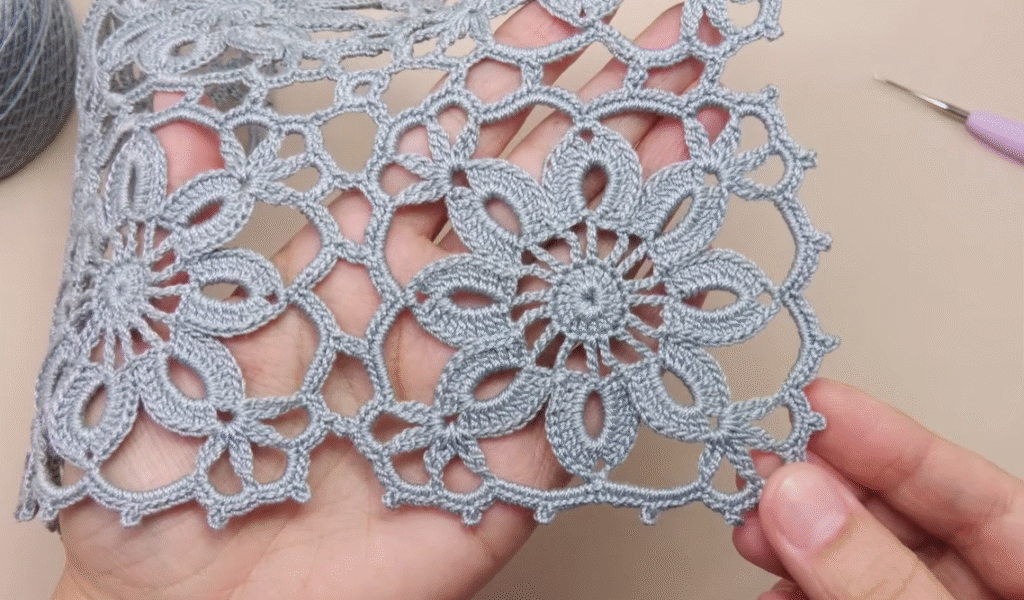
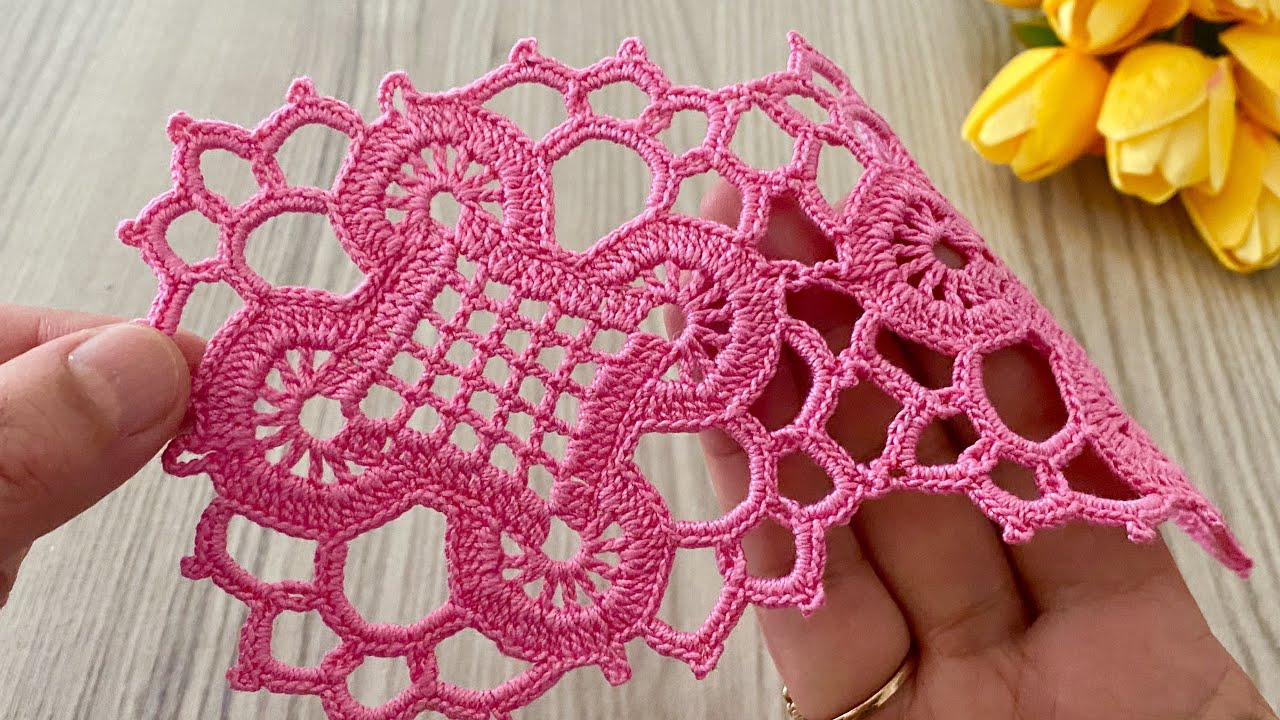
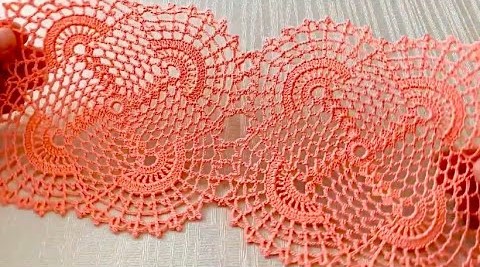
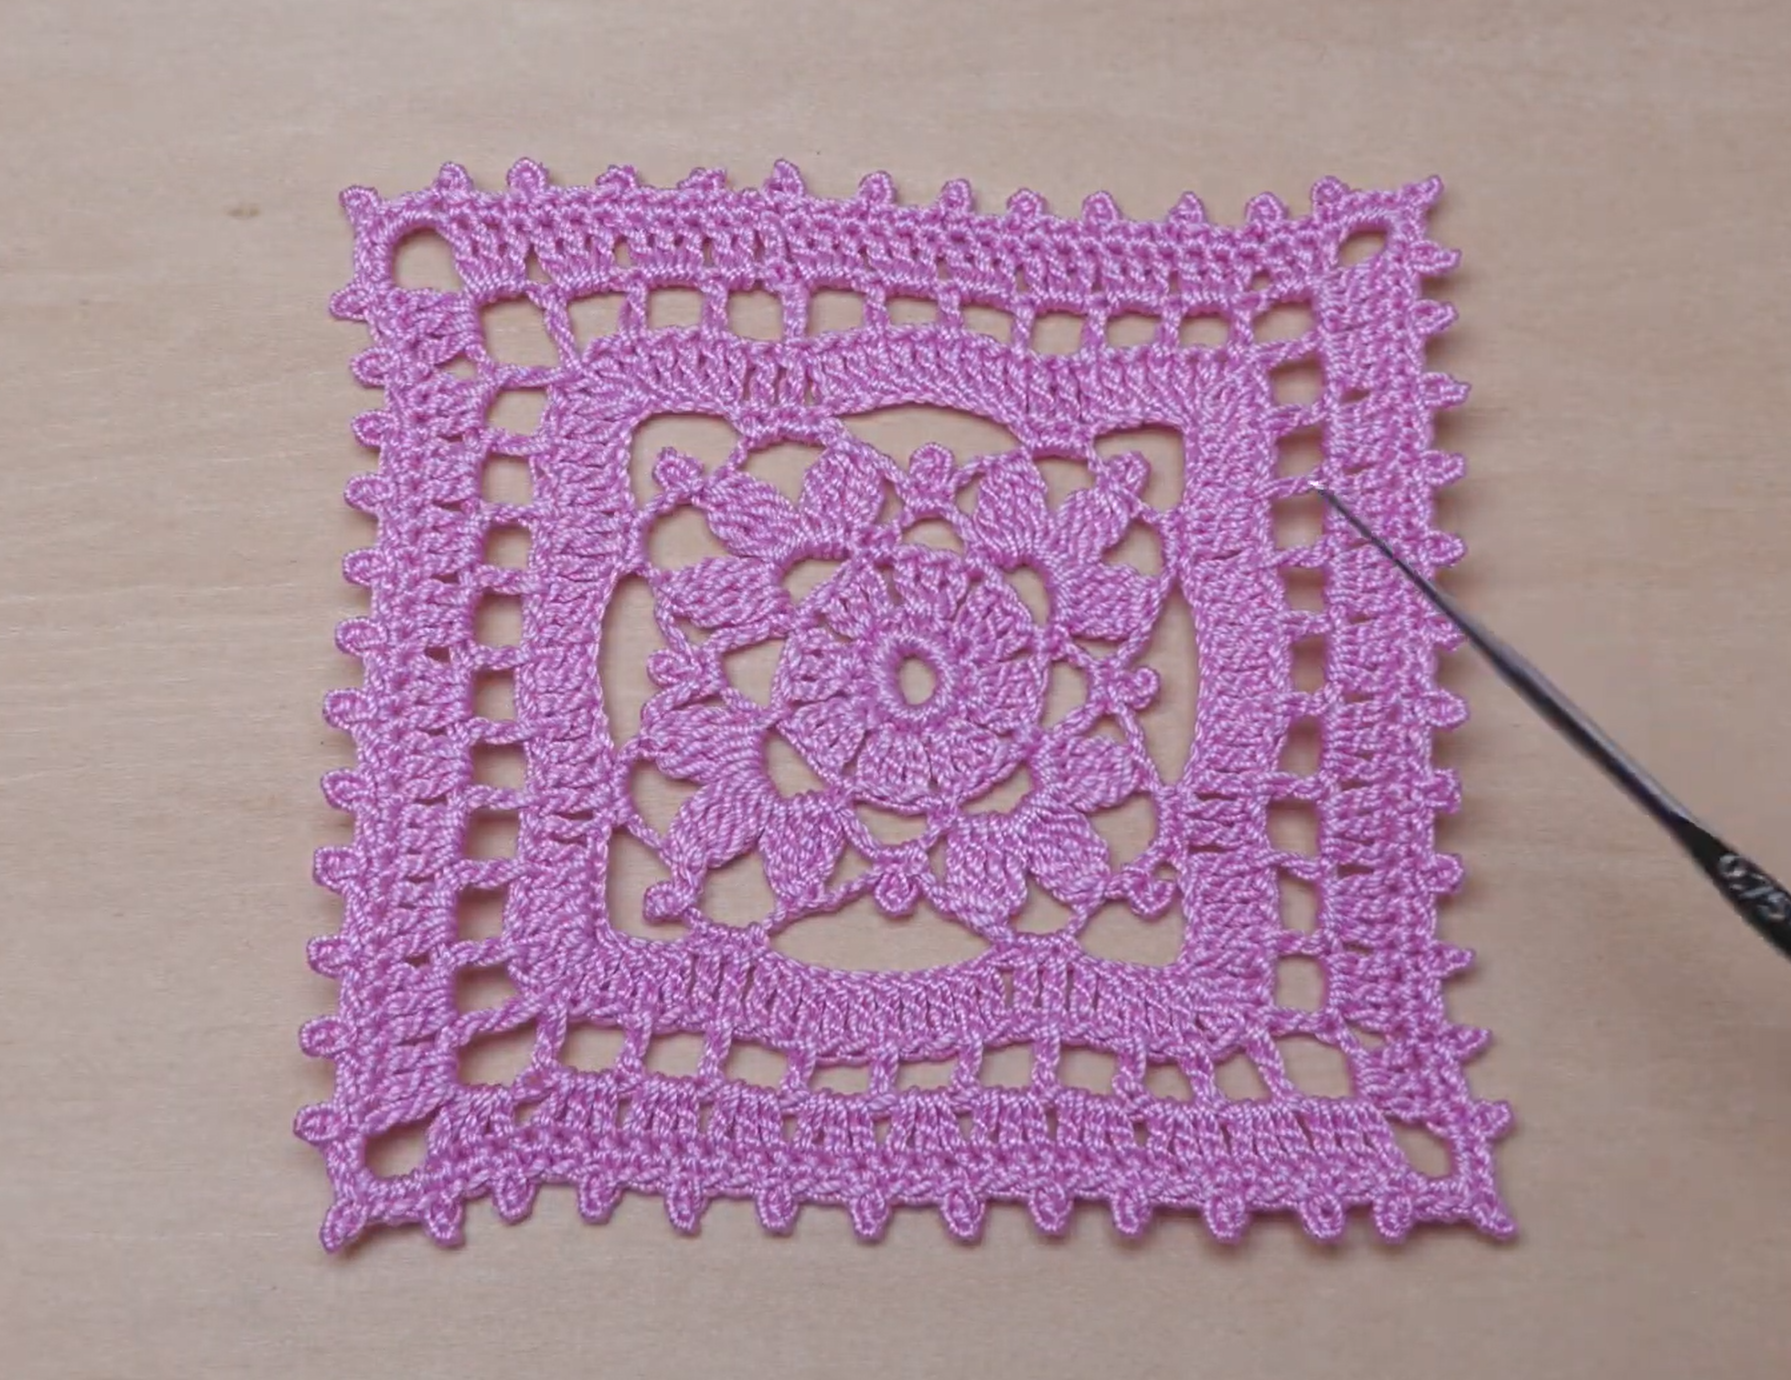
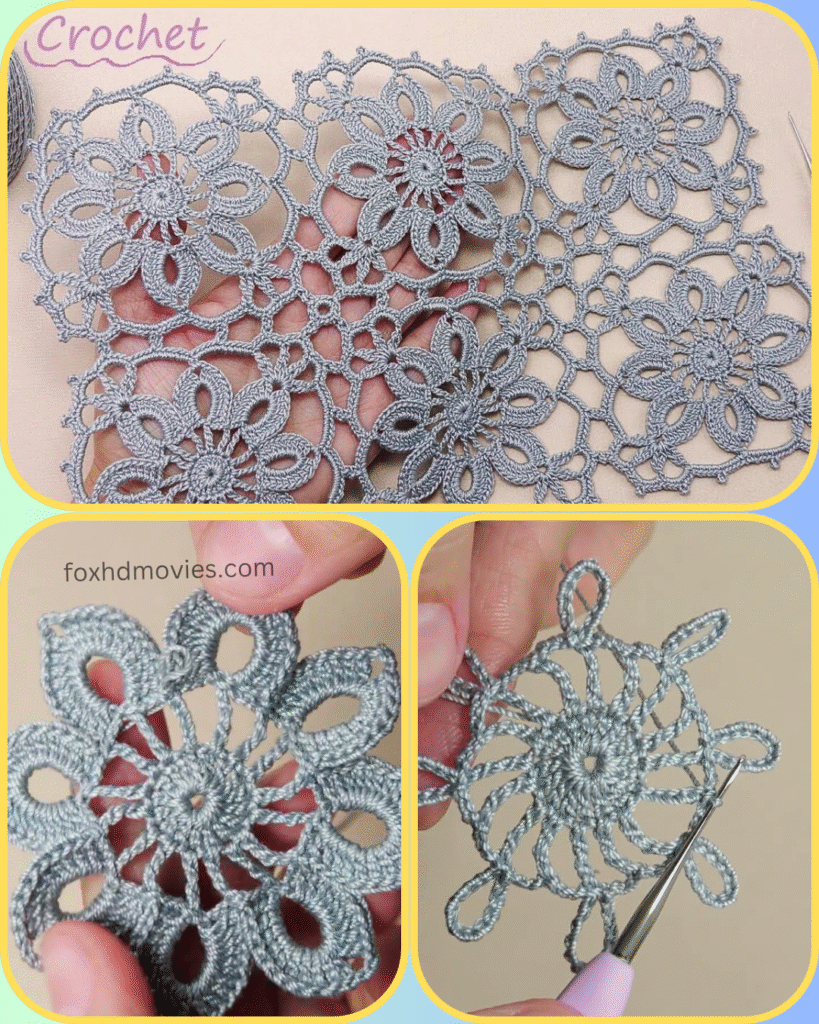
Hello, lace lovers! Today, we’re diving into a truly exquisite crochet project: the “Elegant Blossom Lace” motif. This pattern features a beautiful central flower with sculpted petals, surrounded by delicate, intertwining lace that connects seamlessly. It’s perfect for creating stunning scarves, elegant table runners, intricate shawls, or even delicate garment accents. The sample is in a sophisticated grey, which perfectly highlights the intricate details, but this design would be gorgeous in any color you choose!
Let’s get our hooks ready and create some wearable art!
Skill Level: Intermediate to Advanced
Materials:
- Yarn: Fine weight (fingering or #1) cotton yarn in your desired color. Mercerized cotton is highly recommended for its sheen and excellent stitch definition, which is crucial for lace patterns.
- Hook: 1.50mm – 2.00mm steel crochet hook (or size needed to obtain your desired gauge and drape). A smaller hook will result in a tighter, more defined lace.
- Yarn Needle: For weaving in ends.
- Scissors
Gauge: Not critical for individual motifs if making a freeform piece, but if you intend to join many, aim for consistency. A finished flower motif should measure approximately 2.5 – 3 inches in diameter.
Abbreviations (US Terms):
- ch: chain
- sl st: slip stitch
- sc: single crochet
- hdc: half double crochet
- dc: double crochet
- tr: treble crochet (yarn over 2 times)
- dtr: double treble crochet (yarn over 3 times)
- picot: ch 3, sl st in 3rd ch from hook
- st(s): stitch(es)
- sp: space
- sk: skip
- FO: Fasten off
Pattern for Elegant Blossom Motif (Make Many!)
Start: Make a magic ring.
Round 1: Ch 3 (counts as 1 dc), 15 dc in ring. Join with sl st to top of ch 3. (16 dc)
Round 2: Ch 1, sc in first st. Ch 3, sk 1 st, sc in next st. Repeat from * to * 6 more times. Ch 3, sk 1 st, sl st to first sc to join. (8 sc, 8 ch-3 sps)

Round 3 (Petal Bases): Sl st into first ch-3 sp. Ch 3 (counts as 1 dc), (2 dc, ch 2, 3 dc) in same ch-3 sp. Ch 1, sk next sc, (3 dc, ch 2, 3 dc) in next ch-3 sp. Repeat from * to * 6 more times. Ch 1, sl st to top of ch 3 to join. (8 sets of 3dc-ch2-3dc, 8 ch-1 sps)
Round 4 (Petals): Sl st into the first ch-2 sp. Ch 3 (counts as 1 dc), (2 dc, ch 3, 3 dc) in same ch-2 sp (first petal). Ch 3, sk 3 dc, sc in next ch-1 sp, ch 3, sk 3 dc, (3 dc, ch 3, 3 dc) in next ch-2 sp (next petal). Repeat from * to * 6 more times. Ch 3, sk 3 dc, sc in next ch-1 sp, ch 3, sk 3 dc, sl st to top of ch 3 to join. (8 petals, 8 sc, 16 ch-3 sps)
Round 5 (Connecting Lace & Picots): Sl st into first ch-3 sp of a petal. Ch 1. (sc, picot, sc) in same ch-3 sp. Ch 5, sk 3 dc, sc in next ch-3 sp, ch 5, sk next sc, sc in next ch-3 sp, ch 5, sk 3 dc. Repeat from * to * 7 more times. Sl st to first sc to join. (You should now have 8 petals outlined with picots, and ch-5 arches connecting them).

Joining Motifs (As seen in the image)
The beauty of this lace lies in its seamless connections. You will join motifs as you go, replacing some chain spaces with slip stitches into the corresponding elements of previously made motifs.
General Joining Technique:
When working the final round (Round 5) of your second and subsequent motifs, you will replace some of the ch-5 spaces with ch-2, sl st into corresponding picot/ch-5 sp of previous motif, ch-2.

Specific Joining for the Pictured Lace:
The image shows the motifs joined at a single point between petals. When working Round 5:
- Work the first motif completely as written above.
- For the second motif (and subsequent motifs in the same row/column):
- Work up to the point where you need to join.
- When you encounter a
ch 5space that aligns with a picot of a previous motif (specifically, the picot at the top of a petal), workch 2, sl st into the picot of the previous motif, ch 2instead ofch 5. - Continue working the rest of the current motif’s Round 5 as written, making connections wherever the motifs meet. The image suggests a connection where the picot of one petal meets the picot of a petal on an adjacent flower.
Finishing:
FO, leaving a long tail for weaving in. Weave in all ends neatly. Blocking is absolutely essential for this pattern. Pin your finished lace piece to a blocking mat, carefully shaping each flower and opening up the lace sections. Gently mist with water until damp, and allow it to dry completely. This step will truly define the intricate details and ensure your lace lies flat and beautiful.
Video tutorial
Tips for Success:
- Consistent Tension: Maintaining an even tension is crucial for uniform motifs and seamless, professional-looking joins.
- Counting is Key: With intricate lace patterns, careful counting of stitches and chain spaces in each round is vital to avoid mistakes.
- Good Lighting: Working with fine yarn and detailed stitches is much easier with ample light.
- Practice Joins: If you’re new to joining as you go, practice with a couple of motifs before committing to a larger project. It helps to visualize how they connect.
- Don’t Rush! Enjoy the process of creating such a delicate and beautiful piece.
I hope you find joy in crocheting this Elegant Blossom Lace! It’s a truly rewarding project that results in a stunning, high-quality handmade item. Feel free to share your beautiful creations in the comments below!
Happy Crocheting!