by
by There’s something truly special about a handmade shawl. It’s a versatile accessory that adds a touch of elegance to any outfit, provides warmth on a cool evening, or simply drapes beautifully as a stylish statement piece. This pattern, “Ethereal Elegance,” is designed with simplicity in mind, making it perfect for confident beginners looking to create a stunning piece without getting bogged down in complex stitches or shaping.
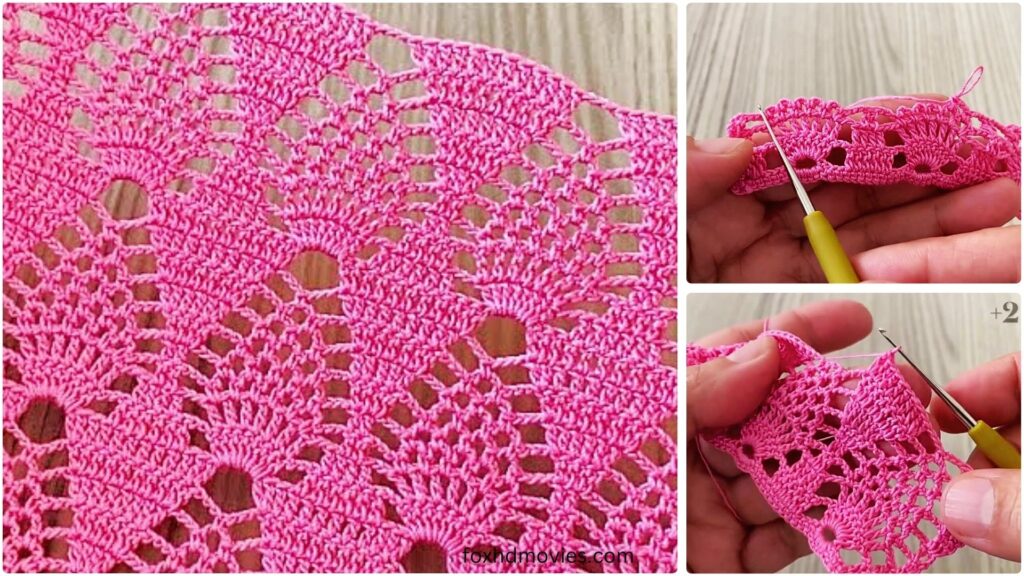
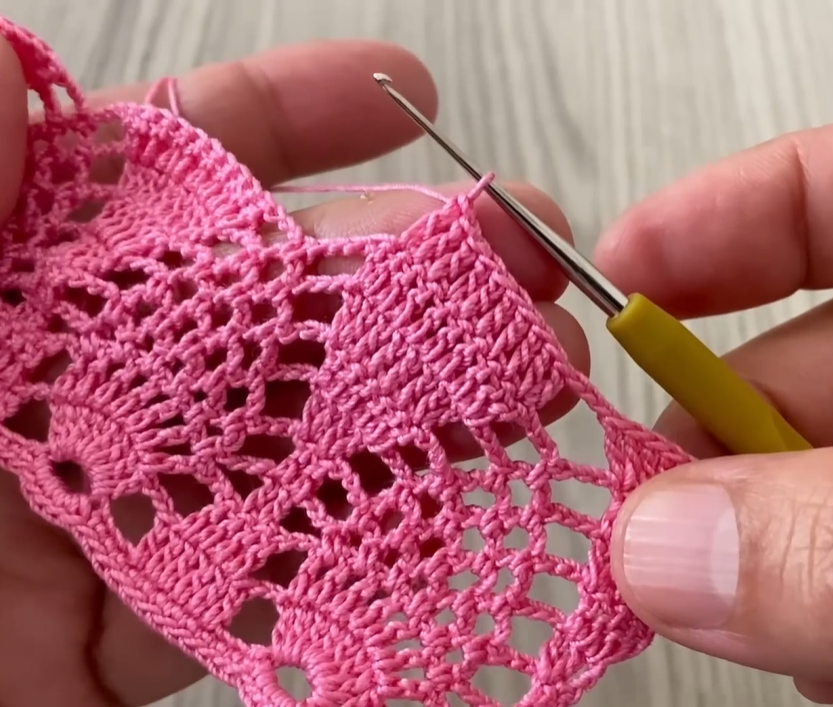
We’ll use a classic “granny stripe” inspired stitch pattern, which is repetitive, easy to memorize, and creates a lovely drape with openwork sections.
Skill Level: Easy to Intermediate Beginner (requires knowledge of basic stitches and working into chain spaces)
Materials:
- Yarn: Approximately 800-1000 yards (730-915 meters) of DK weight (Light Worsted / #3) yarn. A natural fiber blend like merino/silk or cotton/bamboo will give a beautiful drape. For a budget-friendly option, acrylic works wonderfully too! (I recommend using a solid color or a very subtle gradient for your first shawl to really see the stitch definition, but variegated yarns can also be stunning.)
- Crochet Hook: Size G/6 (4.0 mm) or size needed to obtain gauge.
- Yarn Needle: For weaving in ends.
- Scissors:
- Stitch Markers: (Optional, but helpful for marking the center increase)
Gauge:
Gauge is not critical for this project, but for reference, after a few rows, your stitches should feel relaxed and your fabric should drape well without being too stiff or too flimsy. A rough gauge might be 4 “dc clusters” (3 dc stitches) and 2 ch-1 spaces = approximately 3 inches wide.
Finished Size (Approximate):
- Wingspan (top edge): 60-70 inches (150-175 cm)
- Depth (center back): 28-32 inches (70-80 cm)
- This shawl is easily customizable by simply continuing to crochet more rows until you reach your desired size.
Abbreviations (US Crochet Terms):
- ch: chain
- sl st: slip stitch
- sc: single crochet
- dc: double crochet
- ch-sp: chain space
- st(s): stitch(es)
- rep: repeat
- sk: skip
- beg: beginning
Let’s Begin: The Ethereal Elegance Shawl
This shawl is worked from the top center down, increasing on each side and in the center to create a triangular shape.

Starting the Shawl:
Foundation Row: Ch 4, sl st into the first ch to form a ring. (Alternatively, you can use a magic ring if you prefer for a tighter center.)
Row 1: Ch 3 (counts as first dc here and throughout), 2 dc into the ring. Ch 2 (center ch-sp). 3 dc into the ring. (6 dc, 1 ch-2 sp) You now have your first “V” shape, which will expand into the triangle.
Row 2: Ch 3, turn. 2 dc in the first st. *Sk 2 dc, (3 dc, ch 2, 3 dc) in the center ch-2 sp. (This is your center increase).* Sk 2 dc, 3 dc in the last st. (12 dc, 1 ch-2 sp)
Row 3: Ch 3, turn. 2 dc in the first st. *3 dc in the next ch-sp. (3 dc, ch 2, 3 dc) in the center ch-2 sp. (Center increase).* 3 dc in the next ch-sp. 3 dc in the last st. (18 dc, 1 ch-2 sp)

Understanding the Pattern Repeat:
From this point on, the pattern repeats a simple concept:
- You always start with
Ch 3, turn, 2 dc in the first st(this creates a clean edge and adds stitches at the beginning of the row). - You always work
3 dcinto everych-spfrom the previous row (filling in the open spaces). - You always work
(3 dc, ch 2, 3 dc)into thecenter ch-2 sp(this is your consistent center increase, forming the point of the triangle). - You always end the row by working
3 dc in the last st(mirroring the beginning, adding stitches at the end of the row).
Continuing the Pattern (Rows 4 onwards):
Row 4: Ch 3, turn. 2 dc in the first st. *3 dc in each ch-1 sp across until you reach the center ch-2 sp. (3 dc, ch 2, 3 dc) in the center ch-2 sp. 3 dc in each ch-1 sp across until you reach the last st.* 3 dc in the last st.
Repeat Row 4 until your shawl reaches your desired size.
- For a standard scarf-like shawl: Aim for about 40-50 rows.
- For a generously sized wrap: You might go for 60-70 rows or more.
- For a very large, cozy shawl: 80+ rows will create a substantial piece.
Important Note on Stitch Counts: The number of 3 dc clusters on each side of the center increases by 2 with every row.
- Row 1: 0 clusters on each side
- Row 2: 0 clusters on each side
- Row 3: 1 cluster on each side
- Row 4: 2 clusters on each side
- Row 5: 3 clusters on each side
- And so on… this helps you keep track!

Finishing the Shawl:
Once your shawl reaches the desired size:
- Fasten off your yarn, leaving a tail about 6-8 inches long.
- Using your yarn needle, weave in all loose ends securely. Take your time with this step, as well-hidden ends make a huge difference in the finished look.
- Blocking (Highly Recommended!): Gently wash your shawl according to your yarn’s care instructions. While damp, lay it flat on a towel or foam blocking mats. Gently stretch and pin the shawl to its desired shape, focusing on opening up the lace sections and defining the points. Allow it to air dry completely. Blocking makes an incredible difference in the drape and appearance of your crochet fabric!
Congratulations! You’ve crocheted a beautiful “Ethereal Elegance” Shawl!
Video Tutorial
Beyond the Shawl: Adapting Techniques for Blouses, Runners, and Covers
While I’ve focused on a detailed shawl pattern, the techniques used are fundamental and can be adapted or built upon for your other desired projects.
1. Crochet Blouse:
- Key Techniques:
- Garment Construction: Blouses require shaping for armholes, necklines, and often a more fitted bust/waist. This typically involves decreasing and increasing stitches strategically.
- Seaming: Many blouses are made in pieces (front, back, sleeves) and then seamed together.
- Working in the Round: Bodices can be worked in the round from the bottom up or top down.
- Sizing: This is crucial for garments. Look for patterns with clear sizing charts and instructions for different bust/waist measurements.
- How the Shawl Helps: The “granny stripe” stitch itself can be used for a blouse! Imagine using it to create a rectangular front and back panel for a simple tunic-style top. You’d need to learn how to:
- Start with a foundation chain that matches your bust/waist measurement.
- Work straight rows up to the armholes.
- Leave spaces for armholes and shape the neckline by skipping stitches or decreasing.
- Join shoulder seams.
- Add sleeves (which are often worked in the round or as flat panels then seamed).
- Recommendation: For a first crochet blouse, I highly recommend finding a dedicated pattern from a reputable designer (e.g., on Ravelry.com, Etsy, or popular crochet blogs) that specifically outlines garment construction and sizing for your desired style (e.g., a simple t-shirt style, a tank top, a flowing tunic).
2. Crochet Runner (Table Runner):
- Key Techniques:
- Working in Rows: Most runners are simply long rectangles worked in rows.
- Consistent Edge: Maintaining straight edges is important.
- Border: Adding a border often elevates the look.
- How the Shawl Helps: The “granny stripe” pattern from the shawl is perfect for a runner!
- Instead of increasing each row to form a triangle, you would simply
cha foundation chain to the desired width of your runner. - Then, you’d work straight rows using the
ch 3 (counts as dc), 2 dc in first st; *sk 2, 3 dc in next ch-sp*; repeat to end, ending with 3 dc in last stpattern, but without the centerch-2increase. You just continue the “3 dc in ch-sp” across. - You can alternate colors for stripes, or use a solid color.
- Once you reach the desired length, fasten off.
- Add a border of single crochet, half double crochet, or shells around the entire perimeter.
- Instead of increasing each row to form a triangle, you would simply
- Example Start for a Runner (using a similar stitch idea):
- Ch a multiple of 3 + 2 (for turning chain and first cluster setup). For example, ch 35.
- Row 1: Dc in 4th ch from hook (counts as 2 dc). Sk 2 ch, (3 dc in next ch). Repeat to last 3 ch. Sk 2 ch, 2 dc in last ch. Ch 3, turn.
- Row 2: 2 dc in first st. (3 dc in next sp between 3 dc clusters). Repeat to end. 3 dc in top of turning chain. Ch 3, turn.
- Repeat Row 2 until desired length.
3. Crochet Cover (e.g., Afghan/Throw, Baby Blanket):
- Key Techniques:
- Working in Rows or Squares: Covers can be made as one large piece or by joining many smaller motifs (like the granny squares we discussed earlier!).
- Consistent Fabric: Maintaining even tension for a large project.
- How the Shawl Helps:
- Afghan/Throw: Just like the runner, the “granny stripe” from the shawl can be used to make a rectangular blanket. You’d
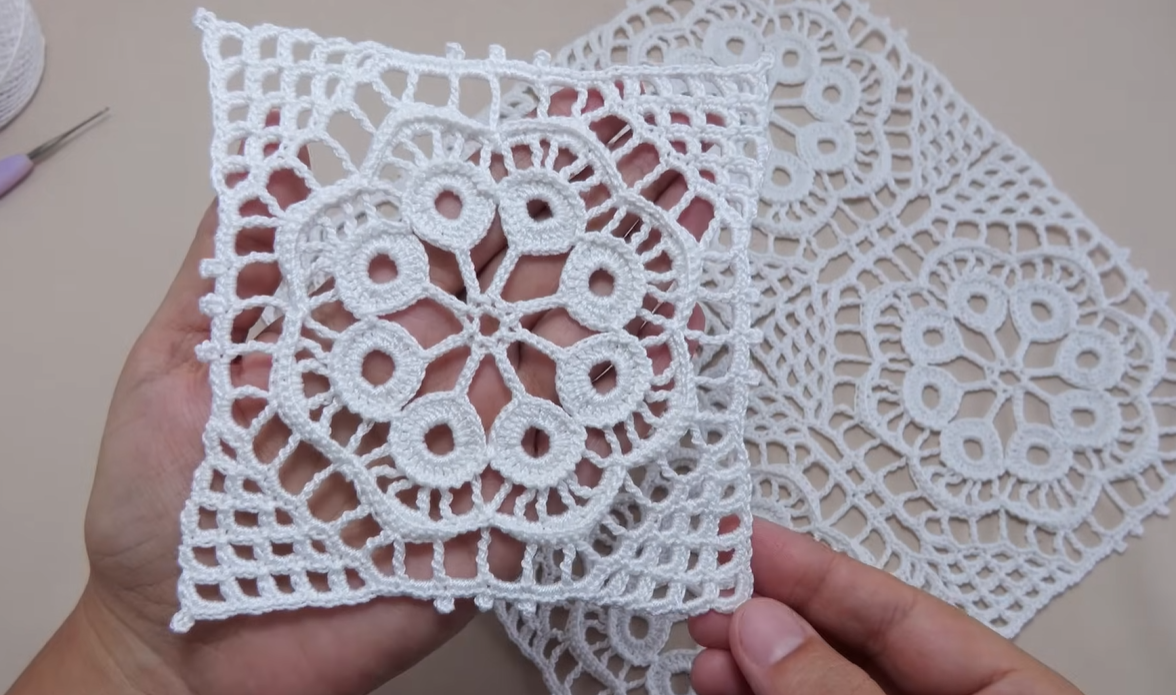
cha foundation chain to your desired width and work straight rows as described for the runner, until you reach your desired length. This creates a cozy, textured fabric. - Granny Square Cover: If you wanted to make a cover similar to the one in your original image, you would follow the instructions for the “Easy Flower Square Motif” (or a basic granny square) from our previous discussion, and then join many of these squares together. This is a very popular and rewarding method for blankets!
- Afghan/Throw: Just like the runner, the “granny stripe” from the shawl can be used to make a rectangular blanket. You’d
- Recommendation: For a simple and effective cover, either use the “granny stripe” in straight rows (like the runner, but larger) or master a basic granny square and join many of them.
By starting with the “Ethereal Elegance” shawl, you’ll build confidence in working with repeats and shaping that will serve as a fantastic foundation for exploring your other crochet project ideas! Happy crocheting!