by
by 
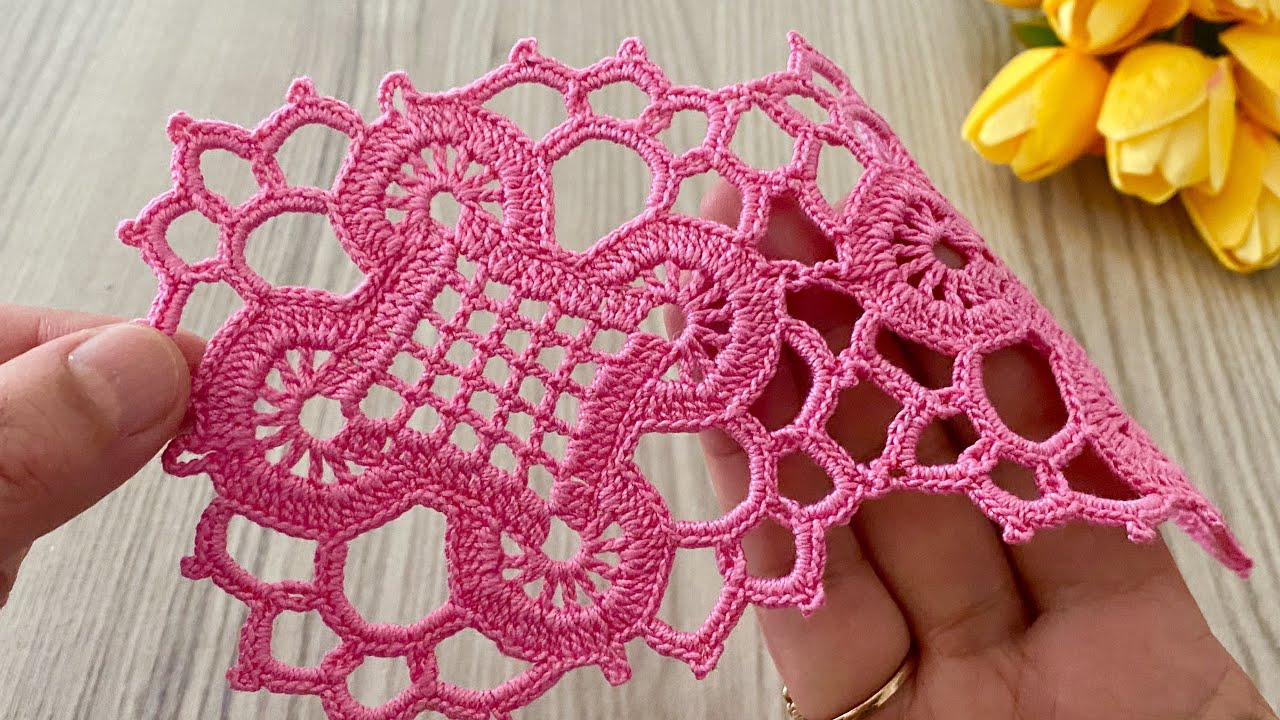
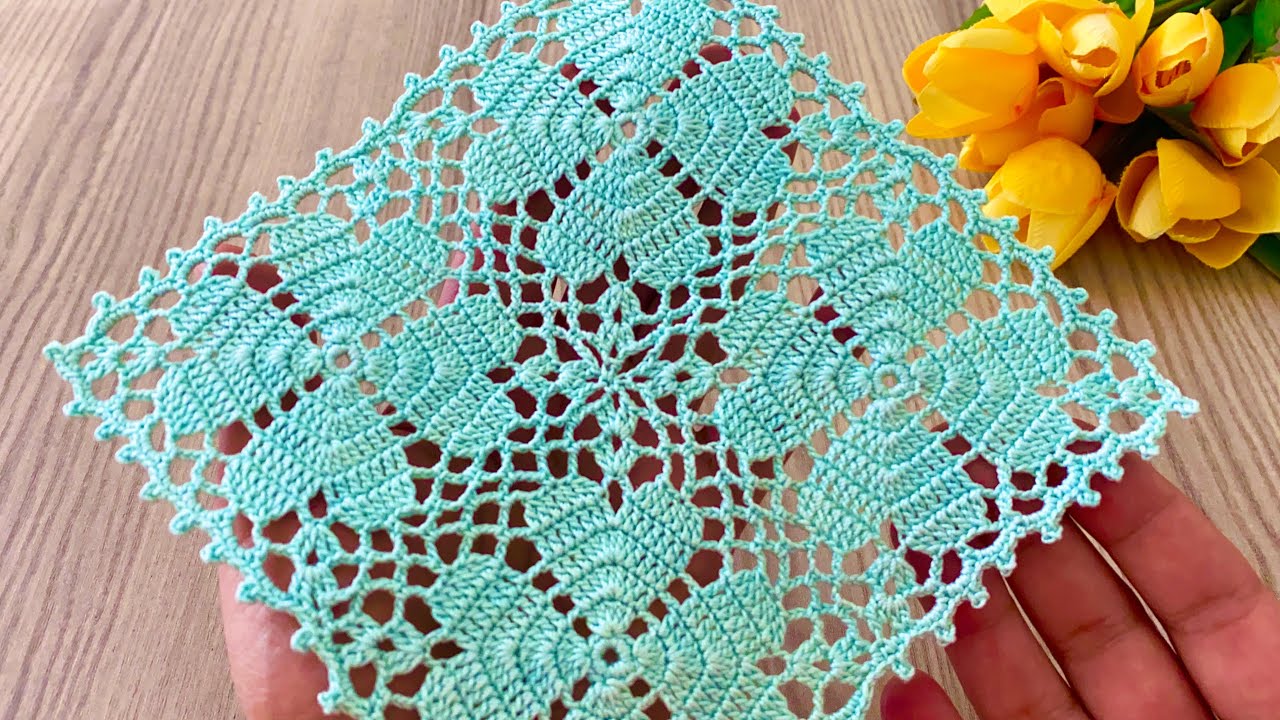
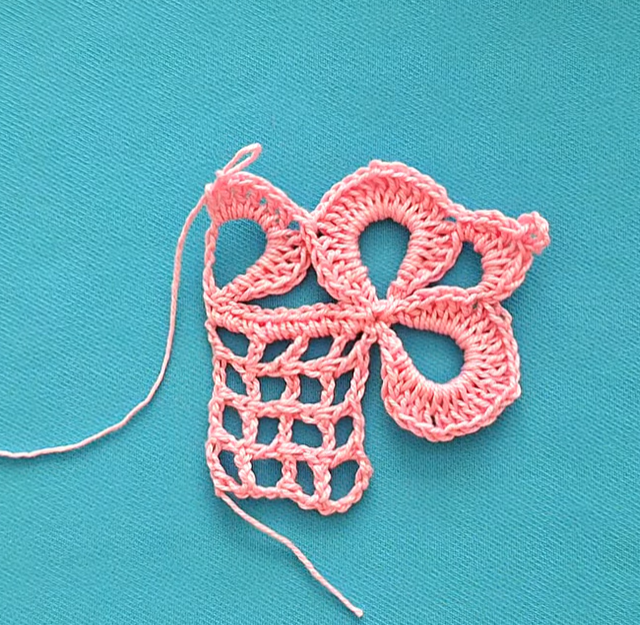
Crochet motif squares are the building blocks of so many stunning projects – from classic granny square blankets to modern throws, cardigans, bags, and more. While making individual squares is fun, the real magic happens when you learn how to seamlessly (or beautifully visibly!) join them together.
This guide will walk you through creating a simple, solid granny square motif and then introduce you to popular joining techniques that will elevate your work from individual squares to a finished masterpiece!
Skill Level: Easy (for both motif and joining)
Materials You’ll Need:
- Yarn: Worsted weight yarn is highly recommended for beginners (different colors for variety, or one solid color). Small amounts are perfect for learning!
- Crochet Hook: Size H/8 (5.0 mm) is a good starting point, but always refer to your yarn label for recommended hook size and adjust to meet gauge if desired.
- Yarn Needle: Essential for weaving in ends and some joining methods.
- Scissors: For cutting yarn.
- Stitch Markers (Optional but helpful): For marking corners or specific stitches.
Gauge:
While not strictly critical for individual squares, consistent gauge is important if you want your finished project to lie flat and look uniform. Aim for consistency in your own stitches. For this pattern, a 4-round square should measure approximately 4×4 inches.
Abbreviations (US Crochet Terms):
- ch: chain
- sl st: slip stitch
- sc: single crochet
- hdc: half double crochet
- dc: double crochet
- sp: space
- st(s): stitch(es)
- beg: beginning
- rep: repeat
- YO: yarn over
Part 1: Crocheting Your Motif Square (The Solid Granny Square)
We’ll make a classic solid granny square, which is essentially a square worked in rounds. It’s a great foundation for learning to join.
Make as many as you need for your project!
Round 1: Ch 4, sl st to join into a ring. (Alternatively, you can use a magic ring for a tighter center.) Ch 3 (counts as first dc), 2 dc in the ring. Ch 2 (corner sp). *3 dc in the ring, ch 2.* Repeat from * to * twice more. Sl st to the top of the beg ch-3 to join. You should have 4 sets of 3 dc separated by 4 ch-2 spaces.
Round 2: Sl st into the next 2 dc and into the first ch-2 sp (corner). Ch 3 (counts as first dc), (2 dc, ch 2, 3 dc) in the same ch-2 sp. (First corner made) *Ch 1 (side sp). (3 dc, ch 2, 3 dc) in the next ch-2 sp.* Repeat from * to * twice more. Ch 1 (side sp). Sl st to the top of the beg ch-3 to join. You should now have 4 corners (each 3dc, ch 2, 3dc) and 4 ch-1 spaces along the sides.
Round 3: Sl st into the next 2 dc and into the first ch-2 sp (corner). Ch 3 (counts as first dc), (2 dc, ch 2, 3 dc) in the same ch-2 sp. *Ch 1. 3 dc in the next ch-1 sp. Ch 1. (3 dc, ch 2, 3 dc) in the next ch-2 sp (corner).* Repeat from * to * twice more. Ch 1. 3 dc in the next ch-1 sp. Ch 1. Sl st to the top of the beg ch-3 to join. Your square is growing! You now have 4 corners and 2 ch-1 spaces on each side with 3 dc groups in them.
Round 4 (and subsequent rounds): Sl st into the next 2 dc and into the first ch-2 sp (corner). Ch 3 (counts as first dc), (2 dc, ch 2, 3 dc) in the same ch-2 sp. *Ch 1. Work 3 dc in each ch-1 sp across the side until you reach the next corner. Ch 1. (3 dc, ch 2, 3 dc) in the next ch-2 sp (corner).* Repeat from * to * twice more. Ch 1. Work 3 dc in each ch-1 sp across the side until you reach the last corner. Ch 1. Sl st to the top of the beg ch-3 to join.
To make larger squares: Simply continue repeating Round 4, always working (3 dc, ch 2, 3 dc) in the corners and 3 dc in each ch-1 space along the sides, separated by ch-1 spaces.
Fasten off yarn and weave in all ends securely. Pro Tip: Weave in ends as you go! It saves a lot of time and effort at the end of a big project.

Part 2: Joining Your Motif Squares
Now that you have a stack of beautiful squares, let’s talk about connecting them! There are many ways to join, each creating a slightly different look and texture. Here are some of the most popular and easy methods.
Before You Start Joining:
- Block Your Squares (Highly Recommended): Blocking helps your squares relax, become uniform in size, and have crisp edges, which makes joining much easier and yields a professional-looking finish. Lightly mist or wet your squares, pin them to shape on a foam mat, and let them dry completely.
- Plan Your Layout: Arrange your squares on the floor or a large surface to decide on your desired pattern and color placement.
Method 1: Slip Stitch Join (Invisible & Flat)
This method creates a very flat, almost invisible seam, perfect when you want the motifs themselves to be the star of the show.
- Prepare: Place two squares right sides facing up, side-by-side.
- Attach Yarn: Insert your hook into the back loop of the first stitch of one square and the back loop of the corresponding stitch on the other square. Join your yarn with a sl st.
- Slip Stitch: *Insert hook into the back loop only (BLO) of the next stitch on the first square and the BLO of the corresponding stitch on the second square. YO, pull through all loops on hook (sl st made).*
- Continue: Repeat from * to * across the entire edge, working through the BLO of both squares. When you reach a corner, work a sl st into the corner chain space of both squares if applicable, or into the final corner stitches.
- Fasten Off: Fasten off and weave in ends securely.
- Variations: You can also work through both loops for a slightly sturdier, though still flat, join.

Method 2: Single Crochet (Sc) Join (Slightly Raised & Decorative)
The single crochet join creates a visible, slightly raised ridge on the right side of your work, which can add a nice design element.
- Prepare: Place two squares wrong sides facing each other. This means the right sides are facing outwards.
- Attach Yarn: Insert your hook through both loops of the first stitch of one square and both loops of the corresponding stitch on the other square. Join your yarn with a sl st, then ch 1.
- Single Crochet: Work 1 sc in the same st.
- Continue: *Insert hook through both loops of the next stitch on both squares. YO, pull through both loops (sc made).* Repeat from * to * across the entire edge. Work sc into corner chain spaces as needed (e.g., 1 sc in each corner ch-sp if lining up).
- Fasten Off: Fasten off and weave in ends securely.
- Pro Tip: Use a contrasting color for your sc join to make it pop!
Method 3: Whip Stitch (Hand-Sewn Look)
The whip stitch is a quick and sturdy way to join squares, often done with a yarn needle. It creates a small, neat seam.
- Prepare: Place two squares right sides facing up, side-by-side.
- Thread Needle: Thread your yarn needle with a length of yarn.
- Stitch: Bring your needle up from the back through the first stitch of both squares. Then, always insert your needle from the front to the back, wrapping the yarn around the edge and through both corresponding stitches as you go.
- Continue: Continue stitching along the edge, making sure your stitches are evenly spaced and not too tight, which can cause puckering.
- Fasten Off: Secure the end of your yarn and weave in ends.

Method 4: Join-As-You-Go (JAYG) (Seamless & Efficient)
This is a fantastic method for larger projects as it eliminates the need for extensive seaming at the end! You join your squares as you crochet the final round of each new square.
Important: For JAYG, your motifs must have a final open round (like our granny square with ch-1 spaces on the sides).
- Crochet First Square: Complete your first square entirely and fasten off.
- Crochet Second Square (Partially): Crochet your second square up to the final round (e.g., Round 3 if your squares are 4 rounds).
- Start Final Round & Join: Begin crocheting the final round of your second square as usual until you reach the point where you want to join.
- Side Join (example): Instead of chaining 1 between dc groups on a side, you’ll make 1 sl st into the corresponding ch-1 sp of the adjacent square.
- Corner Join (example): Instead of (3 dc, ch 2, 3 dc) in the corner, you’ll work (3 dc, ch 1, sl st into corner ch-sp of adjacent square, ch 1, 3 dc) in your current square’s corner.
- Continue & Attach: Continue crocheting the final round of your new square, working into the ch-1 spaces and corners of the adjacent square(s) as appropriate, replacing ch-1 or ch-2 with sl sts into the previous square.
- Fasten Off: Once the new square is fully joined and its final round is complete, fasten off.
JAYG is often considered the most efficient method for large blankets once you get the hang of it! There are many tutorials and specific instructions for different types of JAYG.
Video tutorial
Finishing Your Project:
Once all your squares are joined, consider adding a border to your entire project. This will give it a polished, finished look and help square up any minor inconsistencies. Simple single crochet or double crochet borders are easy to add around the entire edge of your joined piece.
Now you have all the tools to create and join beautiful crochet motif squares. Experiment with colors, different joining methods, and enjoy seeing your individual squares transform into a stunning, cohesive piece! Happy crocheting!