 by
by 
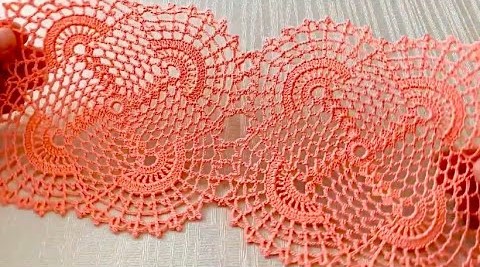
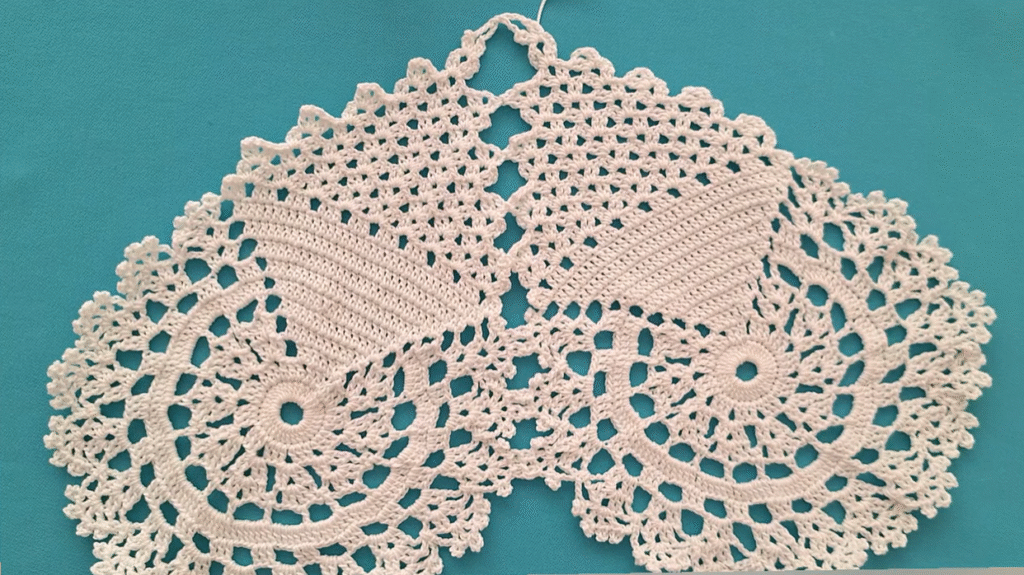
Transform your dining space with this stunning new crochet tablecloth design! Combining solid textures with delicate openwork, this pattern offers a contemporary twist on a classic home accent. It’s designed to be engaging for intermediate crocheters, but with detailed instructions, even an adventurous beginner can tackle it.
Design Concept:
This tablecloth features a solid central panel for durability and a clean look, framed by an elegant openwork border that adds visual interest without being too busy. The corners will have a gentle curve created by strategic increases, ensuring it drapes beautifully over your table.
Skill Level: Intermediate
Materials:
- Yarn: Cotton yarn is highly recommended for tablecloths due to its absorbency, washability, and beautiful stitch definition. You’ll need a significant amount depending on your desired size. For a standard 4-6 seater dining table (approx. 60×80 inches), you might need 2000-3000 yards of DK or sport weight cotton. Adjust based on your chosen yarn weight and desired drape.
- Suggestion: Drops Safran, Scheepjes Catona, or Lily Sugar’n Cream (for a heavier feel).
- Crochet Hook: Size D/3 (3.25 mm) or E/4 (3.5 mm) depending on your yarn weight and desired gauge.
- Yarn Needle: For weaving in ends.
- Scissors
- Stitch Markers: Very helpful for marking corners and repeats.
Gauge:
- In solid double crochet (dc): 5 dc = 1 inch, 3 rows = 1 inch. (This is a sample gauge; work a swatch to determine your own.)
- Crucial: Achieving your desired gauge is important for the finished size of your tablecloth. Make a swatch (at least 6×6 inches) of the solid dc section and measure it. Adjust your hook size if necessary.
Finished Size:
This pattern is written for a rectangular tablecloth approximately 45 x 65 inches. Instructions for adjusting the size will be provided.
Abbreviations (US Crochet Terms):
- ch: chain
- sl st: slip stitch
- sc: single crochet
- hdc: half double crochet
- dc: double crochet
- tr: treble crochet
- sk: skip
- sp: space
- st(s): stitch(es)
- beg: beginning
- rep: repeat
- FO: Fasten off
- yo: yarn over
- V-st: V-stitch (dc, ch 1, dc in same st)
- Shell: (2 dc, ch 1, 2 dc in same st/sp)
- Picot: ch 3, sl st into the 3rd ch from hook

Part 1: The Solid Central Panel
We’ll start by creating a foundation chain that determines the width of your tablecloth, then work in rows to build up the length.
Foundation Chain: Ch 185 (or any odd number + 2 for your desired width + 1 for turning chain). This will give you 184 stitches per row.
- To adjust width: Chain an odd number of stitches plus 2. Remember that each dc row will be 1 less stitch than your foundation chain.
Row 1: Dc in the 3rd ch from hook and in each ch across. (183 dc) Row 2: Ch 2 (does not count as a st), turn. Hdc in each st across. (183 hdc) Row 3: Ch 3 (counts as a dc), turn. Dc in each st across. (183 dc)
Repeat Rows 2 and 3 until your panel reaches your desired length minus approximately 8-10 inches for the openwork border. For a 45 x 65-inch tablecloth, you’ll want your central panel to be approximately 49-53 inches long. End on a Row 3 repeat (a dc row).
- To adjust length: Continue repeating Rows 2 and 3 until your desired length is reached, subtracting the anticipated width of your border.
Do not fasten off.
Part 2: Establishing the First Border Round (Working in the Round)
Now we’ll turn the flat panel into a piece we can work around, laying the foundation for the openwork border.
Round 1:
- Working along the last (length) row: Ch 3 (counts as a dc), dc in each st across to the last st. (183 dc)
- Corner (Side 1): In the last st, work (2 dc, ch 2, 3 dc). This turns the corner.
- Working down the side of the panel: Work dc evenly down the side, placing 1 dc into the side of each dc row and 1 hdc into the side of each hdc row. Aim for approximately 1 dc per row for a neat edge.
- Corner (Side 2): At the corner of the starting chain, work (3 dc, ch 2, 3 dc) into the corner stitch.
- Working along the foundation chain: Dc in each ch across.
- Corner (Side 3): In the first st of the foundation chain (which was the last ch you crocheted into), work (3 dc, ch 2, 3 dc).
- Working up the opposite side of the panel: Work dc evenly up this side, mirroring the other side.
- Corner (Side 4): In the very first st of your first row (where your original Ch 3 began), work (3 dc, ch 2). Sl st to the top of the beg Ch 3 to join.

You should now have a continuous rectangle with ch-2 spaces at each corner.
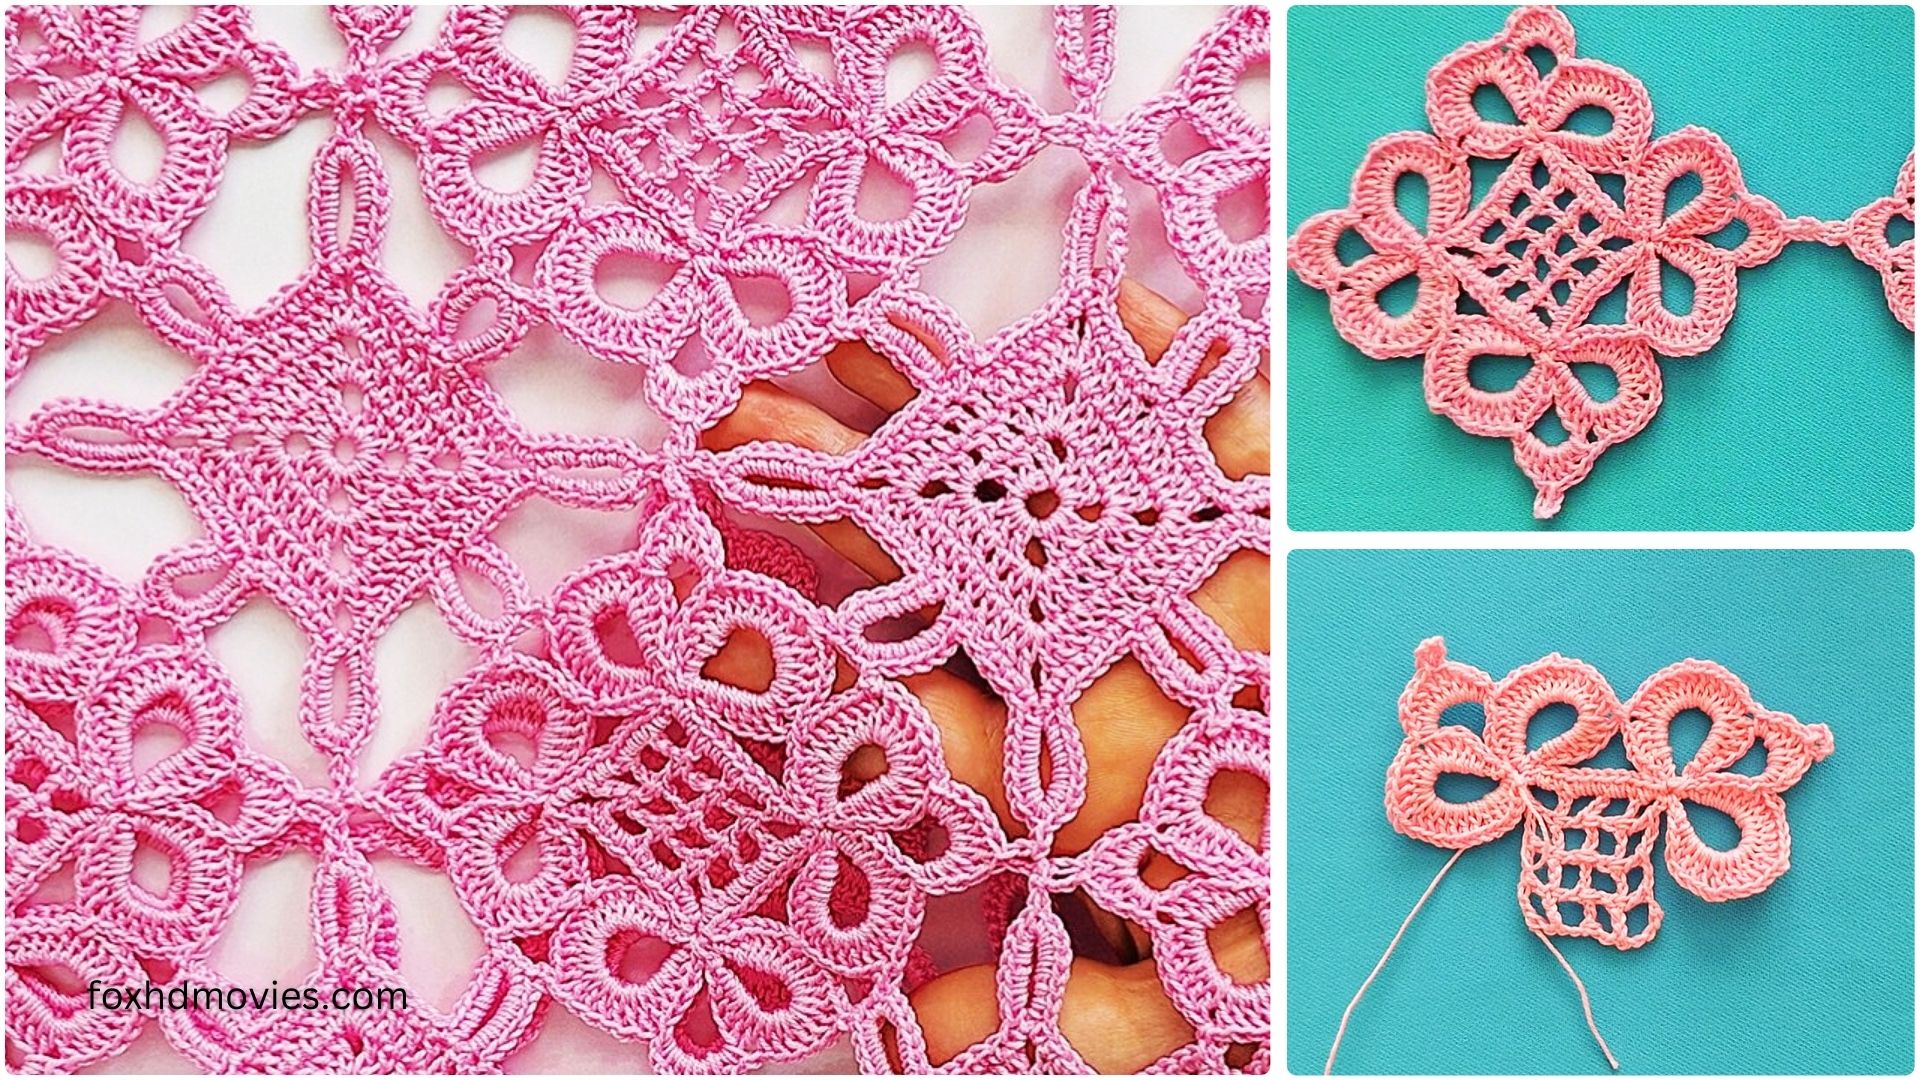
Part 3: The Openwork Border Design
This section uses a repeating pattern of V-stitches and chain spaces to create a delicate, lacy effect.
Round 2: Ch 3 (counts as a dc), dc in each dc around, working (2 dc, ch 2, 2 dc) into each ch-2 corner space. Sl st to the top of beg ch 3.
Round 3 (V-stitch Setup): Ch 4 (counts as dc + ch 1), sk 1 st, dc in next st. (This creates your first V-st). *Sk 1 st, V-st in next st.* Rep from * to * across the side until you reach the corner ch-2 sp. In corner ch-2 sp: (V-st, ch 1, V-st). This creates the corner turn. Continue V-st across the next side, working (V-st, ch 1, V-st) in each corner ch-2 sp. Repeat around. Sl st to the 3rd ch of beg Ch 4 to join.
Round 4: Sl st into the ch-1 sp of the first V-st. Ch 3 (counts as dc), (dc, ch 1, 2 dc) in same ch-1 sp (this forms a Shell). *Shell in each ch-1 sp of V-st across the side until you reach the corner ch-1 sp (between the two V-sts of the previous corner). In corner ch-1 sp: (Shell, ch 1, Shell). This creates the corner turn.* Repeat from * to * around. Sl st to top of beg Ch 3 to join.
Round 5: Sl st into the next dc, then into the ch-1 sp of the first Shell. Ch 3 (counts as dc), (dc, ch 1, 2 dc) in same ch-1 sp (Shell). *Shell in each ch-1 sp of Shell across the side until you reach the corner ch-1 sp (between the two Shells of the previous corner). In corner ch-1 sp: (Shell, ch 1, Shell). This creates the corner turn.* Repeat from * to * around. Sl st to top of beg Ch 3 to join.

Repeat Round 5 until your border reaches your desired width (e.g., 6-8 rounds or more for a wider border).
Part 4: The Finishing Edging
A final decorative edge will give your tablecloth a polished look.
Final Round (Picot Edge): Sl st into the ch-1 sp of the first Shell. Ch 1, sc in same ch-1 sp. *Picot (ch 3, sl st into 3rd ch from hook), sc in the next 2 dc (of the Shell), sc in the ch-1 sp of the next Shell.* Repeat from * to * across the side. When you reach a corner, work (sc, picot, sc) in the corner ch-1 sp (between the two Shells). Continue the pattern of (sc, picot, sc) in each Shell ch-1 sp and the corner ch-1 sps around the entire tablecloth. Sl st to the first sc to join.
FO. Weave in all ends securely.
Blocking Your Tablecloth (Highly Recommended!):
Blocking is essential for cotton crochet projects, especially tablecloths, as it helps even out stitches, open up the lace pattern, and achieve the correct dimensions and drape.
- Wet Blocking: Submerge your tablecloth in lukewarm water with a bit of gentle detergent (optional). Gently squeeze out excess water (do not wring!).
- Shape: Lay the damp tablecloth flat on a clean, dry surface (like a foam blocking mat, clean towels, or even a carpeted floor). Gently stretch and shape it to your desired dimensions, making sure the corners are square and the edges are straight.
- Pin (Optional but helpful): Use rust-proof pins to hold the edges and corners in place while it dries.
- Dry: Allow the tablecloth to air dry completely, which may take 24-48 hours depending on humidity. Do not put it in a dryer as it can shrink or distort.
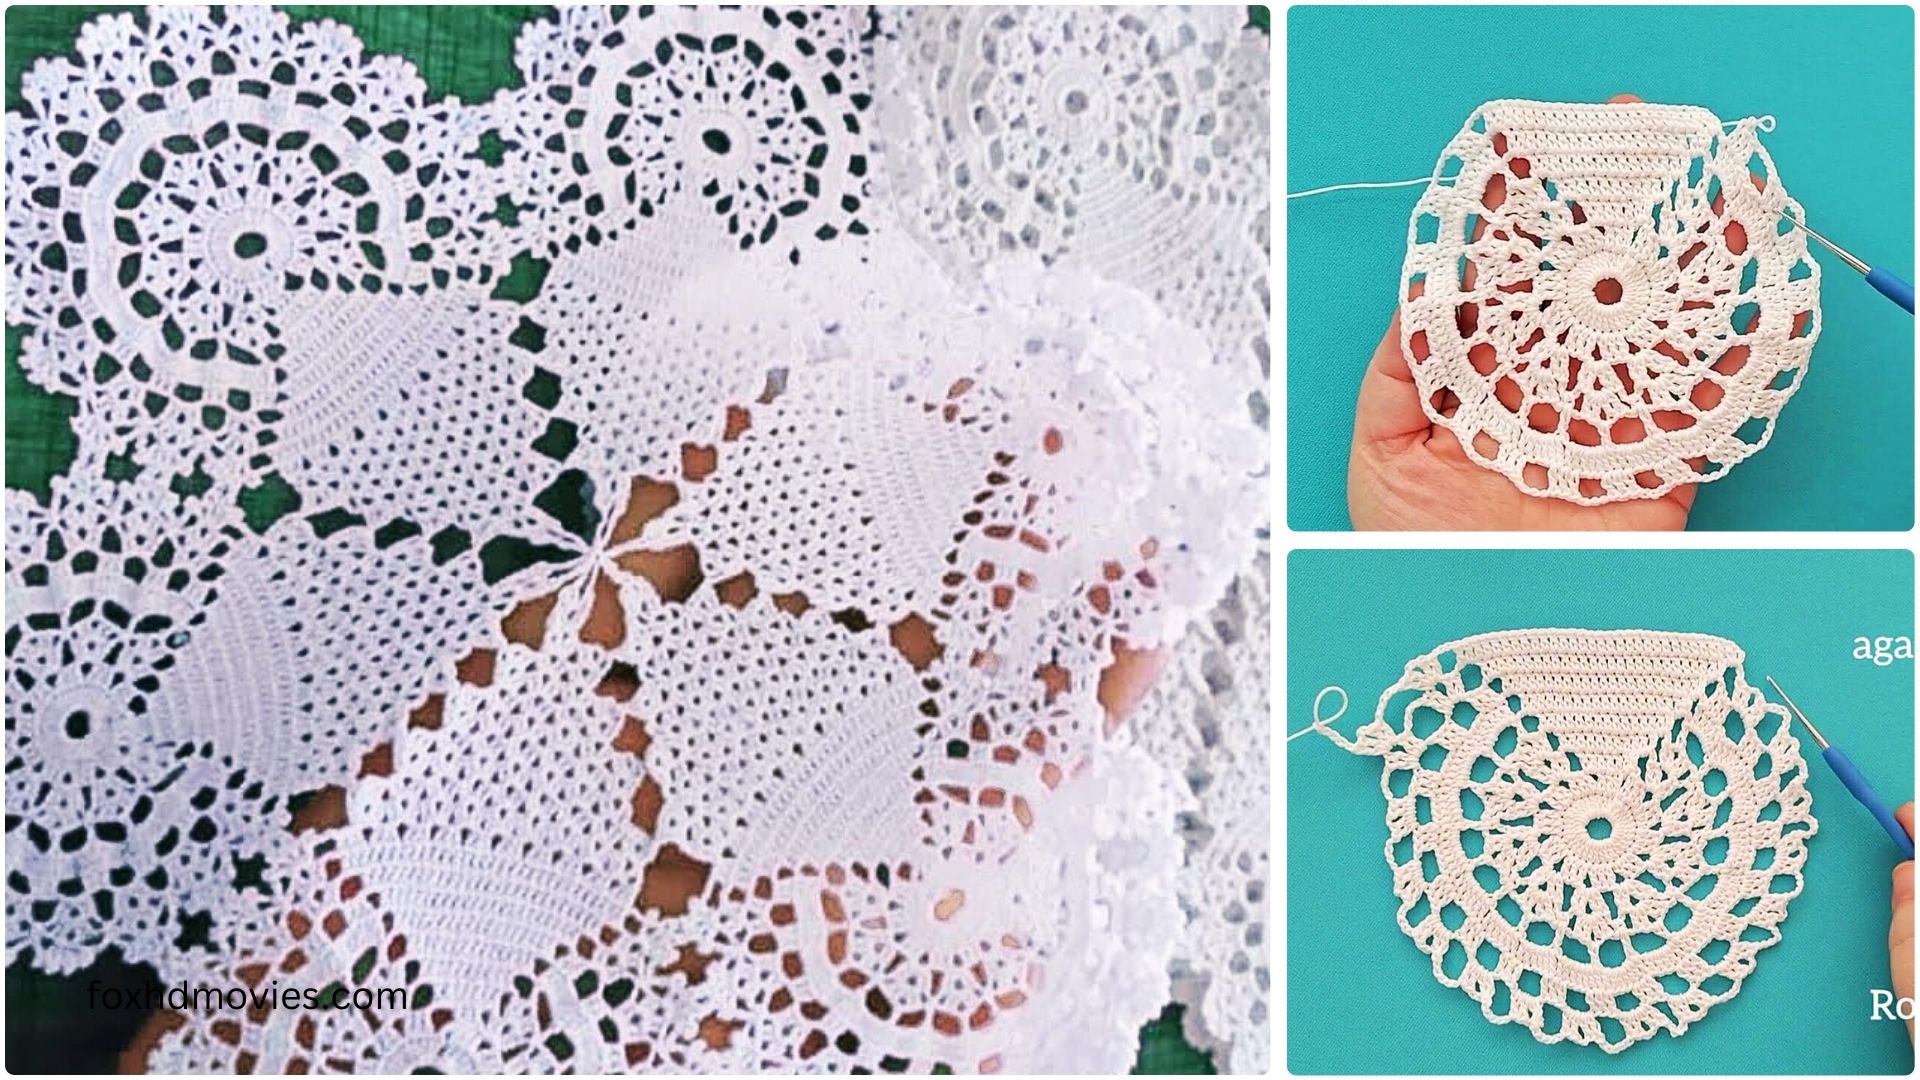
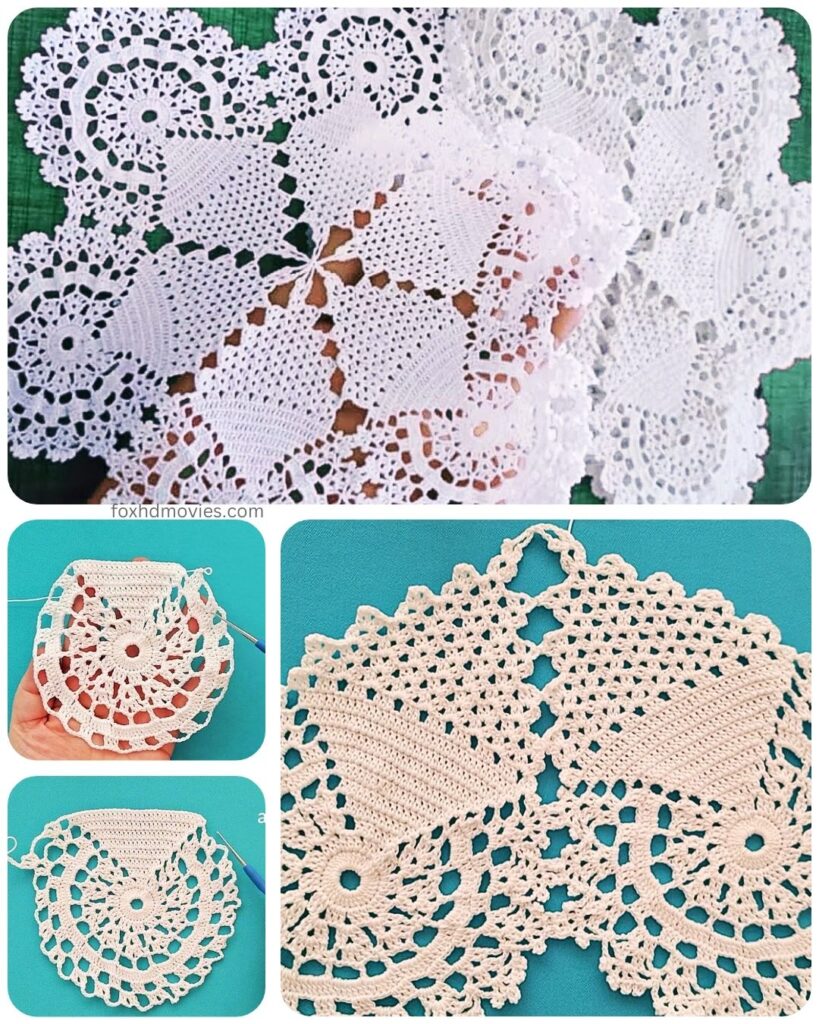
Video tutorial
Customizing Your Tablecloth:
- Size:
- Width: The initial foundation chain determines the width. Remember to keep it an odd number of chains + 2 for the pattern to work smoothly.
- Length: The number of solid dc/hdc rows determines the length.
- Border Width: Add or subtract repeats of Round 5 of the border.
- Stitch Patterns:
- Solid Panel: You could use single crochet, half double crochet, or even a textured stitch like moss stitch for the central panel.
- Border: Experiment with different lace patterns for the border (e.g., pineapple stitch, fan stitch, other mesh patterns). Just ensure your stitch count works out for the corners!
- Yarn: While cotton is recommended, you could use linen blends or even acrylic for a different feel, but be aware of how they drape and wash.
Enjoy crafting this beautiful new crochet tablecloth! It’s a project that will bring joy and elegance to your home for years to come. Happy crocheting!