 by
by 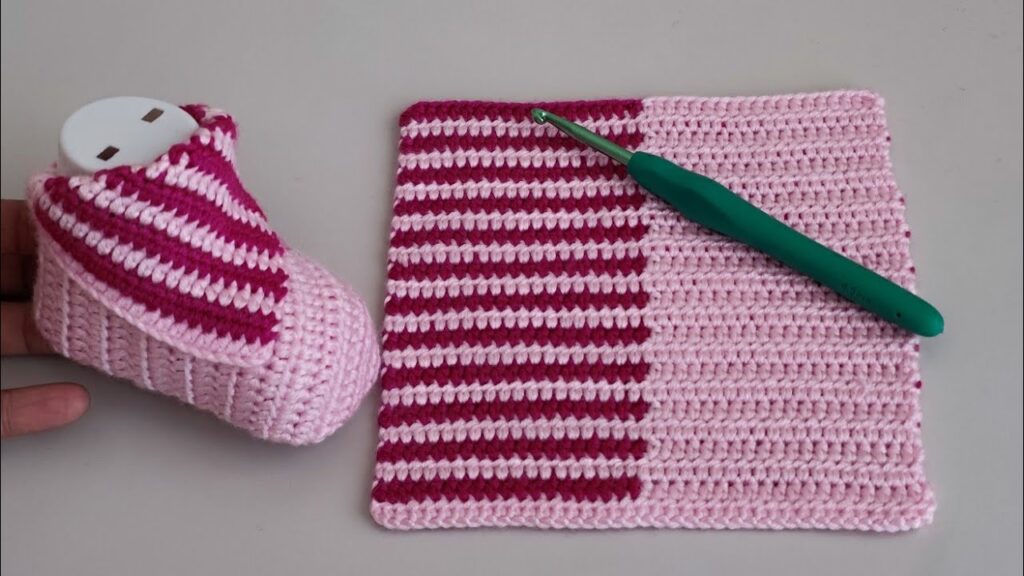
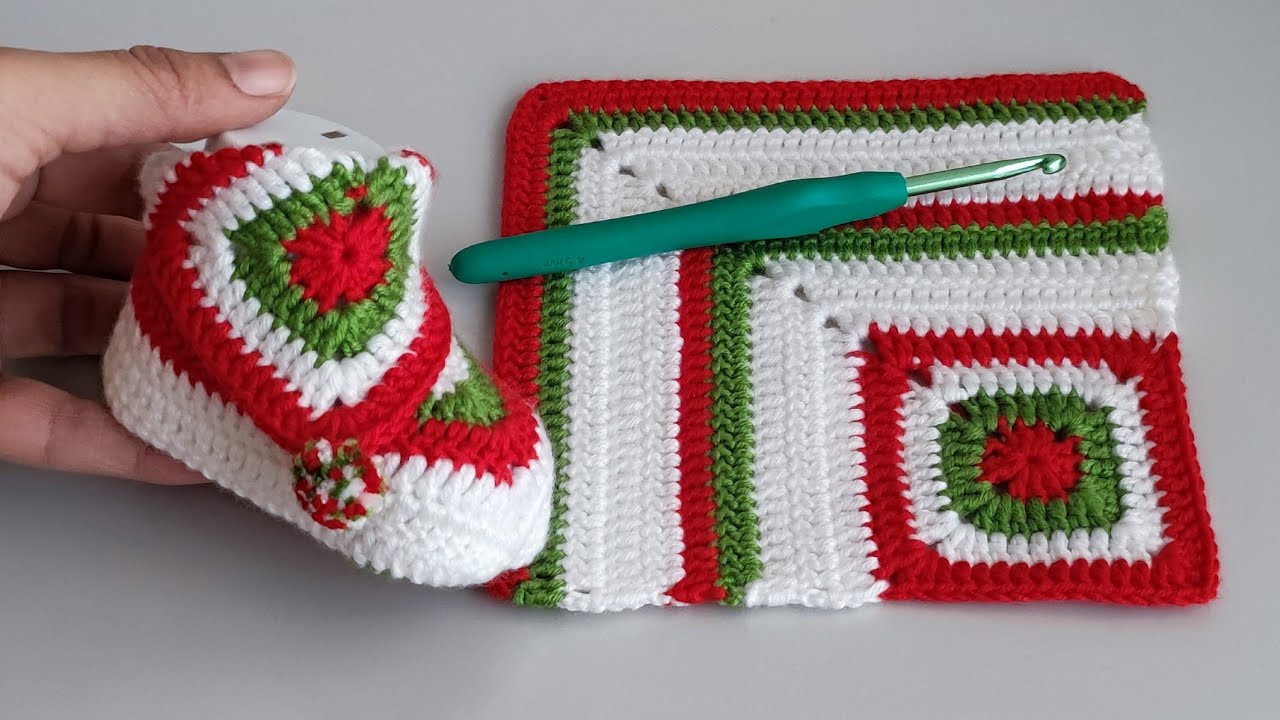
These delightful baby booties feature the timeless appeal of granny squares, crafted into a snug and stylish design. They’re a wonderful project for using up yarn scraps and make a heartwarming handmade gift for newborns and infants.
Skill Level: Intermediate Beginner (requires basic granny square knowledge and some shaping)
Materials:
- DK weight yarn in your desired colors (you’ll need small amounts of at least two colors for the granny squares and potentially a third color for joining and the ankle trim)
- Crochet hook size G/6 (4.0 mm) or size needed to obtain gauge
- Yarn needle for weaving in ends
- Scissors
- Stitch markers (optional, but helpful for marking the center)
Gauge:
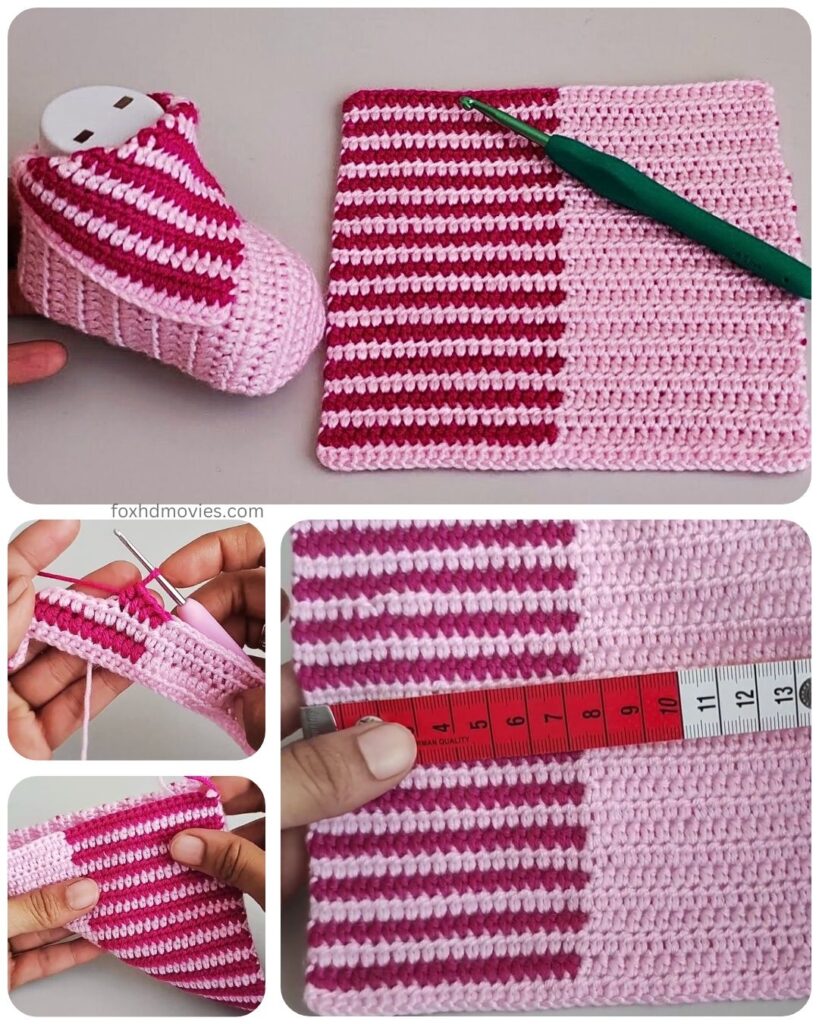
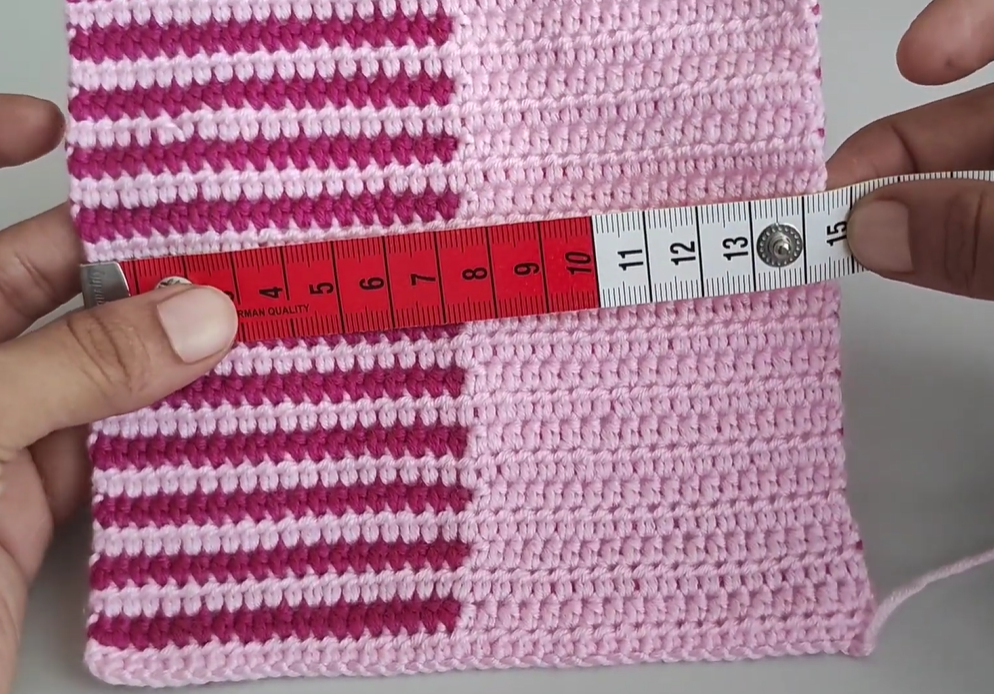
Aim for a finished granny square of approximately 3 inches by 3 inches after 4 rounds. Adjust your hook size if needed.
Finished Size:
This pattern is written for approximately 0-3 months (sole length around 3 inches). Instructions for slight adjustments will be included.
Abbreviations (US Crochet Terms):
- ch: chain
- sl st: slip stitch
- sc: single crochet
- hdc: half double crochet
- dc: double crochet
- tr: treble crochet (optional, for a slightly taller first round)
- sp: space
- st(s): stitch(es)
- beg: beginning
- rep: repeat
- inc: increase (work 2 stitches in the same stitch)
Let’s Get Started!
Part 1: Making the Granny Squares (Make 4)
We’ll create simple four-round granny squares that will form the main parts of the booties. Feel free to get creative with your color combinations for each square!
Round 1: With your first color, ch 4, sl st to join into a ring. (Alternatively, you can use a magic ring). Ch 3 (counts as first dc), 2 dc in the ring, ch 2, *3 dc in the ring, ch 2; rep from * twice more. Sl st to the top of the beg ch-3. (4 clusters of 3 dc, 4 ch-2 spaces)
Round 2: Sl st into the next dc and into the first ch-2 sp. Ch 3 (counts as first dc), 2 dc in the same ch-2 sp, ch 2, 3 dc in the same ch-2 sp (corner made). *Ch 1, (3 dc, ch 2, 3 dc) in the next ch-2 sp (corner made); rep from * twice more, ch 1. Sl st to the top of the beg ch-3.

Round 3: Sl st into the next 2 dc and into the first ch-2 sp. Ch 3 (counts as first dc), 2 dc in the same ch-2 sp, ch 2, 3 dc in the same ch-2 sp (corner made). *Ch 1, 3 dc in the next ch-1 sp, ch 1, (3 dc, ch 2, 3 dc) in the next ch-2 sp (corner made); rep from * twice more, ch 1, 3 dc in the last ch-1 sp, ch 1. Sl st to the top of the beg ch-3.
Round 4: Sl st into the next 2 dc and into the first ch-2 sp. Change to your second color (optional). Ch 3 (counts as first dc), 2 dc in the same ch-2 sp, ch 2, 3 dc in the same ch-2 sp (corner made). *Ch 1, 3 dc in each ch-1 sp across to the next corner, ch 1, (3 dc, ch 2, 3 dc) in the next ch-2 sp (corner made); rep from * twice more, ch 1, 3 dc in each ch-1 sp across to the last corner, ch 1. Sl st to the top of the beg ch-3. Fasten off and weave in ends for all four squares.
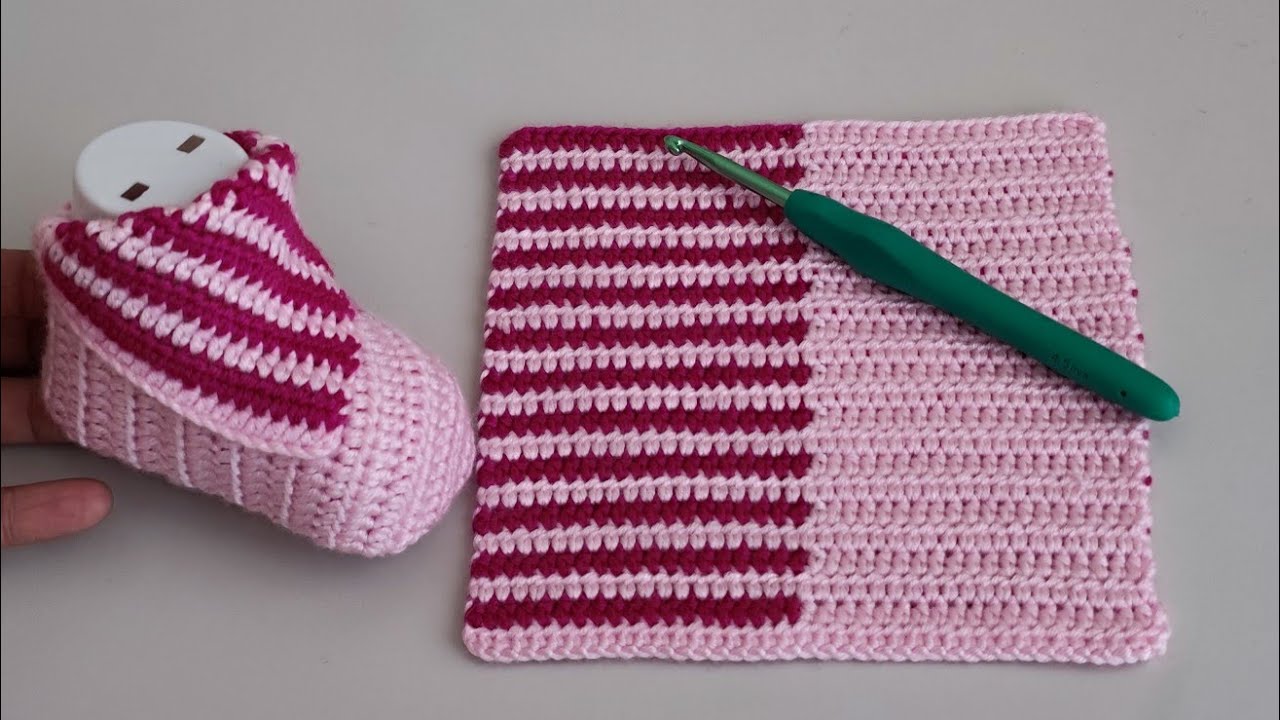
Part 2: Assembling the Bootie Sole
We’ll join two of the granny squares to form the sole of the bootie.
- Place two granny squares side by side with the wrong sides facing each other.
- Using your yarn needle and one of the colors you used, whip stitch or single crochet along one edge of each square to join them together. Aim to join through the back loops only for a neater seam.
Part 3: Creating the Bootie Upper
Now we’ll attach the remaining two granny squares to the sole to create the upper part of the bootie.
- Take one of the remaining granny squares. Align one edge of this square with one of the unjoined edges of the sole (the longer edge).
- Using your yarn needle or crochet hook and your chosen joining color, attach this square to the sole using a whip stitch or single crochet. Center the granny square along the edge of the sole.
- Repeat this process with the last granny square on the opposite unjoined edge of the sole. You should now have a somewhat three-dimensional shape resembling a tube with open ends.
Part 4: Shaping the Toe and Ankle
Now we’ll work around the edges to shape the toe and create the ankle opening.
- Toe Shaping: With the right side facing you, attach your yarn (the same color you used for joining or a new color) to one of the front corners where a side granny square meets the sole granny square.
- Ch 1, work single crochet evenly across the edge of the side granny square, across the front of the sole granny square, and up the other side granny square. Aim for an even number of stitches.
- Next Round: Ch 1, sc in the next few stitches. We will now begin decreasing to shape the toe. You can do this by working sc2tog (single crochet two together) across the center front of the bootie for a few stitches. The number of decreases will depend on the desired shape. For a 0-3 month size, you might work sc2tog 3-4 times in the center. Continue with sc to the end of the round. Sl st to the first sc.
- Repeat the decrease round: Ch 1, sc in the stitches before the decreased section, work sc2tog across the decreased section (you’ll have fewer sc2tog this round), and then sc to the end. Sl st to the first sc. Repeat this until you achieve a nicely rounded toe shape.

Part 5: Creating the Ankle Opening and Cuff
- With the right side facing you, attach your yarn to the back of the bootie where the two side granny squares meet the sole.
- Ch 1, work single crochet evenly around the entire top opening of the bootie. Sl st to the first sc.
- Cuff (Optional): You can create a small cuff by working a few more rounds of single crochet, half double crochet, or even a ribbed pattern (alternating front and back loop stitches). The number of rounds will determine the height of the cuff.
Part 6: Adding Fasteners (Optional)
You can add straps or ties to help keep the booties securely on little feet.
- Simple Ties: On each side of the ankle opening, attach a length of yarn and chain a desired length for the tie.
- Button Strap: Create a small strap on one side of the opening (similar to Part 4 of the “Perfect & Easy” pattern) and sew a button on the other side.

Finishing Touches:
- Weave in all remaining yarn ends securely.
- You can add decorative elements like small crocheted flowers, buttons, or appliques to personalize your granny square baby booties.
Adjusting the Size:
- For a smaller size: Use a smaller hook and/or thinner yarn. You could also work fewer rounds on your granny squares (though this will significantly alter the overall size and proportions).
- For a larger size: Use a larger hook and/or thicker yarn. You can also add an extra round to your granny squares. When shaping the toe, you’ll likely need to work more single crochet stitches before and after the decrease section and potentially work more decreases.
Video tutorial
Tips and Variations:
- Color Play: Embrace the versatility of granny squares and use a variety of colors for a vibrant look.
- Solid Color Booties: You can also create the granny squares in a single color for a more uniform appearance.
- Textured Granny Squares: Experiment with different stitch patterns within your granny squares for added texture.
- Secure Joining: Ensure your granny squares are joined tightly to create a durable bootie.
Congratulations! You’ve now crocheted a charming pair of granny square baby booties. These cozy and unique shoes are sure to be treasured. Happy crocheting!