 by
by 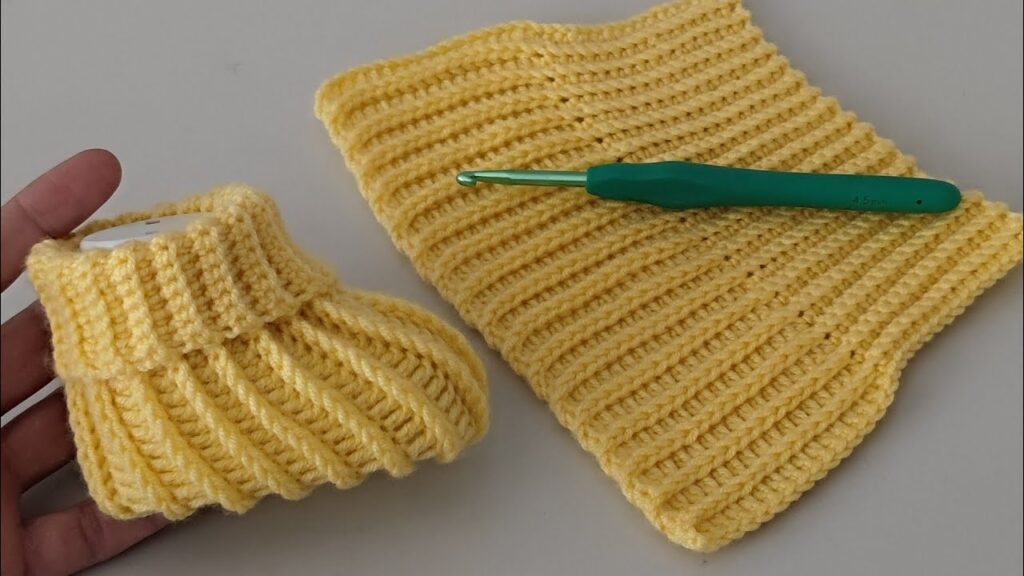
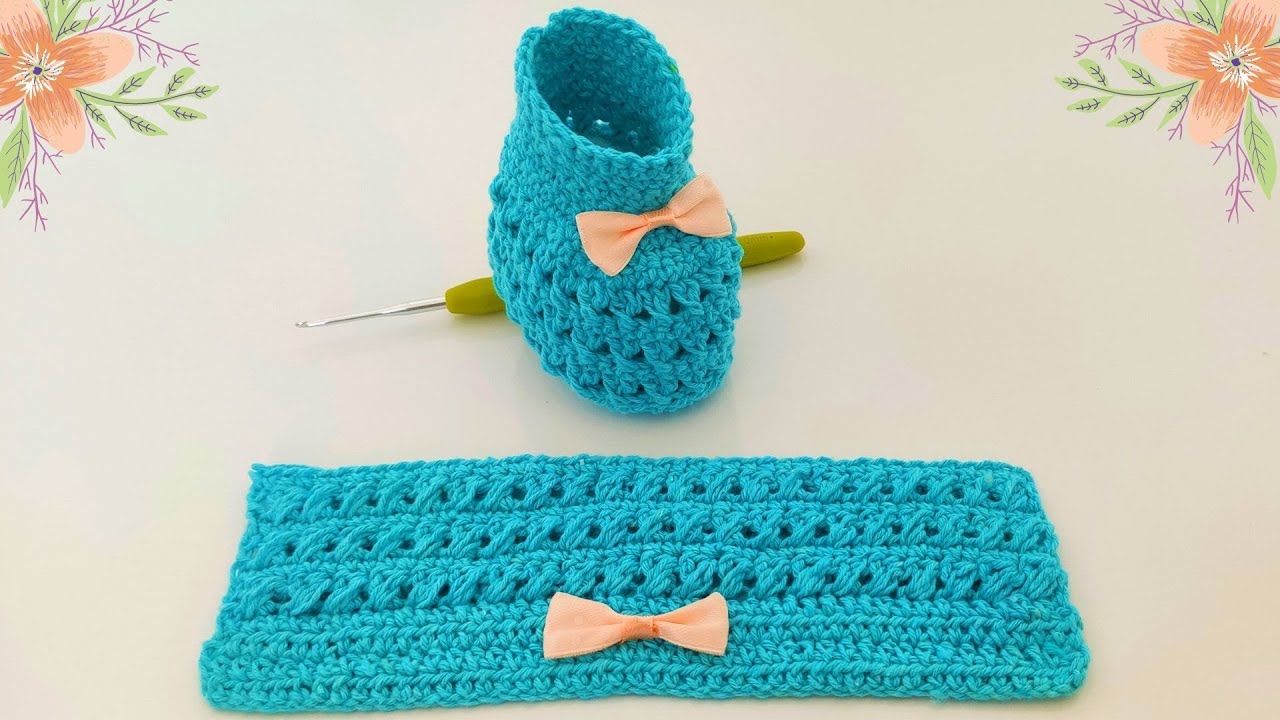
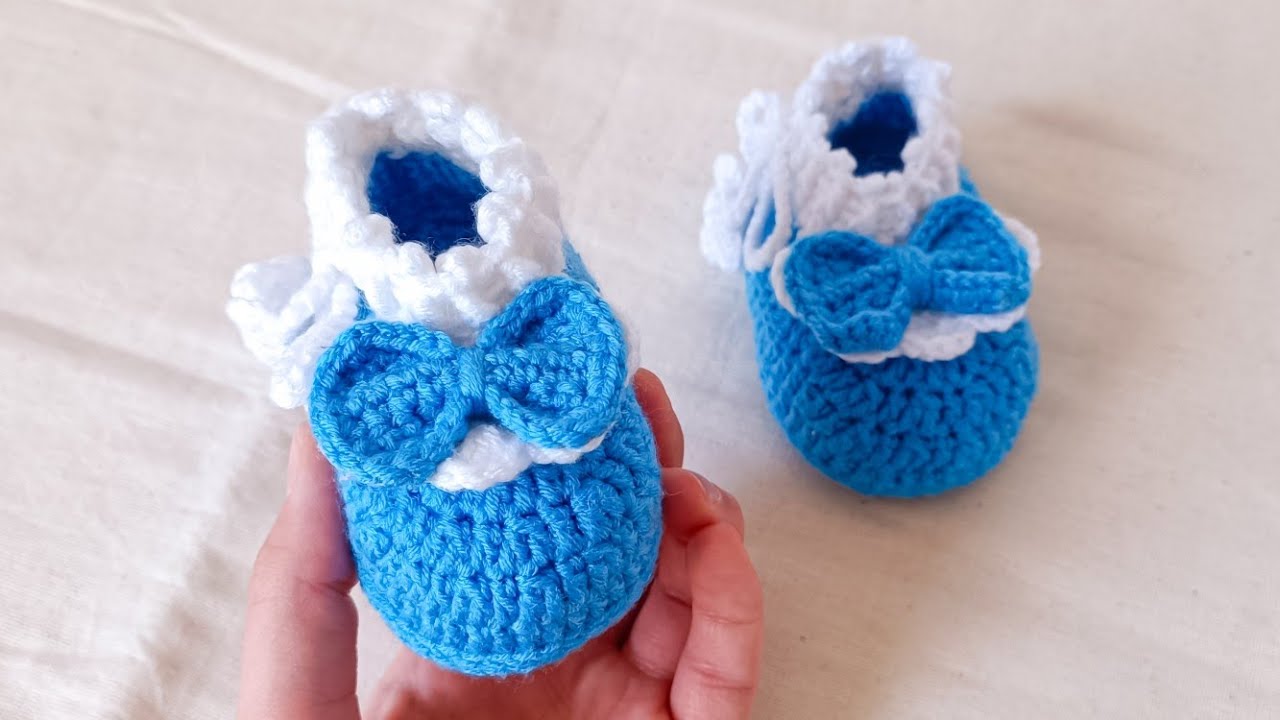
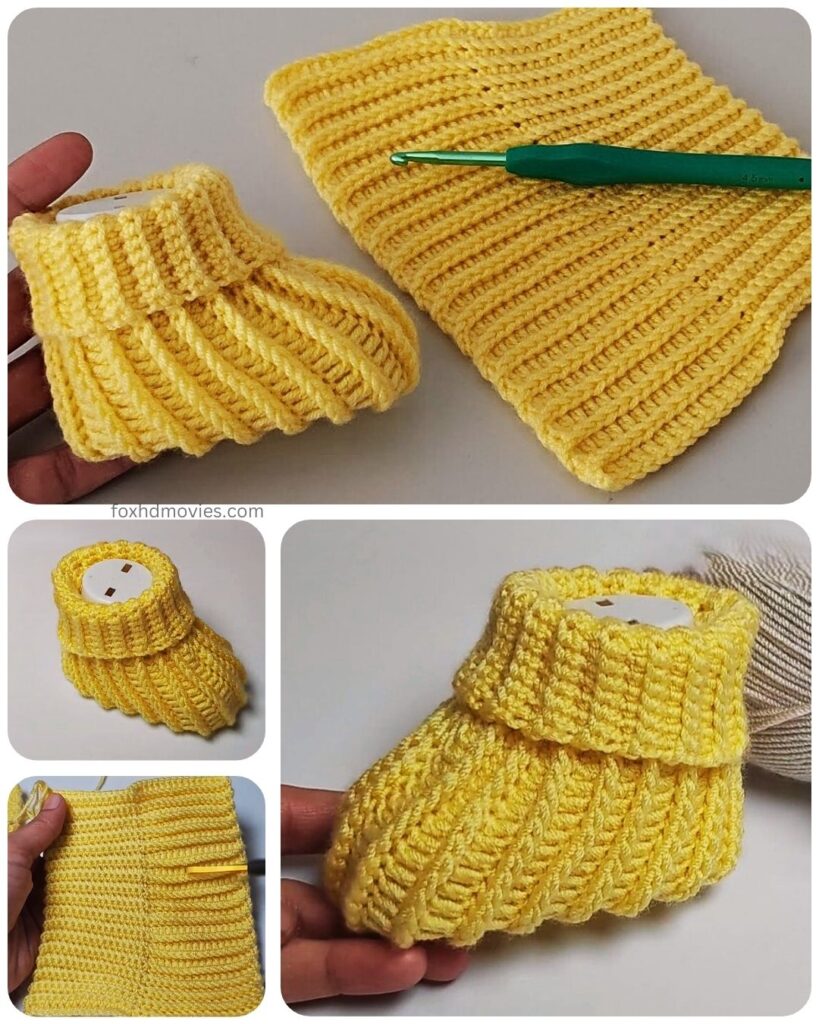
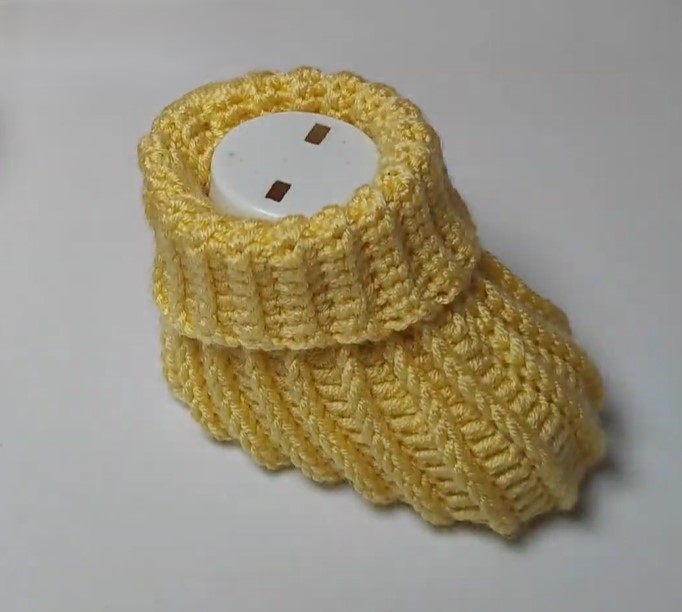
These snug and soft crochet newborn booties are a wonderful project for new crocheters and experienced crafters alike. They work up quickly and make a thoughtful baby shower gift or a loving addition to your own little one’s wardrobe.
Skill Level: Easy
Materials:
- DK weight yarn in your desired color(s)
- Crochet hook size G/6 (4.0 mm) or size needed to obtain gauge
- Yarn needle for weaving in ends
- Scissors
- Stitch markers (optional, but helpful for marking rounds)
Gauge:
While gauge isn’t critical for newborn booties, aim for approximately 4 rows of half double crochet (hdc) to measure about 1 inch in height. Adjust your hook size if needed.
Finished Size:
This pattern is designed to fit a newborn approximately 0-3 months (sole length around 3 inches).
Abbreviations (US Crochet Terms):
- ch: chain
- sl st: slip stitch
- sc: single crochet
- hdc: half double crochet
- dc: double crochet (used for shaping the toe)
- st(s): stitch(es)
- beg: beginning
- rep: repeat
- inc: increase (work 2 stitches in the same stitch)
- dec: decrease (work 2 stitches together)
- BLO: back loop only
Let’s Get Started!
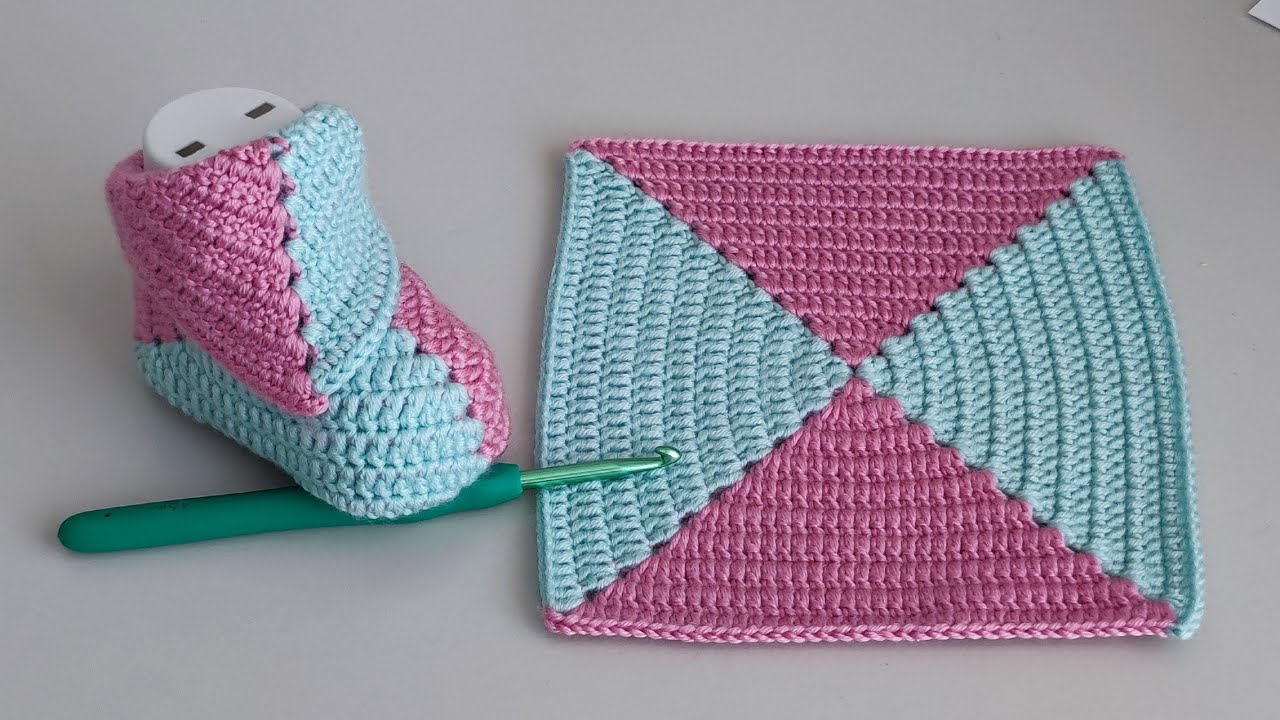
Part 1: Crocheting the Sole (Make 2)
We’ll begin by creating the oval-shaped sole of the tiny bootie.
Round 1: Ch 9. In the 2nd ch from the hook, sc 1. Sc in the next 6 ch. In the last ch, work 3 sc. Now working on the other side of the chain, sc in the next 6 ch. Sc in the last ch (where you started the first sc). Sl st to the first sc. (18 sts)
Round 2: Ch 1, sc in the same st. Sc in the next 7 sts. Inc in the next 3 sts. Sc in the next 7 sts. Inc in the last 2 sts. Sl st to the first sc. (23 sts)
Round 3: Ch 1, sc in the same st. Sc in the next 8 sts. (Sc 1, inc) repeat 3 times. Sc in the next 8 sts. (Inc, sc 1) repeat 2 times. Sl st to the first sc. (28 sts)
Fasten off the first sole and weave in the end. Make a second sole, but do not fasten off after the last round.

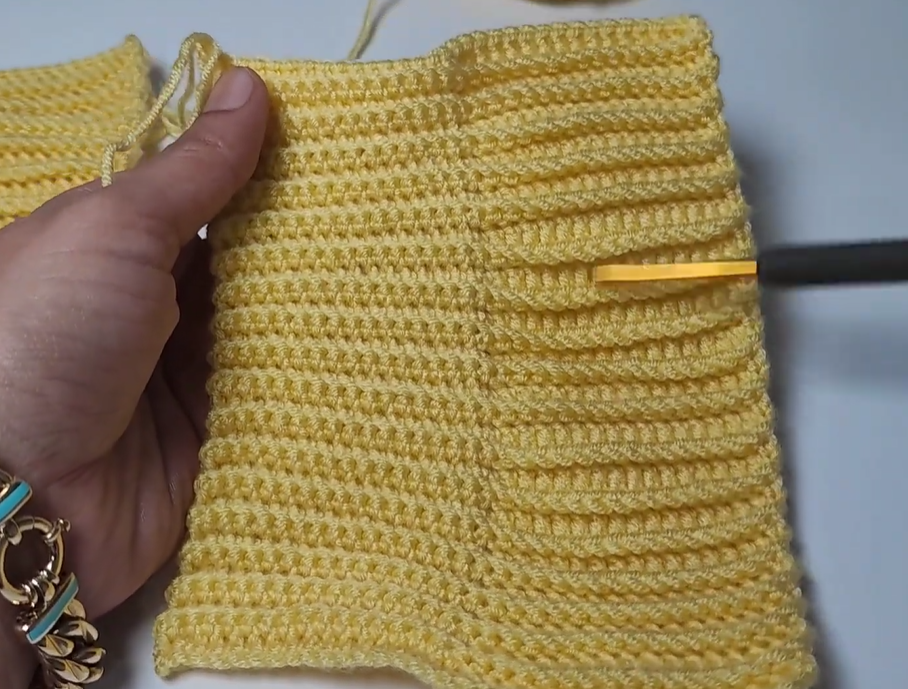
Part 2: Creating the Sides of the Bootie
Now we’ll work in the back loops only to create the upward curve of the bootie sides.
Round 1: Ch 1, hdc in the BLO of each st around. Sl st to the first hdc. (28 sts)
Round 2: Ch 1, hdc in each st around. Sl st to the first hdc. (28 sts)
Rounds 3-5: Repeat Round 2. This creates the main height of the bootie.
Part 3: Shaping the Toe
We’ll now shape the front of the bootie to create a cozy, rounded toe.
Round 6: Ch 1, hdc in the next 10 sts. Now we’ll work decreases to shape the toe. (Hdc 1, dec 1) repeat 3 times. Hdc in the remaining 9 sts. Sl st to the first hdc. (25 sts)
Round 7: Ch 1, hdc in the next 9 sts. (Dec 1) repeat 3 times. Hdc in the remaining 10 sts. Sl st to the first hdc. (22 sts)
Round 8: Ch 1, hdc in the next 8 sts. (Dec 1) repeat 2 times. Hdc in the remaining 10 sts. Sl st to the first hdc. (20 sts)
Fasten off and weave in the end of the second bootie.
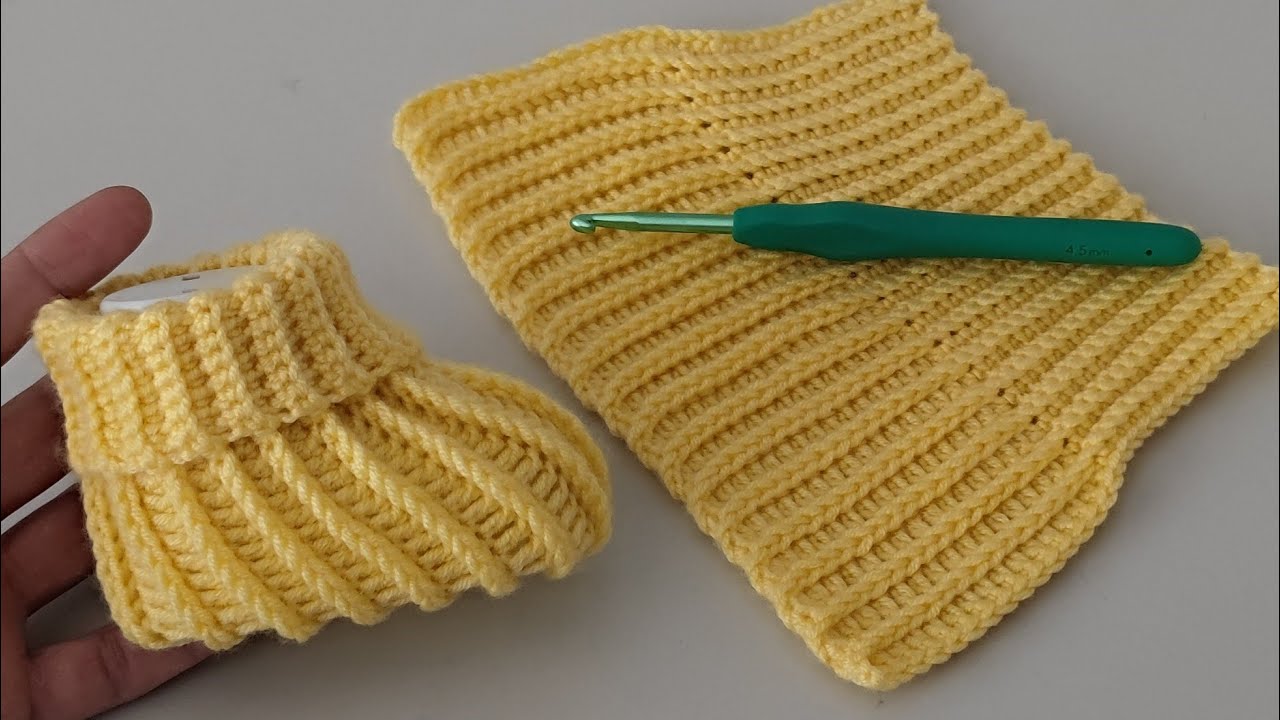
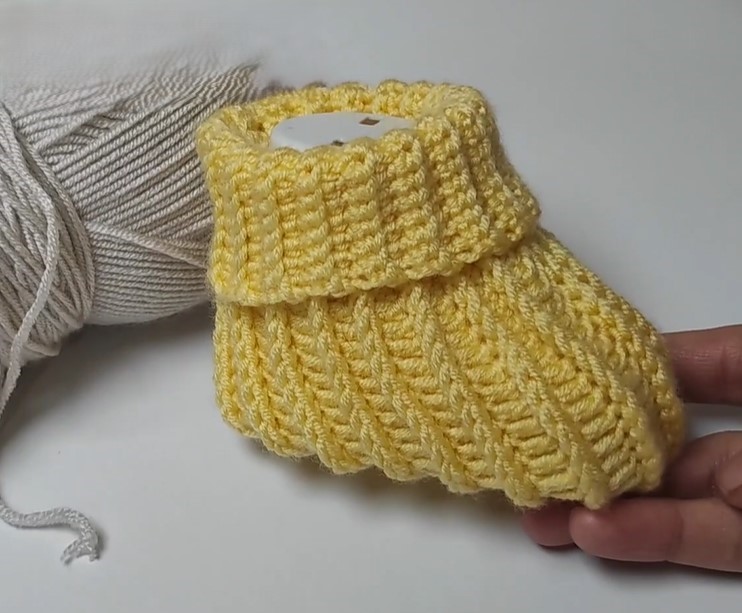
Part 4: Creating the Ankle Cuff (Optional)
This step adds a little extra coziness and a nice finished look to the booties. You can choose to skip this if you prefer a simpler edge.
- With the right side of the bootie facing you, attach your yarn to any stitch at the top opening.
- Ch 1, sc in each st around the top edge of the bootie. Sl st to the first sc. (20 sts)
- Optional Second Round: Ch 1, sc in each st around. Sl st to the first sc.
- Fasten off and weave in the end. Repeat for the second bootie.
Part 5: Adding Ties or Straps (Optional)
Adding ties or straps can help keep the booties securely on tiny feet.
Option 1: Simple Ties
- Cut two lengths of yarn, approximately 10-12 inches each.
- Thread one length through two corresponding stitches at the front of the ankle cuff (or the top edge if you didn’t make a cuff).
- Tie the ends together in a knot.
- Repeat on the other side of the same bootie and for the second bootie.
Option 2: Crocheted Ties
- Attach yarn to one side of the front of the ankle cuff (or top edge).
- Ch 25-30 (or desired length).
- Fasten off.
- Repeat on the other side of the same bootie and for the second bootie. These ties can be tied into a bow.
Option 3: Simple Strap with Button
- Attach yarn to one side of the bootie opening near the back.
- Ch 15-20 (or desired length for the strap).
- Sl st back down the chain. Fasten off.
- Sew a small button to the opposite side of the bootie opening so the strap can loop around it. Repeat for the second bootie.
Finishing Touches:
- Weave in all remaining yarn ends securely.
- You can add small decorative elements like tiny crocheted flowers, bows, or embroidered details to personalize your newborn booties. Ensure any embellishments are securely attached and pose no choking hazard.
Video tutorial
Tips for Perfect Newborn Booties:
- Soft Yarn: Choose a soft and gentle yarn that is suitable for baby items, such as cotton, bamboo, or a soft acrylic.
- Consistent Tension: Maintain even tension throughout your work for a neat and uniform finish.
- Symmetry: Pay close attention to making both booties as identical as possible.
- Safety: Avoid using small beads or buttons for very young newborns as they can be a choking hazard. Embroidered details or securely sewn crocheted elements are safer options.
- Sizing: Keep in mind that babies grow quickly! While this pattern is for newborns, you can adjust the size slightly by adding or subtracting a round or two to the sole.
Congratulations! You’ve now crocheted a precious pair of newborn booties. These little handmade wonders will keep those tiny feet warm and cozy. Enjoy gifting or dressing your little one in these sweet creations!