 by
by 
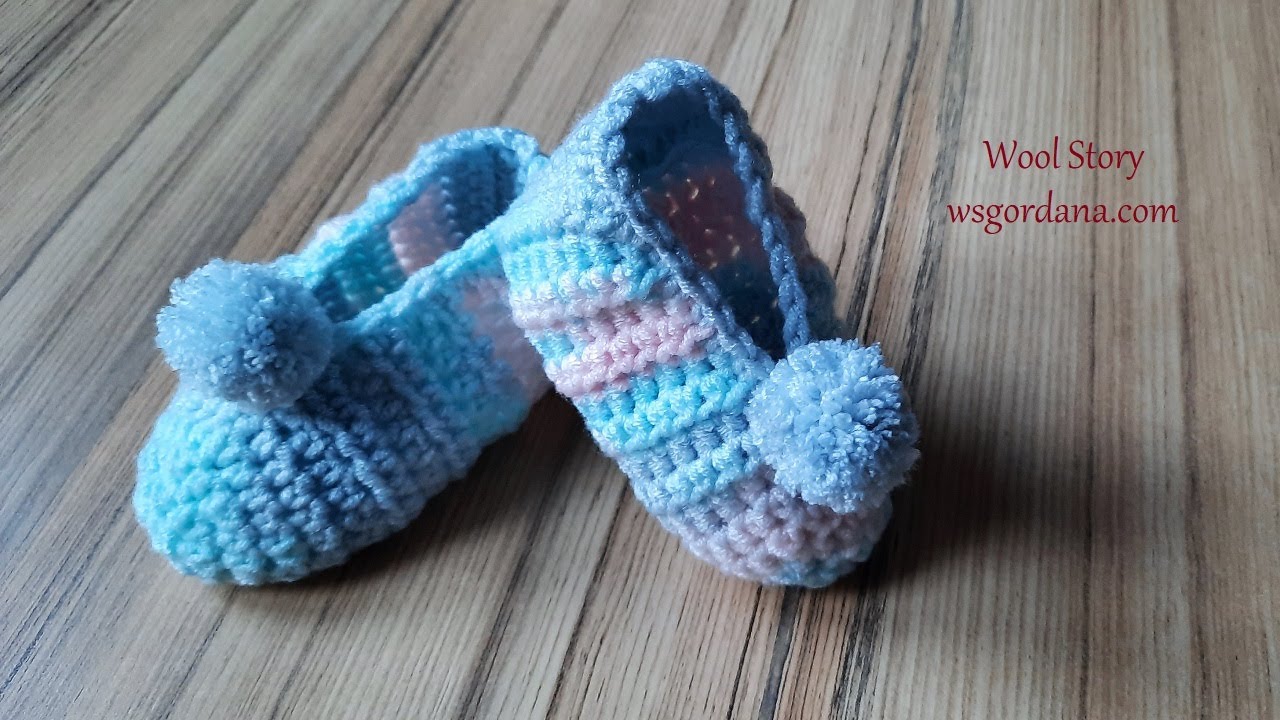
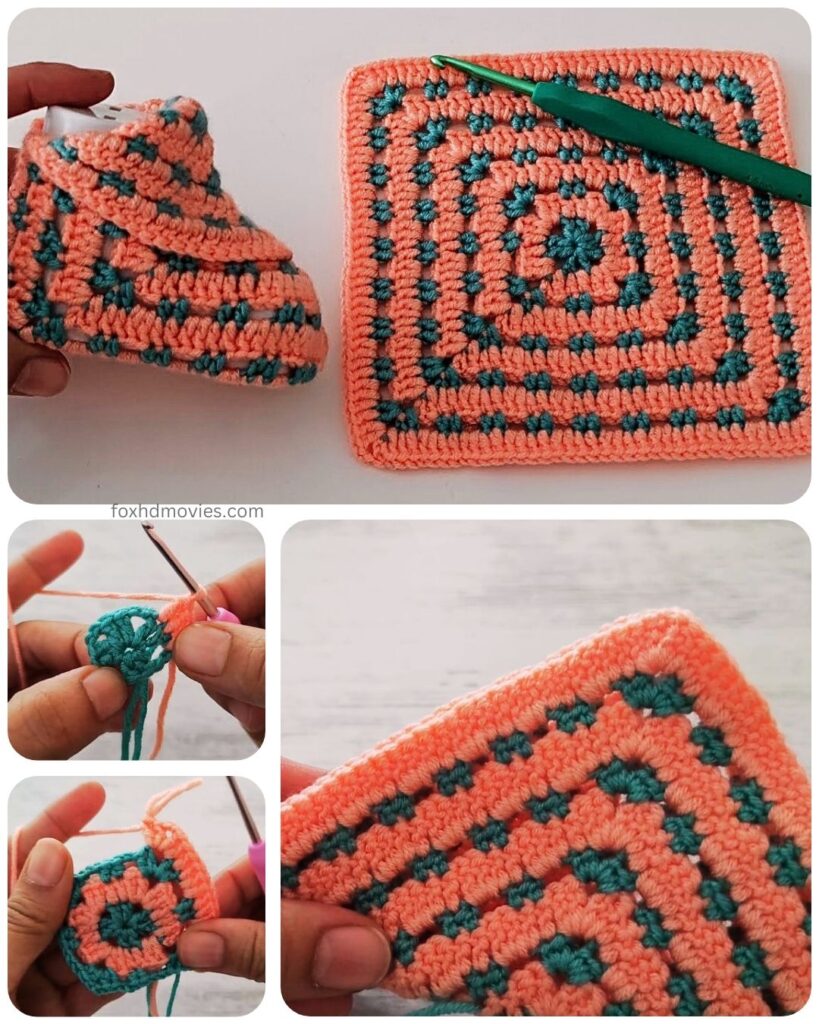
These unique crochet baby shoes feature a lightweight 3D mesh texture, providing excellent breathability and a gentle feel for delicate little feet. The simple construction makes them a quick and easy project, perfect for beginners and experienced crocheters alike. Plus, this pattern is completely free!
Skill Level: Easy
Materials:
- DK weight cotton or cotton blend yarn in your desired color
- Crochet hook size D/3 (3.25 mm) or size needed to obtain gauge
- Yarn needle for weaving in ends
- Scissors
- Stitch markers (optional, but helpful)
Gauge:
While gauge isn’t critical for baby shoes, aim for approximately 20 stitches and 16 rows of single crochet to measure 4 inches square. Adjust your hook size if needed. The mesh pattern will naturally create a more open and flexible fabric.
Finished Size:
This pattern is written for approximately 0-3 months (sole length around 3 inches). Instructions for slight adjustments will be included.
Special Stitch:
- Extended Single Crochet (esc): Insert hook into stitch, yarn over, pull up a loop (2 loops on hook). Yarn over, pull through 1 loop (2 loops on hook). Yarn over, pull through both loops. (This creates a slightly taller and looser single crochet, contributing to the mesh effect).
Abbreviations (US Crochet Terms):
- ch: chain
- sl st: slip stitch
- sc: single crochet
- esc: extended single crochet
- st(s): stitch(es)
- beg: beginning
- rep: repeat
- inc: increase (work 2 stitches in the same stitch)
Let’s Get Started!
Part 1: Crocheting the Sole (Make 2)
We’ll start with a simple single crochet sole.
Round 1: Ch 9. In the 2nd ch from the hook, sc 1. Sc in the next 6 ch. In the last ch, work 3 sc. Now working on the other side of the chain, sc in the next 6 ch. Sc in the last ch (where you started the first sc). Sl st to the first sc. (18 sts)
Round 2: Ch 1, sc in the same st. Sc in the next 7 sts. Inc in the next 3 sts. Sc in the next 7 sts. Inc in the last 2 sts. Sl st to the first sc. (23 sts)
Round 3: Ch 1, sc in the same st. Sc in the next 8 sts. (Sc 1, inc) repeat 3 times. Sc in the next 8 sts. (Inc, sc 1) repeat 2 times. Sl st to the first sc. (28 sts)
Round 4: Ch 1, sc in the same st. Sc in the next 9 sts. (Sc 2, inc) repeat 3 times. Sc in the next 9 sts. (Inc, sc 2) repeat 2 times. Sl st to the first sc. (33 sts)
For a slightly larger sole (approx. 3-6 months, 3.5 inches): Add one more round, following the same increasing pattern: Ch 1, sc in the same st. Sc in the next 10 sts. (Sc 3, inc) repeat 3 times. Sc in the next 10 sts. (Inc, sc 3) repeat 2 times. Sl st to the first sc. (38 sts)

Fasten off the first sole and weave in the end. Make a second sole, but do not fasten off after the last round.
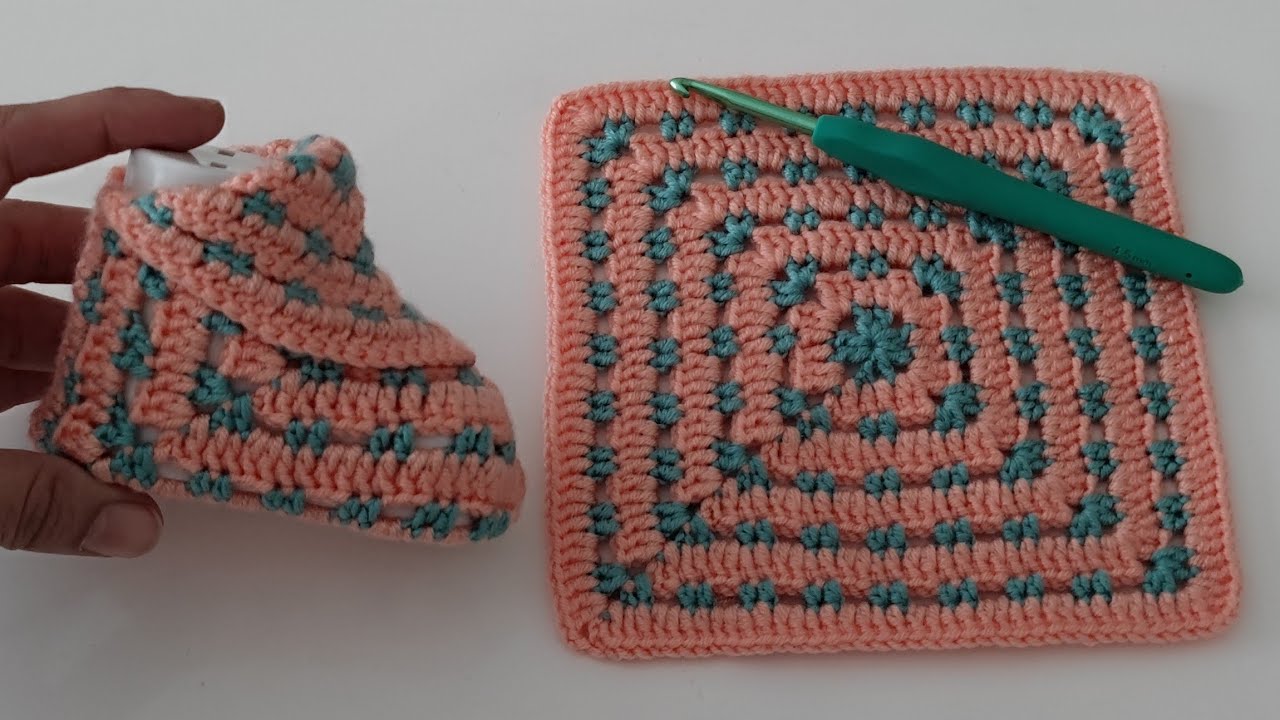
Part 2: Creating the 3D Mesh Sides
Now we’ll introduce the extended single crochet to create the airy mesh texture. We’ll work in continuous rounds (spiral) for this section, so you might want to use a stitch marker to keep track of the beginning of each round.
Round 1: Ch 1 (does not count as a stitch), esc in each stitch around the edge of the sole. Do not join. (33 or 38 sts)
Round 2: Esc in each stitch around. Continue working in a spiral. (33 or 38 sts)
Rounds 3-7 (or until desired height): Repeat Round 2. The extended single crochet will create a slightly open and textured fabric. You can adjust the number of rounds to make the shoe taller or shorter.

Part 3: Shaping the Toe
We’ll now shape the front of the shoe for a comfortable fit. We’ll switch back to standard single crochet for this section to create a slightly denser fabric for shaping.
Round 8: Sc in the next 10 (or 12 for larger size) sts. Now we’ll work decreases to shape the toe. (Sc 1, sc2tog – single crochet two stitches together) repeat 4 times. Sc in the remaining 11 (or 13 for larger size) sts. Do not join. (29 or 34 sts)
Round 9: Sc in the next 9 (or 11 for larger size) sts. (Sc2tog) repeat 4 times. Sc in the remaining 10 (or 12 for larger size) sts. Do not join. (25 or 30 sts)
Round 10: Sc in the next 8 (or 10 for larger size) sts. (Sc2tog) repeat 3 times. Sc in the remaining 8 (or 10 for larger size) sts. Sl st to the next stitch to join. (22 or 27 sts)
Fasten off and weave in the end of the second shoe.
Part 4: Creating the Ankle Opening and Strap (Optional)
We’ll now create a simple opening for the ankle. You can also add an optional strap for extra security.

Simple Ankle Opening:
- With the right side facing you, locate the center front of the shoe.
- Count approximately 7-9 stitches to the left and right of the center front.
- Attach your yarn at one of these points.
- Ch 1, sc evenly around the remaining opening of the shoe.
- You can work a few rounds of single crochet to create a neat edge.
- Fasten off and weave in the end. Repeat for the second shoe.
Optional Simple Strap:
- Attach your yarn to one side of the ankle opening (towards the back of the shoe).
- Ch 15-20 (adjust length as needed).
- Starting in the 2nd ch from the hook, sc in each ch across.
- Sl st to the opposite side of the ankle opening to attach the strap.
- Fasten off and weave in the ends.
- Repeat for the second shoe. You can add a small button to the side opposite the strap for fastening.

Finishing Touches:
- Weave in all remaining yarn ends securely.
- The 3D mesh texture is beautiful on its own, but you can add small, lightweight embellishments if desired, ensuring they are securely attached.
Adjusting the Size:
- For a smaller size: Use a smaller hook and/or thinner yarn. You can also work fewer rounds on the sole and the height of the sides.
- For a larger size: Use a larger hook and/or thicker yarn. You can add an extra round to the sole and increase the number of rounds for the sides. Adjust the stitch counts in the toe shaping accordingly.
Video tutorial
Tips for Great 3D Mesh Baby Shoes:
- Cotton Yarn: Cotton or a cotton blend yarn is recommended for breathability and softness against baby’s skin.
- Loose Tension: Try to maintain a slightly looser tension when working the extended single crochet to enhance the mesh effect.
- Symmetry: As always, try to make both shoes as identical as possible.
- Safety: Ensure all yarn ends are securely woven in and any embellishments are safely attached.
Congratulations! You’ve created a super easy and free pair of 3D mesh baby shoes. These airy and comfortable booties are perfect for keeping little feet happy. Enjoy your beautiful creation!