 by
by 
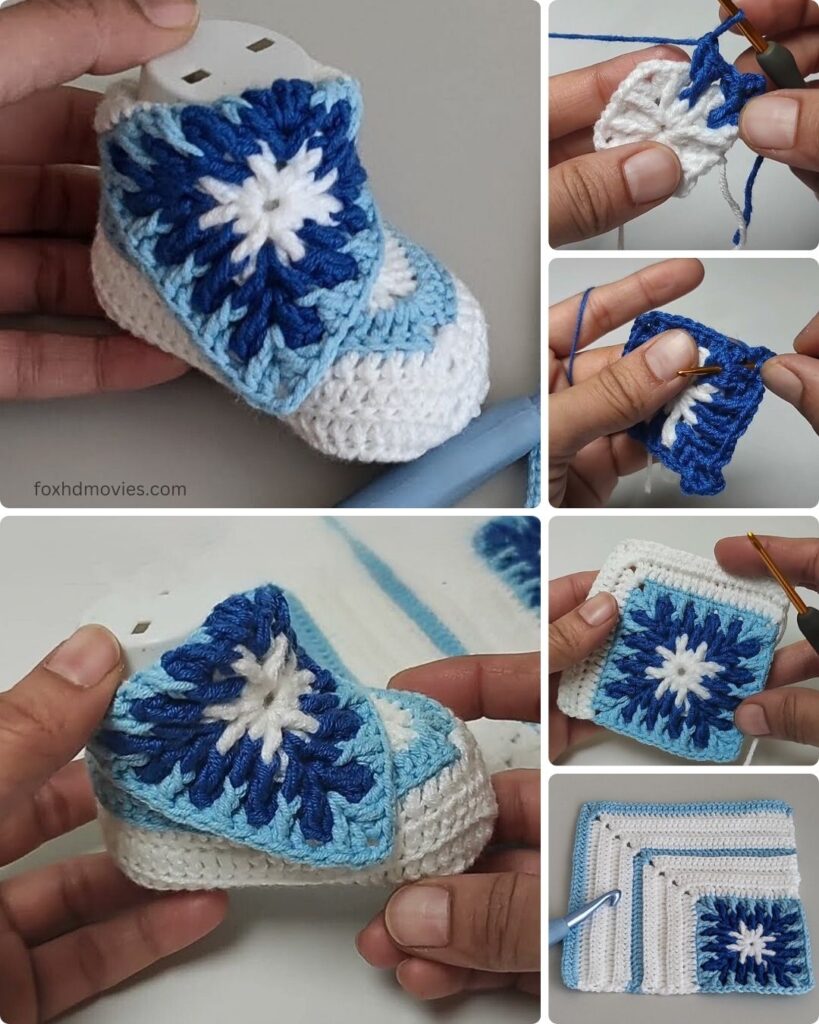
Welcome, fellow crafters! If you’re just starting your crochet journey and dreaming of creating something special for a little one, these sweet and simple baby booties are the perfect project. This step-by-step guide will walk you through each stage, from the initial chain to the final adorable touches. Get ready to learn and create a heartwarming gift!
Skill Level: Beginner
Materials:
- DK weight yarn in your desired color (a soft, baby-friendly yarn is recommended)
- Crochet hook size G/6 (4.0 mm) or size needed to obtain gauge
- Yarn needle for weaving in ends
- Scissors
- Stitch markers (optional, but helpful for beginners)
Gauge:
While gauge isn’t crucial for baby booties, aiming for approximately 4 rows of half double crochet (hdc) to measure about 1 inch in height will help you achieve a similar size.
Finished Size:
This pattern is written for approximately 0-3 months (sole length around 3 inches). Instructions for slight adjustments will be included.
Abbreviations (US Crochet Terms):
- ch: chain
- sl st: slip stitch
- sc: single crochet
- hdc: half double crochet
- st(s): stitch(es)
- beg: beginning
- rep: repeat
- inc: increase (work 2 stitches in the same stitch)
- dec: decrease (work 2 stitches together)
- BLO: back loop only
Let’s Begin Our Bootie Adventure!
Part 1: Crocheting the Sole (Make 2)
The sole forms the foundation of our little bootie. We’ll create a small oval shape.
Round 1: Ch 9. In the 2nd ch from the hook, sc 1. Sc in the next 6 ch. In the last ch, work 3 sc. Now, turn your work slightly and working on the other side of the initial chain, sc in the next 6 ch. Sc in the last ch (where you started the first sc). Sl st to the first sc to join the round. (18 sts)
- Beginner Tip: Make sure you’re working around the entire chain to create the oval shape.
Round 2: Ch 1 (this does not count as a stitch). Sc in the same st. Sc in the next 7 sts. Inc (work 2 sc in the same st) in the next 3 sts. Sc in the next 7 sts. Inc in the last 2 sts. Sl st to the first sc. (23 sts)
- Beginner Tip: A stitch marker can be placed in the first stitch of each round to help you keep track.
Round 3: Ch 1 (does not count as a stitch). Sc in the same st. Sc in the next 8 sts. (Sc 1, inc) repeat 3 times. Sc in the next 8 sts. (Inc, sc 1) repeat 2 times. Sl st to the first sc. (28 sts)
Round 4: Ch 1 (does not count as a stitch). Sc in the same st. Sc in the next 9 sts. (Sc 2, inc) repeat 3 times. Sc in the next 9 sts. (Inc, sc 2) repeat 2 times. Sl st to the first sc. (33 sts)
- Adjusting the Size: For a slightly larger sole (approx. 3-6 months), you can add one more round following the same increasing pattern: Ch 1, sc in the same st. Sc in the next 10 sts. (Sc 3, inc) repeat 3 times. Sc in the next 10 sts. (Inc, sc 3) repeat 2 times. Sl st to the first sc. (38 sts)
Fasten off the first sole and weave in the end. Make a second sole, but do not fasten off after the last round. We’ll continue working on this second sole to build the rest of the bootie.

Part 2: Building the Bootie Sides
Now we’ll work in the back loops only to create the upward curve of the bootie sides.
Round 1: Ch 1 (does not count as a stitch). Sc in the back loop only (BLO) of each st around. Sl st to the first sc. (33 or 38 sts)
- Beginner Tip: Look closely at your stitches. The back loop is the loop furthest away from you. Working in the BLO creates a nice ridge.
Round 2: Ch 1 (does not count as a stitch). Sc in each st around (working in both loops now). Sl st to the first sc. (33 or 38 sts)
Rounds 3-6 (or until desired height): Repeat Round 2. The number of rounds here will determine how tall the bootie is. For a standard baby bootie, 4 rounds are usually sufficient.
Part 3: Shaping the Toe

We’ll now shape the front of the bootie to create a cozy, rounded toe.
Round 7: Ch 1 (does not count as a stitch). Sc in the next 10 (or 12 for larger size) sts. Now, we’ll work decreases. Dec 1 (insert your hook into the next st, yarn over, pull up a loop; insert your hook into the following st, yarn over, pull up a loop; yarn over and pull through all three loops on your hook). Repeat the decrease 4 times. Sc in the remaining 11 (or 13 for larger size) sts. Sl st to the first sc. (29 or 34 sts)
- Beginner Tip: Decreasing helps to narrow the fabric and create the rounded shape.
Round 8: Ch 1 (does not count as a stitch). Sc in the next 9 (or 11 for larger size) sts. (Dec 1) repeat 4 times. Sc in the remaining 10 (or 12 for larger size) sts. Sl st to the first sc. (25 or 30 sts)
Round 9: Ch 1 (does not count as a stitch). Sc in the next 8 (or 10 for larger size) sts. (Dec 1) repeat 3 times. Sc in the remaining 8 (or 10 for larger size) sts. Sl st to the first sc. (22 or 27 sts)

Fasten off and weave in the end of the second bootie.
Part 4: Creating the Ankle Cuff (Optional)
This step adds a nice finishing touch and helps the booties stay on.
- With your yarn attached to the back of the bootie (opposite the toe), ch 1.
- Work sc evenly around the top edge of the bootie. Sl st to the first sc.
- For a slightly taller cuff, you can repeat this round. You can also use a different stitch like half double crochet for a different texture.
- Beginner Tip: Try to keep your stitches even around the cuff.
Part 5: Adding a Strap or Tie (Optional)
A small strap or tie can help secure the bootie around the baby’s ankle.
- Simple Strap with Button:
- Attach yarn to the side of the bootie.
- Ch 15-20 (adjust length as needed).
- Sc in the 2nd ch from the hook and in each ch across.
- Sl st to the other side of the bootie. Fasten off and weave in ends.
- Sew a small button to the front of the bootie where the strap will fasten.
- Tie Straps:
- Attach yarn to one side of the bootie. Ch a desired length for the tie (e.g., 25-30 ch). Fasten off.
- Repeat on the other side of the bootie.
- These ties can be gently tied together to secure the bootie.
Video tutorial
Finishing Touches:
- Weave in all remaining yarn ends securely.
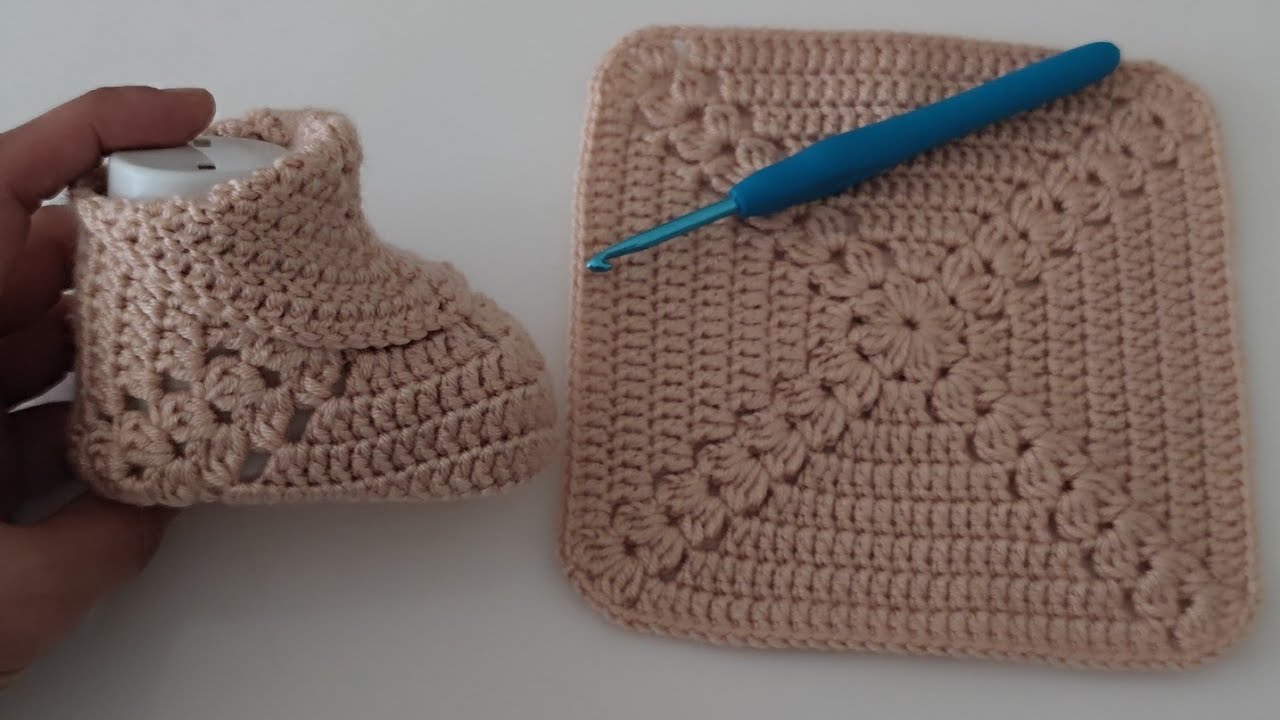
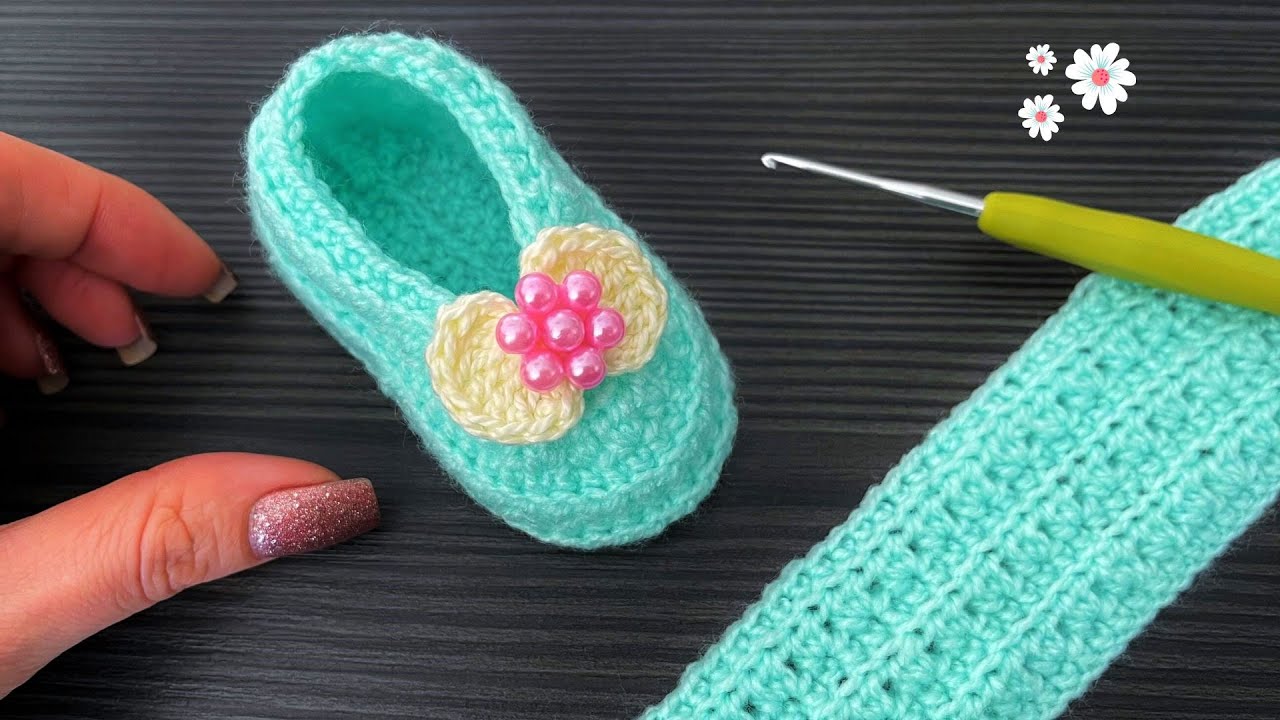
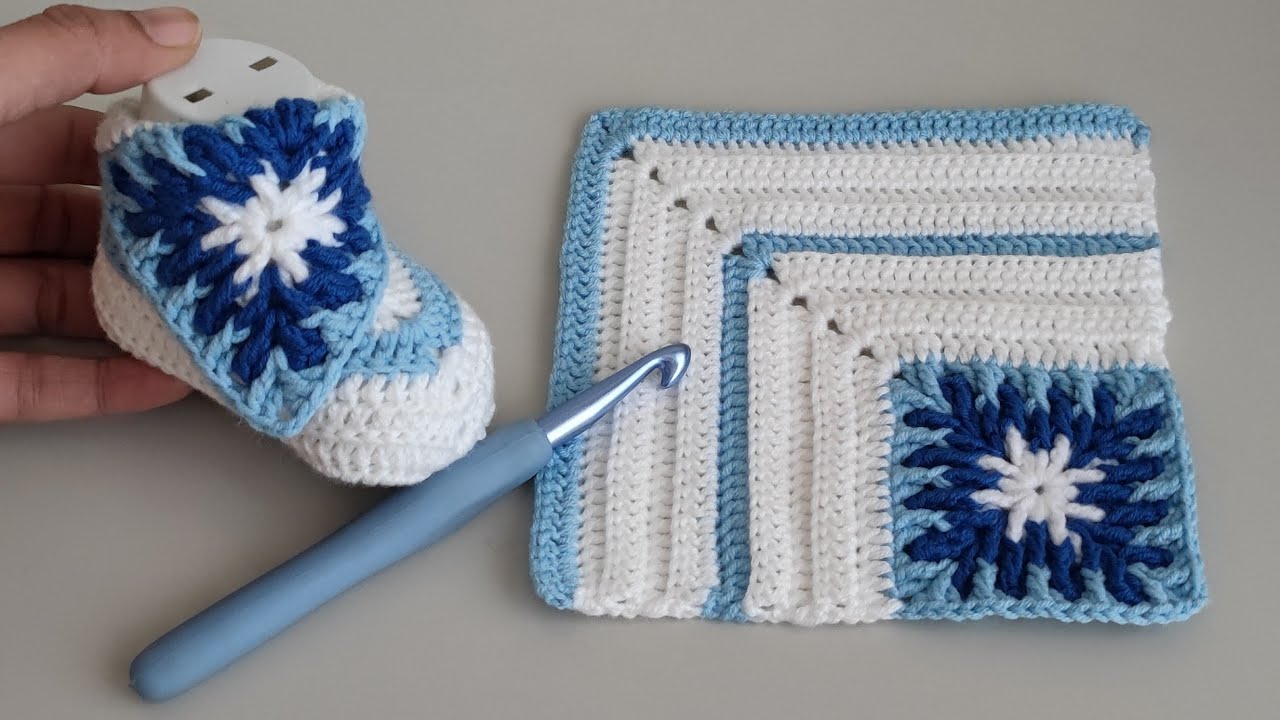
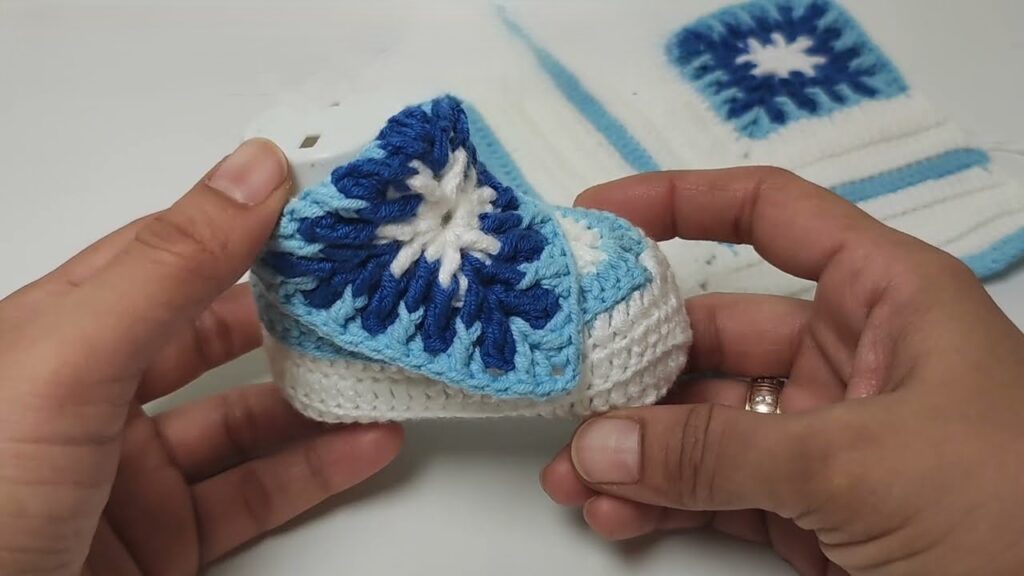
- You can add small decorative elements like crocheted flowers, bows, or tiny buttons (ensure they are very securely attached if used).
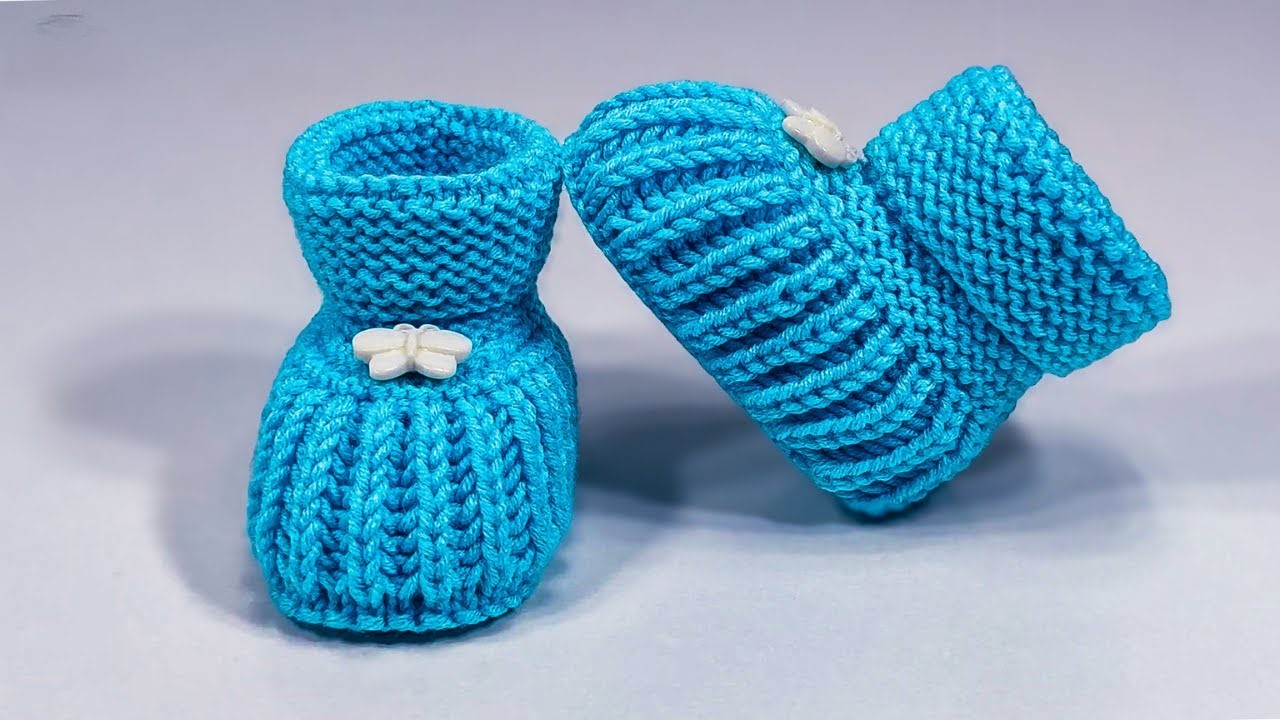
Congratulations! You’ve now created a beautiful pair of handmade baby booties. These little treasures are sure to keep tiny feet warm and cozy. As you become more comfortable with crochet, you can explore different colors, textures, and embellishments to personalize your creations. Happy crocheting!