 by
by 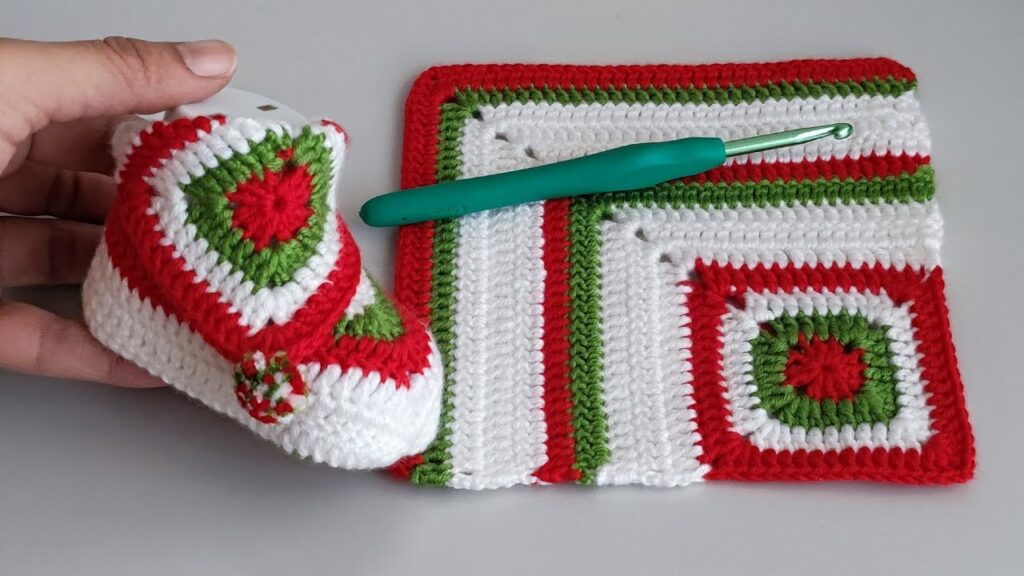
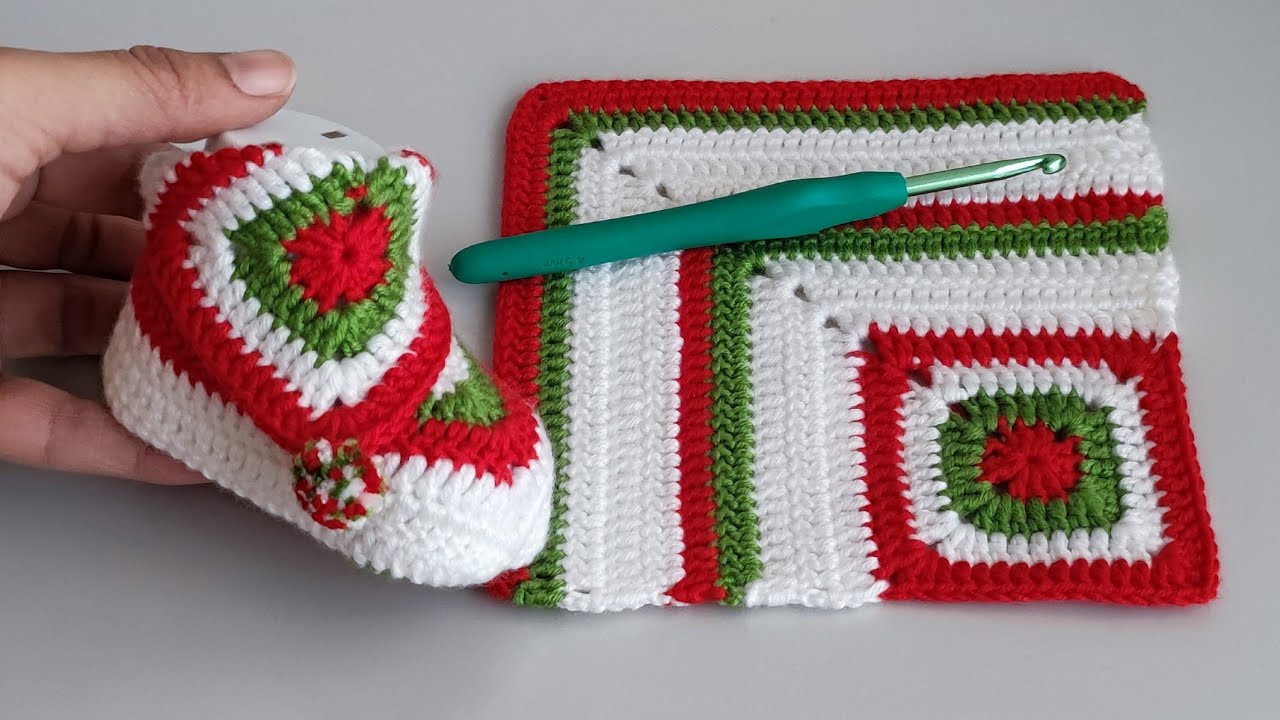
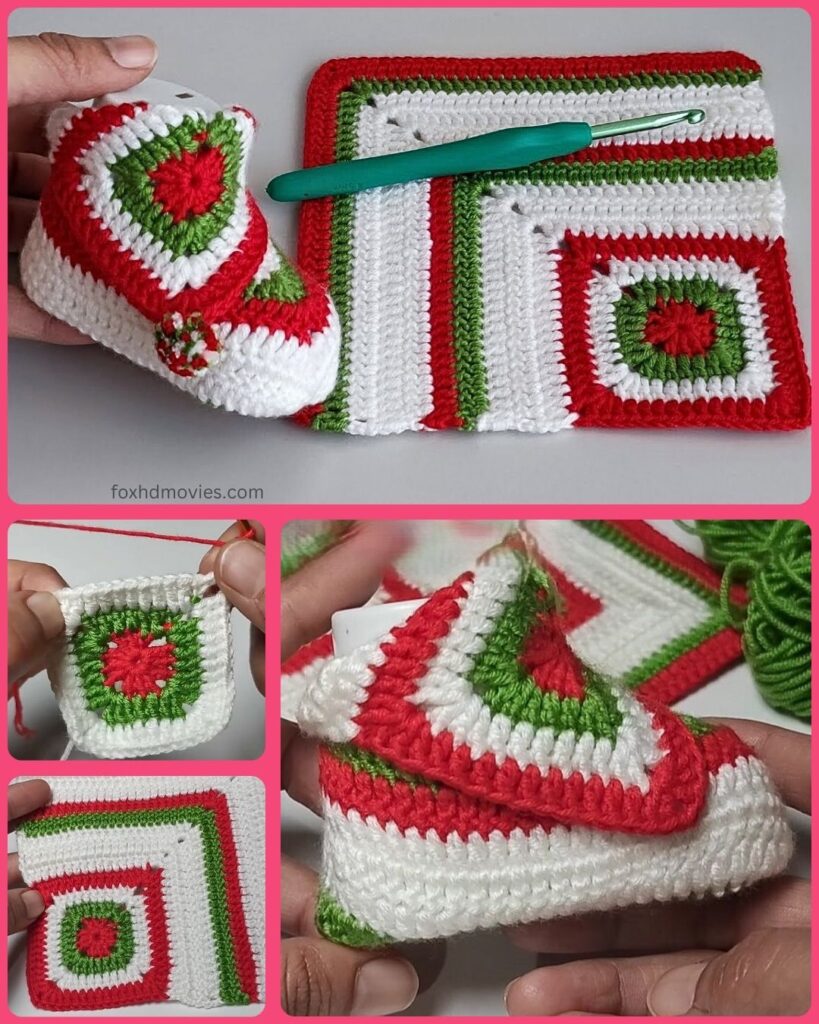
These adorable crochet baby Christmas booties are the perfect handmade gift for the holiday season. Combining the warmth of crochet with festive colors and a cozy bootie shape, they’ll keep tiny toes snug and add a touch of Christmas cheer.
Skill Level: Intermediate Beginner (basic crochet stitches, color changes, and simple shaping involved)
Materials:
- Worsted weight yarn in three Christmas colors:
- Main Color (e.g., Red)
- Cuff Color (e.g., White)
- Accent Color (e.g., Green)
- Crochet hook size H/8 (5.0 mm) or size needed to obtain gauge
- Yarn needle for weaving in ends
- Scissors
- Stitch markers (optional, but helpful for the heel shaping)
- Small decorative buttons or pom-poms (optional, for embellishment)
Gauge:
Approximately 4 rows of half double crochet (hdc) = 1 inch in height. Adjust your hook size if needed.
Finished Size:
This pattern is written for approximately 0-3 months (sole length around 3 inches). Adjustments for a slightly larger size will be noted.
Abbreviations (US Crochet Terms):
- ch: chain
- sl st: slip stitch
- sc: single crochet
- hdc: half double crochet
- dc: double crochet
- st(s): stitch(es)
- beg: beginning
- rep: repeat
- inc: increase (work 2 stitches in the same stitch)
- dec: decrease (work 2 stitches together)
- BLO: back loop only
- FLO: front loop only

Let’s Get Jolly!
Part 1: Crocheting the Sole (Make 2)
We’ll start with the sole in the Main Color.
Round 1: Ch 11. In the 2nd ch from the hook, sc 1. Sc in the next 8 ch. In the last ch, work 3 sc. Now working on the other side of the chain, sc in the next 8 ch. Sc in the last ch (where you started the first sc). Sl st to the first sc. (22 sts)
Round 2: Ch 1, sc in the same st. Sc in the next 9 sts. Inc in the next 3 sts. Sc in the next 9 sts. Inc in the last 2 sts. Sl st to the first sc. (27 sts)
Round 3: Ch 1, sc in the same st. Sc in the next 10 sts. (Sc 1, inc) repeat 3 times. Sc in the next 10 sts. (Inc, sc 1) repeat 2 times. Sl st to the first sc. (32 sts)
For a slightly larger sole (approx. 3-6 months, 3.5 inches): Add one more round: Ch 1, sc in the same st. Sc in the next 11 sts. (Sc 2, inc) repeat 3 times. Sc in the next 11 sts. (Inc, sc 2) repeat 2 times. Sl st to the first sc. (37 sts)
Fasten off the first sole and weave in the end. Make a second sole, but do not fasten off after the last round.

Part 2: Creating the Bootie Body
We’ll continue with the Main Color, working in the back loops only to create the upward curve.
Round 1: Ch 1, sc in the BLO of each st around. Sl st to the first sc. (32 or 37 sts)
Round 2: Ch 1, sc in each st around. Sl st to the first sc. (32 or 37 sts)
Rounds 3-6: Repeat Round 2. This creates the main height of the bootie foot.
Part 3: Shaping the Toe
Now we’ll shape the front of the bootie for a snug fit.

Round 7: Ch 1, sc in the next 10 (or 12 for larger size) sts. Now we’ll work decreases to shape the toe. (Sc 1, dec 1) repeat 4 times. Sc in the remaining 10 (or 11 for larger size) sts. Sl st to the first sc. (28 or 33 sts)
Round 8: Ch 1, sc in the next 9 (or 11 for larger size) sts. (Dec 1) repeat 4 times. Sc in the remaining 9 (or 10 for larger size) sts. Sl st to the first sc. (24 or 29 sts)
Round 9: Ch 1, sc in the next 8 (or 10 for larger size) sts. (Dec 1) repeat 3 times. Sc in the remaining 8 (or 9 for larger size) sts. Sl st to the first sc. (21 or 26 sts)
Fasten off and weave in the end of the second bootie.
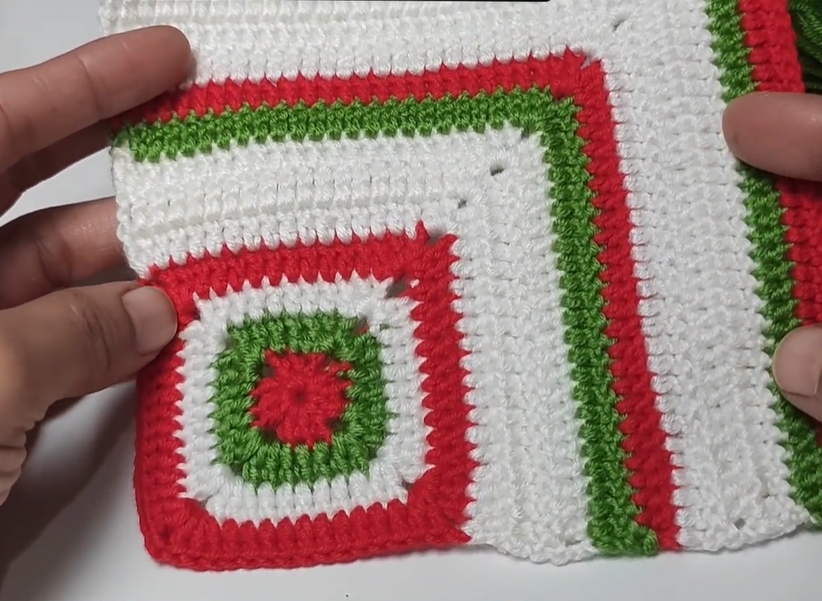
Part 4: Creating the Cuff
We’ll now add the festive cuff in the Cuff Color (e.g., White).
- With the right side of the bootie facing you, attach the Cuff Color yarn to any stitch around the top opening of the bootie.
- Ch 1, sc in each st around. Sl st to the first sc. (21 or 26 sts)
- Round 2: Ch 1, sc in the BLO of each st around. Sl st to the first sc. (21 or 26 sts)
- Rounds 3-5 (or desired cuff height): Ch 1, sc in each st around. Sl st to the first sc.
- Fasten off and weave in the end.
- Repeat the cuff for the second bootie.
Part 5: Adding the Heel Shaping and Strap (Optional)
This step adds a bit more of a “bootie” feel and an optional strap for extra security. We’ll use the Accent Color (e.g., Green) for this.
- Heel Shaping: With the right side of the bootie facing you and the cuff at the top, locate the center back of the bootie. Count approximately 7-9 stitches across the back (adjust based on size). Mark the stitches at each end of this section with stitch markers.
- Attach the Accent Color yarn to one of the marked stitches.
- Row 1: Ch 1, sc in the marked st and in each st across to the other marked st. Turn. (7-9 sts)
- Row 2: Ch 1, sc dec over the first two sts, sc in the next sts across until the last two sts, sc dec over the last two sts. Turn. (5-7 sts)
- Row 3: Ch 1, sc dec over the first two sts, sc in the remaining st(s), sc dec over the last two sts. Turn. (3-5 sts)
- Continue decreasing in this manner until you have only 1 or 2 stitches remaining. Fasten off and weave in the end, creating a slightly gathered heel.
- Optional Strap: If you want to add a strap, attach the Accent Color yarn to one side of the heel flap you just created. Chain a desired length for the strap (around 15-20 ch for a small size). Attach the other end of the chain to the opposite side of the heel flap. You can then add a small button to one side and a loop on the other for fastening.

Part 6: Adding a Top Loop (Optional, for hanging)
This is a cute addition if the booties are intended as decorative gifts. Use the Cuff Color.
- Attach the yarn to the back of the cuff.
- Ch 10-15 (or desired loop length).
- Sl st back into the point of attachment.
- Fasten off and weave in the ends.
Part 7: Festive Embellishments (Optional)
Now for the fun part – adding those Christmas touches!
- Pom-poms: Attach small white or red pom-poms to the toes or the top of the cuff.
- Buttons: Sew on small Christmas-themed buttons (snowflakes, stars, etc.) to the cuff or the side of the bootie.
- Crocheted Details: You could crochet small holly leaves or berries and attach them.
- Embroidery: Add simple embroidered details like snowflakes or a small Christmas tree.
Finishing Touches:
- Weave in all remaining yarn ends securely.
- Shape the booties gently with your hands.
Video tutorial
Tips for the Best Christmas Booties:
- Color Combinations: Get creative with your Christmas color choices! Consider red and green stripes, white with red trim, or even festive metallic yarns.
- Stitch Definition: Using a slightly tighter tension can help your stitches look more defined, especially with color changes.
- Secure Attachments: Ensure any embellishments are firmly attached for safety.
- Gift Presentation: Consider packaging the booties in a small gift box or tying them together with a festive ribbon.
Congratulations! You’ve now crocheted the best little Christmas baby booties, perfect for gifting and spreading holiday cheer. These handmade booties will be a treasured keepsake for the little one and their family. Happy holiday crocheting!