by
by 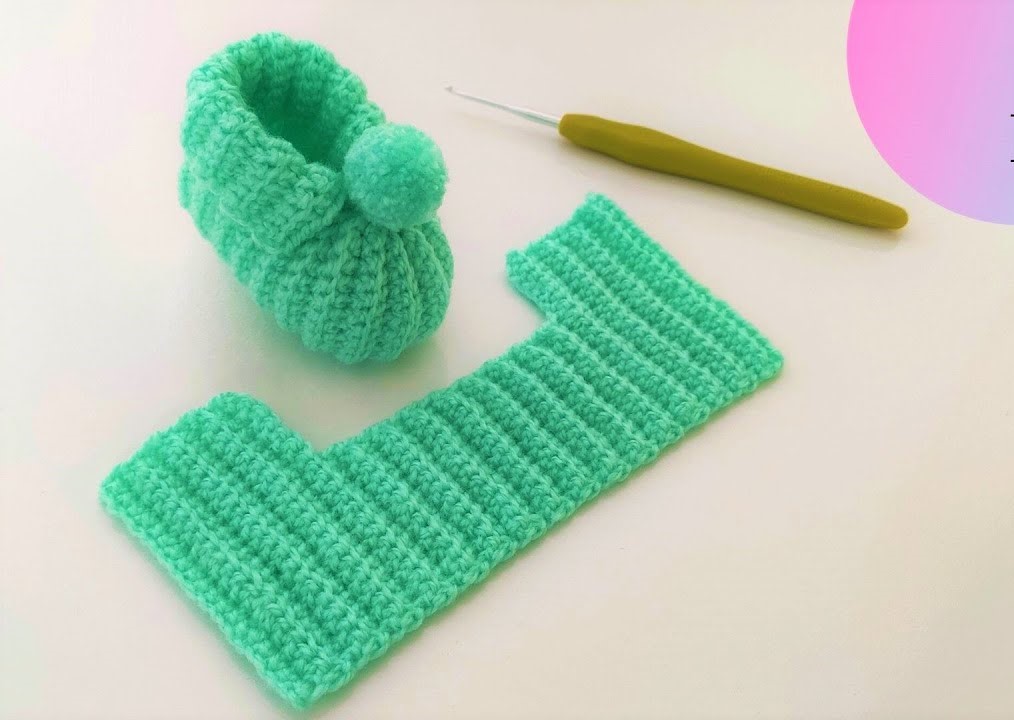
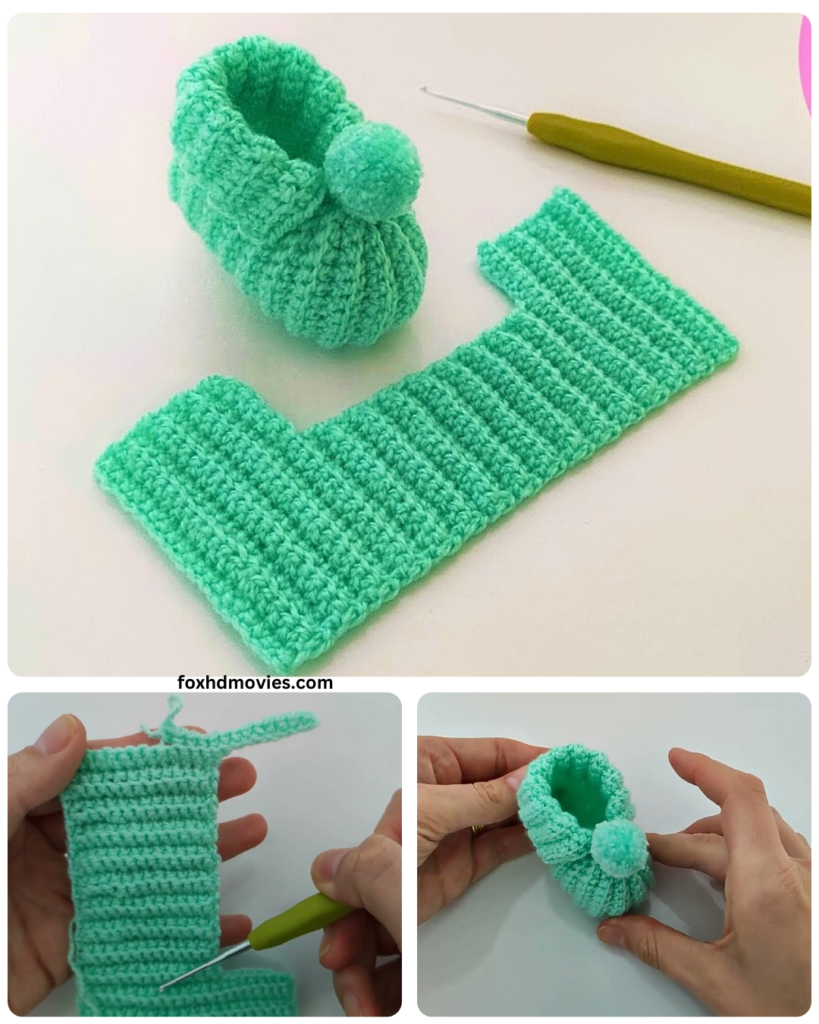
here is a detailed step-by-step pattern for making baby crochet boots. This pattern is for approximately 0-3 months size (sole length around 3.5 inches). You can adjust the hook size and yarn weight to make smaller or larger boots.
Materials:
- Worsted weight yarn (approximately 50-75 yards) in your desired color(s)
- Crochet hook size G/6 (4.0 mm) or size needed to obtain gauge
- Tapestry needle for weaving in ends
- Scissors
Abbreviations (US Crochet Terms):
- ch: chain
- sl st: slip stitch
- sc: single crochet
- hdc: half double crochet
- dc: double crochet
- inc: increase (2 stitches in the same stitch)
- dec: decrease (sc2tog – single crochet two stitches together)
- st(s): stitch(es)
- rnd: round
- rep: repeat
- BLO: back loop only
- FLO: front loop only

Gauge:
While gauge isn’t critical for baby items, approximately 4 hdc = 1 inch and 3 rows hdc = 1 inch will give you the approximate size.
Instructions:
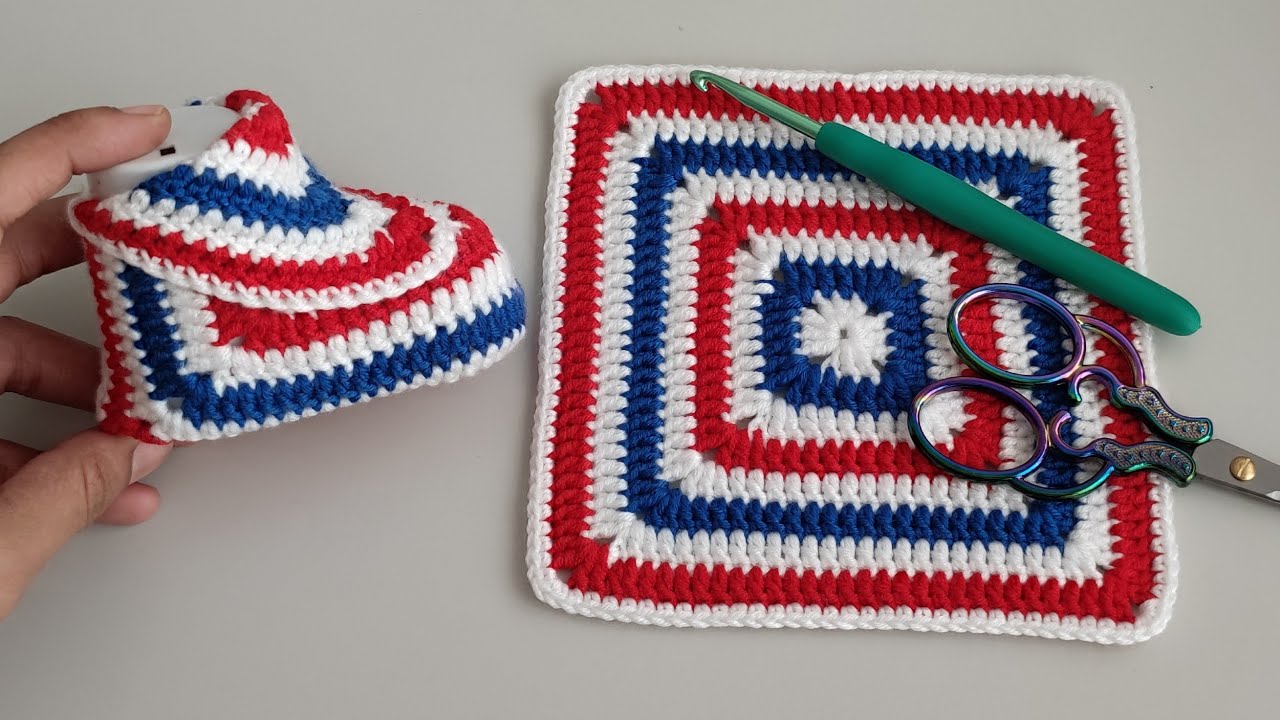
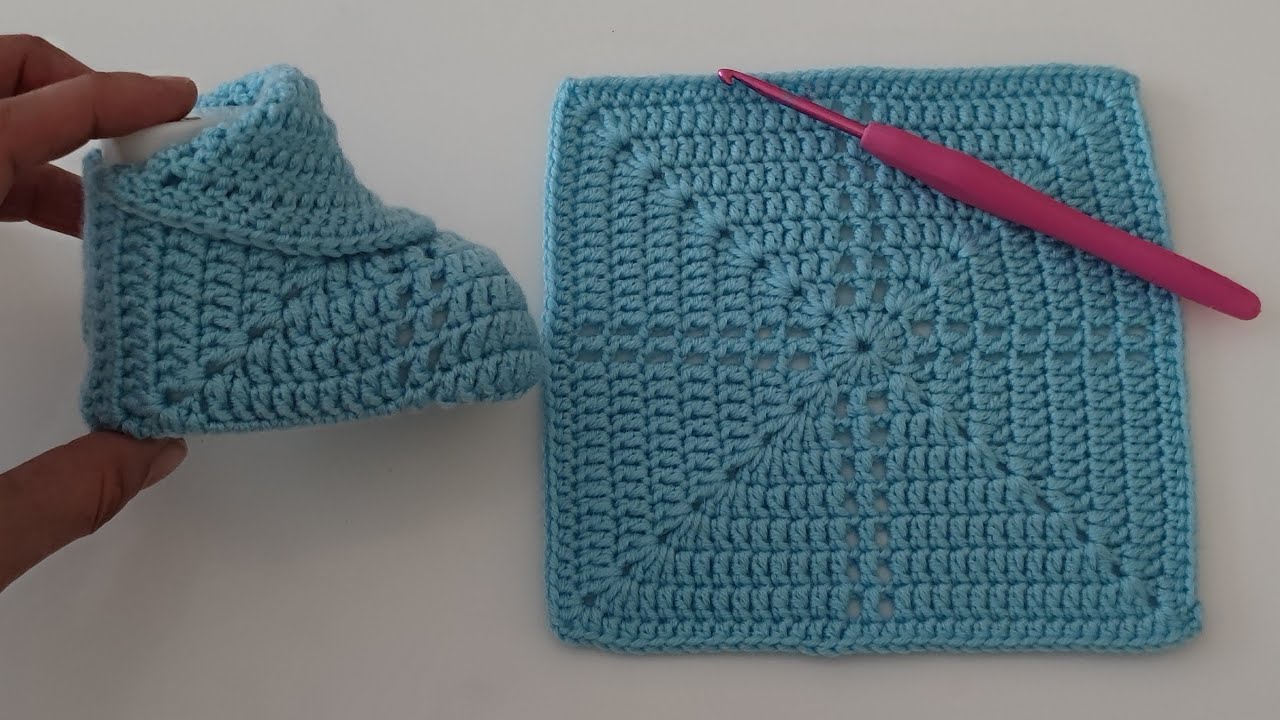
Part 1: The Sole (Make 2)
We will start by creating an oval shape for the sole.
Round 1: Ch 9. In the 2nd ch from the hook, sc 1. Sc in the next 6 chs. In the last ch, work 3 sc. Now working on the other side of the chain, sc in the next 6 chs. In the last ch (where you started), work 2 sc. Sl st to the first sc to join. (18 sts)
Round 2: Ch 1 (does not count as a st). Inc in the first st. Inc in the next st. Sc in the next 6 sts. Inc in the next 3 sts. Sc in the next 6 sts. Inc in the next 2 sts. Sl st to the first inc to join. (24 sts)
Round 3: Ch 1 (does not count as a st). Sc in the first st. Inc in the next st. Sc in the next 8 sts. Inc in the next st. Sc in the next st. Inc in the next st. Sc in the next 8 sts. Inc in the next st. Sc in the last st. Sl st to the first sc to join. (28 sts)
Round 4: Ch 1 (does not count as a st). Sc in the first 2 sts. Inc in the next st. Sc in the next 10 sts. Inc in the next st. Sc in the next 2 sts. Inc in the next st. Sc in the next 10 sts. Inc in the next st. Sl st to the first sc to join. (32 sts)
Round 5: Ch 1 (does not count as a st). Sc in the first 3 sts. Inc in the next st. Sc in the next 12 sts. Inc in the next st. Sc in the next 3 sts. Inc in the next st. Sc in the next 12 sts. Inc in the next st. Sl st to the first sc to join. (36 sts)
- For a slightly larger sole (approx. 3-6 months): You can add another round following the same increasing pattern. For example, Round 6: Ch 1, sc in the first 4 sts, inc, sc in the next 14 sts, inc, sc in the next 4 sts, inc, sc in the next 14 sts, inc. Sl st to join. (40 sts)

Part 2: The Boot Body
Now we will work up from the sole to create the main shape of the boot.
Round 6: Ch 1 (does not count as a st). Sc in BLO of each st around. Sl st to the first sc to join. (36 sts)
Round 7: Ch 1 (does not count as a st). Sc in each st around. Sl st to the first sc to join. (36 sts)
Round 8: Ch 2 (counts as the first hdc). Hdc in each st around. Sl st to the top of the beginning ch 2 to join. (36 sts)
Round 9 – Round 12 (or desired height): Ch 2 (counts as the first hdc). Hdc in each st around. Sl st to the top of the beginning ch 2 to join. (36 sts) * Adjust the number of rounds here to make the boot taller or shorter.
Part 3: Shaping the Front of the Boot
We will now shape the front part of the boot to create the opening.
Round 13: Ch 1 (does not count as a st). Sc in the next 10 sts. Ch 16. Skip the next 16 sts. Sc in the last 10 sts. Sl st to the first sc to join. (20 sc + 16 ch)
Round 14: Ch 1 (does not count as a st). Sc in the next 10 sts. Sc in each of the next 16 chs. Sc in the last 10 sts. Sl st to the first sc to join. (36 sts)
Round 15: Ch 2 (counts as the first hdc). Hdc in each st around. Sl st to the top of the beginning ch 2 to join. (36 sts)
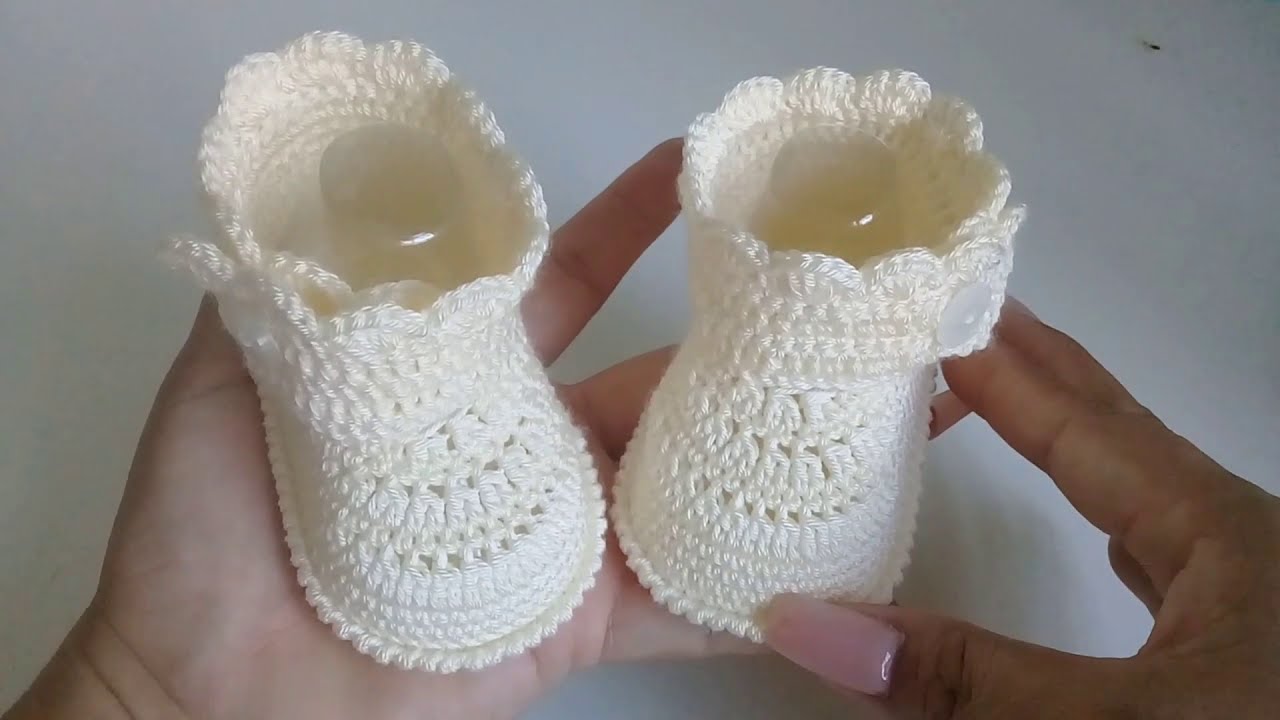
Part 4: Creating the Cuff (Optional)
You can create a simple folded cuff or a ribbed cuff.
Option 1: Simple Folded Cuff
Round 16 – Round 17 (or desired width): Ch 1 (does not count as a st). Sc in each st around. Sl st to the first sc to join. (36 sts) * Fold the cuff down.
Option 2: Ribbed Cuff
Round 16: Ch 1 (does not count as a st). Sc in BLO of each st around. Sl st to the first sc to join. (36 sts)
Round 17 – Round 19 (or desired width): Ch 1 (does not count as a st). Sc in BLO of each st around. Sl st to the first sc to join. (36 sts) * This creates a ribbed texture.
Part 5: Finishing
- Fasten off your yarn, leaving a long tail.
- Use the tapestry needle to weave in all loose ends securely.
Video tutorial
Tips and Variations:
- Color Changes: You can change colors in any round to create stripes or patterns.
- Embellishments: You can add buttons, bows, or small crocheted appliques to the boots for decoration. Sew them on securely.
- Ankle Strap: To add an ankle strap, after Round 15, you can ch a desired number of chains (e.g., ch 15), skip a few stitches, and sl st to the boot. Repeat on the other side and add a button for closure.
- Sole Grips: For added grip, you can add non-slip dots to the soles using fabric paint or silicone.
Important Notes:
- Always supervise babies when they are wearing crocheted items, especially those with small embellishments.
- This pattern is for personal use only.