by
by 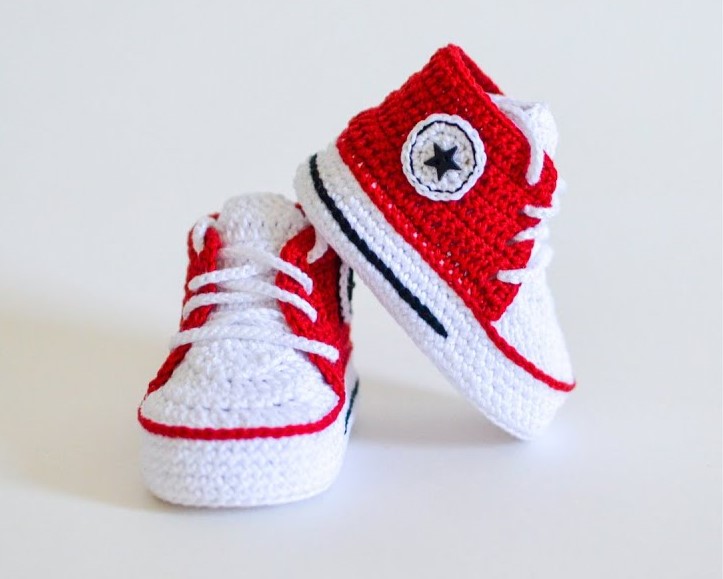
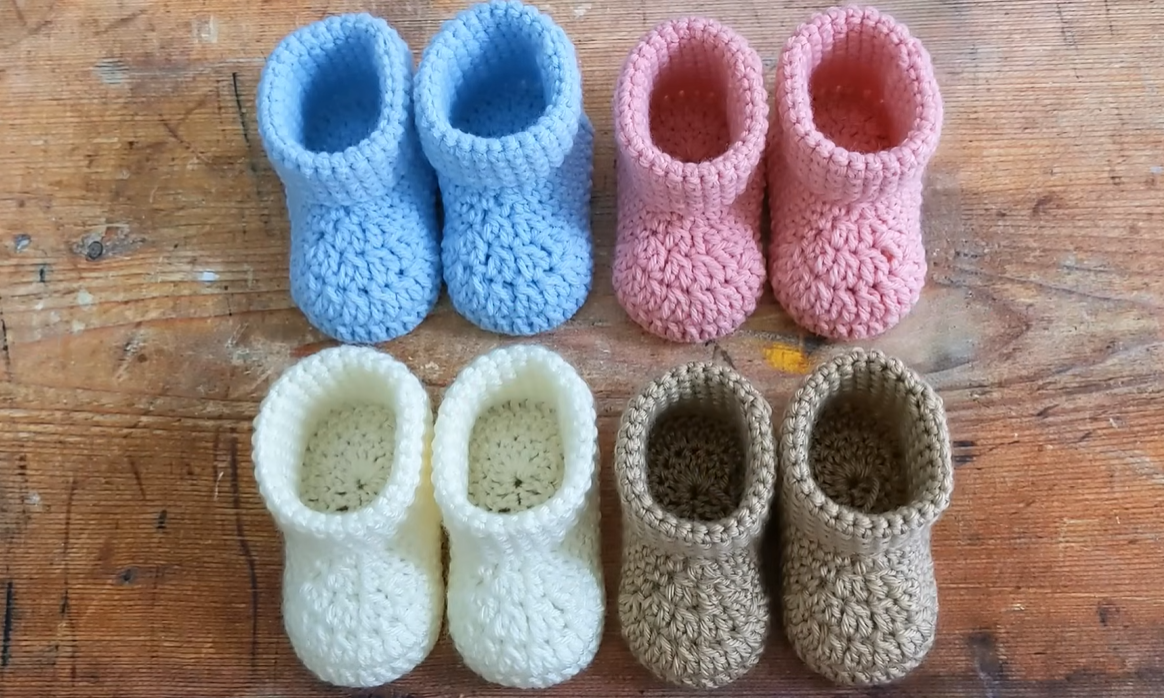
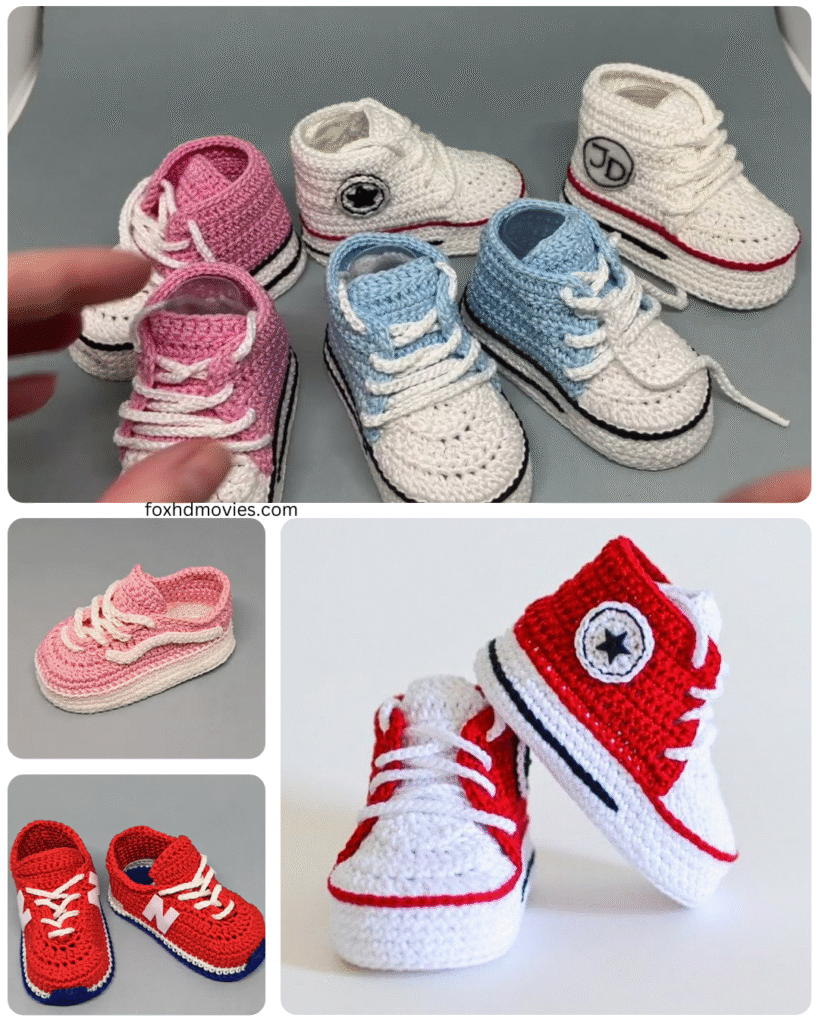
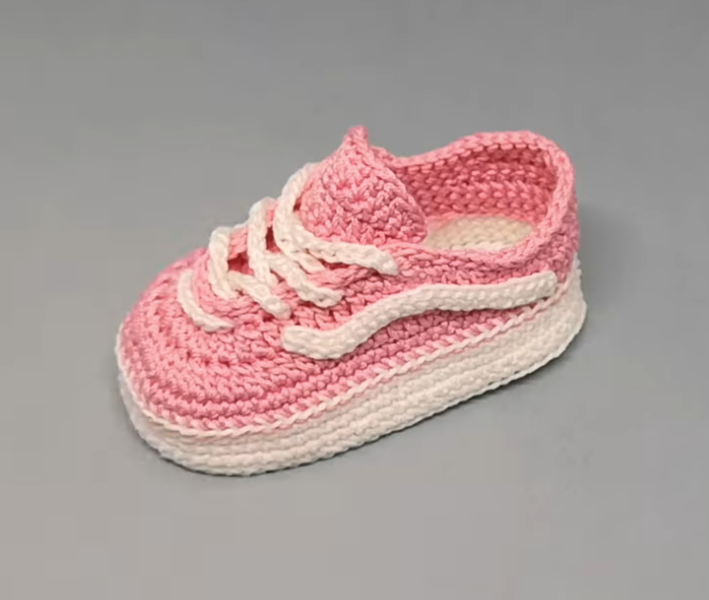
Get ready to create a mini fashion statement for those precious little feet! These colorful high-top sneakers are not only cute but also soft and cozy for baby. Let’s get started!
Materials You’ll Need:
- Yarn: Worsted weight yarn in your desired colors. You’ll need a main color for the sole and body, and contrasting colors for the stripes, toe cap, and laces. Small amounts of each contrasting color will suffice.
- Crochet Hook: Size E/4 (3.5 mm) or the size needed to obtain the gauge.
- Yarn Needle: For weaving in ends.
- Scissors: For snipping yarn.
- Optional: Stitch markers.
Gauge: Approximately 4 single crochet (sc) stitches = 1 inch. Gauge is not critical for this project, but it will affect the final size.
Abbreviations (US Crochet Terms):
- ch: chain
- sl st: slip stitch
- sc: single crochet
- hdc: half double crochet
- dc: double crochet
- inc: increase (2 sc in the same stitch)
- dec: decrease (sc 2 stitches together)
- BLO: back loop only
- FLO: front loop only
Video tutorial
Pattern:
Sole (Make 2):
Using your main color:
- Round 1: Ch 9, sc in the 2nd ch from the hook and in each ch across (8 sc).
- Round 2: Ch 1, turn, inc in the first st, sc in the next 6 sts, inc in the last st (10 sc).
- Round 3: Ch 1, turn, inc in the first st, sc in the next 8 sts, inc in the last st (12 sc).
- Round 4: Ch 1, turn, inc in the first st, sc in the next 10 sts, inc in the last st (14 sc).
- Round 5: Ch 1, turn, inc in the first st, sc in the next 12 sts, inc in the last st (16 sc).
- Round 6: Ch 1, turn, inc in the first st, sc in the next 14 sts, inc in the last st (18 sc).
- Round 7: Ch 1, turn, inc in the first st, sc in the next 16 sts, inc in the last st (20 sc).
- Round 8: Ch 1, turn, inc in the first st, sc in the next 18 sts, inc in the last st (22 sc).
- Round 9: Ch 1, turn, inc in the first st, sc in the next 20 sts, inc in the last st (24 sc).
- Round 10: Ch 1, turn, inc in the first st, sc in the next 22 sts, inc in the last st (26 sc).
- Round 11: Ch 1, turn, inc in the first st, sc in the next 24 sts, inc in the last st (28 sc).
- Round 12: Ch 1, turn, inc in the first st, sc in the next 26 sts, inc in the last st (30 sc).
- Round 13: Ch 1, turn, sc in each st around (30 sc).
- Round 14: Ch 1, turn, sc in each st around (30 sc).
- Round 15: Ch 1, turn, sc in each st around (30 sc). Fasten off and weave in the end for the first sole. Do not fasten off the second sole.

Joining the Soles and Creating the Shoe Body:
- Place the two soles together, wrong sides facing.
- Working through both layers, sc around the entire edge of the soles. Start anywhere, ch 1, and sc in each stitch around. This will create a sturdy base (approximately 60 sc).
- Sl st to the first sc to join the round.
- Round 1: Ch 1, sc in BLO of each st around (60 sc).
- Round 2: Ch 1, sc in each st around (60 sc).
- Round 3: Ch 1, sc in each st around (60 sc).
Creating the Toe Cap:
Switch to your first contrasting color.
- Round 4: Ch 1, sc in the next 10 sts, dec over the next 2 sts, sc in the next 16 sts, dec over the next 2 sts, sc in the last 10 sts (58 sc).
- Round 5: Ch 1, sc in the next 10 sts, dec over the next 2 sts, sc in the next 14 sts, dec over the next 2 sts, sc in the last 10 sts (56 sc).
- Round 6: Ch 1, sc in the next 9 sts, dec over the next 2 sts, sc in the next 12 sts, dec over the next 2 sts, sc in the last 9 sts (54 sc). Fasten off the first contrasting color and weave in the ends.
Continuing the Shoe Body:
Switch back to your main color.
- Round 7: Ch 1, sc in each st around (54 sc).
- Round 8: Ch 1, sc in each st around (54 sc).

Creating the High Top:
- Round 9: Ch 1, sc in each st around (54 sc).
- Round 10: Ch 1, sc in each st around (54 sc).
- Round 11: Ch 1, sc in each st around (54 sc).
- Round 12: Ch 1, sc in each st around (54 sc).
Creating the Ankle Opening:
- Round 13: Ch 1, sc in the next 15 sts, ch 12 (for the first strap), skip the next 6 sts, sc in the next 12 sts, ch 12 (for the second strap), skip the next 6 sts, sc in the last 15 sts (42 sc + 2 ch-12 straps).
- Round 14: Ch 1, sc in the next 15 sts, sc in each of the 12 ch sts, sc in the next 12 sts, sc in each of the 12 ch sts, sc in the last 15 sts (54 sc).
- Round 15: Ch 1, sc in each st around (54 sc). Fasten off and weave in the end.
Adding Stripes (Optional):
Using your chosen contrasting colors, you can add stripes to the high-top section. Simply join your yarn and work a round or two of single crochet in your desired color, then switch back to the main color or another contrasting color.
Creating the Tongue (Make 2):
Using your main color:
- Ch 7.
- Row 1: Sc in the 2nd ch from the hook and in each ch across (6 sc).
- Row 2-8 (or desired length): Ch 1, turn, sc in each st across (6 sc). Fasten off and weave in the end.

Attaching the Tongue:
- Position the tongue on the front of the shoe, centered below the toe cap.
- Using your yarn needle and main color yarn, sew the bottom edge of the tongue to the shoe body. Leave the top edge unsewn.
Creating the Laces (Make 2):
Using a contrasting color:
- Ch approximately 30-40 (adjust length as needed). Fasten off and weave in the ends.
Finishing Touches:
- Weave in all remaining yarn ends securely.
- Thread the laces through the ch-12 loops on each side of the ankle.
Congratulations! You’ve created a pair of adorable and colorful high-top sneakers for a little one. These make a wonderful handmade gift and are sure to bring smiles. Feel free to get creative with your color combinations and enjoy the process!
Tips and Variations:
- Color Blocking: Use different solid colors for the toe cap, body, and high-top for a bold look.
- Texture: Experiment with different crochet stitches for added texture, such as half double crochet or even a simple textured stitch pattern for the high-top.
- Appliqués: Add small crocheted or felt appliqués like stars, hearts, or animals to personalize the sneakers.
- Adjusting Size: To make the sneakers larger or smaller, adjust the number of rows in the sole and the overall length of the shoe body. You may also need to adjust your hook size and yarn weight.